One of the important features of TestNG is the ability to pass different test data to a test case as arguments, which is called parametrization
There are mainly two ways through which we can provide parameter values to TestNG tests.
- Through testng.xml XML configuration file
- Through DataProviders
In this tutorial, we will discuss using testng.xml for parametrization. If we need to pass some simple values such as String or Integer types to the test methods at runtime, there is something called @Parameter where parameter values through TestNG XML configuration files pass to test.
@Parameters("value")
Let us explain how we can use parameters. To start with, add the below dependencies to the POM.xml in the case of the Maven project.
 <properties>
        <selenium.version>4.14.0</selenium.version>
        <testng.version>7.8.0</testng.version>
        <webdrivermanager.version>5.5.3</webdrivermanager.version>
        <maven.compiler.source>11</maven.compiler.source>
        <maven.compiler.target>11</maven.compiler.target>
 </properties>

 <dependencies>

    <!-- Selenium -->
    <dependency>
        <groupId>org.seleniumhq.selenium</groupId>
        <artifactId>selenium-java</artifactId>
        <version>${selenium.version}</version>
    </dependency>

    <!-- TestNG -->
    <dependency>
        <groupId>org.testng</groupId>
        <artifactId>testng</artifactId>
        <version>${testng.version}</version>
        <scope>test</scope>
    </dependency>

    <!-- Web Driver Manager -->
    <dependency>
        <groupId>io.github.bonigarcia</groupId>
        <artifactId>webdrivermanager</artifactId>
        <version>${webdrivermanager.version}</version>
    </dependency>

      <!-- Hamcrest Dependency  -->
      <dependency>
          <groupId>org.hamcrest</groupId>
          <artifactId>hamcrest-all</artifactId>
          <version>1.3</version>
          <scope>test</scope>
      </dependency>

 </dependencies>
Implementation Steps
Step 1 – Create a JAVA test class, say, TestNGParameterizationDemo.java
Step 2 – Add test method parameterizedTest() to the test class. This method takes a string as an input parameter
Add the annotation @Parameters(“browser”) to this method. The parameter passes a value from testng.xml
Step 3 – Create a TestNG.xml and pass the value of the parameter in this configuration file.
Below is an example that shows the use of Parameters.
import io.github.bonigarcia.wdm.WebDriverManager;
import org.openqa.selenium.By;
import org.openqa.selenium.WebDriver;
import org.openqa.selenium.chrome.ChromeDriver;
import org.openqa.selenium.chrome.ChromeOptions;
import org.openqa.selenium.firefox.FirefoxDriver;
import org.openqa.selenium.firefox.FirefoxOptions;
import org.testng.annotations.AfterMethod;
import org.testng.annotations.BeforeMethod;
import org.testng.annotations.Parameters;
import org.testng.annotations.Test;

import java.util.concurrent.TimeUnit;

import static org.testng.Assert.assertEquals;

public class TestNGParameterizationDemo {
    WebDriver driver;
    By userName = By.name("username");
    By passWord = By.name("password");

    By loginBtn = By.xpath("//*[@class='oxd-form']/div[3]/button");

    By loginTitle = By.xpath("//*[@class='oxd-topbar-header-breadcrumb']/h6");

    By errorMessage = By.xpath("//*[@class='orangehrm-login-error']/div[1]/div/p");


    @BeforeMethod
    @Parameters("browser")
    public void parameterizedTest(String browser) {
        if (browser.equalsIgnoreCase("firefox")) {

            WebDriverManager.firefoxdriver().setup();
            FirefoxOptions options=new FirefoxOptions();
            options.addArguments("--start-maximized");
            driver=new FirefoxDriver(options);
            System.out.println("Browser Started :" + browser);

        } else if (browser.equalsIgnoreCase("chrome")) {
            WebDriverManager.chromedriver().setup();
            ChromeOptions options=new ChromeOptions();
            options.addArguments("--start-maximized");
            driver=new ChromeDriver(options);
            System.out.println("Browser Started :" + browser);
        }

        driver.manage().timeouts().implicitlyWait(10, TimeUnit.SECONDS);
        driver.get("https://opensource-demo.orangehrmlive.com/");

    }

    @Test
    public void validCredentials()  {

        driver.findElement(userName).sendKeys("Admin");
        driver.findElement(passWord).sendKeys("admin123");
        driver.findElement(loginBtn).click();
        String newPageText = driver.findElement(loginTitle).getText();
        System.out.println("newPageText :" + newPageText);
        assertEquals(newPageText,"Dashboard");
    }

    @Test
    public void invalidCredentials() {

        driver.findElement(userName).sendKeys("1234");
        driver.findElement(passWord).sendKeys("admin3456");
        driver.findElement(loginBtn).click();
        String actualErrorMessage = driver.findElement(errorMessage).getText();
        System.out.println("Actual ErrorMessage :" + actualErrorMessage);
        assertEquals(actualErrorMessage,"Invalid credentials");

    }

    @AfterMethod
    public  void closeBrowser() {
        driver.quit();
    }
}
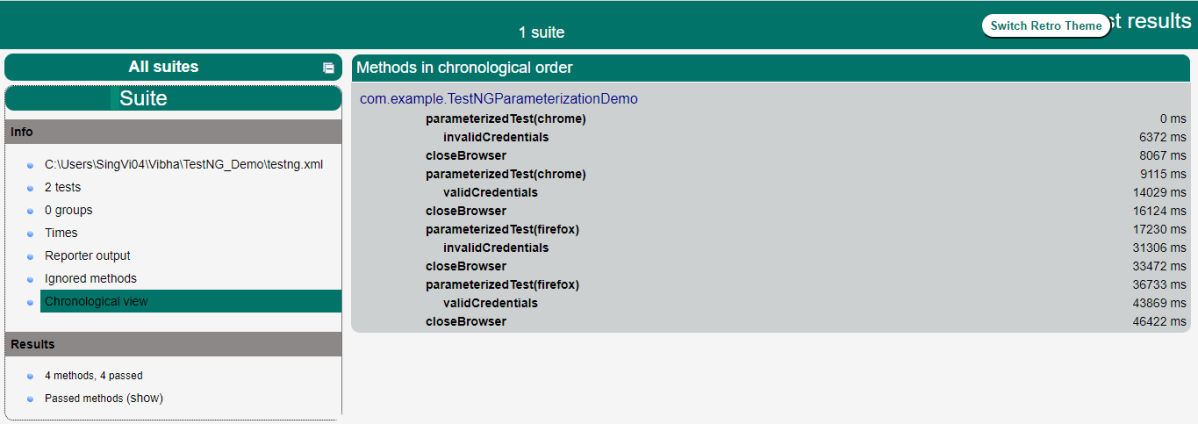
TestNG.xml looks like this, as shown below. Here, the parameter name is the browser name value for the browser is “Chrome”. So, this “Chrome” value is passed to Test as a parameter, and as a result, a Google Chrome browser opens. Similarly, the same tests are run using Firefox, as it is mentioned in the testng.xml.
<?xml version="1.0" encoding="UTF-8"?>
<!DOCTYPE suite SYSTEM "https://testng.org/testng-1.0.dtd">

<suite name="Suite ">

    <test name="Chrome Test">
        <parameter name="browser" value="chrome" />
        <classes>
            <class name="TestNGParameterizationDemo" />
        </classes>
    </test> <!-- Test -->

    <test name="Firefox Test">
        <parameter name="browser" value="firefox" />
        <classes>
            <class name="TestNGParameterizationDemo" />
        </classes>
    </test> <!-- Test -->
</suite> <!-- Suite -->
The output of the above program is

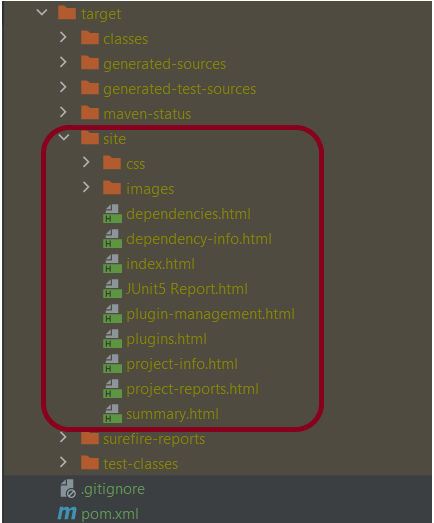
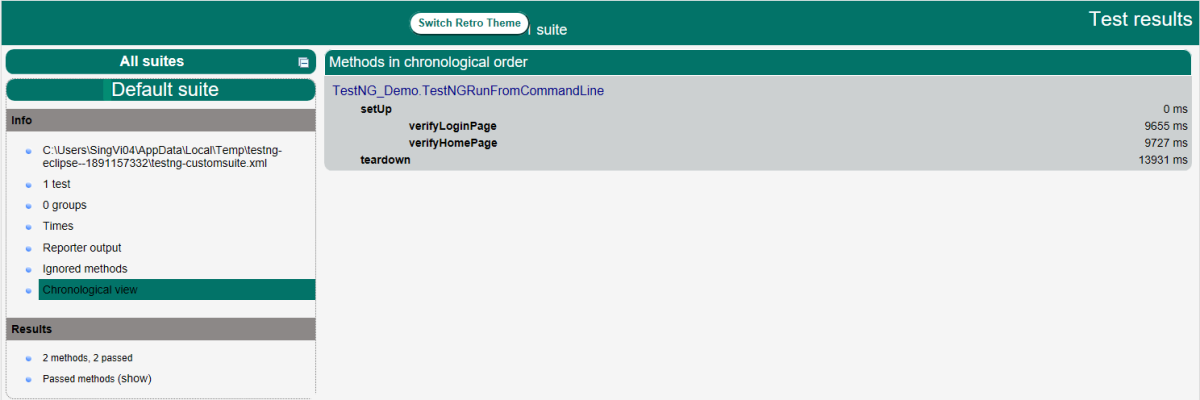
The execution generates reports – Index.html and Emailable-Report.html. The reports are generated under the target folder.

Index.html
Emailable-Report.html

Congratulations on making it through this tutorial and hope you found it useful! Happy Learning!! Cheers!!