In the previous tutorial, I explained the steps to download and configure Jenkins in Windows 10.
The introduction of the Global Tool Configuration section in Jenkins 2 is a wise decision. This section contains all the major configurations for external tools, their locations, and automatic installer tools.
Table of Contents
Configuring Java
Open Jenkins and go to Jenkins Dashboard. After that, click on the Manage Jenkins link as shown below:

When we click on the “Manage Jenkins” link, we are redirected to the Manage Jenkins page, where we can see various types of options, including the “Global Tool Configuration” option.

We need to set the JDK path in Jenkins as shown below.

Click on the Add JDK button. By default, “Install Automatically” will be checked, so since we are going to use the JDK installed in our local machine, “Install automatically” will install the latest version of JDK, and you will also need to provide credentials to download the relevant JDK.

Provide the JDK’s name as we gave as JDK 11 because that is what is currently installed on my machine and also provide the path of JDK in the JAVA_HOME textbox.

Configuring Maven
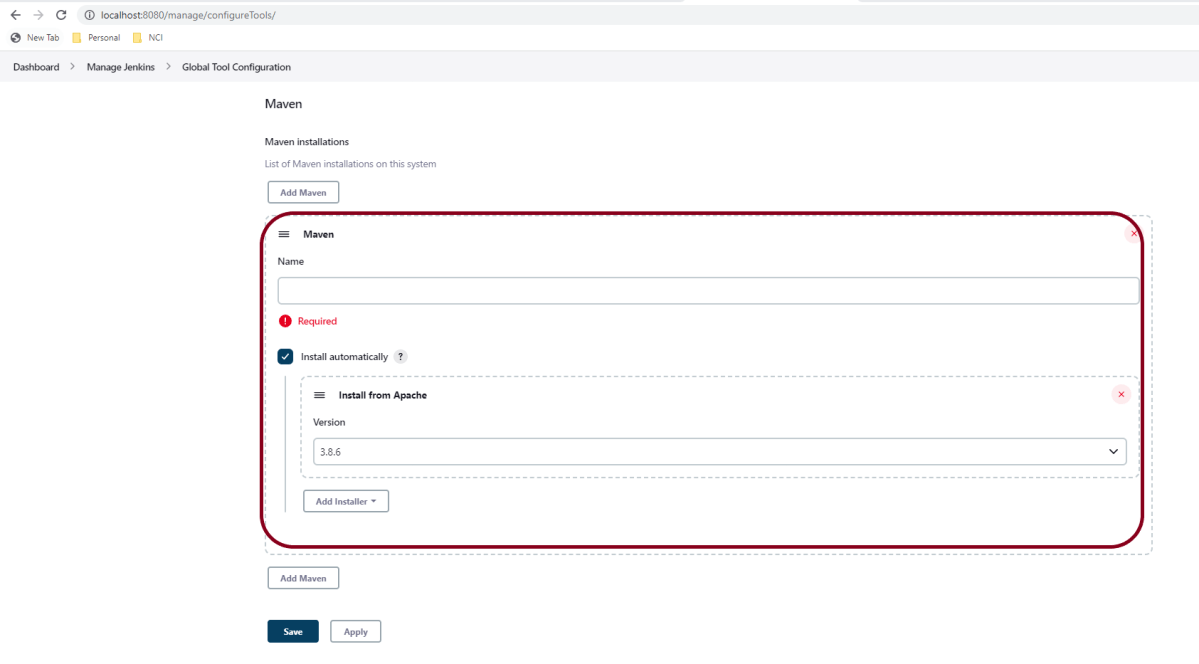
As mentioned above, go to Global Tool Configuration and scroll down to see the Maven option.

Click on the “Add Maven” button. Kindly note that by default, “Install Automatically” will be checked, so since we are going to use the Maven installed on our local machine, “Install automatically” will install the latest version of Maven, and you will also need to provide credentials to download relevant Maven.
Provide the Maven’s name as we gave as Maven 3.8.6 because that is what is currently installed on my machine, and also provide the path of Maven in the MAVEN_HOME textbox.
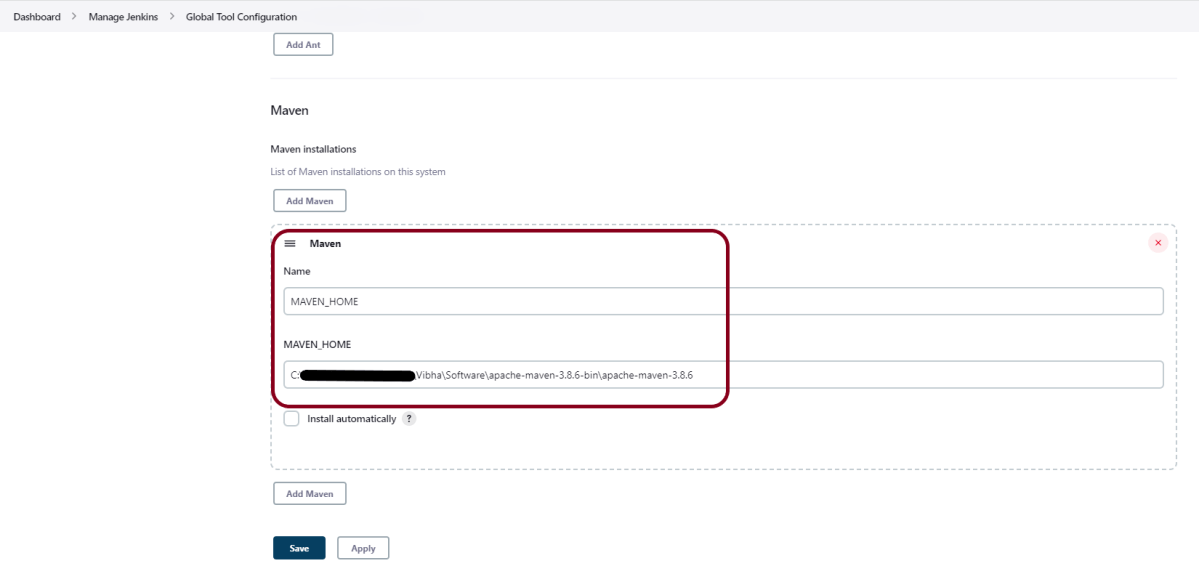
Click on the Apply and Save buttons.
Congratulations!!. The above steps configured Java and Maven to Jenkins. Happy Learning
