In this tutorial, we will rerun the failed tests in Robot Framework.
We occasionally experience rendering problems, which cause our Test Cases to fail. And we must run our complete Test Suite once more. This will be a major pain if you are working on a complicated project with many suite files or many Test Cases.
Rerunning only failed test cases after completion and providing a single report can alleviate this major pain in Robot Framework.
Robot Framework provides two attributes “–rerunfailed” and “–merge” merge will rerun the failure and merge the different results for a single report.
Table of Contents
Prerequisite:
- Install Python
- Install PIP
- Install Robot Framework
- Install Robot framework Selenium Library
- Install PyCharm IDE
Please refer to this tutorial to install Robot Framework – How to install and setup Robot Framework for Python.
Implementation Steps:
Step 1 – Create a new project
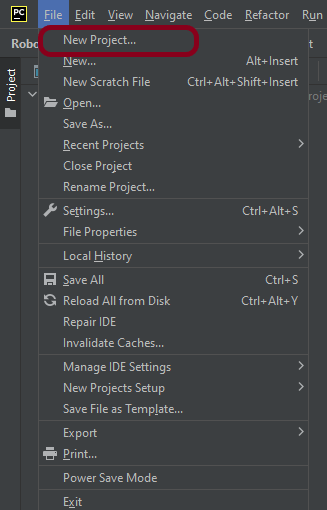
Step 1.1 – Open PyCharm and create a new project. Go to File and select “New Project” from the main menu.
Step 2 – Choose the project location. Click the “Browse” button next to the Location field and specify the directory for your project.
Deselect the Create a main.py welcome script checkbox because you will create a new Python file for this tutorial.

Click on the “Create” Button.
Step 1.3 – A new dialog will appear asking to Open the project using any one of the given options. I have selected New Window as I like to have separate windows for each project.

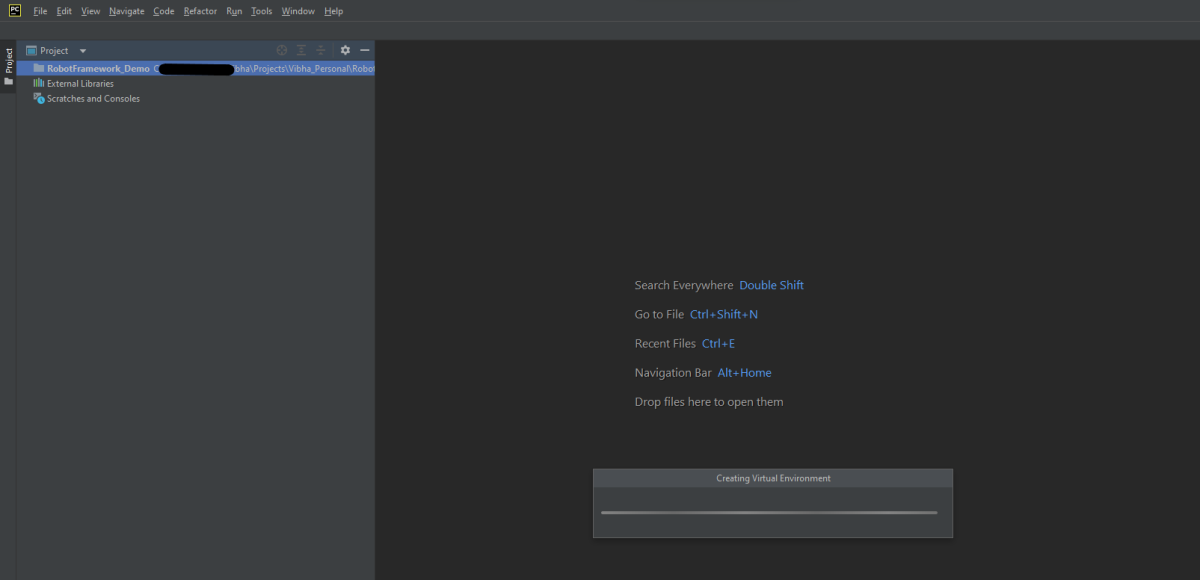
Below is the image of the new project created in PyCharms.
Step 2 – Create a new directory in the new project
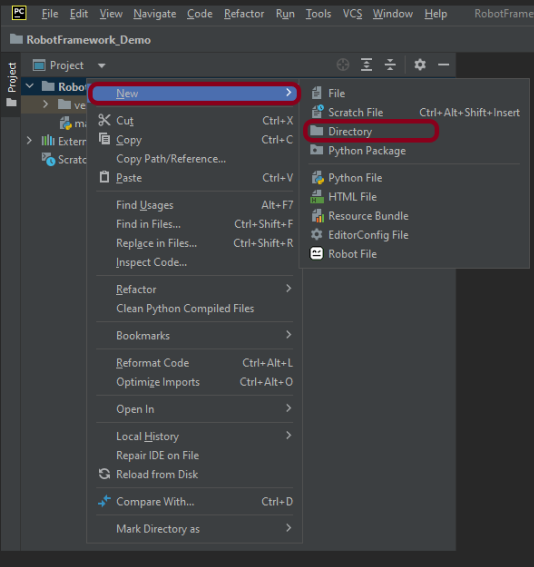
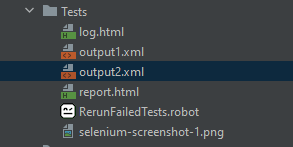
Right-Click on the project, select New->Directory and provide name as Tests
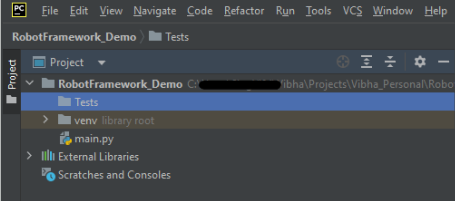
Below is the image of the new directory.
Right-click on the new directory and select New File and provide the name as RerunFailedTests.robot as shown below:

Step 3 – Download ChromeBinaries from the below location
The tests are going to use the Chrome browser, so we need to download the ChromeBinaries to open a blank browser in Chrome.
https://chromedriver.chromium.org/
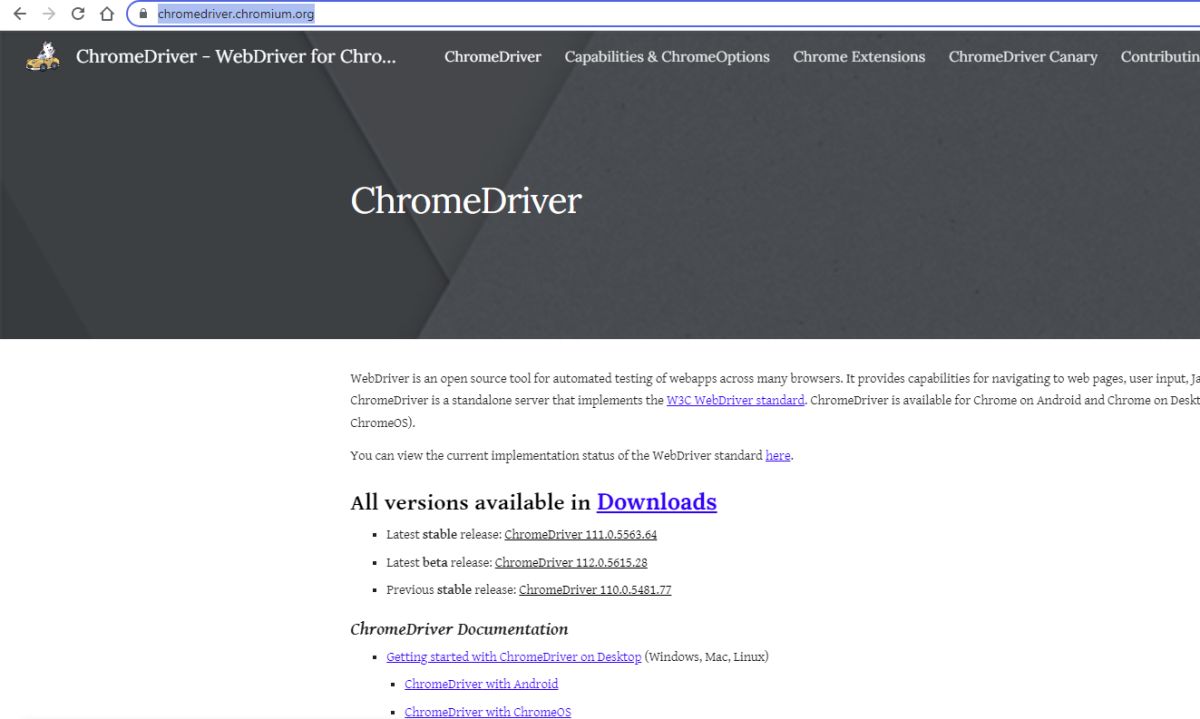
The chromedriver is placed in a folder name drivers in the RobotFramework_Demo project.

Step 4 – Create a simple Selenium Test
*** Settings ***
Documentation       Tests to login to Login Page
Library     SeleniumLibrary

*** Variables ***
${valid_username}     Admin
${valid_password}       admin123
${invalid_username}     1234
${invalid_password}     45678
${blank_username}
${blank_password}
${url}      https://opensource-demo.orangehrmlive.com/web/index.php/auth/login
${browser_name}      Chrome
${login_error_message}      css:.oxd-alert-content--error
${dashboard_title}       css:.oxd-topbar-header-breadcrumb-module
${missing_username_error_message}    xpath://*[@class='oxd-form']/div[1]/div/span
${missing_password_error_message}   xpath://*[@class='oxd-form']/div[2]/div/span


*** Test Cases ***

Validate Unsuccessful Login using invalid credentials
    [Tags]    SMOKE
    Open the Browser with URL
    Fill the login form     ${valid_username}       ${invalid_password}
    Verify the error message is correct
    Close Browser Session

Validate Unsuccessful Login for blank username
    [Tags]    REGRESSION
    Open the Browser with URL
    Fill the login form     ${blank_username}       ${valid_password}
    Verify the error message is displayed for username
    Close Browser Session

Validate Unsuccessful Login for blank password
    [Tags]    SMOKE     REGRESSION
    Open the Browser with URL
    Fill the login form     ${valid_username}       ${blank_password}
    Verify the error message is displayed for password
    Close Browser Session

Validate successful Login
    [Tags]    UAT
    Open the Browser with URL
    Fill the login form     ${valid_username}       ${valid_password}
    Verify Dashboard page opens
    Close Browser Session

*** Keywords ***

Open the Browser with URL
    Create Webdriver    ${browser_name}  executable_path=/Vibha_Personal/RobotFramework_Demo/drivers/${browser_name}
    Go To       ${url}
    Maximize Browser Window
    Set Selenium Implicit Wait    5

Fill the login form
   [Arguments]    ${username}      ${password}
   Input Text    css:input[name=username]   ${username}
   Input Password    css:input[name=password]   ${password}
   Click Button    css:.orangehrm-login-button

Verify the error message is correct
    Element Text Should Be    ${login_error_message}    Invalid credentials

Verify Dashboard page opens
    Element Text Should Be    ${dashboard_title}      Dashboard

Verify the error message is displayed for username
     Element Text Should Be    ${missing_username_error_message}      Required

Verify the error message is displayed for password
      Element Text Should Be    ${missing_password_error_message}      Required!

Close Browser Session
    Close Browser
Step 5 – Execute the tests
We need the below command to run the Robot Framework script. This is the normal execution of your test suite and save your output in output1.xml
robot --output output1.xml RerunFailedTests.robot
The output of the above program is

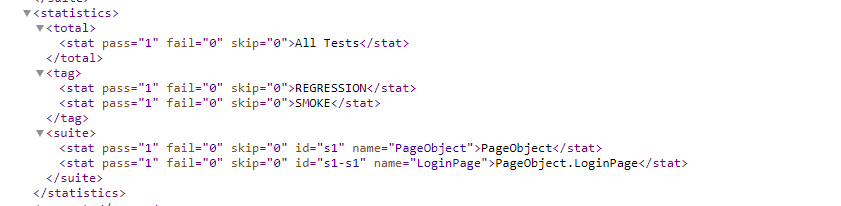
Let us check the output1.xml file.
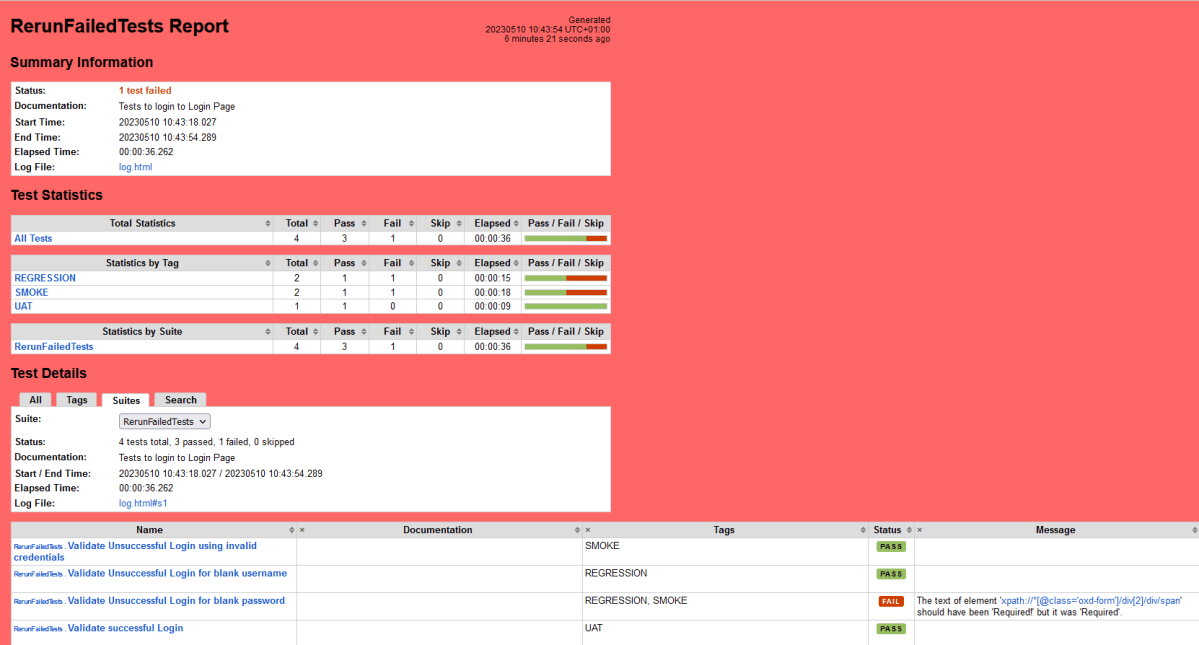
We can see that Test 3 failed here.

Below is the report generated by the Robot Framework
Step 6 – Rerun the failed tests
Now, let us rerun the failed tests using the below command. I intentionally failed my test in the last run. In this run, I will fix the test. I will change the expected result from Required! to Required. This checks the failure results in the output1.xml file and reruns the failures once again and saves the new result in the output2.xml file
robot --rerunfailed output1.xml --output output2.xml RerunFailedTests.robot
The output of the above program is

A new output file named output2.xml is generated.
Let us check the output2.xml file.
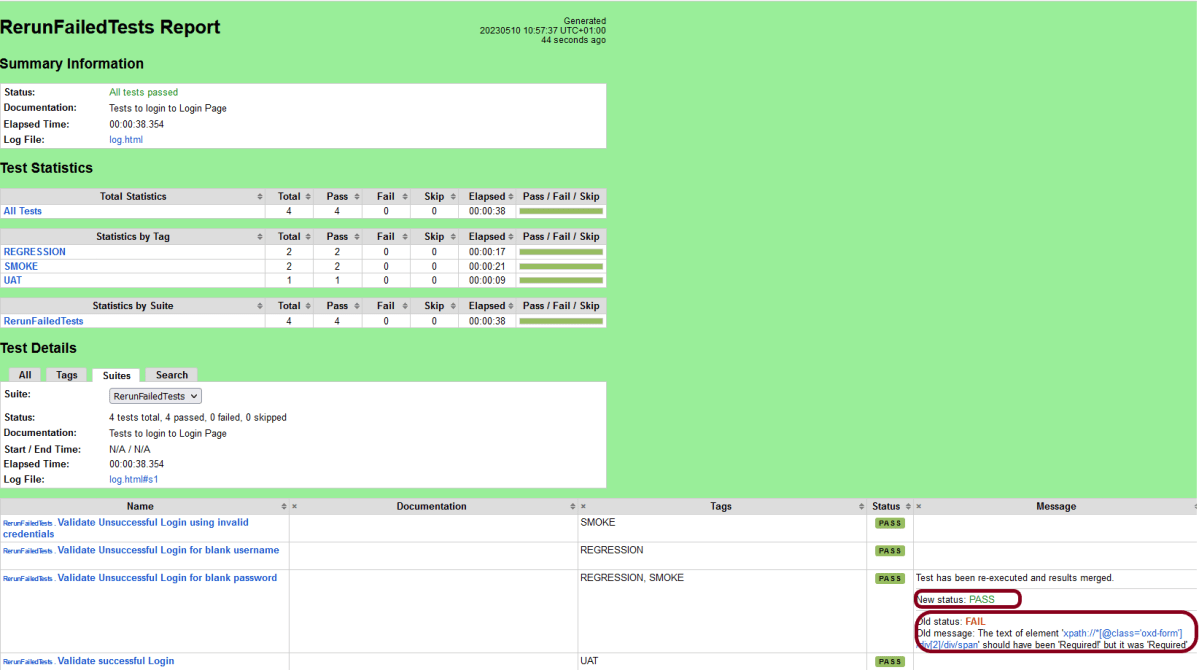
This command merges the previous XML file and recent XML file after re-run to show in a single report
rebot --output output1.xml --merge output1.xml output2.xml
The output of the above program is

Check the Report generated by the Robot Framework. We can see all the tests are passed now.
That’s it! Congratulations on making it through this tutorial and hope you found it useful! Happy Learning!!
