In this tutorial, we will create a project in PyCharms and create TAGS in the tests in Robot Framework using Selenium WebDriver.
The use of tags in Robot Framework is a basic yet effective mechanism for classifying test cases. Tags are free words that can be used for at least the following things:
- Tags appear in test reports, logs, and, of course, test data, providing metadata to test instances.
- Case-by-case statistics (total, passed, failed are automatically collected based on tags).
- You can use tags to include or exclude test cases from being run.
- You can use tags to indicate which test cases should be skipped.
Prerequisite:
- Install Python
- Install PIP
- Install Robot Framework
- Install Robot framework Selenium Library
- Install PyCharm IDE
Please refer to this tutorial to install Robot Framework – How to install and setup Robot Framework for Python.
Implementation Steps:
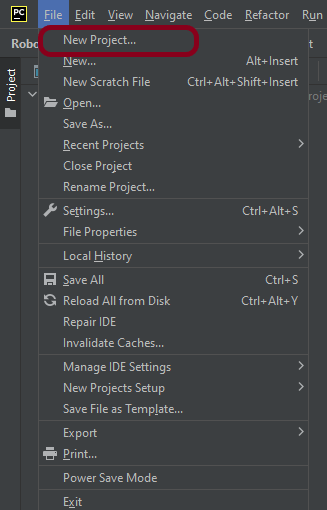
Step 1.1 – Open PyCharm and create a new project. Go to File and select “New Project” from the main menu.
Step 1.2 – Choose the project location. Click the “Browse” button next to the Location field and specify the directory for your project.
Deselect the Create a main.py welcome script checkbox because you will create a new Python file for this tutorial.

Click on the “Create” Button.
Step 1.3 – A new dialog will appear asking to Open the project using any one of the given options. I have selected New Window as I like to have separate windows for each project.

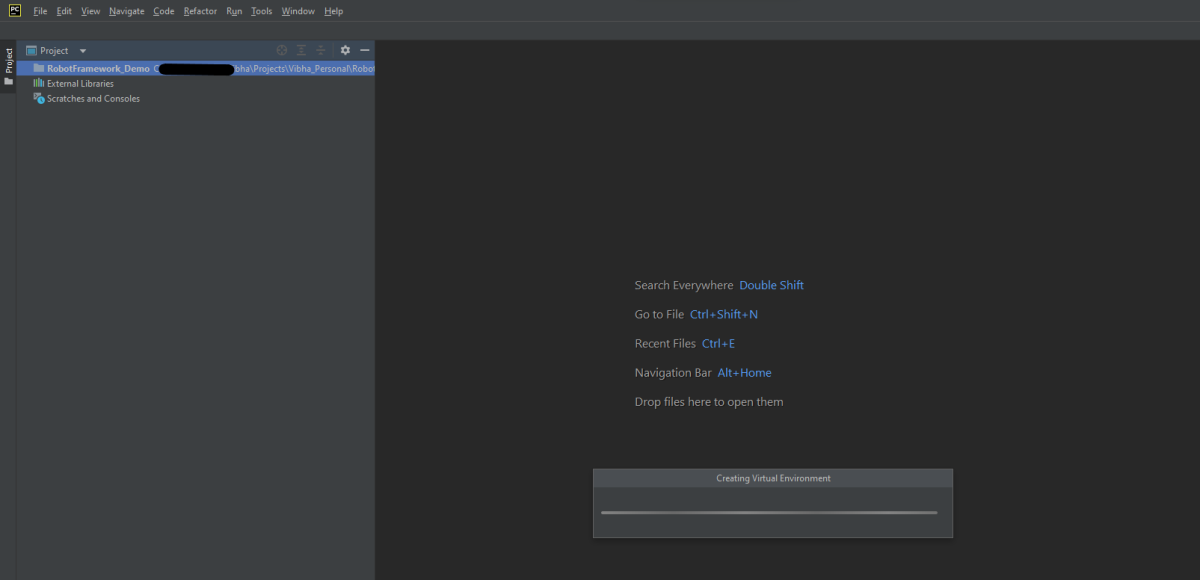
Below is the image of the new project created in PyCharms.
How to create a tag in the test in Robot Framework?
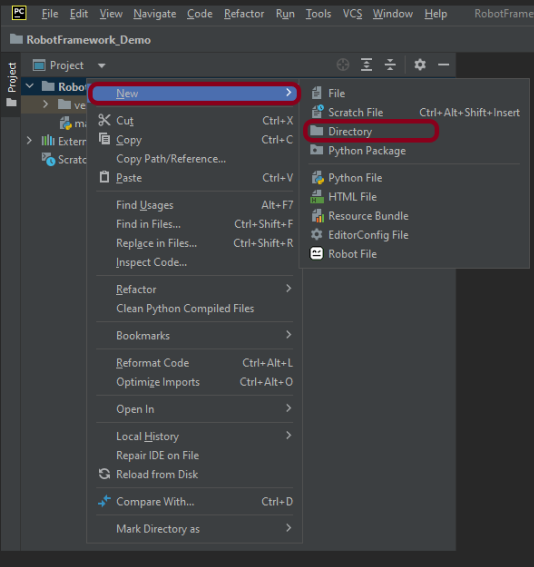
Step 1 – Create a new directory in the new project
Right-Click on the project, select New->Directory and provide name as Tests
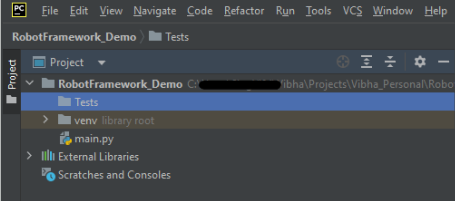
Below is the image of the new directory.
Right-click on the new directory and select New File and provide the name as Test_Demo.robot as shown below:

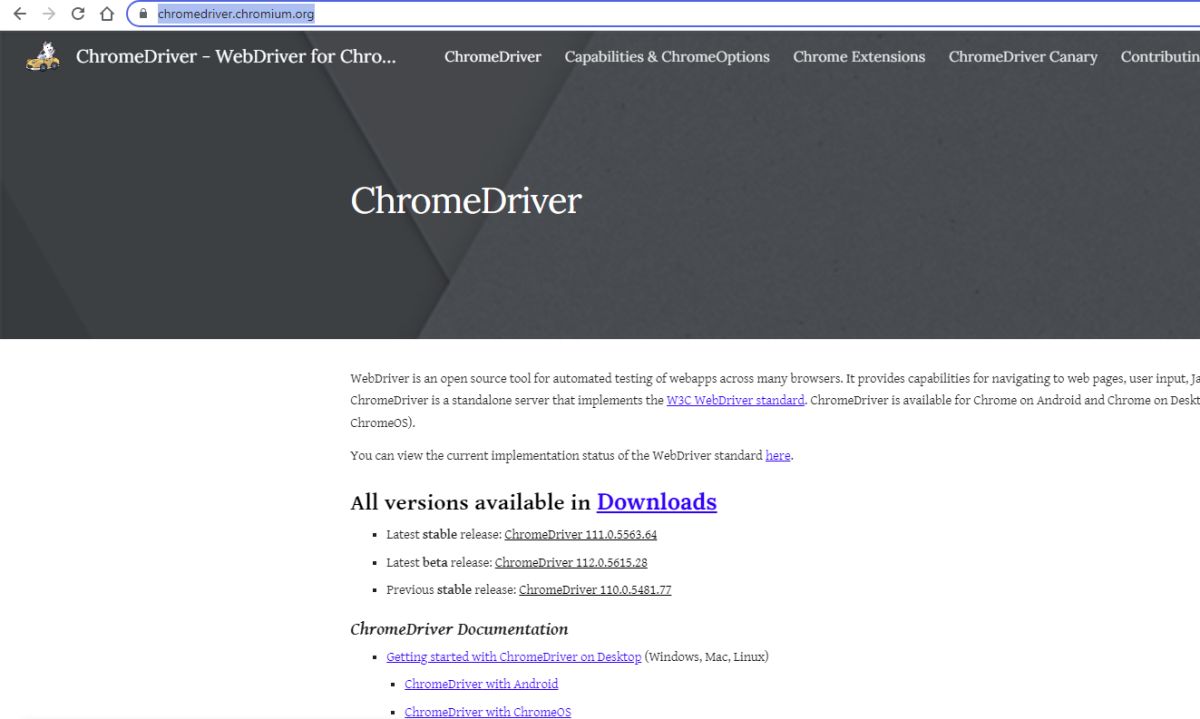
Step 2 – Download ChromeBinaries from the below location
The tests are going to use the Chrome browser, so we need to download the ChromeBinaries to open a blank browser in Chrome.
https://chromedriver.chromium.org/
The chromedriver is placed in a folder name drivers in the RobotFramework_Demo project.

Step 3 – Create a simple Selenium Test
*** Settings ***
Documentation       Tests to login to Login Page
Library     SeleniumLibrary

*** Variables ***
${valid_username}     Admin
${valid_password}       admin123
${invalid_username}     1234
${invalid_password}     45678
${blank_username}
${blank_password}
${url}      https://opensource-demo.orangehrmlive.com/web/index.php/auth/login
${browser_name}      Chrome
${login_error_message}      css:.oxd-alert-content--error
${dashboard_title}       css:.oxd-topbar-header-breadcrumb-module
${missing_username_error_message}    xpath://*[@class='oxd-form']/div[1]/div/span
${missing_password_error_message}   xpath://*[@class='oxd-form']/div[2]/div/span


*** Test Cases ***

Validate Unsuccessful Login using invalid credentials
    [Tags]    SMOKE
    Open the Browser with URL
    Fill the login form     ${valid_username}       ${invalid_password}
    Verify the error message is correct
    Close Browser Session

Validate Unsuccessful Login for blank username
    [Tags]    REGRESSION
    Open the Browser with URL
    Fill the login form     ${blank_username}       ${valid_password}
    Verify the error message is displayed for username
    Close Browser Session

Validate Unsuccessful Login for blank password
    [Tags]    SMOKE     REGRESSION
    Open the Browser with URL
    Fill the login form     ${valid_username}       ${blank_password}
    Verify the error message is displayed for password
    Close Browser Session

Validate successful Login
    [Tags]    UAT
    Open the Browser with URL
    Fill the login form     ${valid_username}       ${valid_password}
    Verify Dashboard page opens
    Close Browser Session

*** Keywords ***

Open the Browser with URL
    Create Webdriver    ${browser_name}  executable_path=/Vibha_Personal/RobotFramework_Demo/drivers/${browser_ame}
    Go To       ${url}
    Maximize Browser Window
    Set Selenium Implicit Wait    5

Fill the login form
   [Arguments]    ${username}      ${password}
   Input Text    css:input[name=username]   ${username}
   Input Password    css:input[name=password]   ${password}
   Click Button    css:.orangehrm-login-button

Verify the error message is correct
    Element Text Should Be    ${login_error_message}    Invalid credentials

Verify Dashboard page opens
    Element Text Should Be    ${dashboard_title}      Dashboard

Verify the error message is displayed for username
     Element Text Should Be    ${missing_username_error_message}      Required

Verify the error message is displayed for password
      Element Text Should Be    ${missing_password_error_message}      Required

Close Browser Session
    Close Browser
Scenarios
In the above robot test file, we have a total of 4 tests.
- Test 1 -> SMOKE
- Test 2 -> REGRESSION
- Test 3 -> SMOKE, REGRESSION
- Test 4 -> UAT
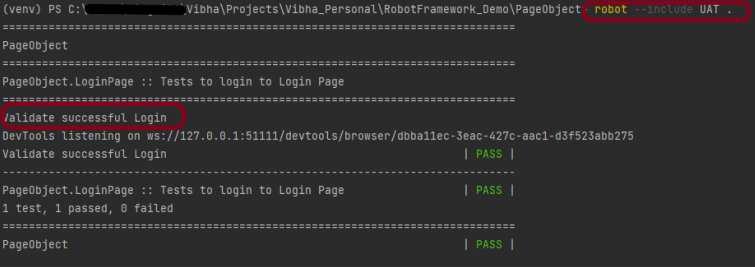
1. To execute the tests tagged with UAT, we have only 1 test, so only 1 test – Test 4 will execute.
robot --include UAT .
The output of the above program is
2. To execute the tests tagged with SMOKE, we have 2 tests, so 2 tests – Test 1 and Test 3 will execute.
robot --include SMOKE .
The output of the above program is

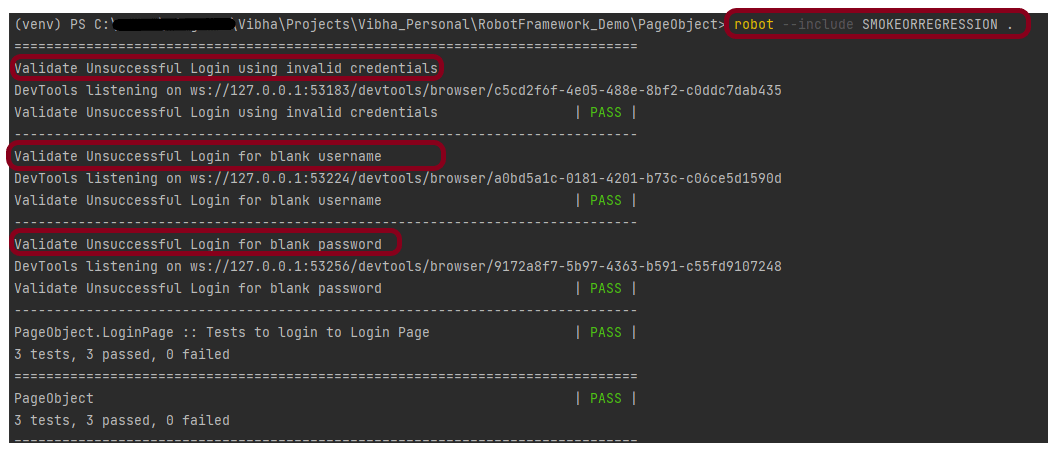
3. To execute the tests tagged with SMOKE OR REGRESSION, we have 3 tests, so 3 tests – Test 1, Test 2, and Test 3 will execute.
robot --include SMOKEORREGRESSION .
The output of the above program is
4. To execute the tests tagged with SMOKE AND REGRESSION, we have only 1 test – Test 3 will execute.
robot --include SMOKEANDREGRESSION .
The output of the above program is

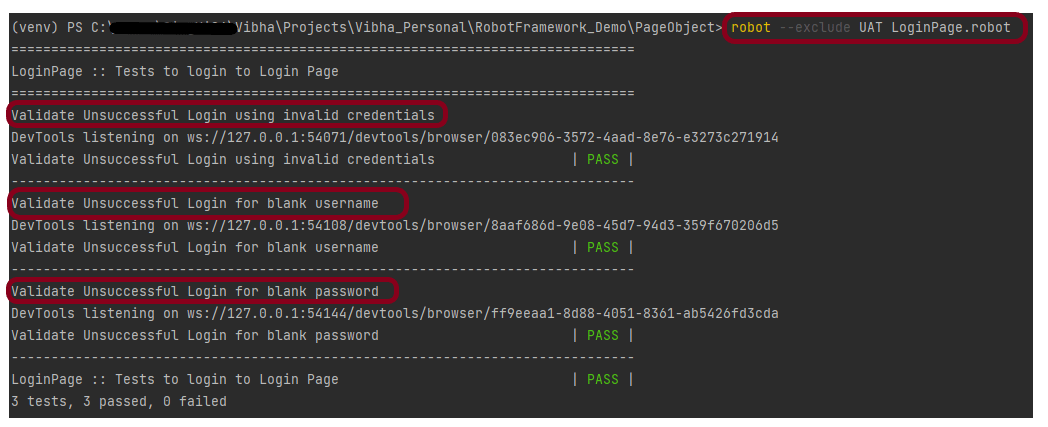
5. To execute the tests tagged with not UAT, we have a total of 4 tests and 1 test is tagged with UAT. So now 3 tests should execute – Test 1, Test 2, and Test 3.
robot --exclude UAT LoginPage.robot
The output of the above program is
That’s it! Congratulations on making it through this tutorial and hope you found it useful! Happy Learning!!
