What is an Assertion?
An assertion is used to test a logical expression. An assertion is true if the logical expression that is being tested is true and there are no bugs in the program. It can also be interpreted as a checkpoint or a validation point.
There are various types of assertions available in ReadyAPI. They are:-
- Property Content
- Compliance, Status and Standards
- Script
- SLA
- JMS Response
- Security
Example 1 – SLA Assertion
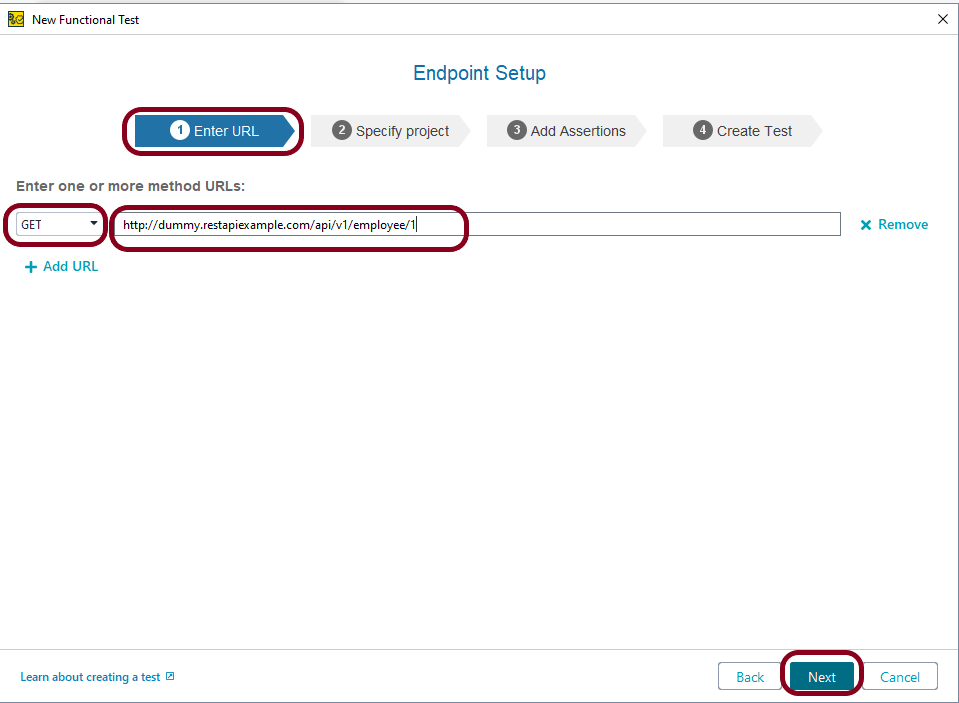
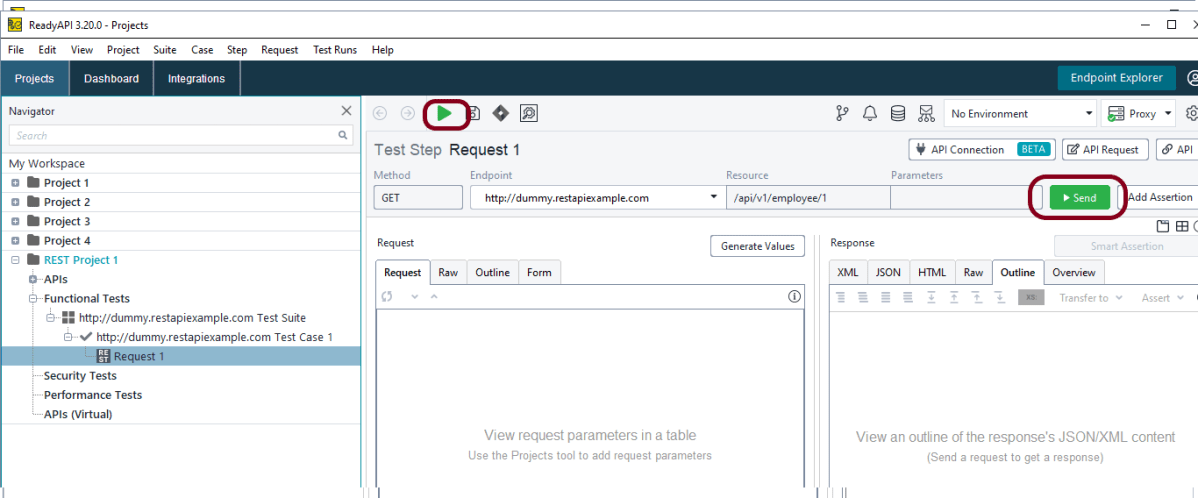
Let’s create an assertion that will check if the tested web service responds within a predefined time limit:
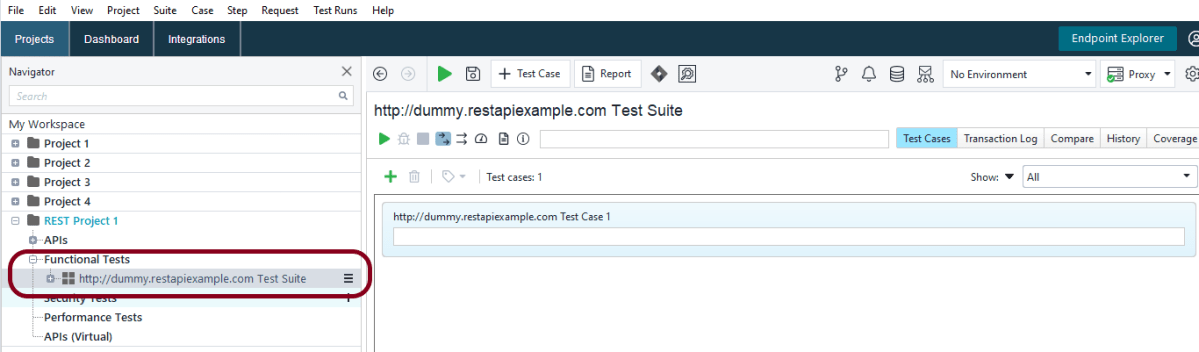
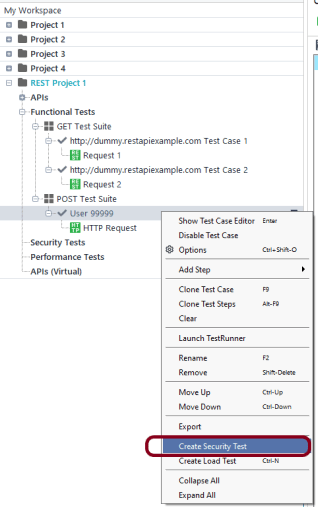
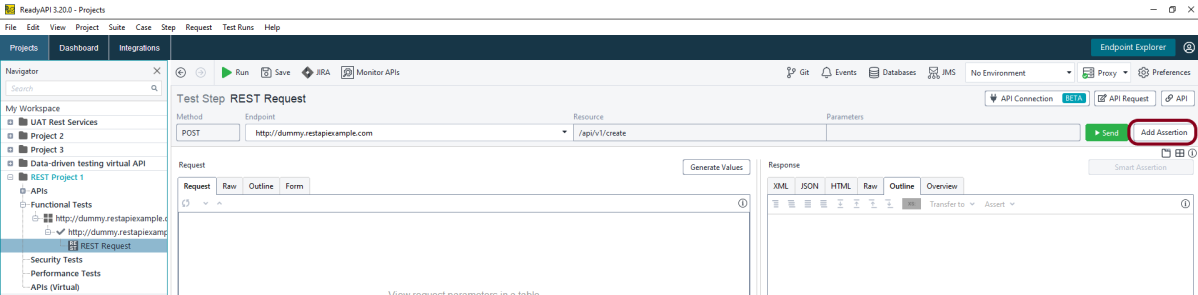
In Functional Tests, select POST Request in the Navigator panel and click Add Assertion:
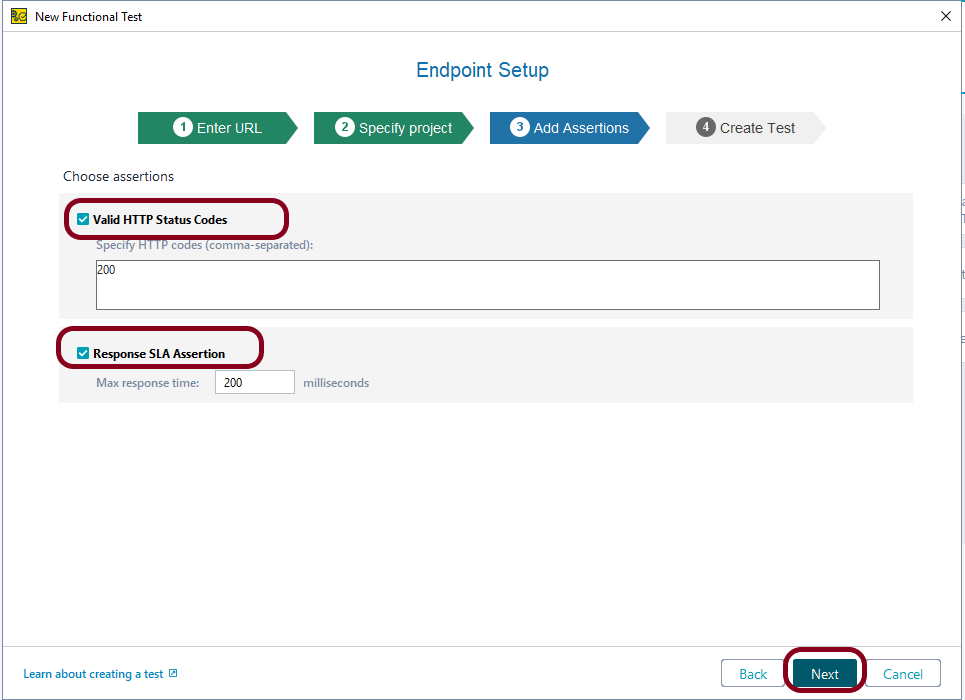
In the dialog, select the SLA category on the left and then Response SLA on the right, and click Add

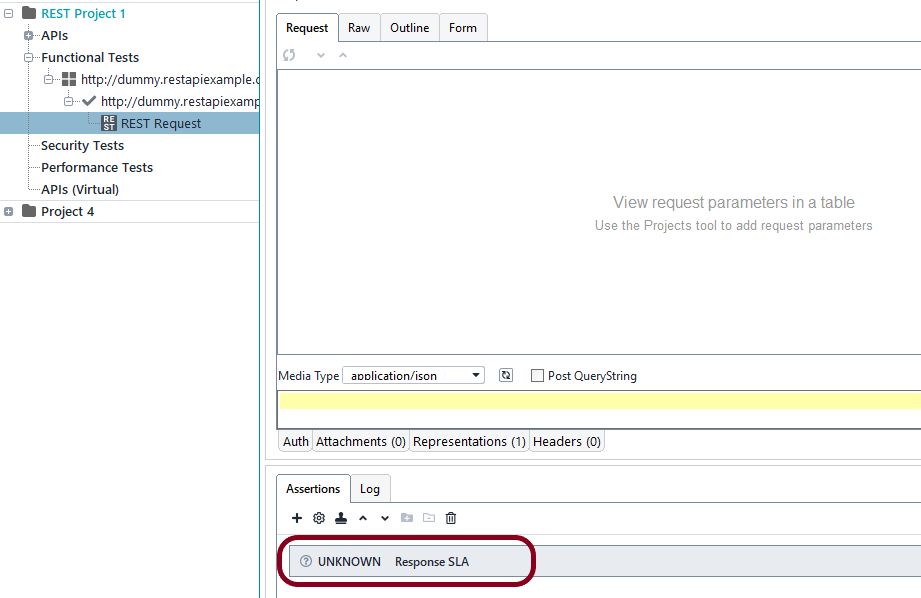
Let’s use 3000 milliseconds as the maximum allowed response time for our request. Enter 3000 and click the OK button.

Now, if the request takes longer than the specified number of milliseconds to complete, the assertion will trigger, and the test will fail. If the execution time is less than or equal to the specified value, the check will pass.
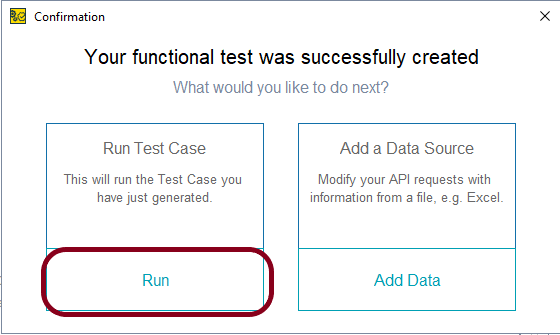
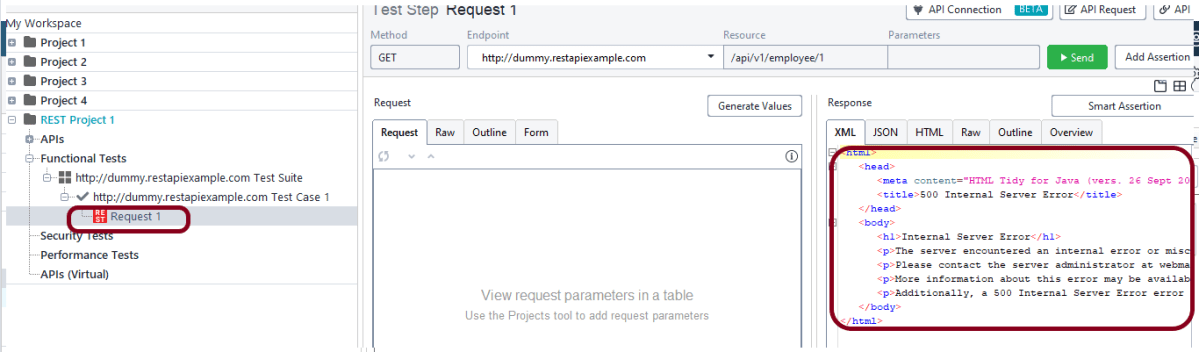
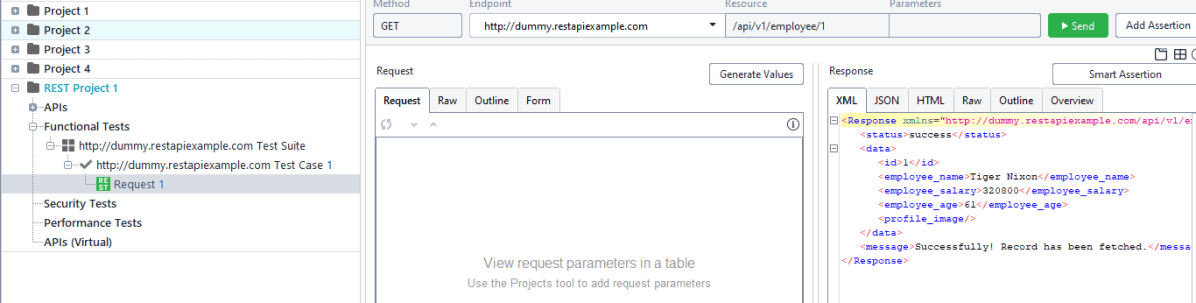
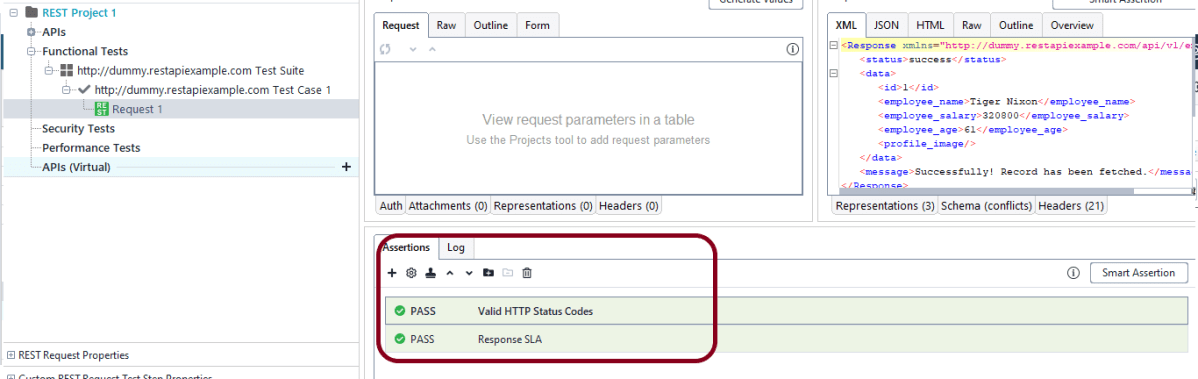
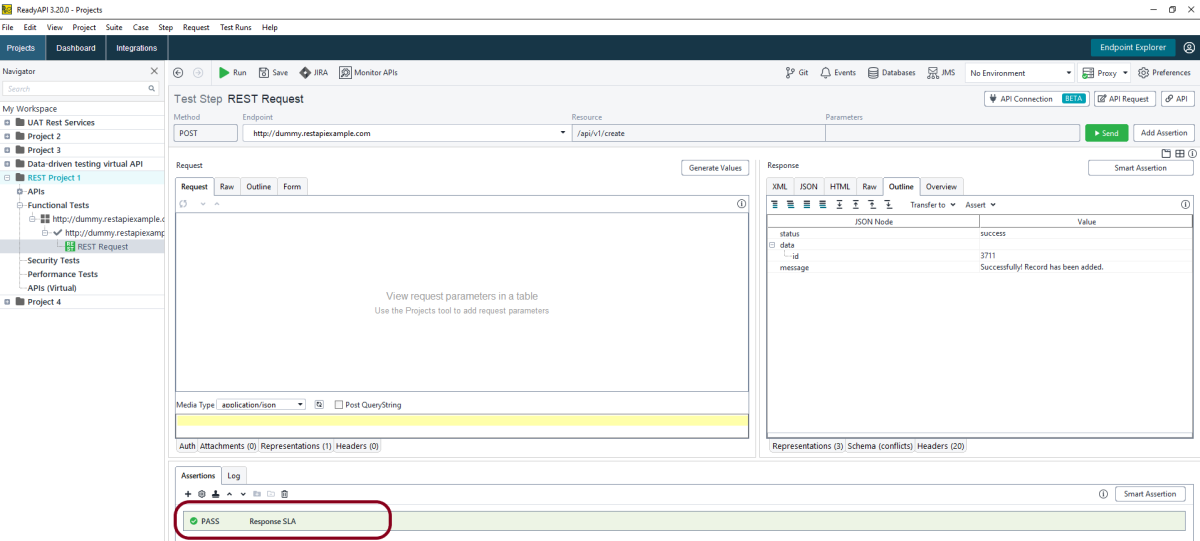
Run the request and see the SLA Response. This image shows that Response SLA Assertion is passed.
Example 2 – Check Response Contents
Now let’s see how you can verify response data. The sample response body has the JSON data format, so we will create an assertion for JSON data.
Make sure the request has a response.
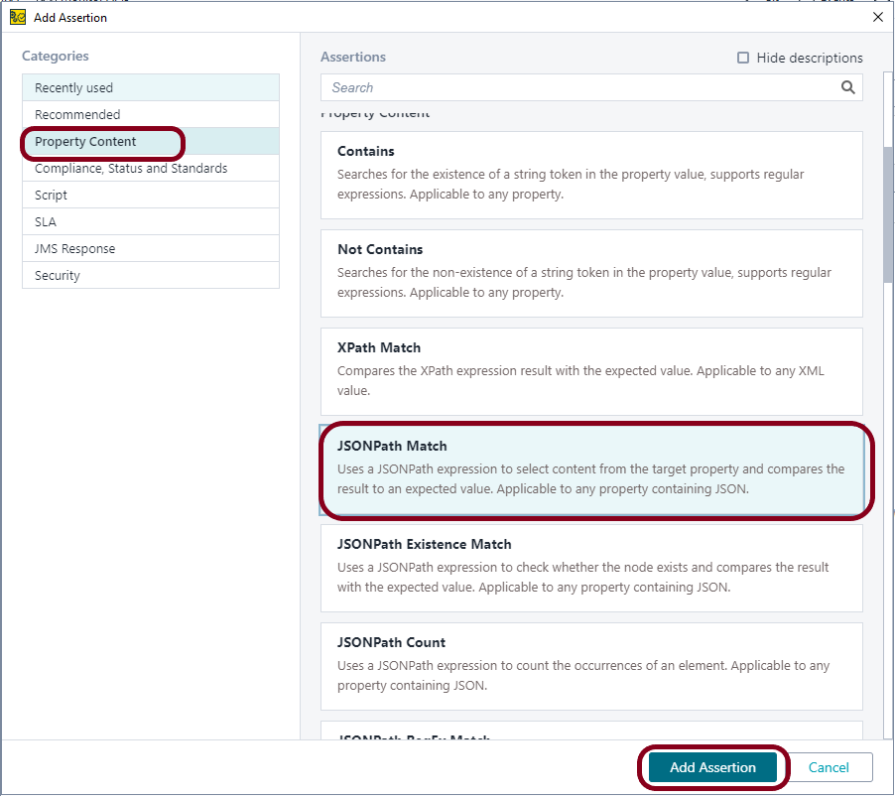
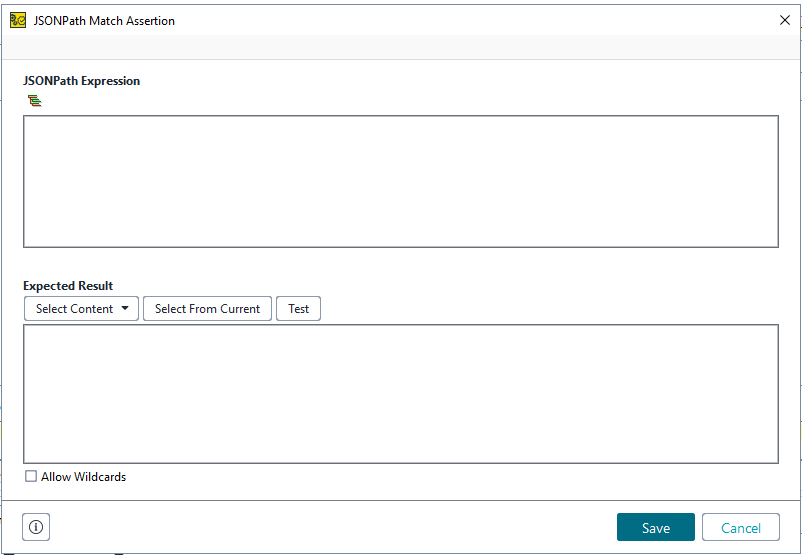
In the subsequent dialog, select the Property Content category on the left and the JsonPath Match assertion on the right and click Add:
In the dialog, you need to enter a JSONPath expression that will extract some field from the response body and the expected value of this field:
Select the node on the toolbar and pick a value visually in the subsequent dialog. Let’s do this. Click the highlighted icon and select the name field of the first array item in the following dialog and click the OK button:
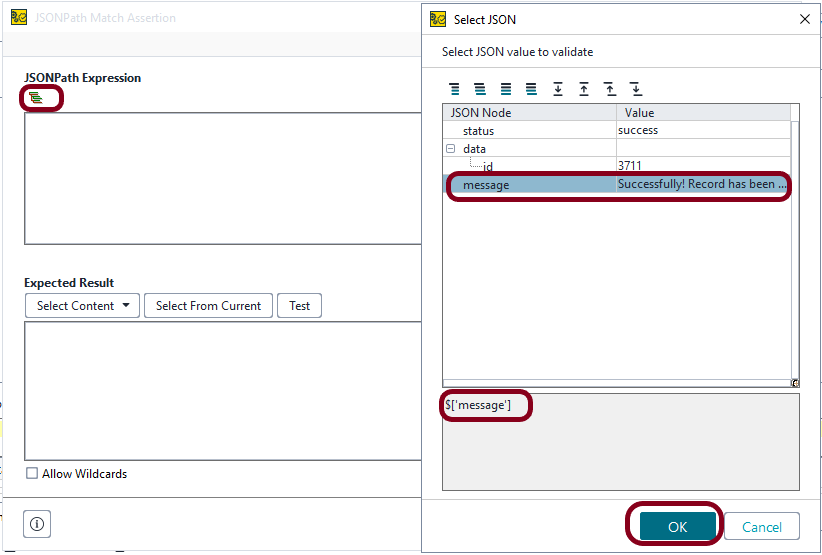
The JSONPath Expression field now contains the selector, and Expected Result contains the value extracted from the current response data:

Click the Save button to store the changes.
Since we have response data, the assertion will be applied immediately, and you will see its results on the Assertions page:

Example 3 – Check CONTAINS Assertion
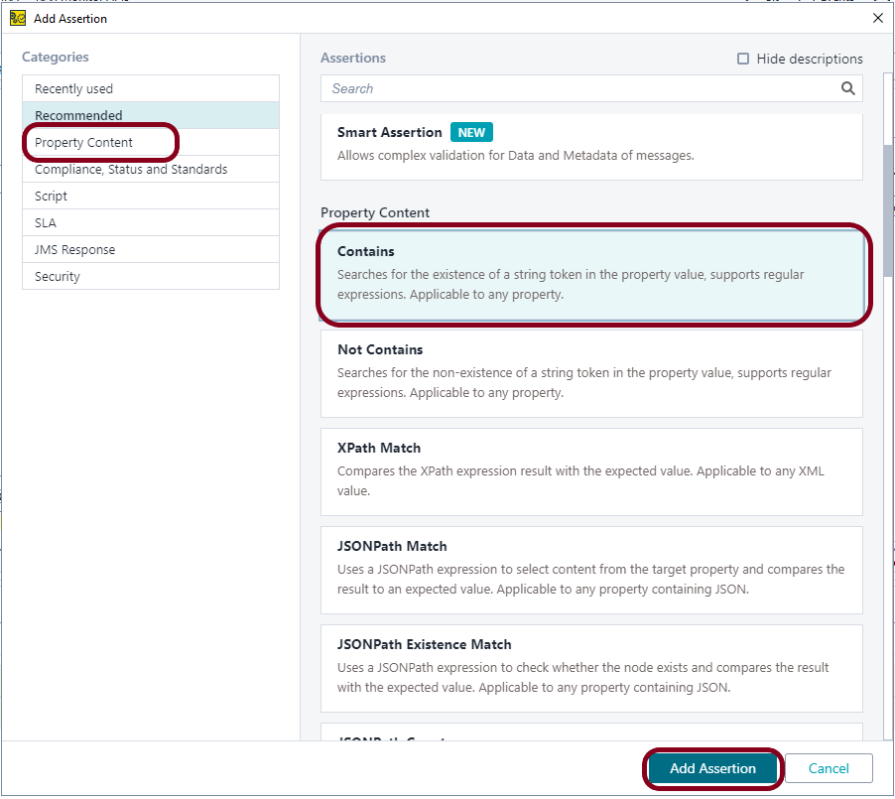
In the subsequent dialog, select the Property Content category on the left and the JsonPath Match assertion on the right and click Add:
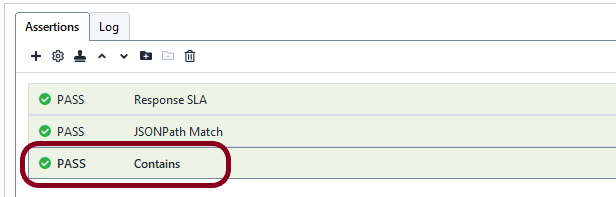
In the Contains Assertion dialog, I have mentioned “success” in Content which is present in the response body.
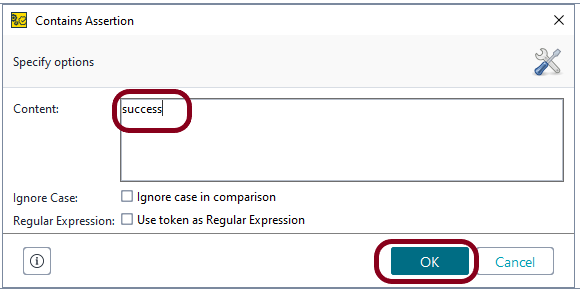
This image shows that the Contains Assertion is passed.
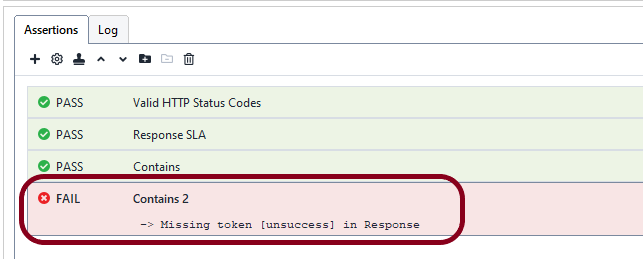
Now, let us add another Contains Assertion which does not contain the response body. In this case, the Assertion fails.
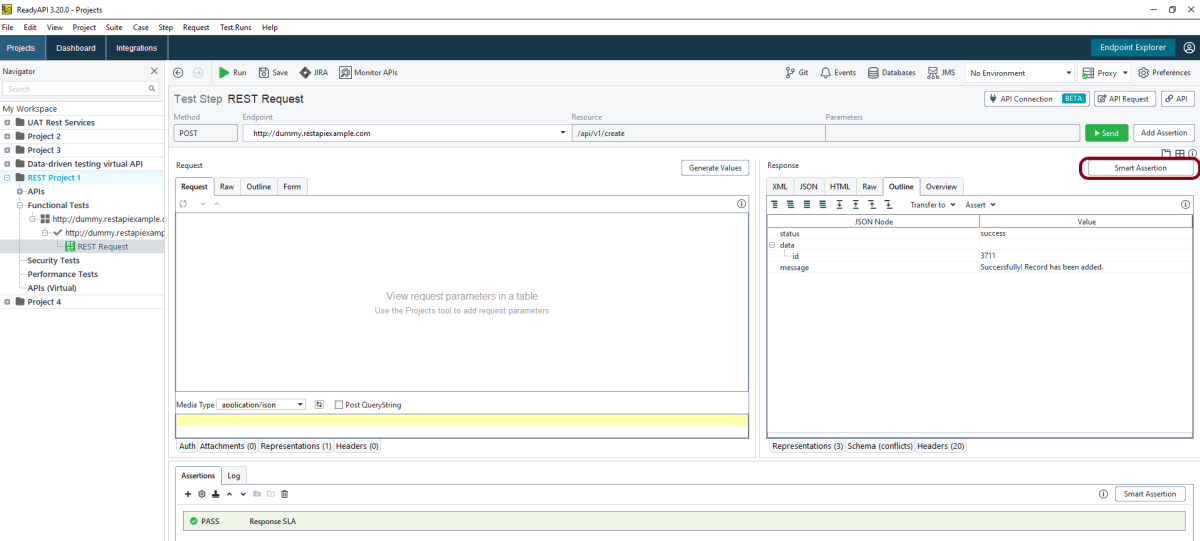
Example 4 – Smart Assertion
The Smart Assertion checks both the message content and the metadata such as headers, status codes, and parameters in accordance with the predefined set of rules.
To use this assertion, you need a ReadyAPI Test Pro license.
Send the request at least once so that ReadyAPI has a response to base the assertion on.
Received Data – The assertion will verify the payload of the request.
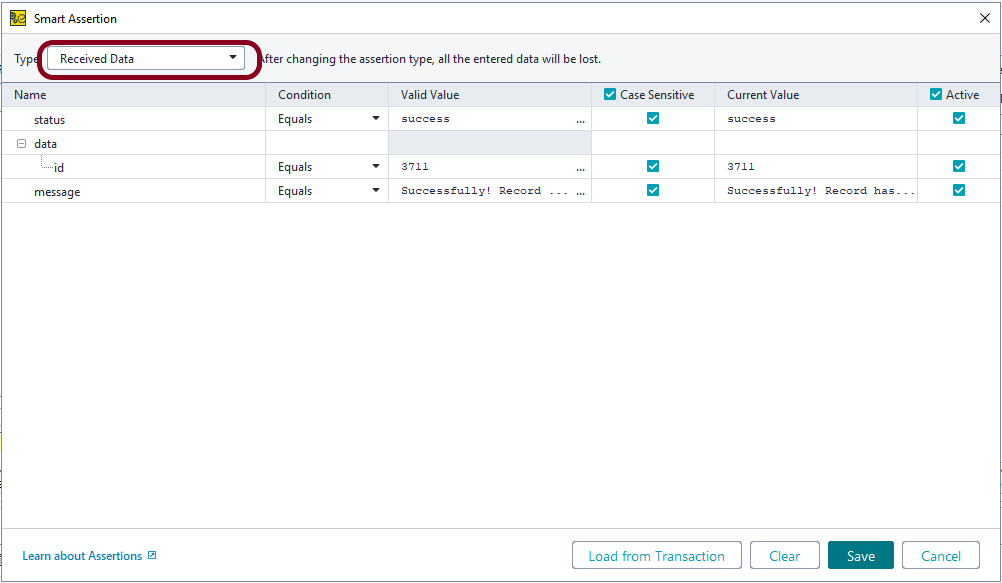
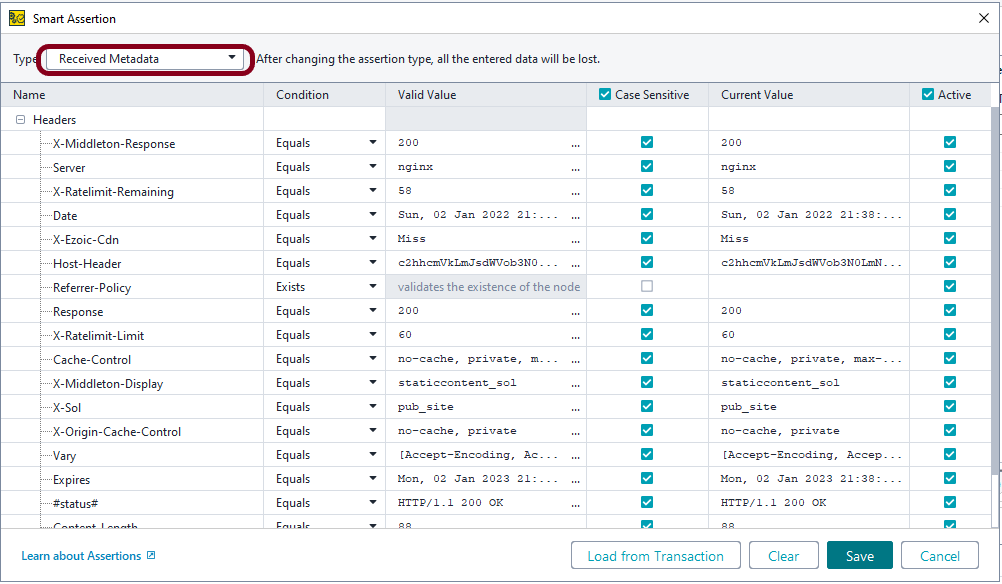
- Received Metadata – The assertion will verify the metadata of the request; depending on the protocol, those can include headers, the HTTP status code, or Kafka partition and key values.
As I know, the Id value is dynamic for each response. So, I have unchecked that option.
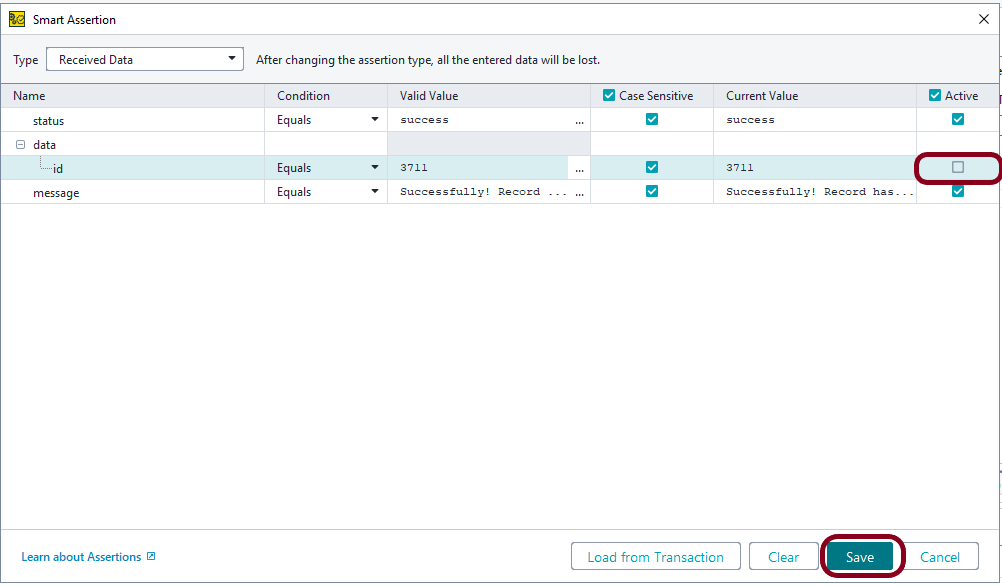
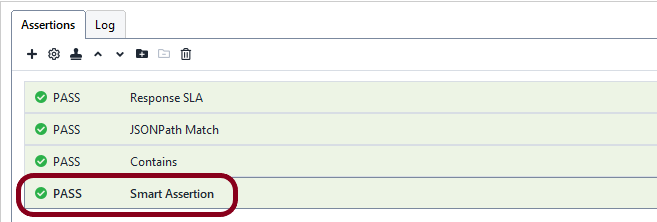
The below image shows that the Smart Assertion is successful.
Now, let us add the id to the Smart Assertion.
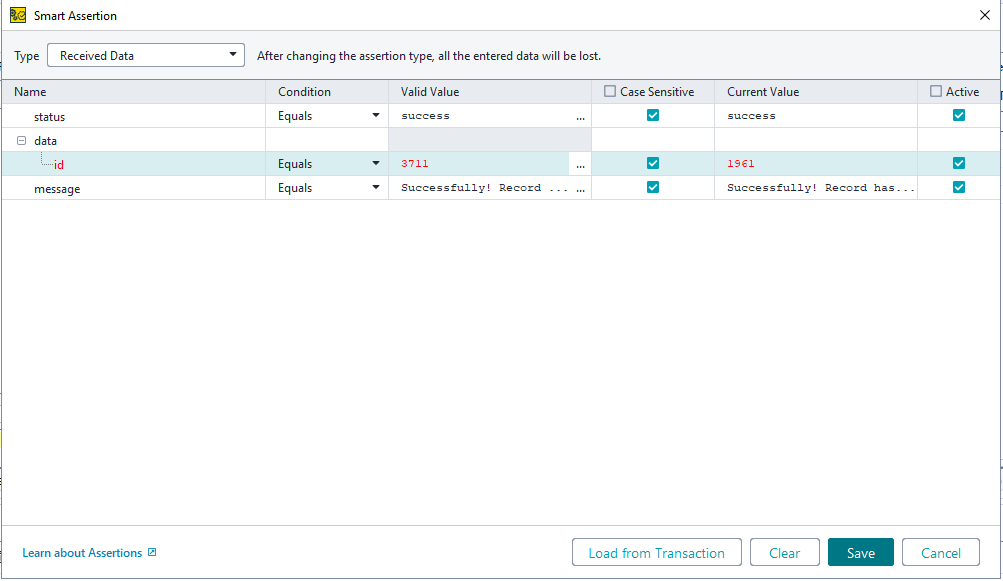
This image shows that Smart Assertion is failing now.

We are done! Congratulations on making it through this tutorial and hope you found it useful! Happy Learning!!