In this tutorial, we will discuss data-driven testing in the Robot Framework.
Table of Contents
What is Data Driven Testing?
Data Driven Testing is a type of software testing in which test data is maintained in table or spreadsheet format. Data-driven testing enables testers to provide a single test script that may perform tests for all test data from a table and expect the test results to be returned to the same table. Table-driven testing is another name for parameterized testing.
Prerequisite:
- Install Python
- Install PIP
- Install Robot Framework
- Install Robot framework Selenium Library
- Install PyCharm IDE
Please refer to this tutorial to install Robot Framework – How to install and setup Robot Framework for Python.
Implementation Steps:
Step 1 – Create a new project
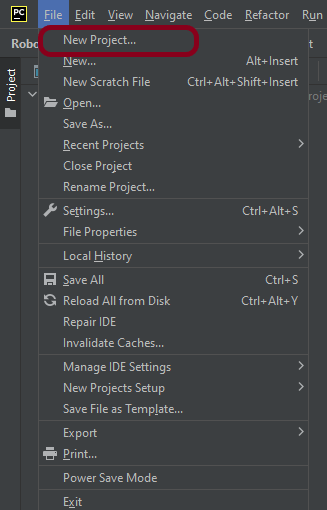
Step 1.1 – Open PyCharm and create a new project. Go to File and select New Project from the main menu.
Step 1.2 – Choose the project location. Click the “Browse” button next to the Location field and specify the directory for your project.
Deselect the Create a main.py welcome script checkbox because you will create a new Python file for this tutorial.

Click on the “Create” Button.
Step 1.3 – A new dialog appears asking to open the project using any one of the given options. I have selected New Window as I like to have separate windows for each project.

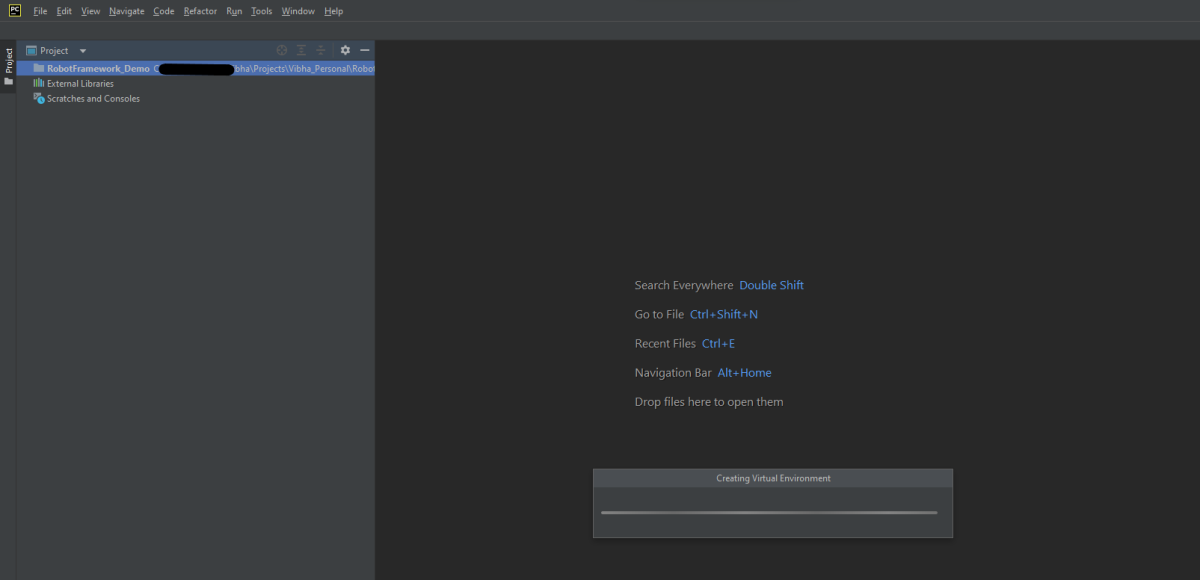
Below is the image of the new project created in PyCharms.
Step 2 – Add datadriver package to the PyCharms
Go to File->Settings ->Project:RobotFramework_Demo ->Python Interpreter.
Click on the “+” sign and enter datadriver in the search bar. It will show a list of packages. Select the “robotframework-datadriver” package and click on the “Install Package”.

Once the package is installed, it can be seen under the package list as shown below:

Step 3 – Create a new directory in the new project
Right-Click on the project, select New->Directory and provide the name as DataDriven
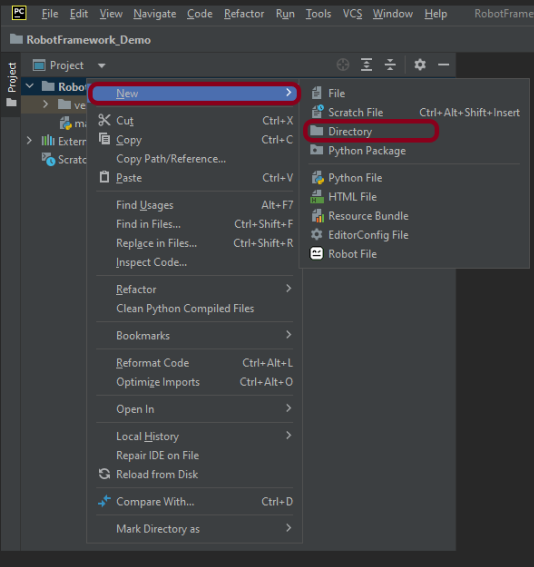
Below is the image of the new directory.

Right-click on the new directory and select New File and provide the name as DataDrivenTesting_Demo.robot as shown below:

Step 4 – Create a test data file (.csv)
Create a folder with the name of Resources in the DataDriven directory.

Add a data.csv file that contains the test data in it.

Make sure that fields are separated by commas.
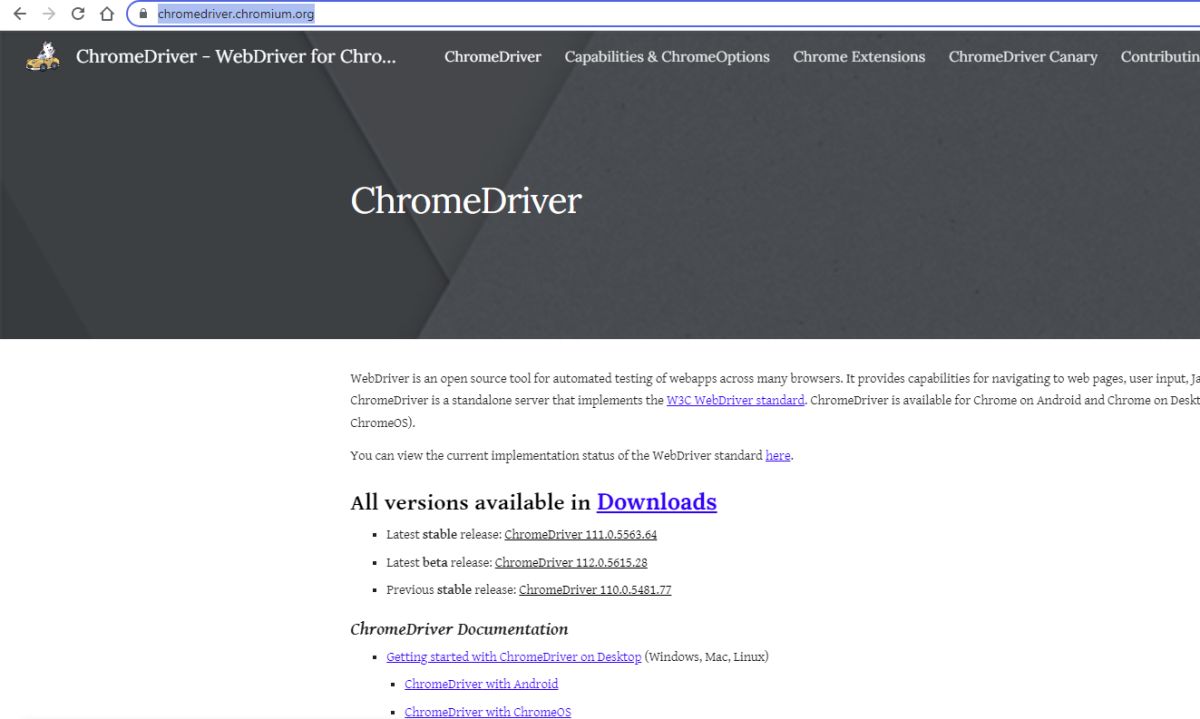
Step 5 – Download ChromeBinaries from the below location
The tests are going to use the Chrome browser, so we need to download the ChromeBinaries to open a blank browser in Chrome.
https://chromedriver.chromium.org/
The chromedriver and geckodriver are placed in a folder name drivers in the RobotFramework_Demo project. I have renamed chromedriver to Chrome and geckodriver to Firefox.

Step 6 – Create a Data Driven Test
We are now going to write test cases. The test case details will be as follows :
- Open the browser in Chrome and copy URL − https://opensource-demo.orangehrmlive.com/web/index.php/auth/login
- Provide 5 different combinations of incorrect credentials in the data.csv file.
- Verify the error message displayed on the LoginPage.
A locator is an identifier for the web elements used to identify an element on the web page like id, name, class, xpath, css selector.
To know more about locators, refer to these Selenium Tutorials:
Locators in Selenium – Locate by ID, ClassName, Name, TagName, LinkText, PartialLinkText
Dynamic XPath in Selenium WebDriver
CSS Selector in Selenium WebDriver
Below is an example of a Data-Driven Test.
*** Settings ***
Documentation    To validate the Login Form
Library     SeleniumLibrary
Library    DataDriver       file=Resources/data.csv     encoding=utf_8      dialect=unix
Test Template    Validate Unsuccessful Login

*** Variables ***
${browser_name}     Chrome
${login_btn}        css:.orangehrm-login-button
${login_error_message}      css:.oxd-alert-content--error


*** Test Cases ***
Login to form using ${Username} and ${Password}     abc     123


*** Keywords ***
Validate Unsuccessful Login
    [Arguments]    ${Username}   ${Password}
    Open the Browser with URL
    Fill the login form     ${Username}   ${Password}
    verify error message is correct


Open the Browser with URL
    Create Webdriver    ${browser_name}  executable_path=/Vibha_Personal/RobotFramework_Demo/drivers/${browser_name}
    Go To    https://opensource-demo.orangehrmlive.com/web/index.php/auth/login
    Maximize Browser Window
    Set Selenium Implicit Wait    2

Fill the login form
  [Arguments]        ${Username}       ${Password}
   Input Text        name:username     ${Username}
   Input Password    name:password     ${Password}
   Click Button    ${login_btn}

Verify error message is correct
    Element Text Should Be    ${login_error_message}   Invalid credentials

Close Browser Session
    Close Browser
In the below image, it shows that there are 3 steps to creating a Data-Driven test from an external data source like .csv.

All the below-mentioned keywords are derived from SeleniumLibrary. The functionality of keywords mentioned above:
1. Create Webdriver − The keyword creates an instance of Selenium WebDriver.
2. Go To – This keyword navigates the current browser window to the provided url.
3. Maximize Browser Window – This keyword maximizes the current browser window.
4. Set Selenium Implicit Wait – This keyword sets the implicit wait value used by Selenium.
5. Input Text − This keyword is used to type the given text in the specified textbox identified by the locator name:username.
6. Input Password – This keyword is used to type the given text in the specified password identified by the locator name:password.
The difference compared to Input Text is that this keyword does not log the given password on the INFO level.
7. Click button – This keyword is used to click the button identified by the locator. In this case, it is “Login” button.
8. Element Text Should Be – This keyword is used to verify that the current page contains the exact text identified by the locator. Here, we are checking the exact text “Invalid Credentials”.
These keywords are present in SeleniumLibrary. To know more about these keywords, please refer to this document – https://robotframework.org/SeleniumLibrary/SeleniumLibrary.htm.
To run this script, go to the command line and go to directory tests.
Step 7 – Execute the tests
We need the below command to run the Robot Framework script.
robot ExternalDatDrivenTests_Demo.robot
The output of the above program is

Step 8 – View Report and Log
We have the test case passed. The Robot Framework generates log.html, output.xml, and report.html by default.
Let us now see the report and log details.
Report
Right-click on report.html. Select Open In->Browser->Chrome(any browser of your wish).

The Report generated by the framework is shown below:

Log
Robot Framework has multiple log levels that control what is shown in the automatically generated log file. The default Robot Framework log level is INFO.
Right-click on log.html. Select Open In->Browser->Chrome(any browser of your wish).

That’s it! Congratulations on making it through this tutorial and hope you found it useful! Happy Learning!!

Header of CSV file must be ${Username},${Password} pattern ?. If I have file CSV that header have Username,Password and I don’t want to edit file CSV to ${Username},${Password} Is there any way that I can?
LikeLike
Sorry, I can’t think of any way to use Username,Password instead of ${Username},${Password} in the csv file.
LikeLike