In the previous tutorial, I explained how to create a Simple Java project in IntelliJ IDEA IDE. In this tutorial, I will explain about creating a Maven project in IntelliJ IDE.
Step 1 – Open the IntelliJ. It will look as shown below. To create a New Project, click on New Project Icon.

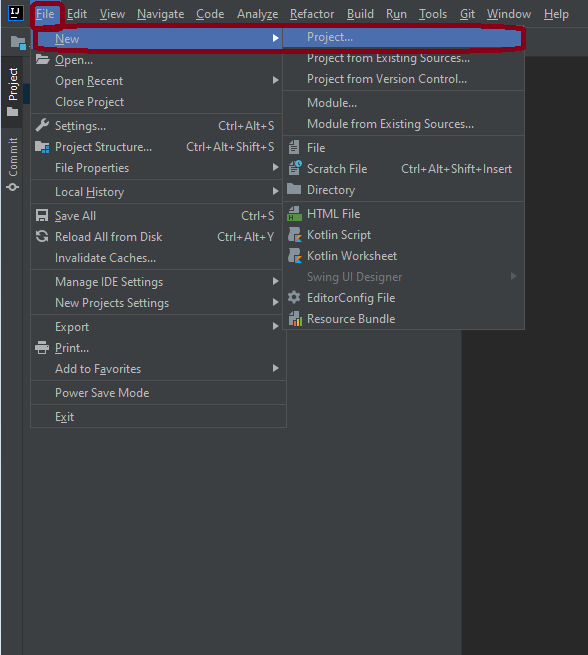
Step 2 – Click on File Option, hover on New Option, and click on Project Option as shown below.
Step 3 – Select New Project as Maven.
Project SDK should be current Java version available.
Select option for Create from archetype. This will enable the options to select archetype.
Select archetype : maven-archetype-quickstart.
Click on the Next Button.

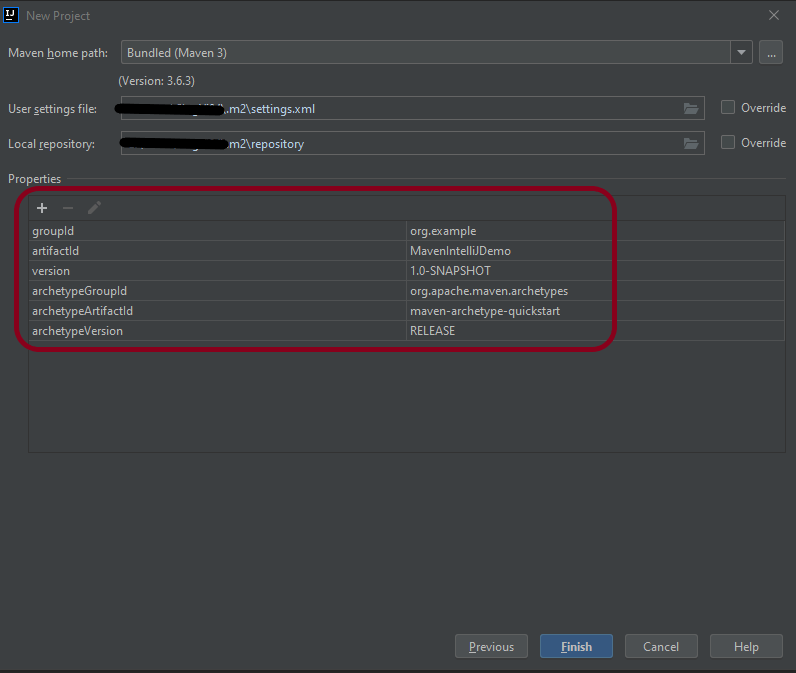
Step 4 – Below screen will appear. Mention the Name, Group Id, Artifact Id, and Version. Click the Finish button
Name : MavenIntelliJDemo
Group Id : com.example
Artifact Id : MavenIntelliJDemo
Version : 1.0-SNAPSHOT

Step 5 – Verify the information in the below screen. Click on Finish Button.
Step 6 – This dialog box will appear on the screen. This provides you the option to open the project in the current window or will open a new window with this project. I’m selecting the option – New Window.

Step 7 – This screen shows the structure of the Maven project as well as the POM.xml file.

Step 8 – Project Folder Creation – We can see a folder with the name of the project – MavenIntelliJDemo in our Eclipse Workspace.

This is how we can create the Maven project – MavenIntelliJDemo in IntelliJ.
That’s it! Congratulations on making it through this tutorial and hope you found it useful! Happy Learning!!
