Pytest is a versatile testing framework in Python. It can be used for various types of testing, like REST API testing. In this tutorial, we will test Rest API in PyTest Framework.
Table of Contents
Prerequisite:
- Python is installed on the machine
- PIP is installed on the machine
- PyCharm or other Python Editor is installed on the machine
If you need help in installing Python, please refer to this tutorial – How to Install Python on Windows 11.
If you need help in installing PyCharms, please refer to this tutorial – How to install PyCharms on Windows 11.
Implementation Steps
Step 1 – Setup and Required Libraries
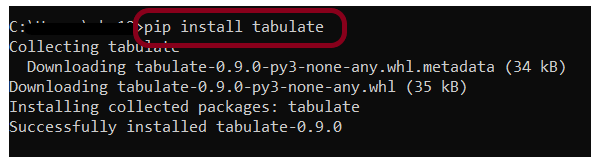
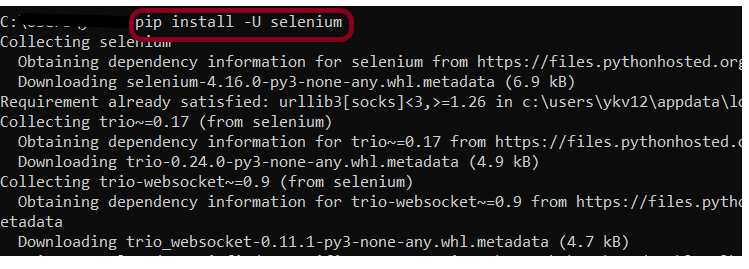
1.1 Install pytest
pip install -U pytest
1.2 Install requests
pip install pytest requests

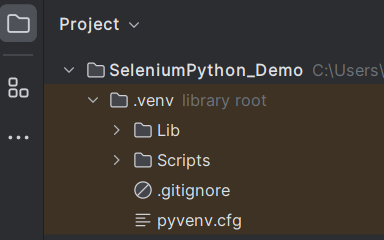
Step 2 – Setup PyTest Project
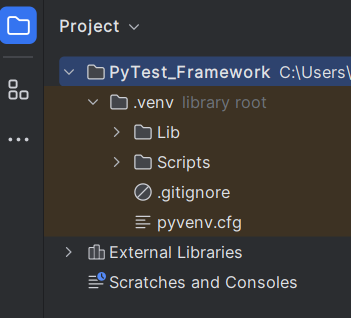
2.1 Create a new project folder and open it in PyCharm.
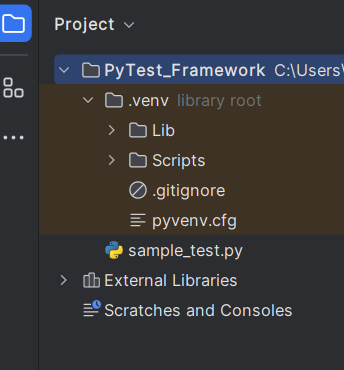
2.2 – Go to the project folder and create a new python file – test_restapi.py.
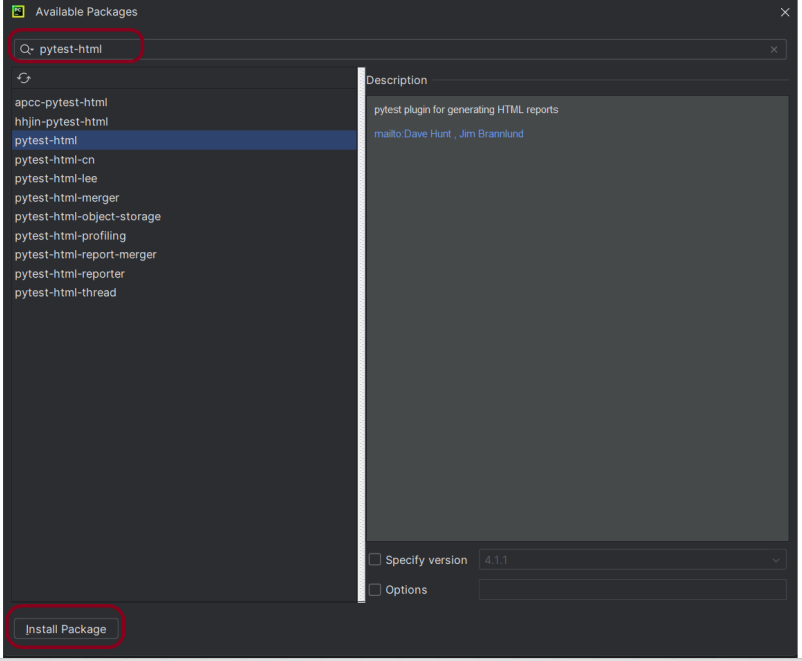
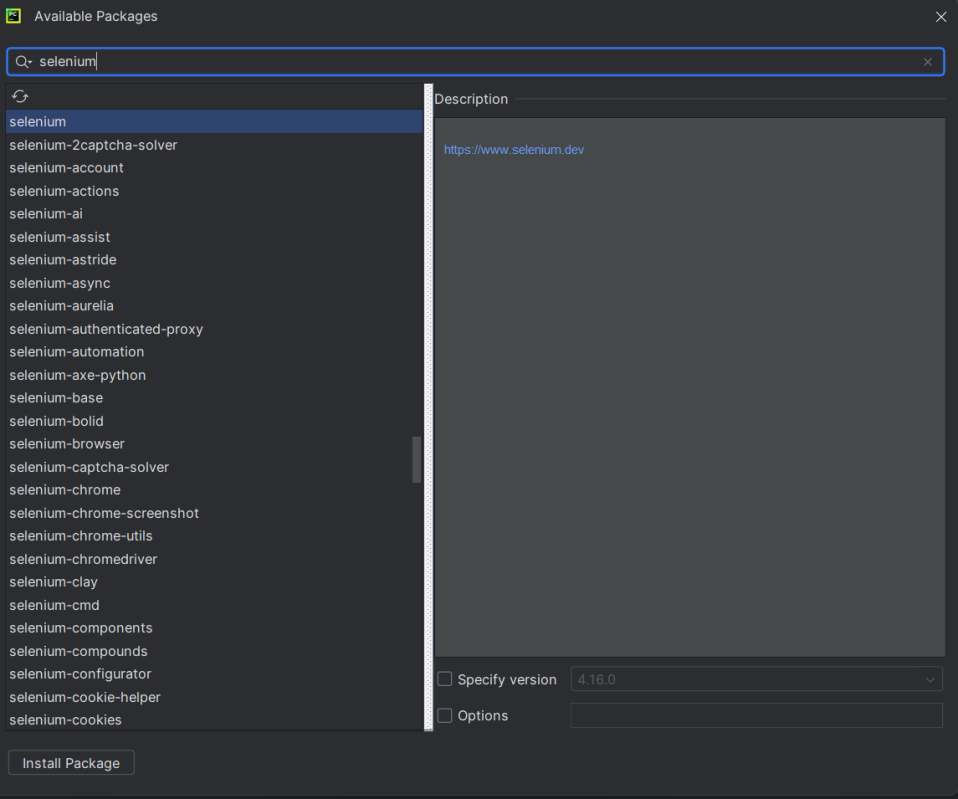
2.3 – Add requests package to the PyCharms
Go to File->Settings ->Project: PyTest_Framework->Python Interpreter.
Click on the “+” sign and enter allure-r in the search bar. It will show a list of packages. Select the “requests” package and click on the “Install Package”.
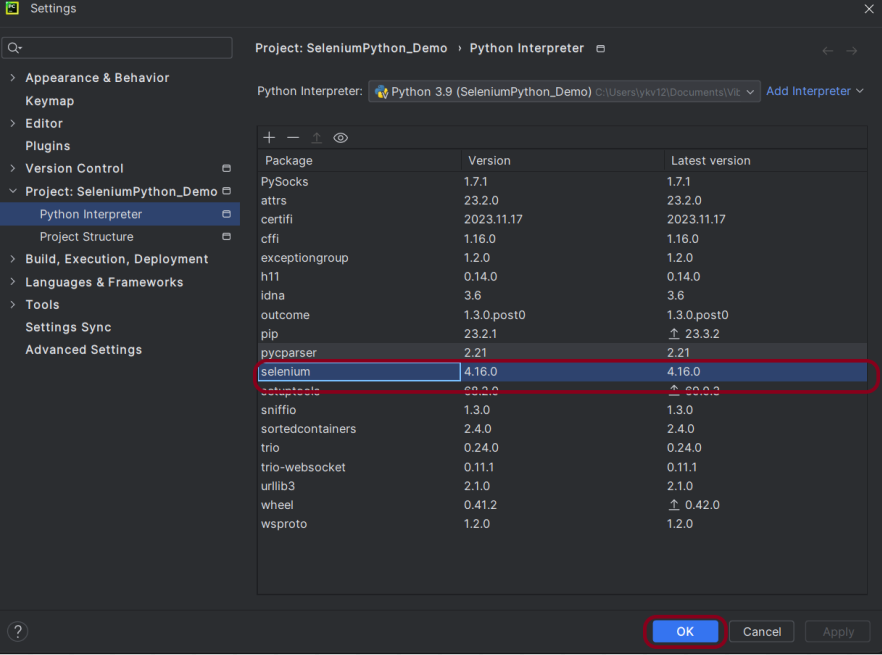
Once the package is installed, we will see the message that the package is installed successfully.

Step 3- Writing Test Cases
import pytest
import requests
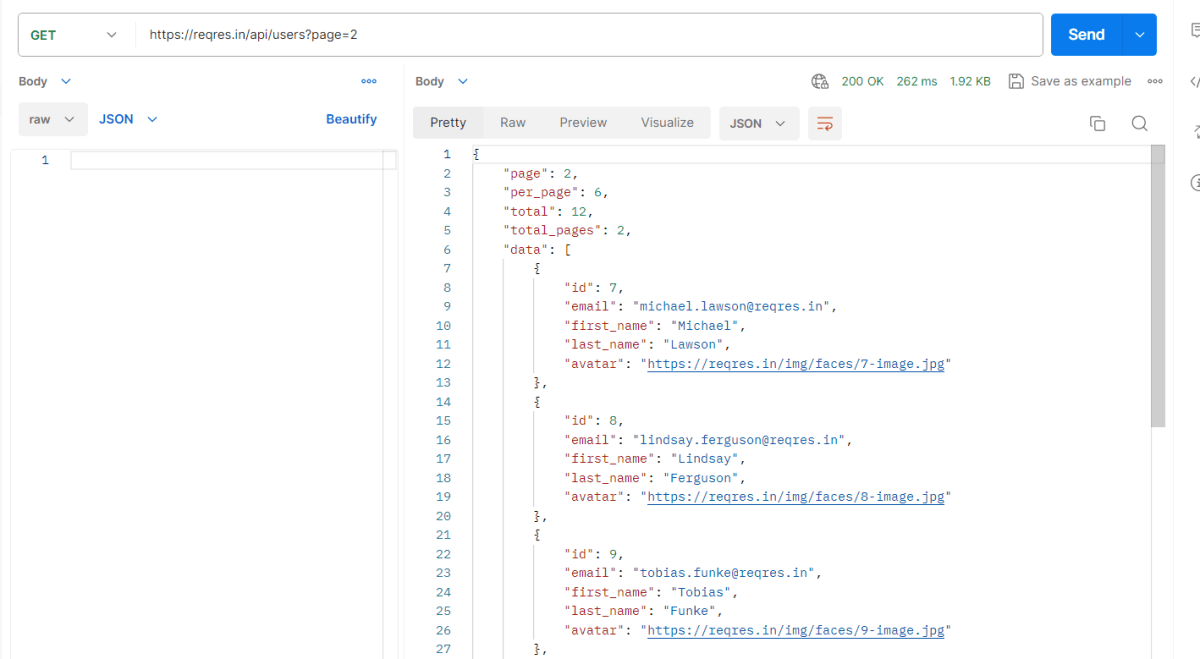
BASE_URL = "https://reqres.in/api"
def test_get_endpoint():
response = requests.get(f"{BASE_URL}/users/2")
assert response.status_code == 200
assert response.json()["data"]["email"] == "janet.weaver@reqres.in"
assert response.json()["data"]["id"] == 2
assert response.json()["data"]["first_name"] == "Janet"
assert response.json()["data"]["last_name"] == "Weaver"
def test_post_endpoint():
payload = {"name": "Vibha", "job": "CTO"}
headers = {"x-api-key": "reqres-free-v1"}
response = requests.post(f"{BASE_URL}/users", headers=headers, json=payload)
print(response.status_code)
print(response.text)
assert response.status_code == 201
assert response.json()["name"] == "Vibha"
Explanation
This is the base URL pointing to the API server on which the endpoints will be tested.
BASE_URL = "https://reqres.in/api"
1.Function: test_get_endpoint()
Sends a GET request to fetch user details with ID 2.
response = requests.get(f"{BASE_URL}/users/2")
Verifies that the response status is 200, indicating success.
assert response.status_code == 200
Checks that the email, id, first_name and last_name in the response matches the expected value.
assert response.json()["data"]["email"]   == "janet.weaver@reqres.in"
assert response.json()["data"]["id"] == 2
assert response.json()["data"]["first_name"] == "Janet"
assert response.json()["data"]["last_name"] == "Weaver"
2. Function: test_post_endpoint()
Defines the payload (data) to be sent in the POST request, specifying the name and job.
payload = {"name": "Vibha", "job": "CTO"}
Sets a custom header.
headers = {"x-api-key": "reqres-free-v1"}
Sends a POST request with the payload and headers.
response = requests.post(f"{BASE_URL}/users", headers=headers, json=payload)
Print the status code and response text for debugging purposes.
print(response.status_code)
print(response.text)
Checks whether the server returned a status code of 201, indicating resource creation.
assert response.status_code == 201
Validates that the name returned in the response matches the submitted name “Vibha”.
assert response.json()["name"] == "Vibha"
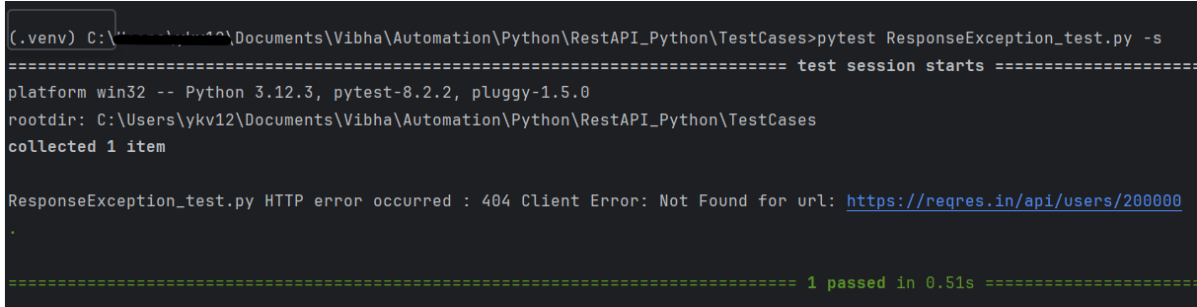
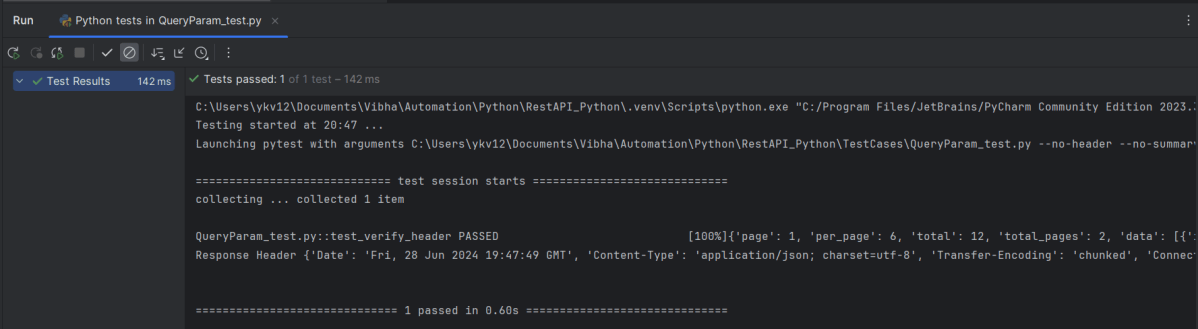
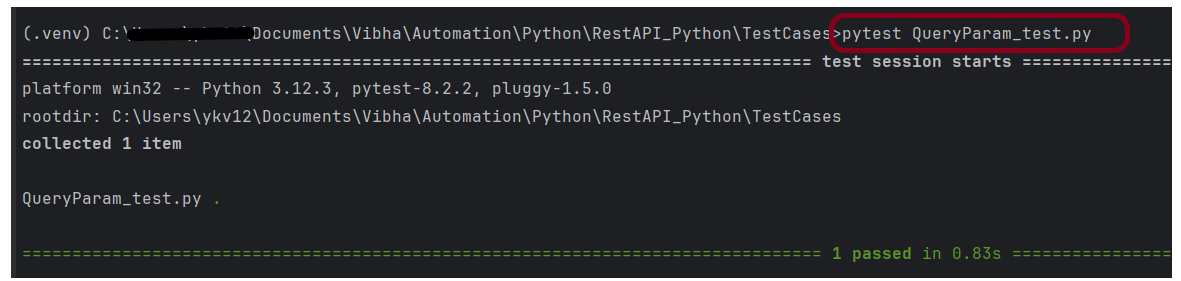
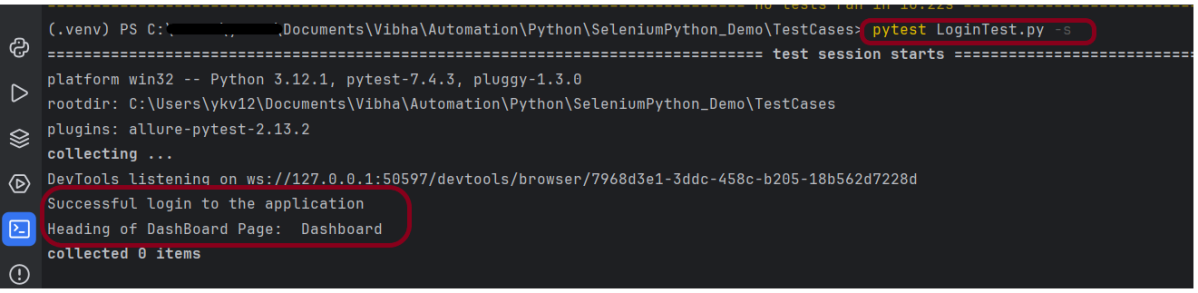
Step 4- Running the Tests
pytest test_api.py
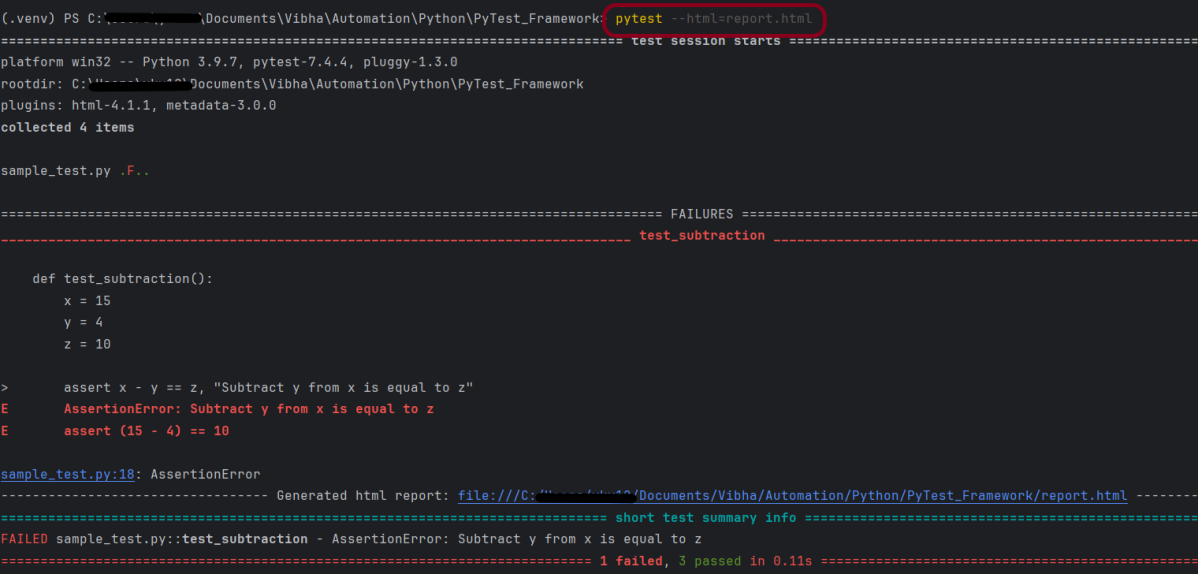
The output of the above execution is

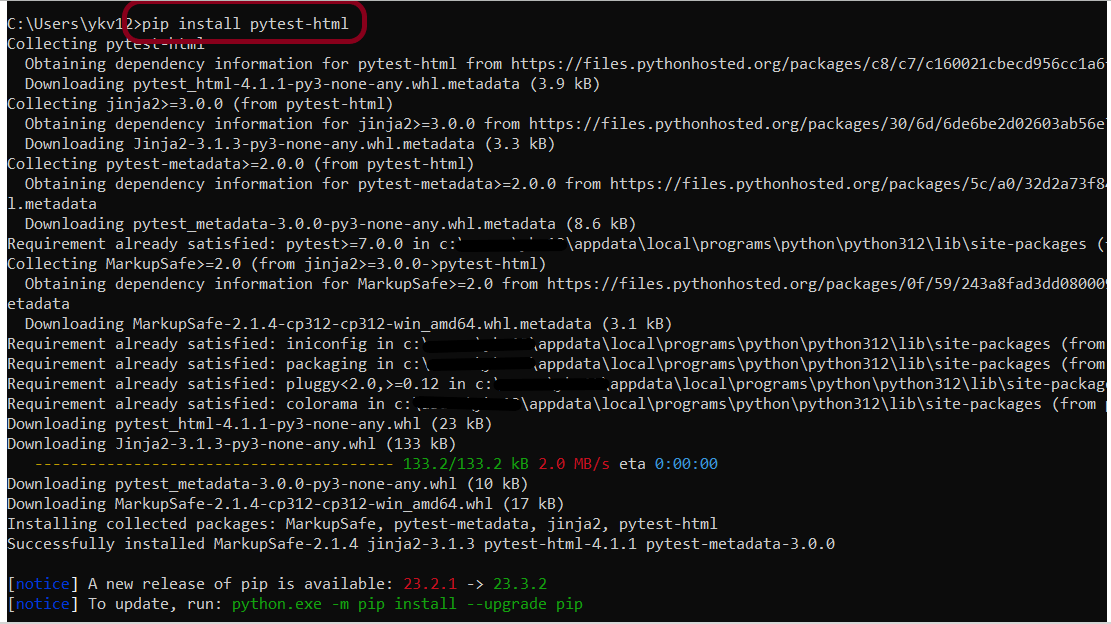
If you have pytest-html plugin already installed, then we can generate a HTML Report also. To learn more, please refer to this – How to generate HTML Report in PyTest Framework
pytest test_api.py --html=report.html
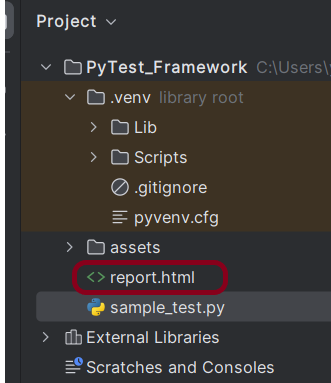
The report.html report will be generated in the root directory.

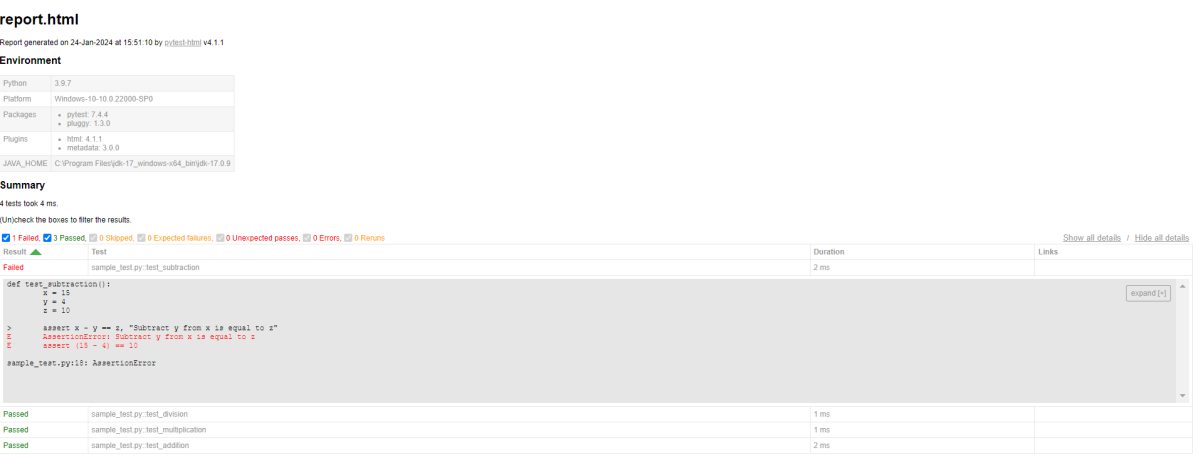
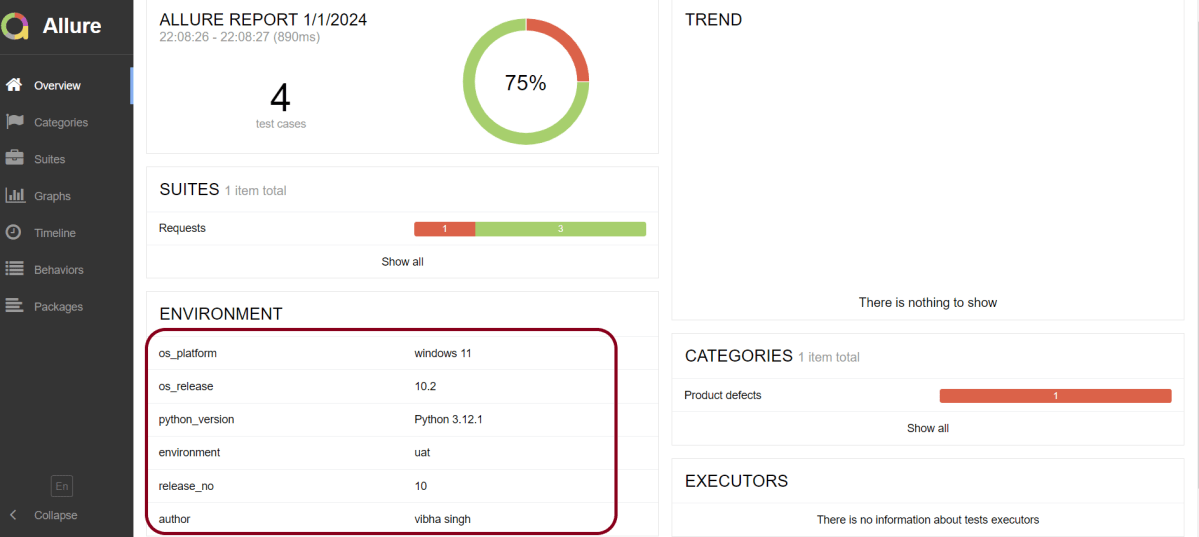
Step 5 – Generating HTML report
Right-click and open with Web Browser.

Enhancements and Best Practices:
- Use fixtures for setting up test data or configuration if needed.
- Use parameterized testing to run a test function with multiple sets of inputs.
- Consider organizing tests in different files based on different functionalities or endpoints in your API.
That’s it! Congratulations on making it through this tutorial and hope you found it useful! Happy Learning!!