Welcome to the Jenkins Quiz!
Jenkins Multiple Choice Questions – MCQ2
Answers
1) B) Blue Ocean Plugin
2) C) Jenkins notifies you and allows you to decide when to restart
3) C) Use Global Tool Configuration to add different Git versions
4) A) SonarQube Scanner Plugin
5) C) Go to Manage Plugins and uninstall the plugin from the Installed tab
6) C) To store build artifacts generated by the build process
7) A) To provide a log of the builds that have been performed in Jenkins
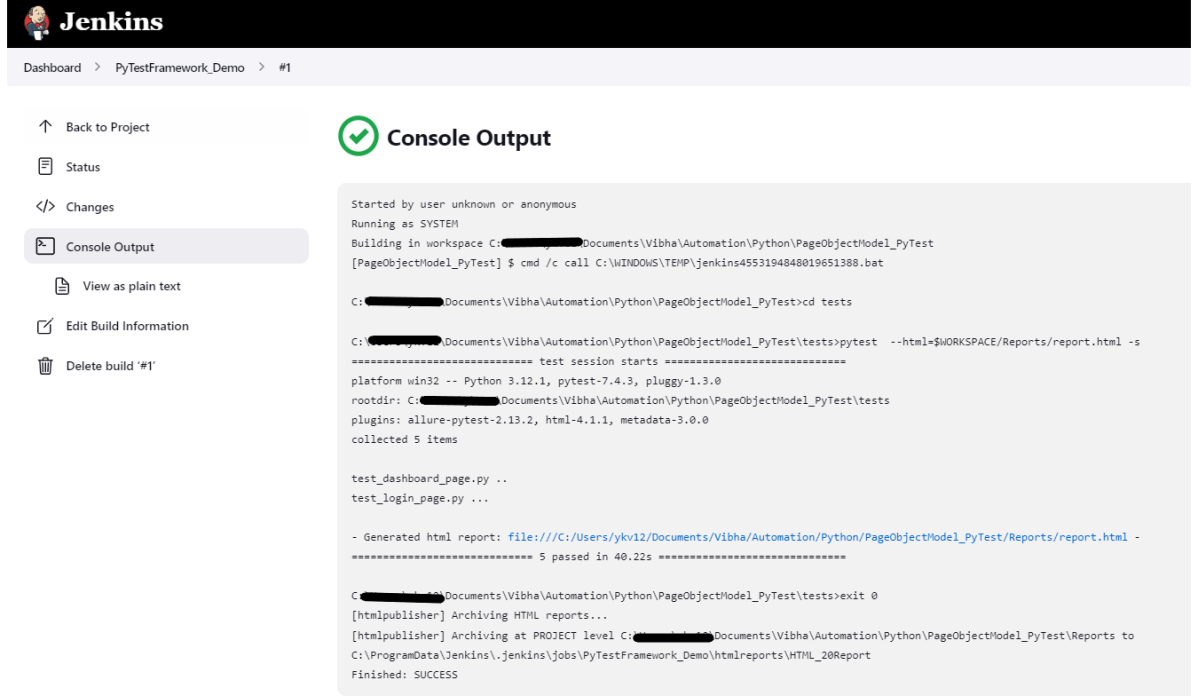
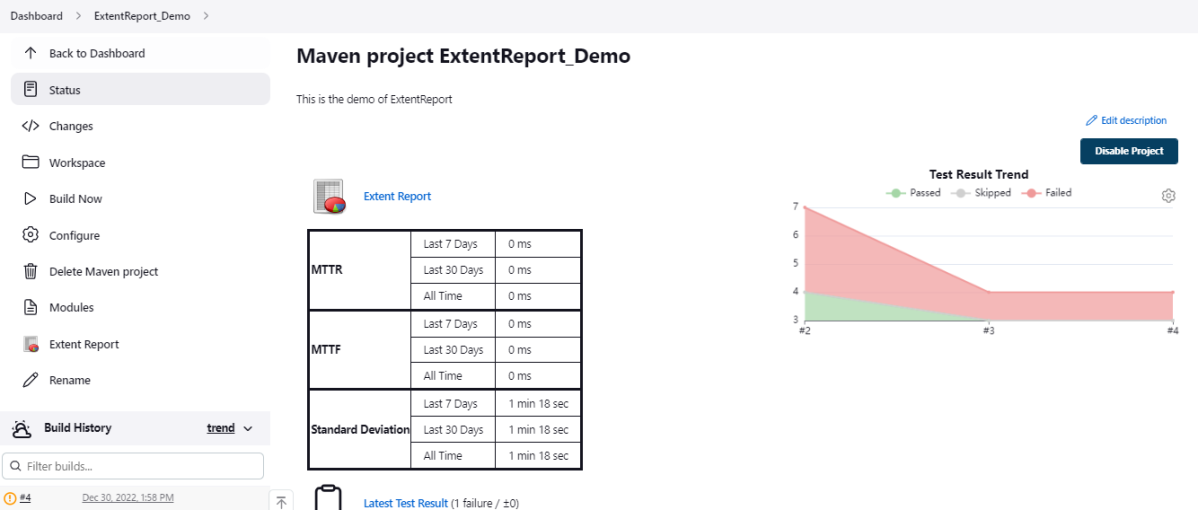
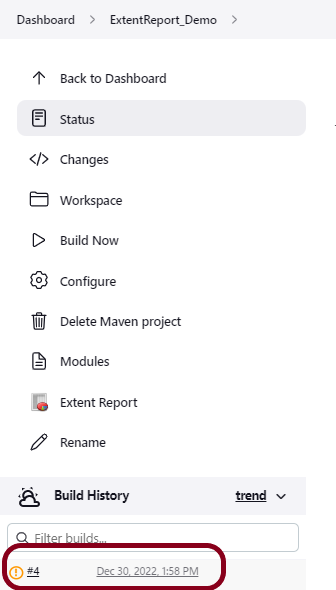
The Jenkins Build History provides a log of the builds that have been performed in Jenkins. It allows users to view the status of previous builds and identify any issues that occurred
8) C) A tool used to manage the installation of software on Jenkins nodes
The Jenkins Global Tool Configuration is a tool used to manage the installation of software on Jenkins nodes. It allows users to specify which software tools are required for builds and ensures that they are installed on the nodes.
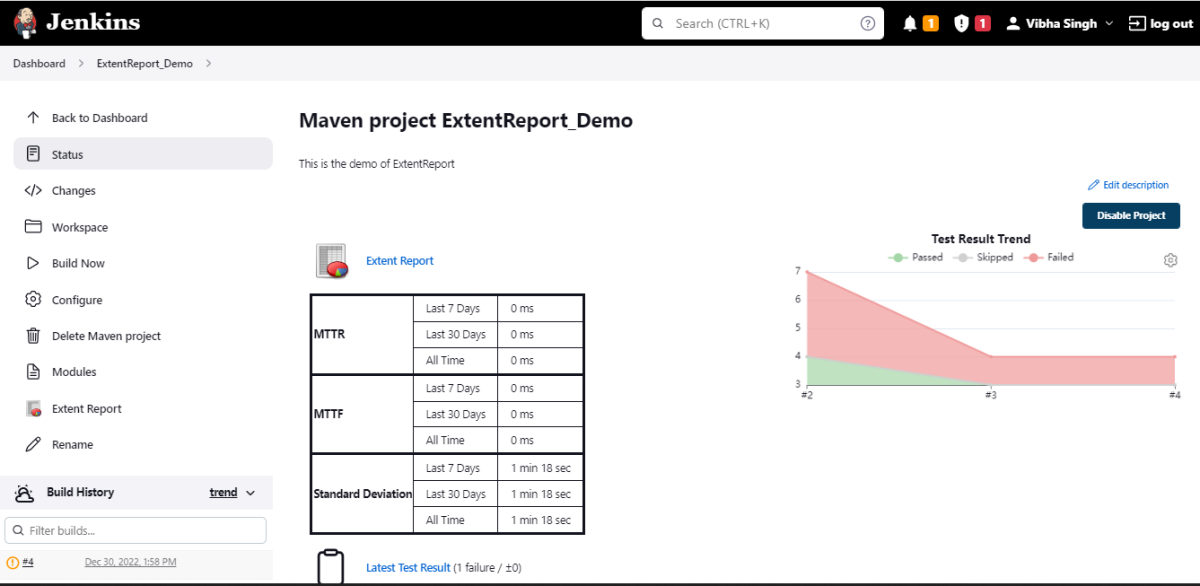
9) A) To provide an overview of the status of Jenkins jobs
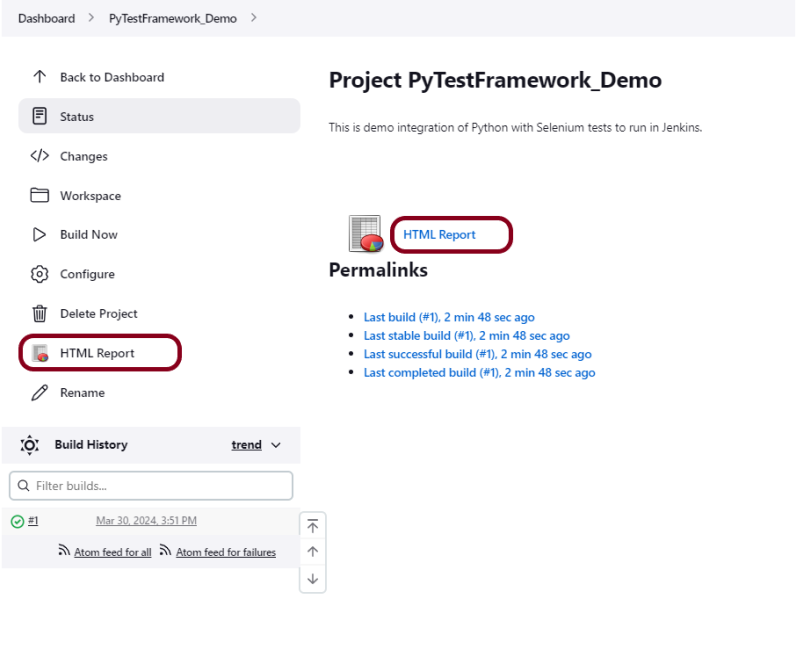
The Jenkins Dashboard provides an overview of the status of Jenkins jobs. It allows users to monitor the progress of builds and view the results of tests.
10) B) A folder where Jenkins builds and stores files for a job
11) D) All of the above
12) B) SCM polling trigger
13) B) Groovy
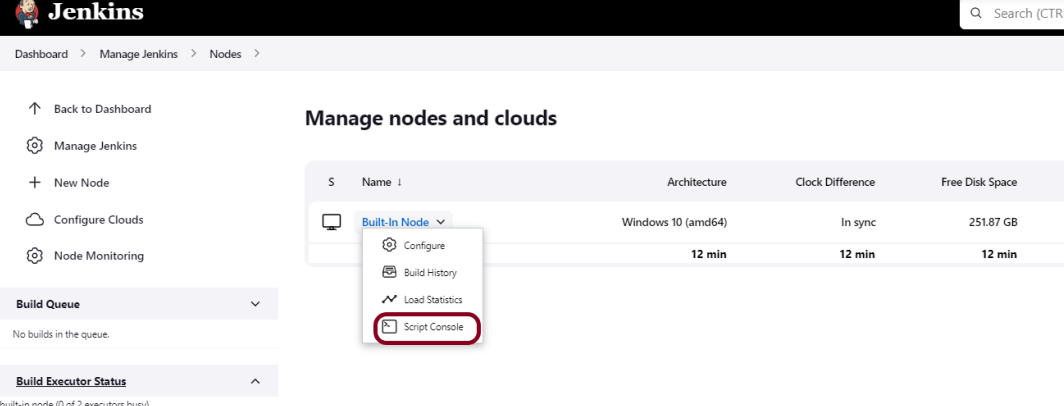
14) B) A machine that Jenkins can use to execute jobs
15) C) A more structured and simplified way to define pipelines
16) A) Jenkins Master is the central server, while Jenkins Slave is a remote agent
17) C) Jenkinsfile
18) A) A syntax used to define the build process in Jenkins
The Jenkins Pipeline Syntax is a syntax used to define the build process in Jenkins. It is used to create pipelines that automate the building, testing, and deployment of software.
19) A) To validate the syntax of Jenkinsfiles
The Jenkinsfile Validator is used to validate the syntax of Jenkinsfiles. It ensures that the syntax is correct and identifies any errors or issues.
20) B) To execute Jenkins jobs on Jenkins Nodes
The Jenkins Build Executor is used to execute Jenkins jobs on Jenkins Nodes. It is responsible for running the build process and executing the commands specified in the job configuration.
21) D) To queue Jenkins jobs for execution by the Build Executor
The Jenkins Build Queue is used to queue Jenkins jobs for execution by the Build Executor. Jobs are placed in the queue when there are no Build Executors available to execute them, and are executed in the order in which they were added to the queue.
22) C) To store build artifacts generated by the build process
Jenkins Artifacts are used to store build artifacts generated by the build process. Artifacts can include compiled code, test results, and documentation, and are stored in the Jenkins workspace.
23) D) A mechanism used to authenticate users in Jenkins
The Jenkins Authentication Mechanism is used to authenticate users in Jenkins. It can be configured to use a variety of authentication methods, including LDAP and Active Directory.
24) D) The machine on which the Jenkins server is installed
The Jenkins Master is the machine on which the Jenkins server is installeD) It is responsible for managing the Jenkins configuration, scheduling builds, and distributing work to Jenkins slaves.
25) C) A machine that is configured to execute builds for a Jenkins Master
A Jenkins Slave is a machine that is configured to execute builds for a Jenkins Master. It receives work from the Jenkins Master and executes it in a separate process or container.