When running your Jenkins automation jobs, you may need to pass some parameters to your scripts. These parameters can be a URL, a browser name, or even the test user’s credentials. This tutorial will walk you through the process of creating a parameterized Jenkins job.
Table Of Contents
It is recommended to go through these tutorials, before creating a parameterized Jenkins job:-
Download and install Jenkins on Windows10
Configure JAVA_HOME and MAVEN_HOME
Types of parameters
Jenkins supports several parameter types. Below is a list of the most common ones, but keep in mind that different plugins may add new parameter types:
- String: any combination of characters and numbers
- Choice: a pre-defined set of strings from which a user can pick a value
- Credentials: a pre-defined Jenkins credential
- File: the full path to a file on the filesystem
- Multi-line String: same as String, but allows newline characters
- Password: similar to the Credentials type, but allows us to pass a plain text parameter specific to the job or pipeline
- Run: an absolute URL to a single run of another job

Implementation Steps
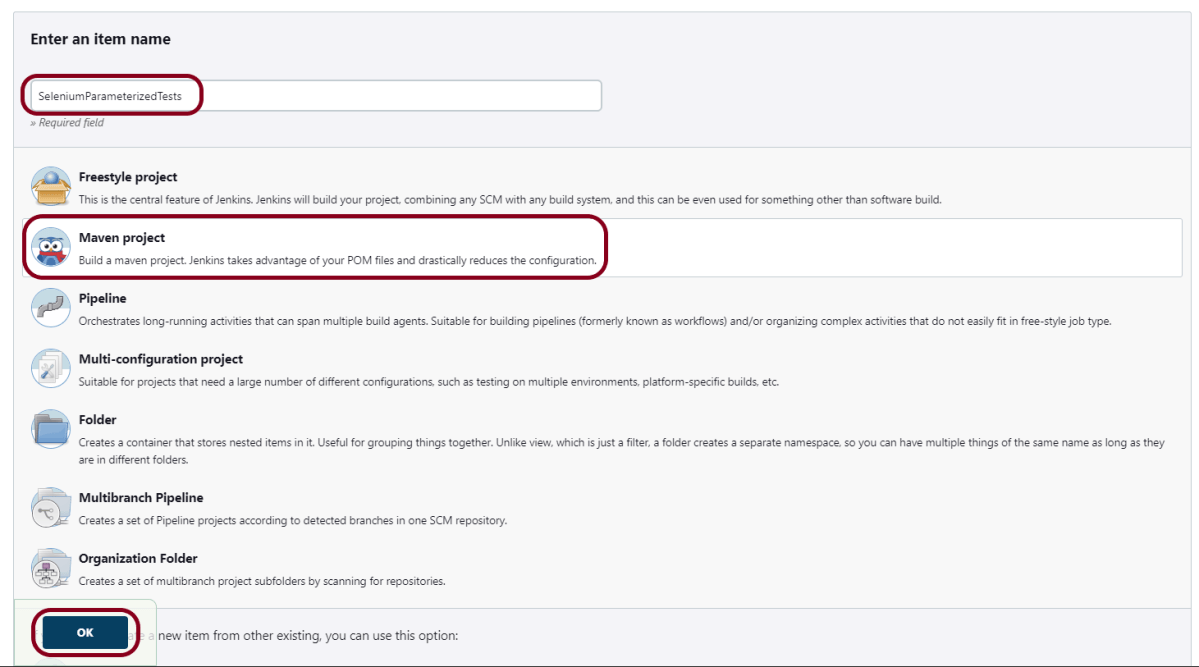
Step 1: Create a new project using the Maven project plugin
- Give the Name of the project.
- Click on the Maven project.
- Click on the OK button.
Step 2: Description of the project
In the General section, enter the project description in the Description box.
Check the option – This project is parameterized.

Click on Add Parameter and we can select any option as shown in the above image.
Choice Parameter
As I want to run my tests on different browsers, I have selected Choice Parameter.

- Give the Name of the Parameter.
- Give the Choices of the Parameter – chrome, firefox
- Give the Description of the Parameter – Please select the browser for the test execution.
String Parameter
I want to pass the test environment URL in the test. So, I’m selecting a string value. Select String Parameter on the Add Parameter menu.

- Give the Name of the Parameter.
- Give the Default Value of the Parameter. This value will be used if nothing will be provided.
- Give the Description of the Parameter – Provide the environment URL.
Step 3: Source Code Management
In the Source Code Management section, select None.
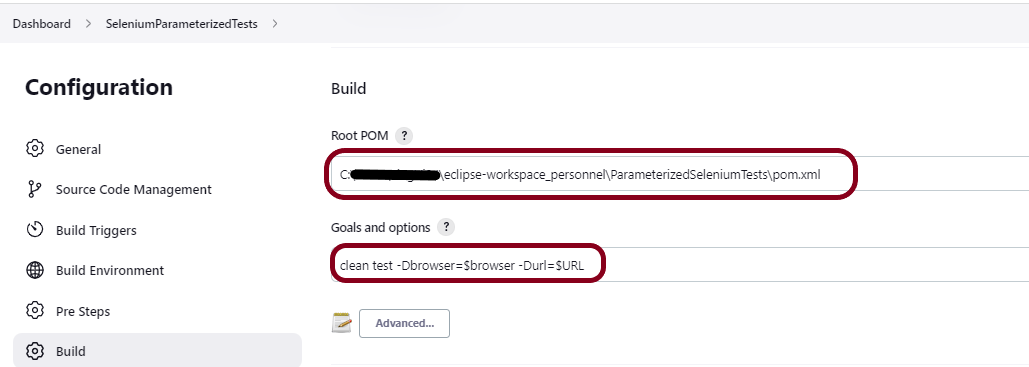
Step 4: Build Management
Go to the Build section of the new job.
- In the Root POM textbox, enter the full path to pom.xml
- In the Goals and Options section, enter the below command:
clean test -Dbrowser=$browser -Durl=$URL
Step 5: Select “TestNG Reports” from “Post Build Actions”
Scroll down to “Post Build Actions” and click on the “Add Post Build Actions” drop-down list.
Select “Publish TestNG Results“.
Enter the TestNG XML Report Pattern as “**/testng-results.xml” and click on the “Save” button.

Click on the Apply and Save buttons.
We have created a new project “SeleniumParameterizedTests” with the configuration to run TestNG Tests and also to generate TestNG Reports after execution using Jenkins.
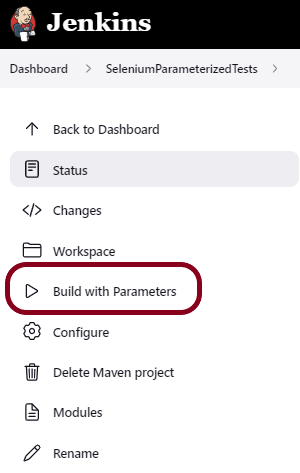
Step 6: Execute the tests
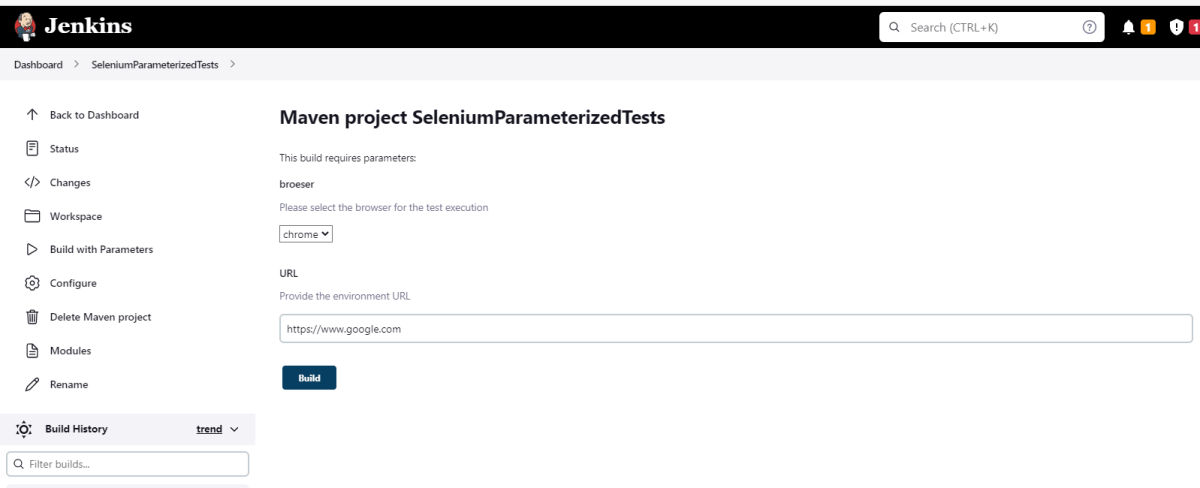
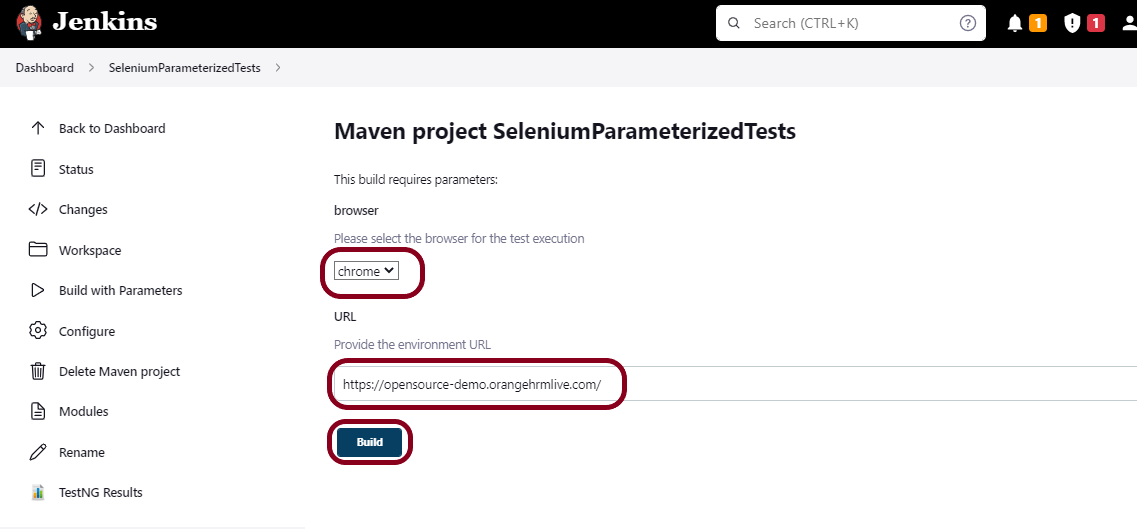
Let’s execute it now by clicking on the “Build with Parameters” button.
This screen contains the parameters which we have to select. The browser was a choice parameter and select a parameter from it and URL was a String parameter, so mention the URL in it and click on the “Build” button.
Right-click on Build Number (here in my case it is #1).
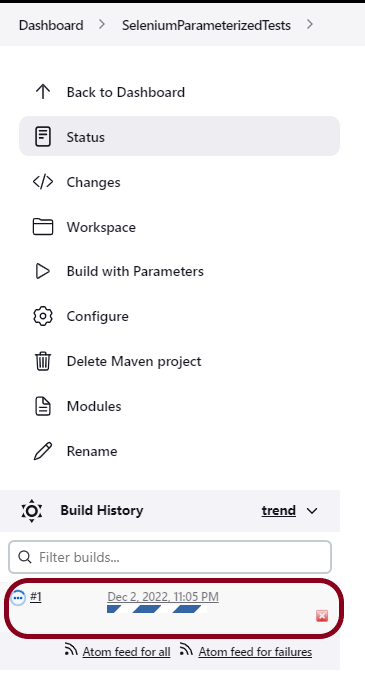
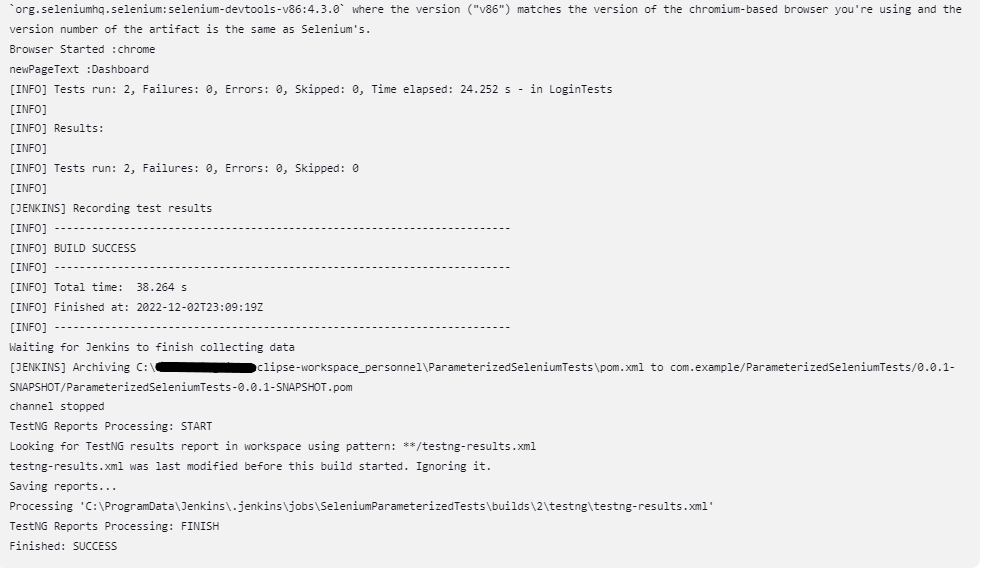
Click on Console Output to see the result.
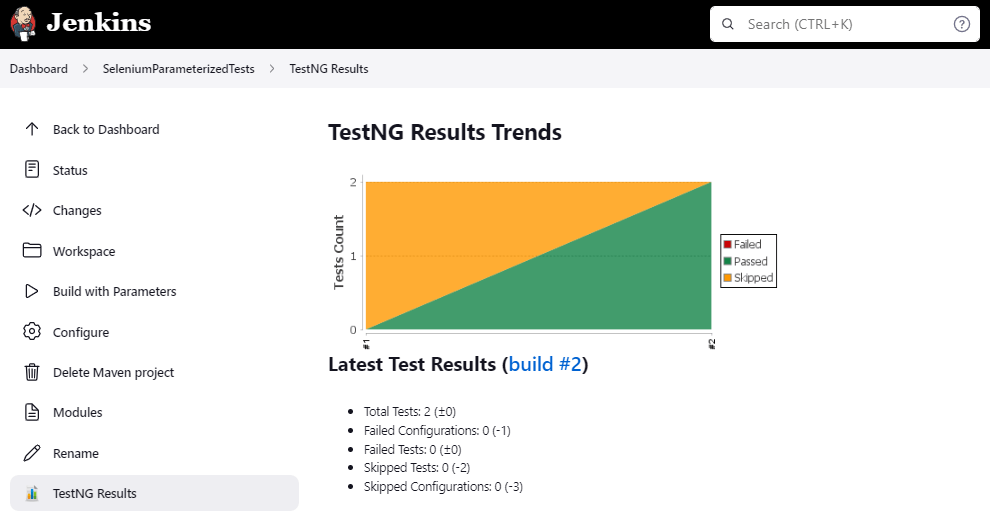
Step 7: View the TestNG Report
Once the execution is completed, click on go “Back to Project“, and we could see a link to view the “TestNG Report“.
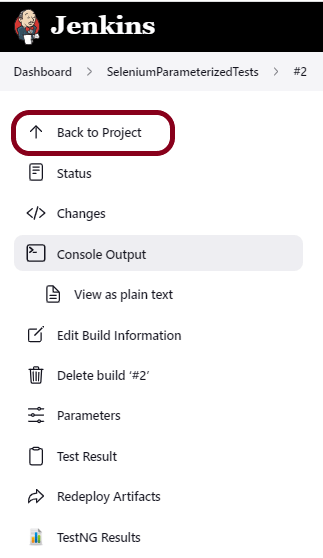
Click on the TestNG Results. It displays the summary of the tests.
Congratulations on making it through this tutorial and hope you found it useful! Happy Learning!! Cheers!!
Additional Tutorials
