The previous tutorial explained How to create Java Gradle project in Eclipse. In this tutorial, I will explain how we can set up a Gradle project with Selenium and TestNG.
Table of Contents
- Dependency List
- Implementation Steps
- Download and Install Java
- Download and setup Eclipse IDE on the system
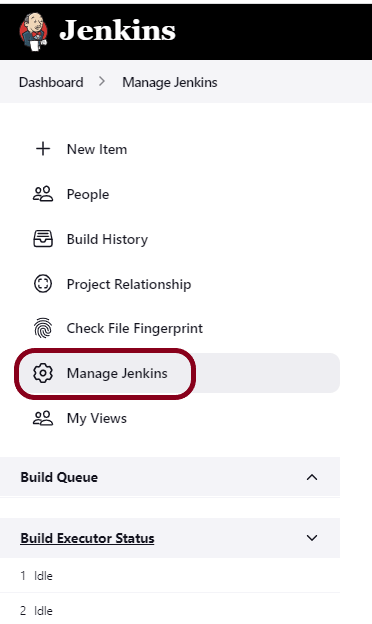
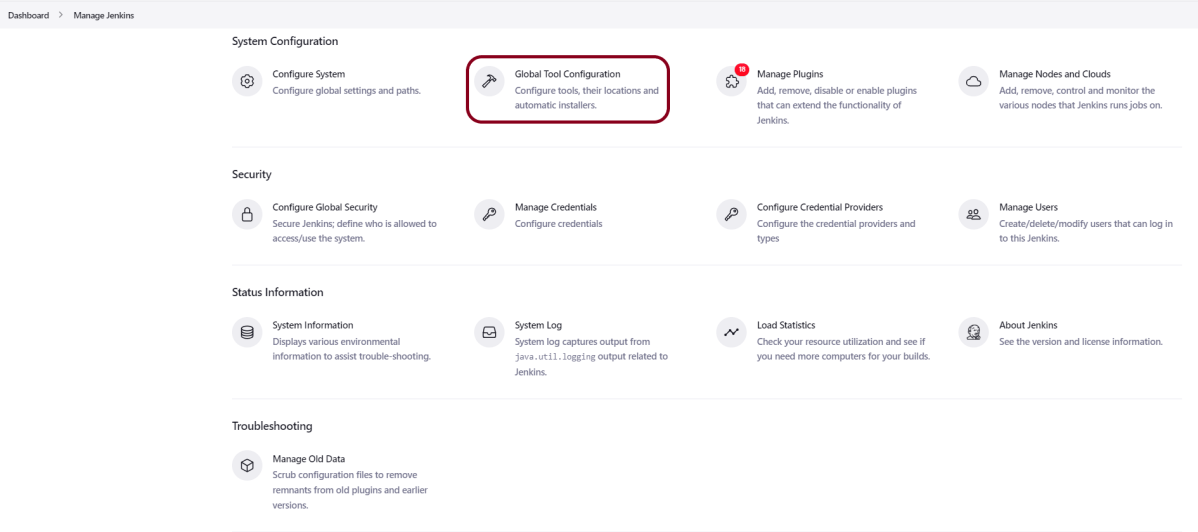
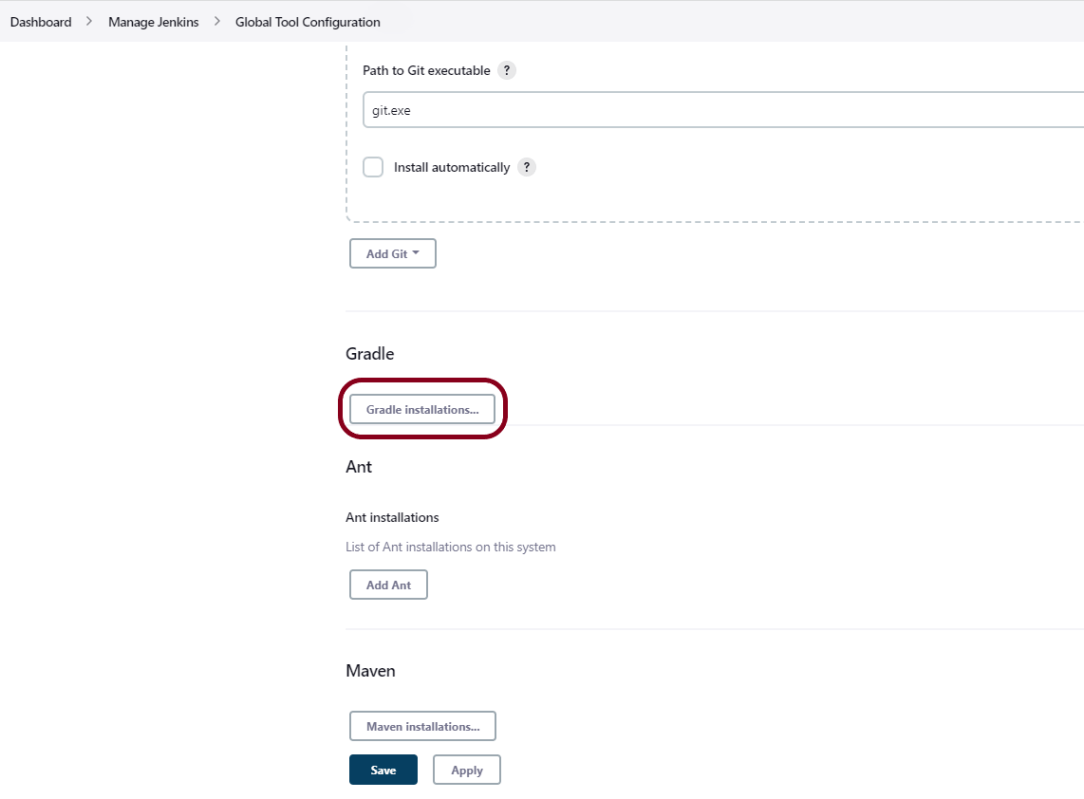
- Setup Gradle
- Create a new Gradle Project
- Add Selenium and TestNG dependencies to the Gradle project
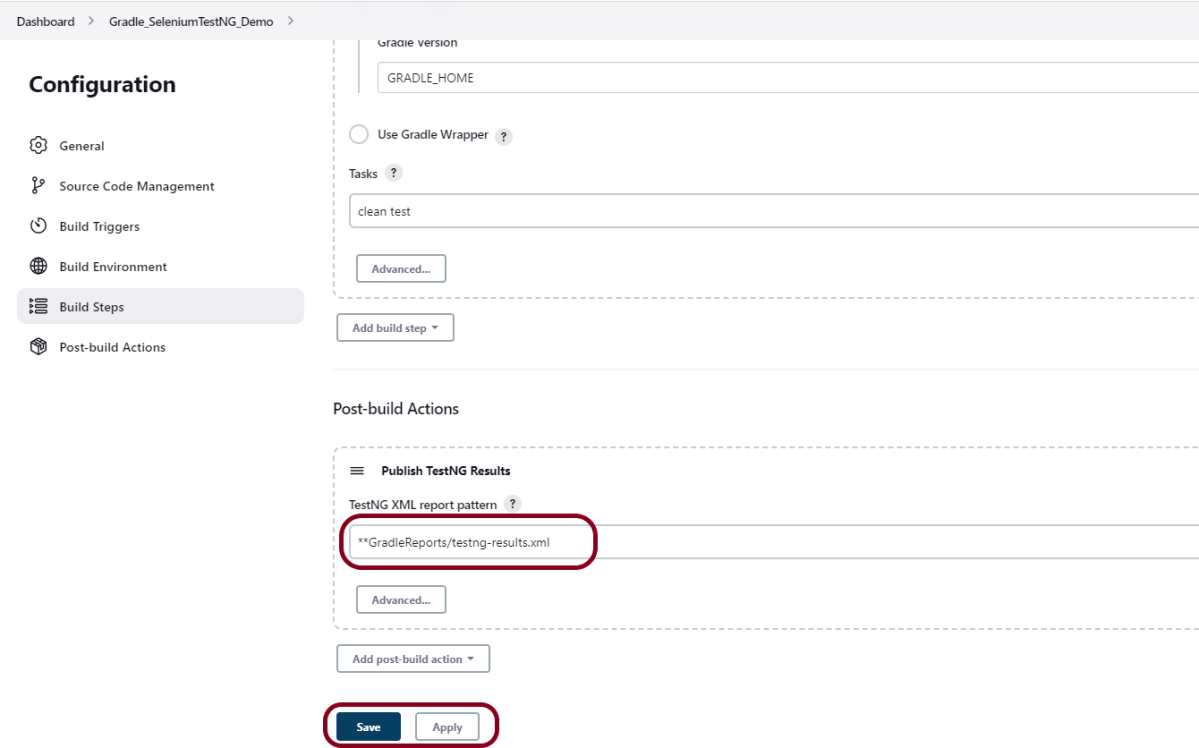
- Add Gradle Test Task to build.gradle
- Create Test Code under src/test/java
- Create testng.xml
- Run the tests from TestNG
- Run the tests from Command Line
- TestNG and Gradle Report generation
Dependency List
- Java 17 or above
- TestNG – 7.10
- Gradle – 8.10 (Build Tool)
- Selenium – 4.24.0
Implementation Steps
Step 1- Download and Install Java
Selenium needs Java to be installed on the system to run the tests. Click here to know How to install Java.
Step 2 – Download and setup Eclipse IDE on the system
The Eclipse IDE (integrated development environment) provides strong support for Java developers. Click here to know How to install Eclipse.
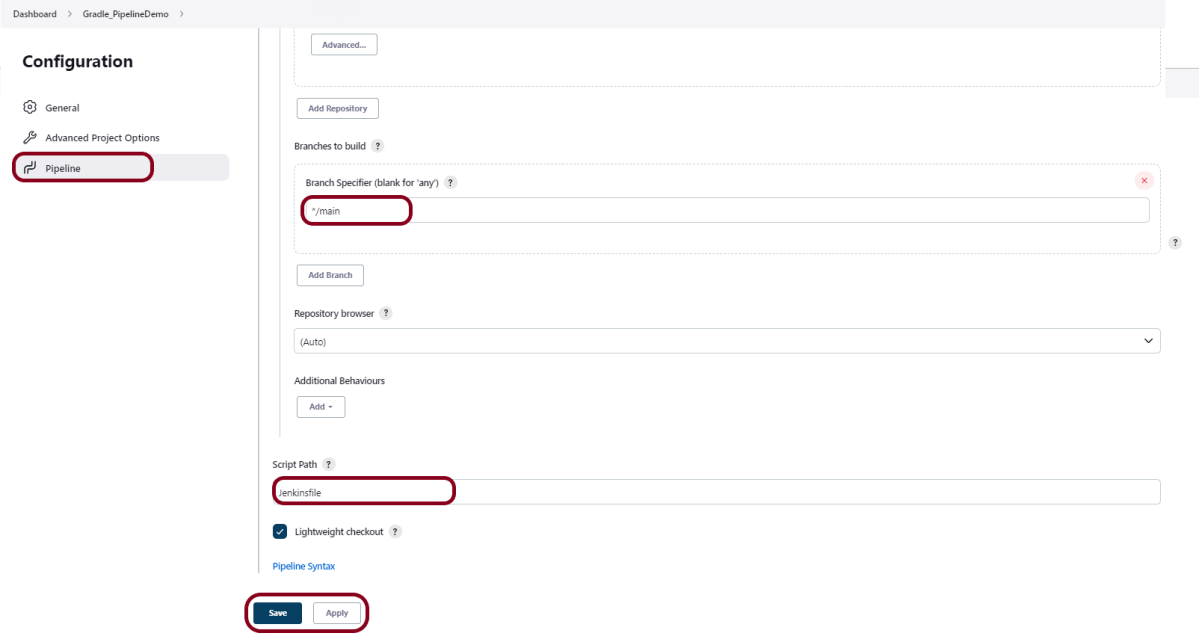
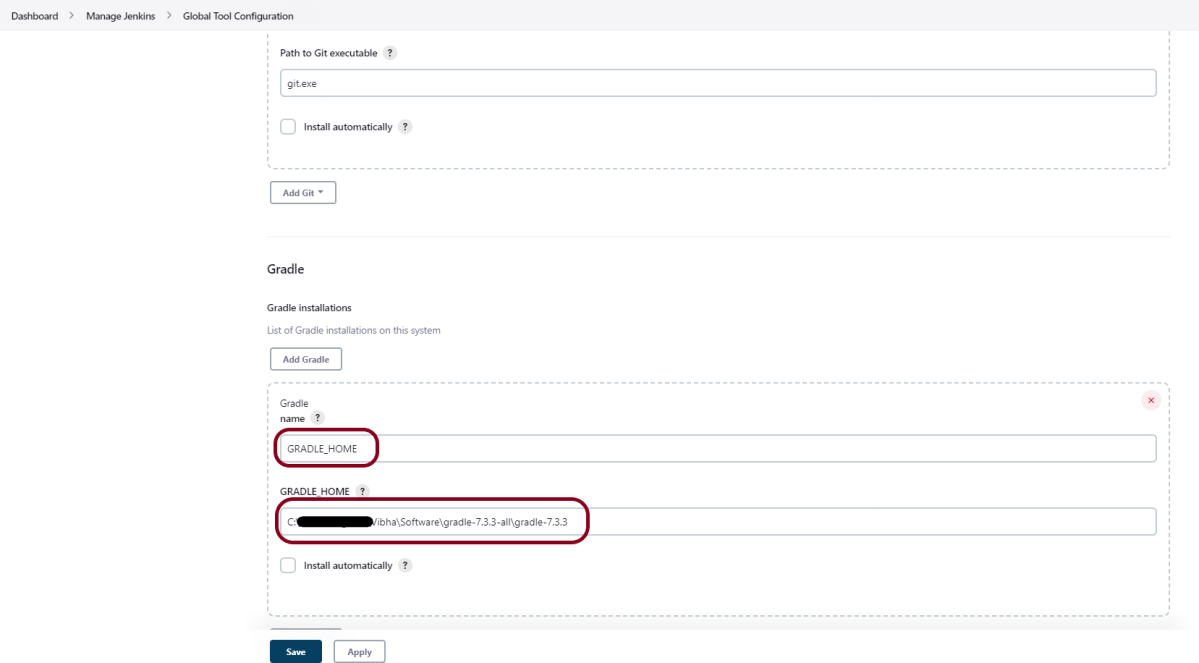
Step 3 – Setup Gradle
To build a test framework, we need to add several dependencies to the project. This can be achieved by any build tool. I have used Gradle Build Tool. Click here to know How to install Gradle.
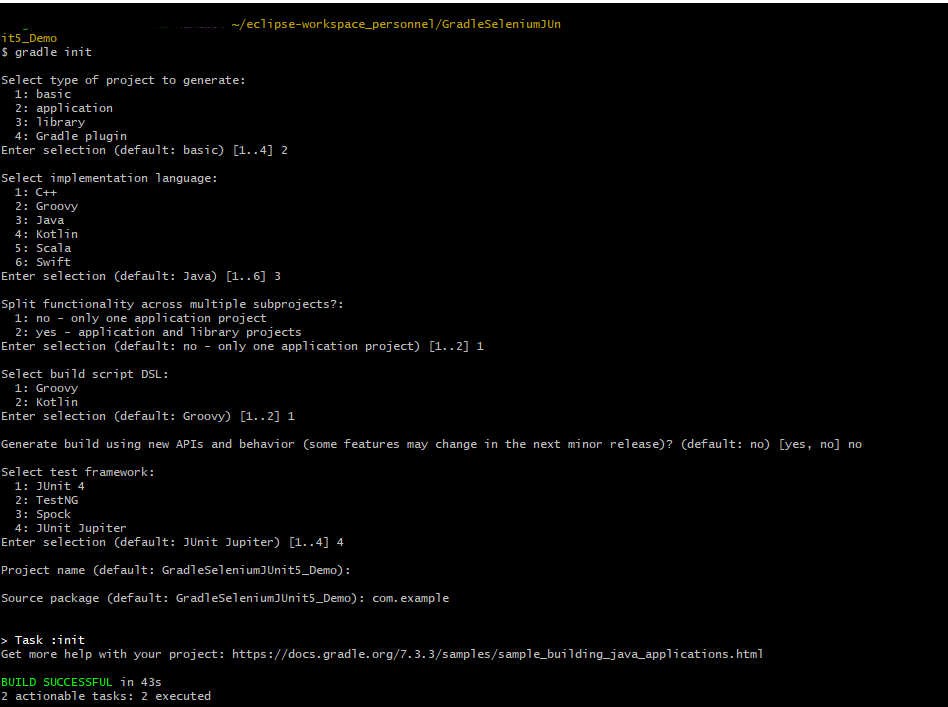
Step 4 – Create a new Gradle Project
Below are the steps to create the Gradle project from command line.


If you want to create the Gradle project from Eclipse IDE, click here to know How to create a Gradle Java project.
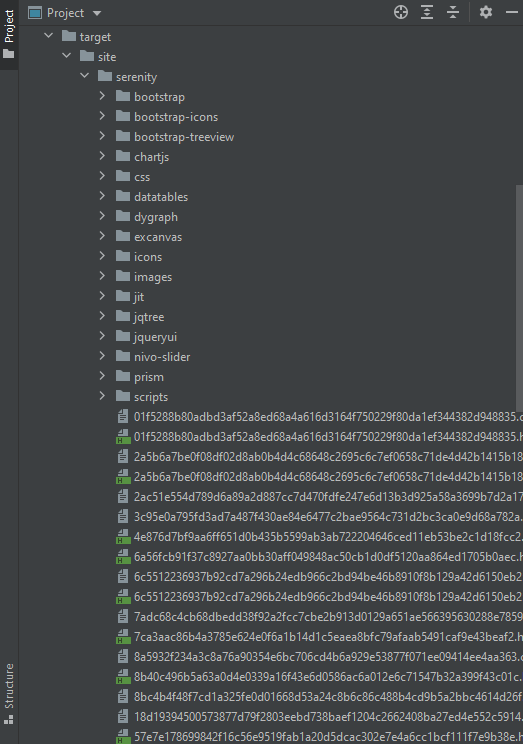
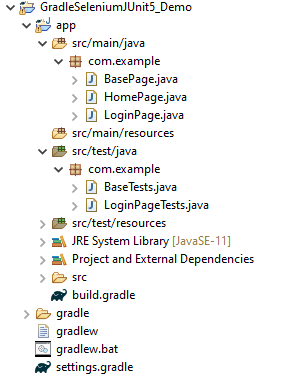
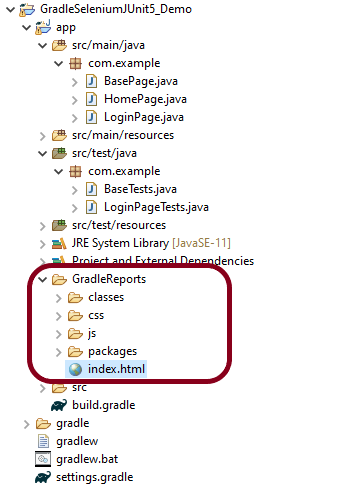
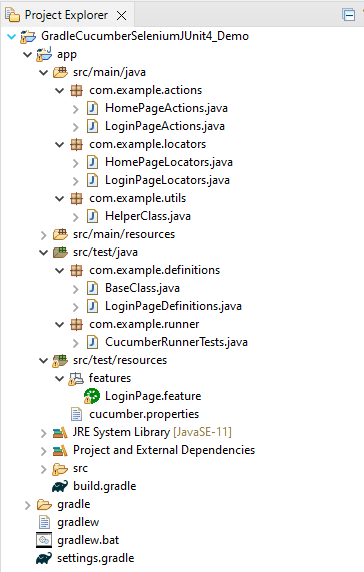
Below is the structure of the Gradle project.

Sample build.gradle

Step 5 – Add Selenium and TestNG dependencies to the Gradle project
dependencies {
    // Use TestNG framework, also requires calling test.useTestNG() below
    testImplementation 'org.testng:testng:7.10.0'

    // This dependency is used by the application.
    implementation libs.guava
    implementation 'org.seleniumhq.selenium:selenium-java:4.24.0'
}
Step 6 – Add Gradle Test Task to build.gradle
tasks.named('test') {
    // Use TestNG for unit tests.
    useTestNG() {
    useDefaultListeners = true
	outputDirectory = file("$projectDir/TestNG_Reports")
   }
 reports.html.setDestination(file("$projectDir/GradleReports"))
}
The complete gradle.build looks like something shown below.
/*
 * This file was generated by the Gradle 'init' task.
 *
 * This generated file contains a sample Java application project to get you started.
 * For more details on building Java & JVM projects, please refer to https://docs.gradle.org/8.10/userguide/building_java_projects.html in the Gradle documentation.
 */

plugins {
    // Apply the application plugin to add support for building a CLI application in Java.
    id 'java'
}

repositories {
    // Use Maven Central for resolving dependencies.
    mavenCentral()
}

dependencies {
    // Use TestNG framework, also requires calling test.useTestNG() below
    testImplementation 'org.testng:testng:7.10.0'

    // This dependency is used by the application.
    implementation libs.guava
    implementation 'org.seleniumhq.selenium:selenium-java:4.24.0'
}

// Apply a specific Java toolchain to ease working on different environments.
java {
    toolchain {
        languageVersion = JavaLanguageVersion.of(17)
    }
}

tasks.named('test') {
    // Use TestNG for unit tests.
    useTestNG() {
        useDefaultListeners = true
        outputDirectory = file("$projectDir/TestNG_Reports")
    }
    reports.html.setDestination(file("$projectDir/GradleReports"))
}
Step 7 – Create Test Code under src/test/java
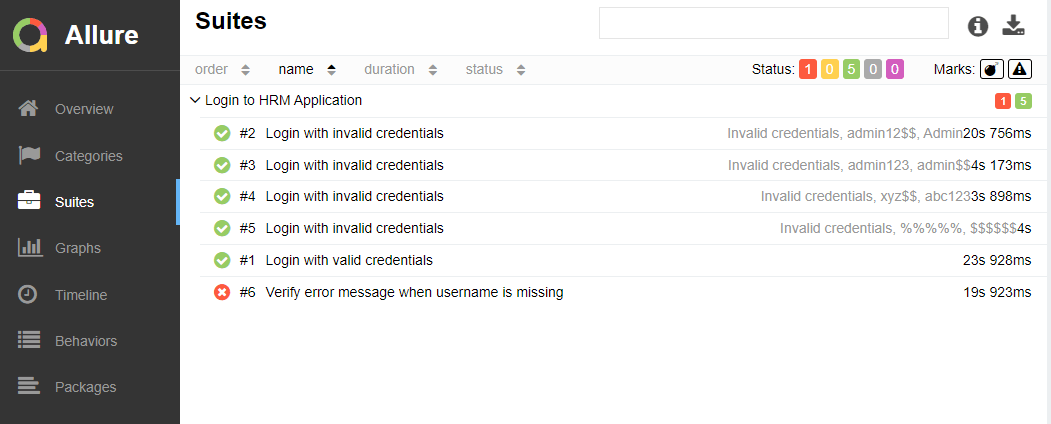
Let us write the code to test a web application. I have created 3 tests and out of 3, 1 test will fail intentionally.
package org.example;
import org.openqa.selenium.By;
import org.openqa.selenium.WebDriver;
import org.openqa.selenium.chrome.ChromeDriver;
import org.openqa.selenium.chrome.ChromeOptions;
import org.testng.Assert;
import org.testng.annotations.AfterMethod;
import org.testng.annotations.BeforeMethod;
import org.testng.annotations.Test;
import java.time.Duration;
public class LoginTests {
WebDriver driver;
@BeforeMethod
public void setUp() {
ChromeOptions options = new ChromeOptions();
driver = new ChromeDriver(options);
driver.manage().timeouts().implicitlyWait(Duration.ofSeconds(10));
driver.manage().window().maximize();
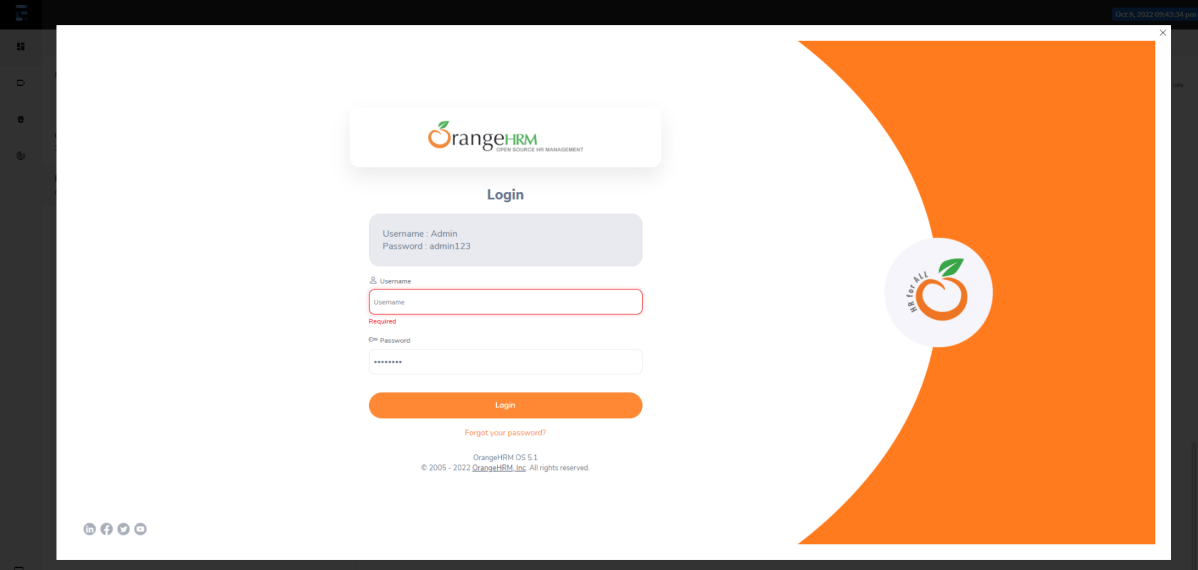
driver.get("https://opensource-demo.orangehrmlive.com/");
}
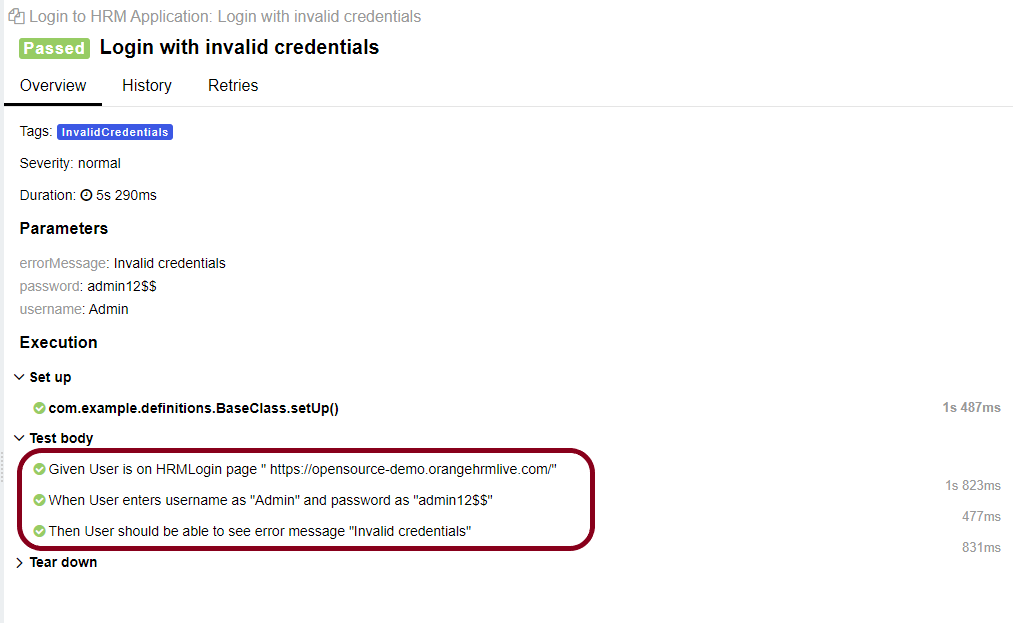
@Test(description = "This test validates error message when credentials are incorrect", priority = 0)
public void verifyIncorrectCredentials() {
driver.findElement(By.name("username")).sendKeys("Admin");
driver.findElement(By.name("password")).sendKeys("admin123$$");
driver.findElement(By.xpath("//*[@class='oxd-form']/div[3]/button")).submit();
String actualErrorMessage = driver.findElement(By.xpath("//*[@class='orangehrm-login-error']/div/div/p")).getText();
// Verify Error Message
Assert.assertEquals(actualErrorMessage,"Invalid credentials");
}
@Test(description = "This test will fail", priority = 1)
public void verifyBlankCredentials() {
driver.findElement(By.name("username")).sendKeys("");
driver.findElement(By.name("password")).sendKeys("admin123$$");
driver.findElement(By.xpath("//*[@class='oxd-form']/div[3]/button")).submit();
String actualErrorMessage = driver.findElement(By.xpath("//*[@class='oxd-form-row']/div/span")).getText();
// Verify Error Message
Assert.assertEquals(actualErrorMessage,"Invalid credentials");
}
@Test(description = "This test validates successful login to Home page", priority = 2)
public void verifyLoginPage() {
driver.findElement(By.name("username")).sendKeys("Admin");
driver.findElement(By.name("password")).sendKeys("admin123");
driver.findElement(By.xpath("//*[@class='oxd-form']/div[3]/button")).submit();
String homePageHeading = driver.findElement(By.xpath("//*[@class='oxd-topbar-header-breadcrumb']/h6")).getText();
//Verify new page - HomePage
Assert.assertEquals(homePageHeading,"Dashboard");
}
@AfterMethod
public void tearDown() {
driver.quit();
}
}
Step 8 – Create testng.xml
Right-click on the project and select TestNG and select Convert to TestNG.
<?xml version="1.0" encoding="UTF-8"?>
<!DOCTYPE suite SYSTEM "https://testng.org/testng-1.0.dtd">
<suite name="Suite">
  <test name="Selenium Tests with TestNG">
    <classes>
      <class name="org.example.LoginTests"/>
    </classes>
  </test> <!-- Test -->
</suite> <!-- Suite -->
Step 9 – Run the tests from TestNG
Right-Click on the testng.xml and select Run As TestNG Suite.

The output of the above tests in Eclipse Console is as shown below.

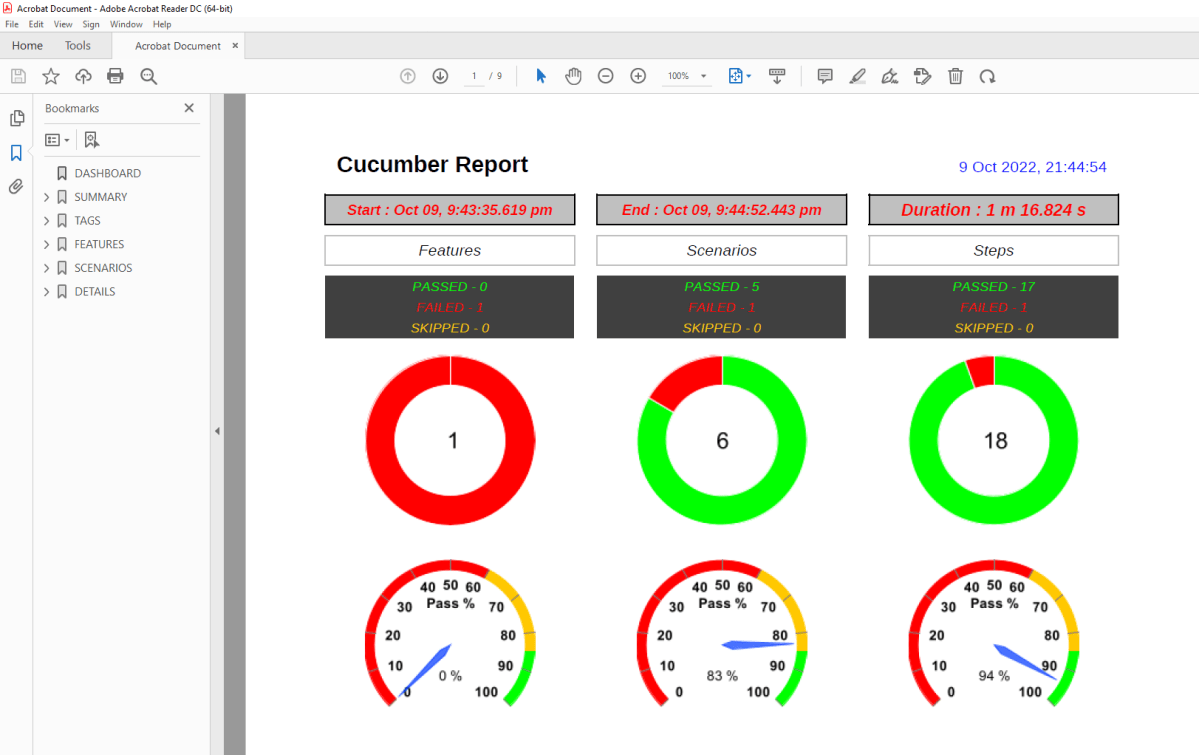
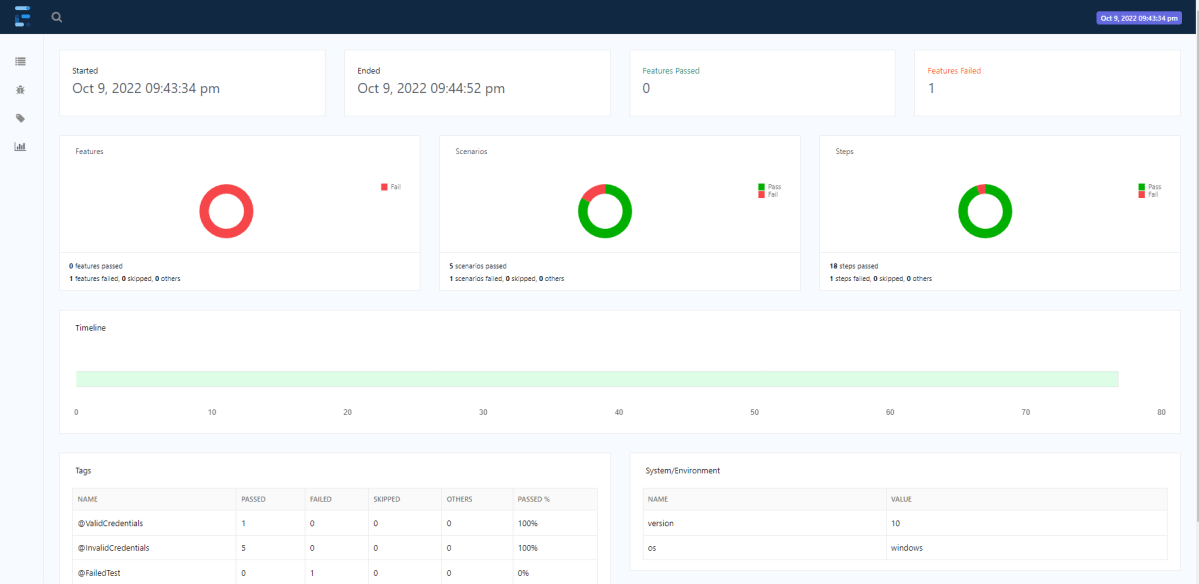
This also generates a folder with the name test-output that contains the TestNG reports like index.html, emailable-report.html.

Step 10 – Run the tests from Command Line
To run the tests from the command line, use the below-mentioned command.
gradle clean test
The output of the above program is

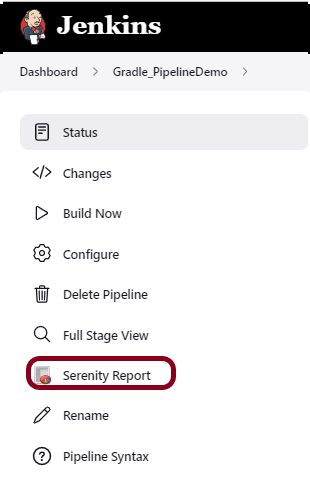
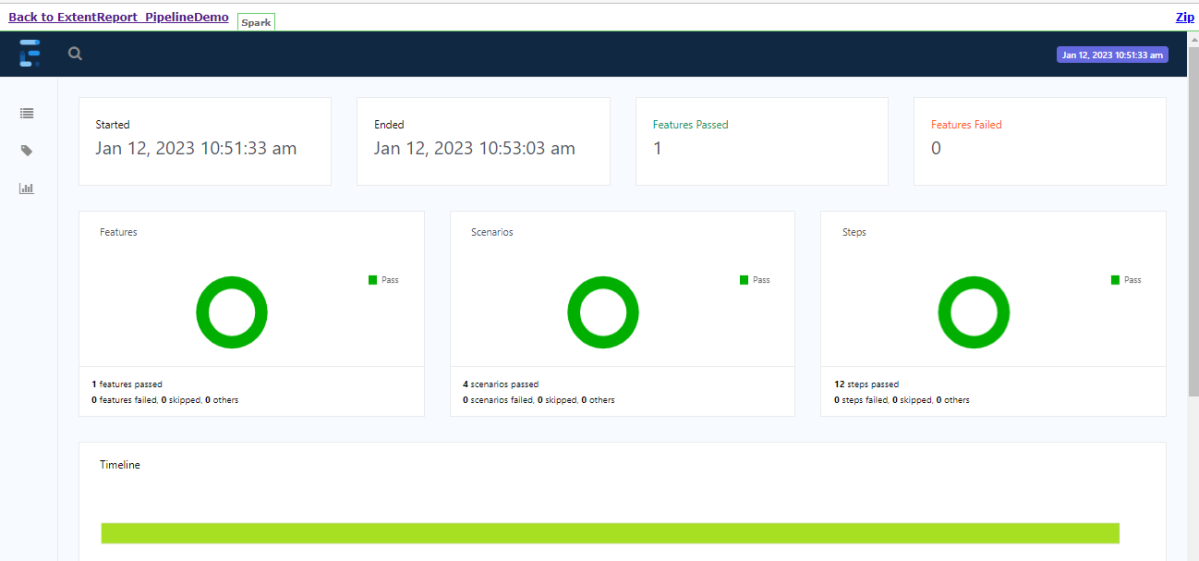
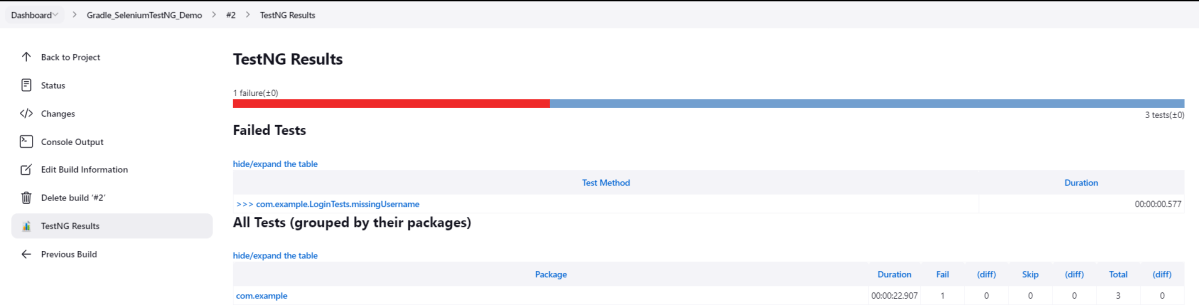
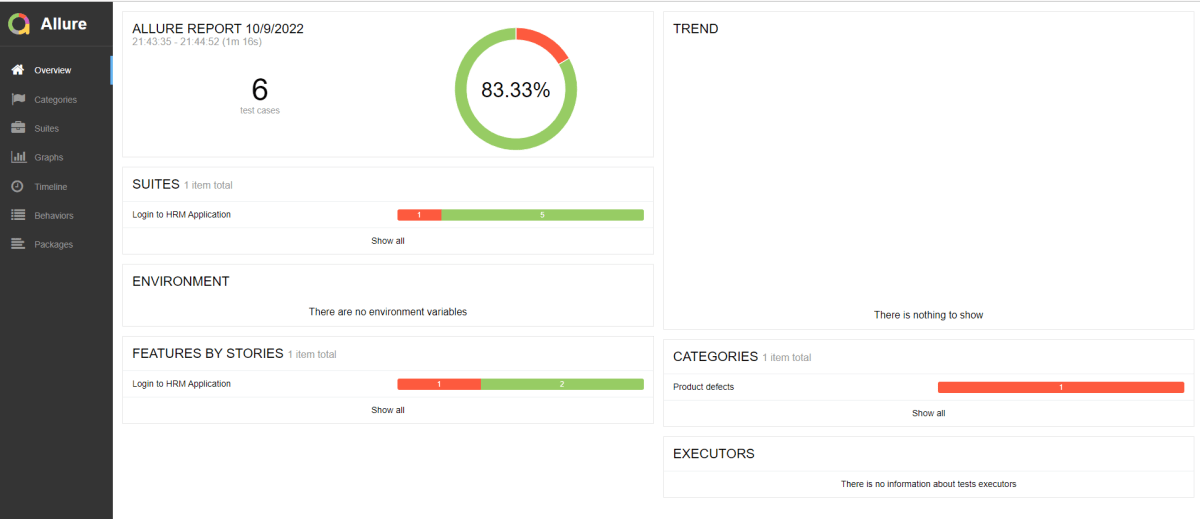
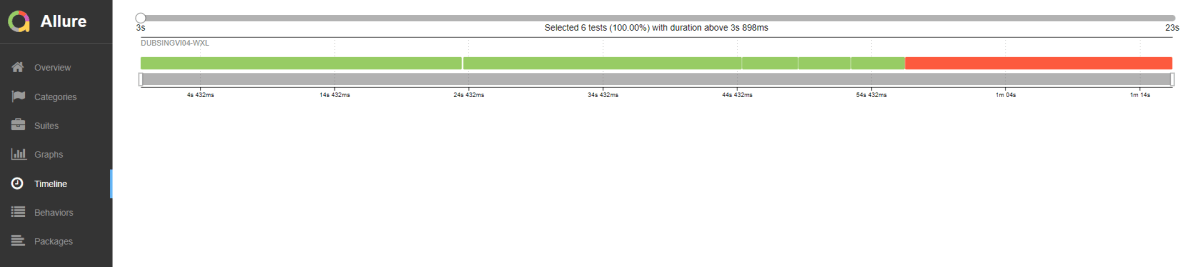
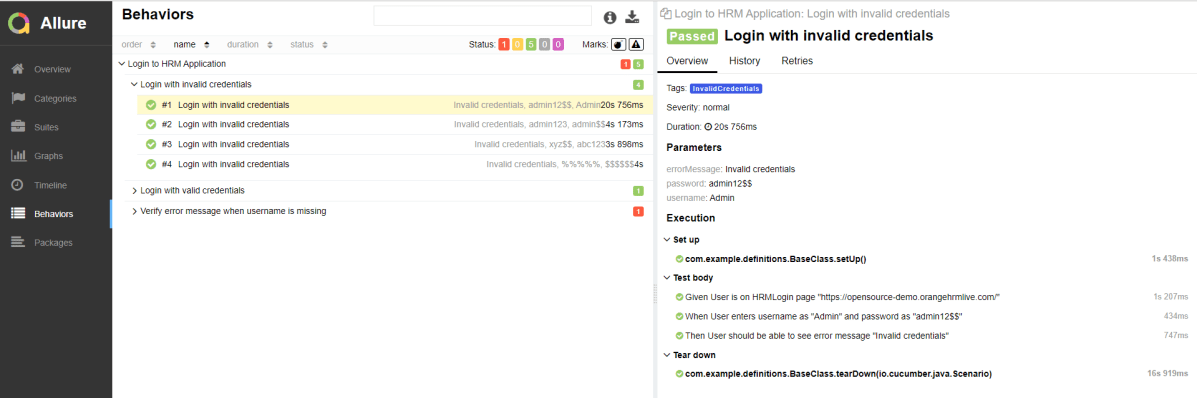
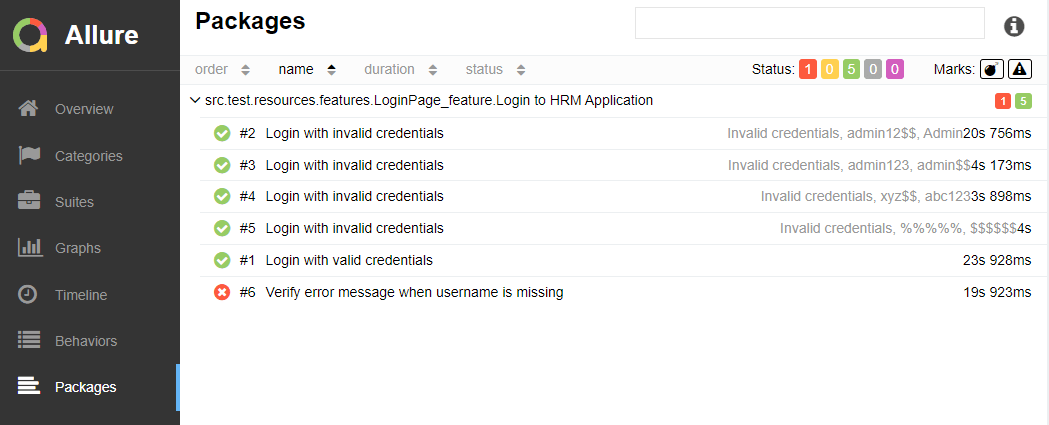
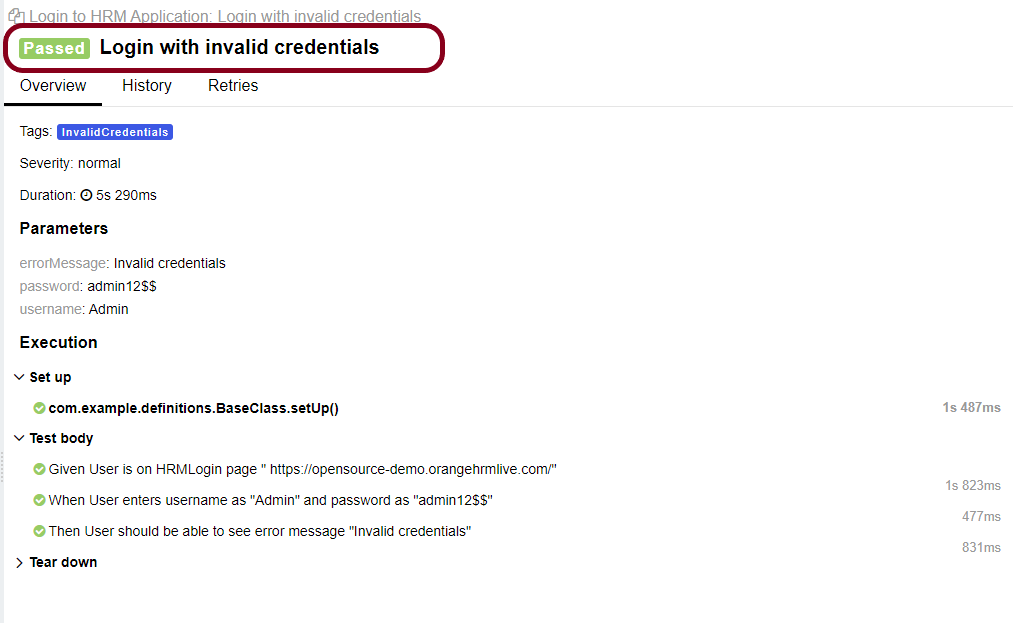
Step 11 – TestNG and Gradle Report generation
Once the test execution is finished, refresh the project. We will see 2 folders – GradleReports and TestNG_ Reports.

Gradle Reports
This folder contains index.html.

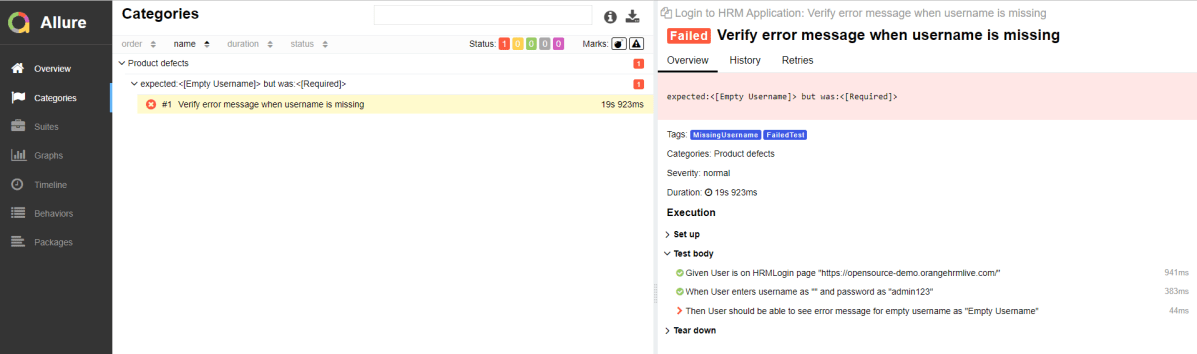
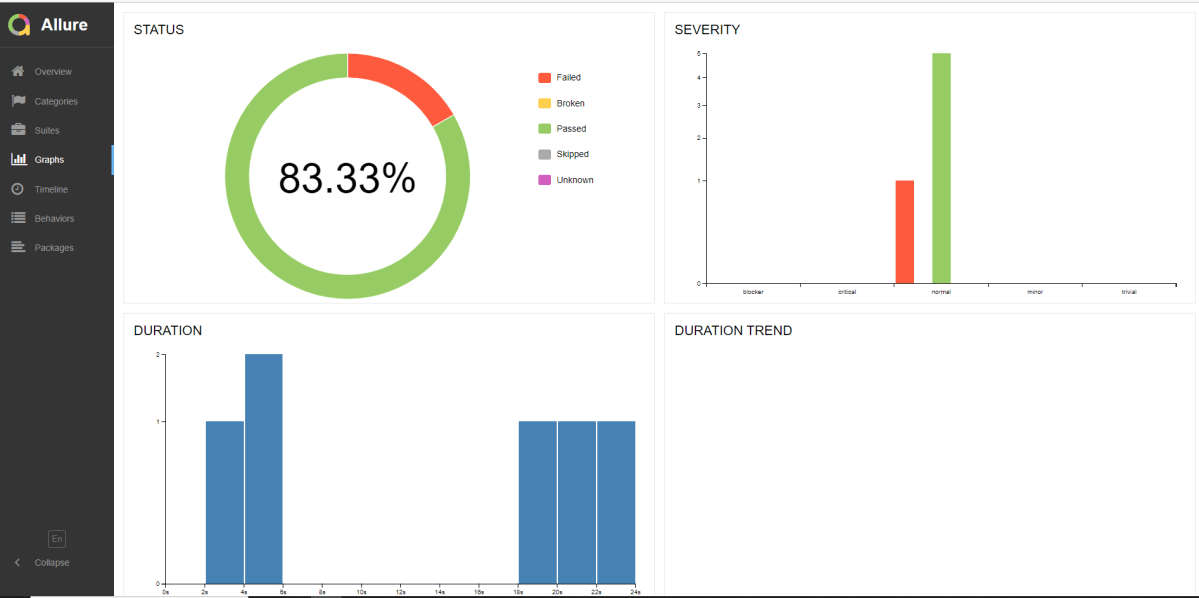
Right-click on index.html and select open with Web Browser. This report shows the summary of all the tests executed. As you can see that Failed tests are selected (highlighted in blue), so the name of the test failed along with the class name is displayed here.

TestNG Reports
Go to TestNG_Reports folder and right-click and open emailable-report.html.

Index.html

Congratulations on making it through this tutorial and hope you found it useful! Happy Learning!! Cheers!!