In this tutorial, I will explain how we can create a new empty project in GitLab.
Implementation Steps
Step 1 – Login to GitLab using your username and password.
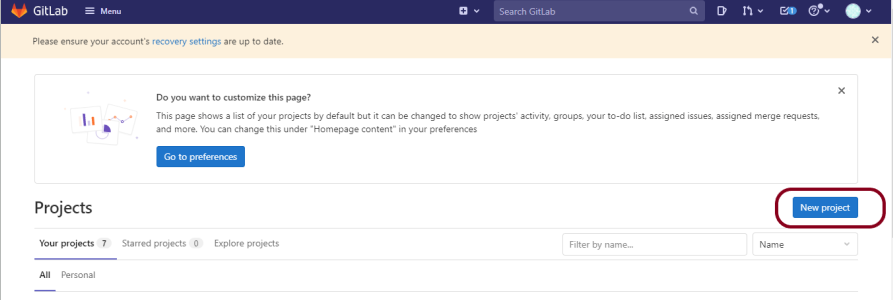
Step 2 – In your dashboard, click the blue New project button. This opens the New project page.
Step 3 – The New project page provides 4 options to select:
- Create a blank project.
- Create a project using one of the available project templates.
- Import a project from a different repository, if enabled on your GitLab instance.
- Run CI/CD pipelines for external repositories.
As I have mentioned earlier, I want to create a new empty project, so I will select open 1 (Create a blank project).

Step 4 – A new page will open. Provide the following information on that page:
- Project Name – Mention the name of your project in the Project name field – CucumberGradleDemo. You can’t use special characters, but you can use spaces, hyphens, underscores, or even emojis.
- Project slug – When a name is added, the Project slug auto-populates. The path to your project is in the Project slug field. This is the URL path for your project that the GitLab instance uses. If the Project name is blank, it auto populates when you fill in the Project slug. If you want a different slug, input the project name first, then change the slug after.
- Project description (optional) – This field enables you to enter a description for your project’s dashboard, which helps others understand what your project is about. Though it’s not required, it’s a good idea to fill this in.
- Visibility Level – Select the appropriate Visibility Level for your project.
- Selecting the Initialize repository with a README option creates a README file so that the Git repository is initialized, has a default branch, and can be cloned.

Select the Create Project button.

Congratulations!!. We have just created a new and empty project in GitLab. Now you can clone this project and start working on it.
