In the previous tutorial, I discussed the Jenkins pipeline. This tutorial will discuss the steps to create the Jenkins pipeline for Selenium tests. This is an important step in CI/CD.
Table of Contents
Prerequisite
1. Jenkins installed and started on the computer – How to install Jenkins on Windows 10.
2. Java and Maven are installed and configured in Jenkins. To know more about this, please refer to this – How to configure Java and Maven in Jenkins.
3. To generate a HTML Report in Jenkins, we need to download the HTML Publisher Plugin. Please refer to this tutorial to install the plugin – How to generate HTML Reports in Jenkins
Implementation Steps
Step 1: Create a new pipeline project
- Give the Name of the project – Selenium_PipelineDemo.
- Click on the pipeline project.
- Click on the OK button.

In the General section, enter the project description in the Description box.
Step 2: Scroll down to Pipeline
From the Definition field, choose the “Pipeline script from SCM” option. This option instructs Jenkins to obtain your Pipeline from Source Control Management (SCM), which will be your locally cloned Git repository.
From the SCM field, choose Git.
The “Repositories” section contains the “Repository URL” and “Credentials“.
In the Repository URL field, specify the directory path of the GitLab/GitHub project.
In the Credentials field, specify the username and password needed to log in to GitLab/GitHub.
In this case, I have the project present in GitLab and using it.

Step 3: Create Jenkinsfile
Create and save a new text file with the name Jenkinsfile at the root of the project in the GitLab repository. Here, we are using the Selenium project with TestNG. To learn more about the Integration of Selenium with TestNG, please refer to this tutorial – Integration of Selenium and TestNG.

For this tutorial, we are using Declarative syntax. The sample example is given below:
Here, I have used emailable-report.html, you can also use index.html and that report will be published.
pipeline {
agent any
stages {
stage('Test') {
steps {
bat "mvn -D clean test"
}
post {
// If Maven was able to run the tests, even if some of the test
// failed, record the test results and archive the jar file.
success {
publishHTML([
allowMissing: false,
alwaysLinkToLastBuild: false,
keepAll: false,
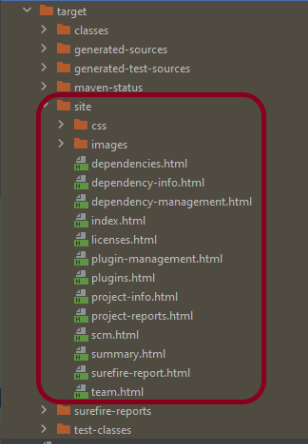
reportDir: 'target/surefire-reports/',
reportFiles: 'emailable-report.html',
reportName: 'HTML Report',
reportTitles: '',
useWrapperFileDirectly: true])
}
}
}
}
}
Step 4: Specify branches to build a section under Repositories
- Branch Specifier – */master (This is my main branch)
- ScriptPath – Jenkinsfile

Click on the Apply and Save buttons.
We have created a new Maven project “Selenium_PipelineDemo” with the configuration to run the Selenium Test with TestNG.

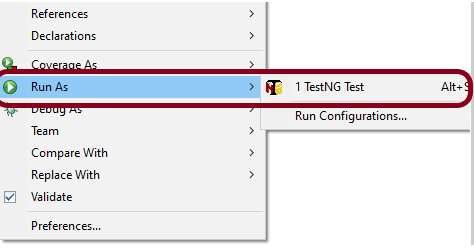
Step 5: Execute the tests
Let’s execute it now by clicking on the “Build Now” button.

Right-click on Build Number (here in my case it is #11) and click on Console Output to see the result.

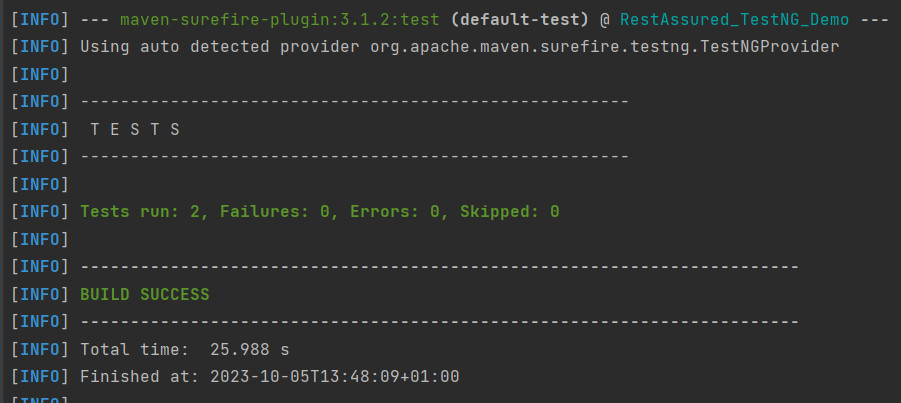
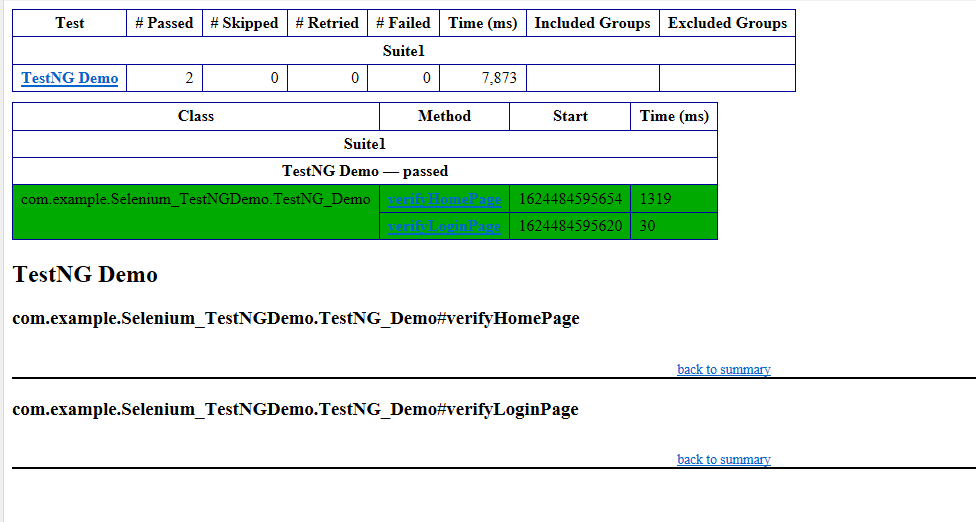
Below is the test execution summary.

Step 6: Pipeline Steps
Once the execution is completed, and we want to see the Pipeline Steps, click on the Pipeline Steps mentioned on the left side of the page.

Step 7: View the Report
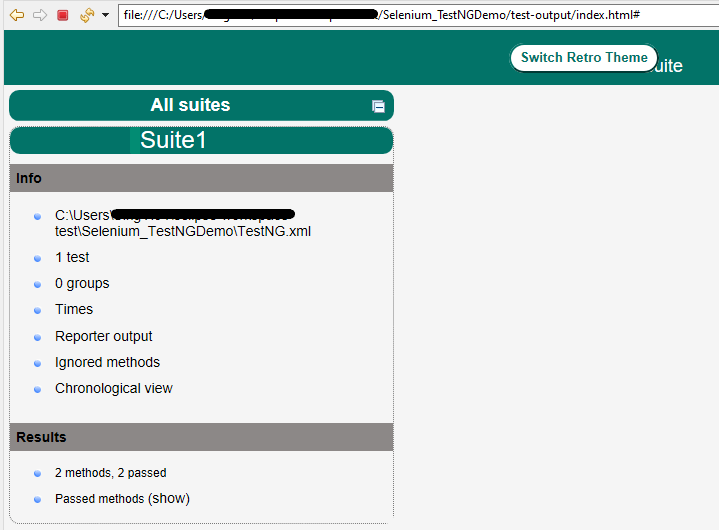
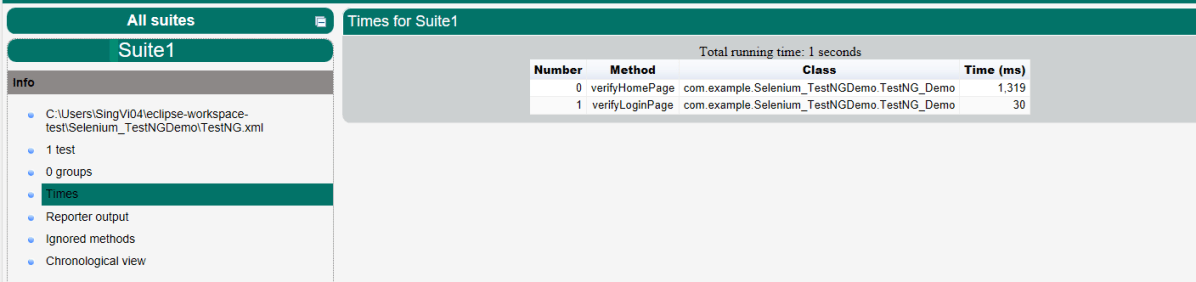
Once the execution is completed, go back to “Selenium_PipelineDemo”. We can see below that the HTML Report is generated.

We could see a link to view ‘HTML Reports’. Click on the HTML Reports. It displays the emailable-report.html Report.

Tip: If you don’t see the Report UI intact, then you need to configure a simple groovy script. For that, go to Dashboard–>Manage Jenkins–>Script Console and add the script as:
System.setProperty("hudson.model.DirectoryBrowserSupport.CSP","")

How to get the pipeline syntax?
If you don’t know the syntax for the pipeline, there is an option “Pipeline Syntax” in the UI as shown below.

Select any of the suitable options. In my case, I have used Publish HTML reports.

Specify the name of the Report in the Index page[s]and Report Title such as HTML Report and click on the “Generate Pipeline Script”.

This will generate a simple pipeline for the reference.
In case the HTML Report appears in a distorted format, please use the below syntax.
Below is the sample syntax.

Summary:
- The Jenkinsfile defines the pipeline stages.
- Selenium tests can be executed after dependencies are set up (Maven/Gradle).
- Test results can be visualized through Jenkins plugins, like HTML Report, TestNG Report and soon
We are done! Congratulations on making it through this tutorial and hope you found it useful! Happy Learning!!