In the last tutorial, I explained How to test PUT Request using Rest Assured. In this tutorial, I will automate a DELETE Request using Rest Assured. I will verify the status code, line of Status, and content of the Response.
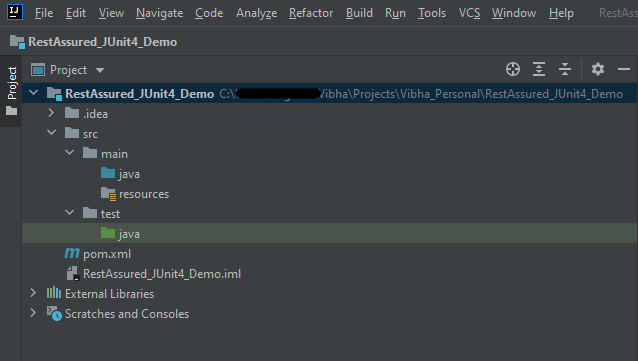
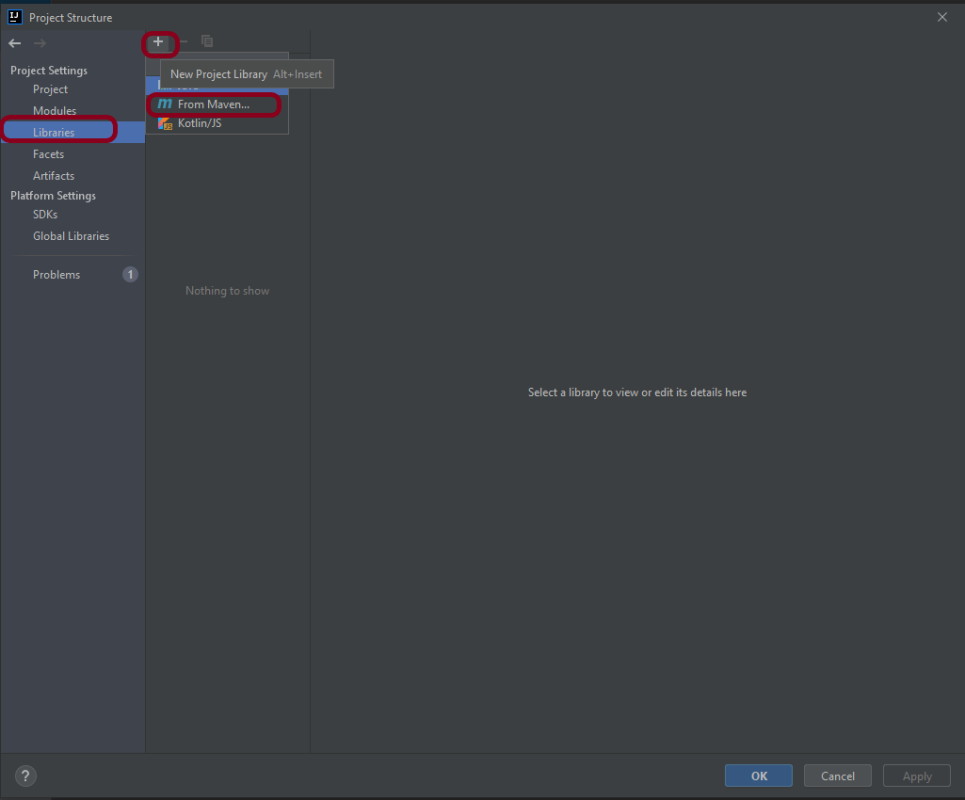
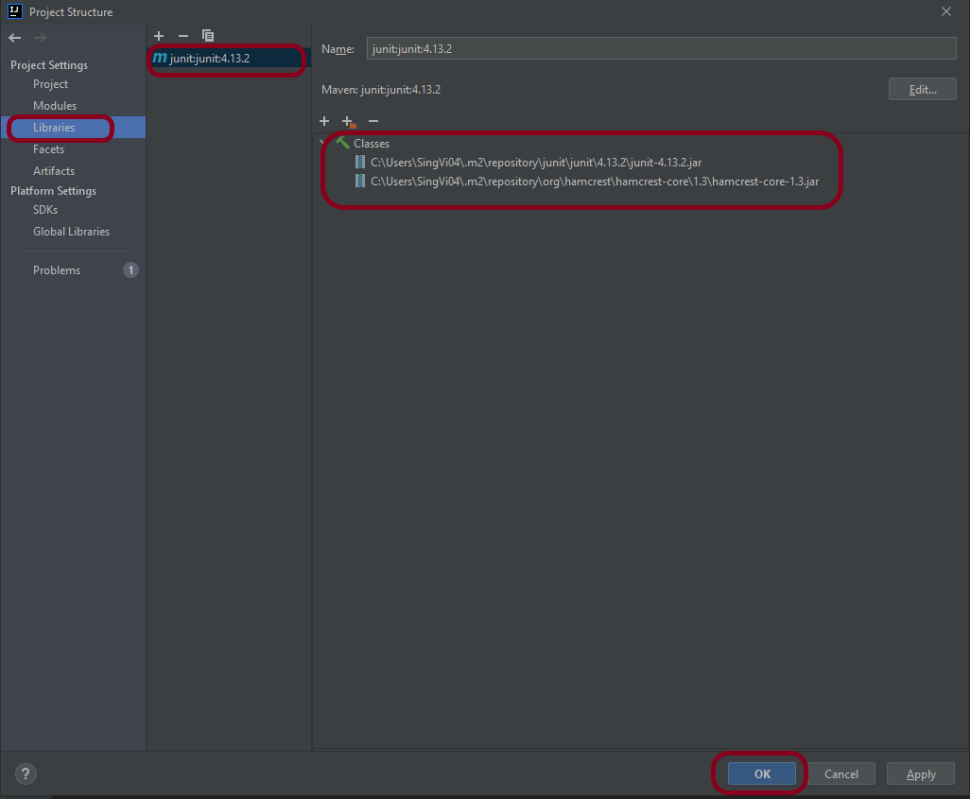
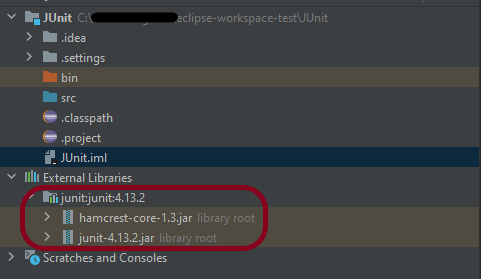
To set up a basic Rest Assured Maven Project, click here and Gradle project, click here.
Add the below-mentioned dependencies to the pom.xml.
<dependency>
      <groupId>junit</groupId>
      <artifactId>junit</artifactId>
      <version>4.13.1</version>
      <scope>test</scope>
</dependency>

<dependency>
      <groupId>io.rest-assured</groupId>
      <artifactId>rest-assured</artifactId>
      <version>5.3.2</version>
      <scope>test</scope>
</dependency>
What is the DELETE Method?
An HTTP DELETE method is used to delete an existing resource from the collection of resources. The DELETE method requests the origin server to delete the resource identified by the Request-URI. On successful deletion of a resource, it returns 200 (OK) and 204 (No Content) status codes. It may return as 202 (Accepted) status code if the request is queued. To learn more about Rest API, please click here.
Below are the steps to test a DELETE Request using Rest Assured:
The steps to test the DELETE request are similar to any API request like GET, POST, or PUT. To know about the steps and various imports used in the below example in detail, please refer to the tutorial for POST Request.
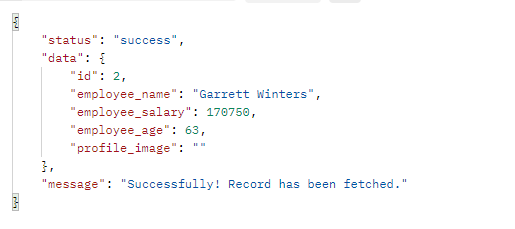
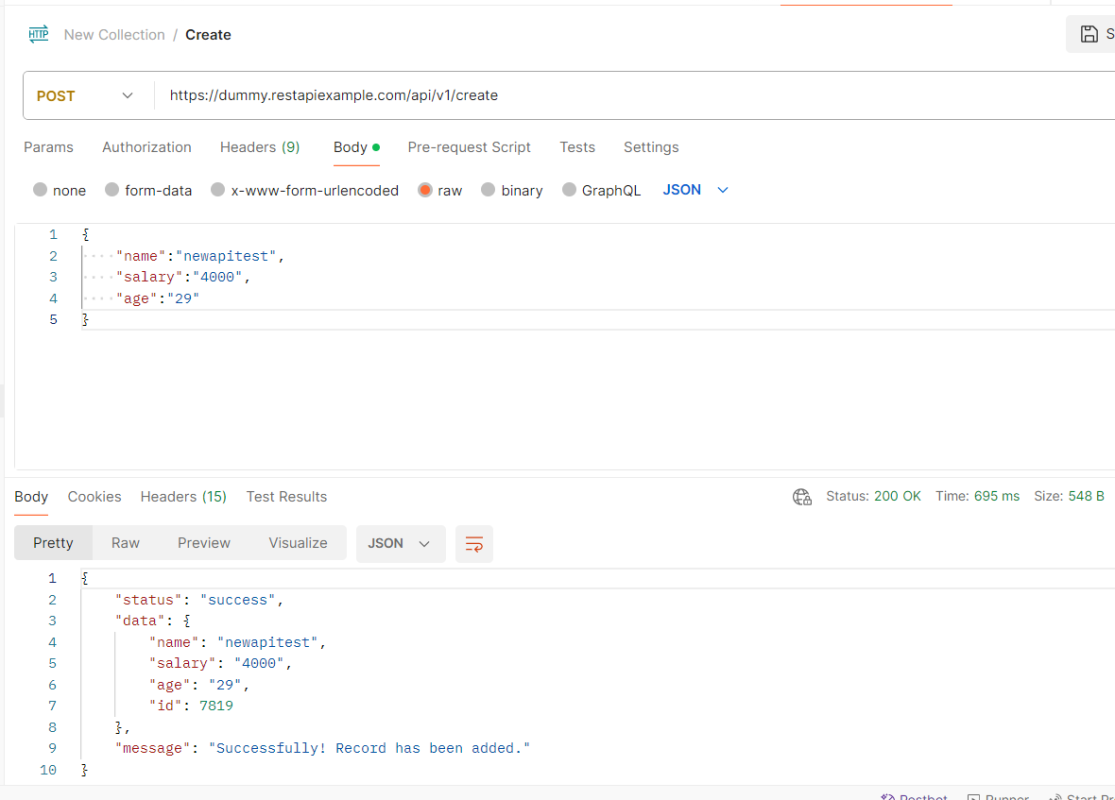
Let’s see the existing details of an Employee ID 3 using Postman:

Let’s write DELETE request in REST Assured in Non BDD Format for id 3:-
import io.restassured.RestAssured;
import io.restassured.response.Response;
import io.restassured.response.ValidatableResponse;
import io.restassured.specification.RequestSpecification;
import org.junit.Test;
import static org.hamcrest.CoreMatchers.equalTo;

public class Delete_NonBddDemo {

    RequestSpecification requestSpecification;
    Response response;
    ValidatableResponse validatableResponse;

    @Test
    public void deleteUser() {

        RestAssured.baseURI = "https://dummy.restapiexample.com/api";

        // Create a request specification
        requestSpecification = RestAssured.given();

        // Calling DELETE method
        response = requestSpecification.delete("/v1/delete/3");

        // Let's print response body.
        String resString = response.prettyPrint();

        /*
         * To perform validation on response, we need to get ValidatableResponse type of
         * response
         */
        validatableResponse = response.then();

        // Get status code
        validatableResponse.statusCode(200);

        // It will check if status line is as expected
        validatableResponse.statusLine("HTTP/1.1 200 OK");

        // Check response - message attribute
        validatableResponse.body("message", equalTo("Successfully! Record has been deleted"));

    }
}
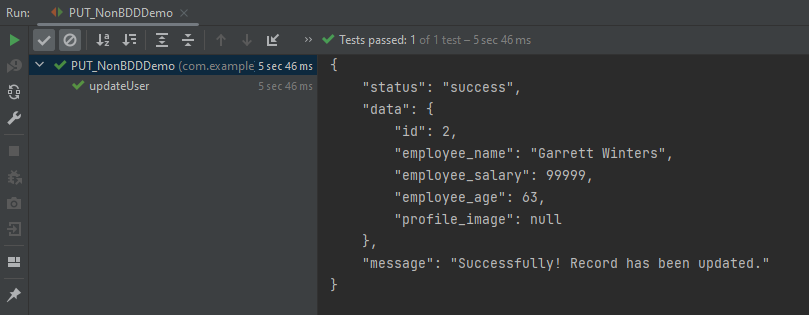
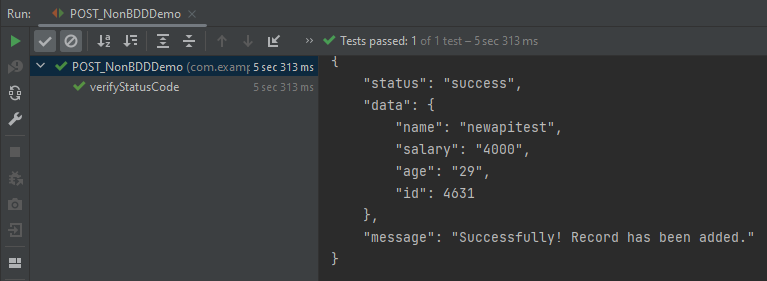
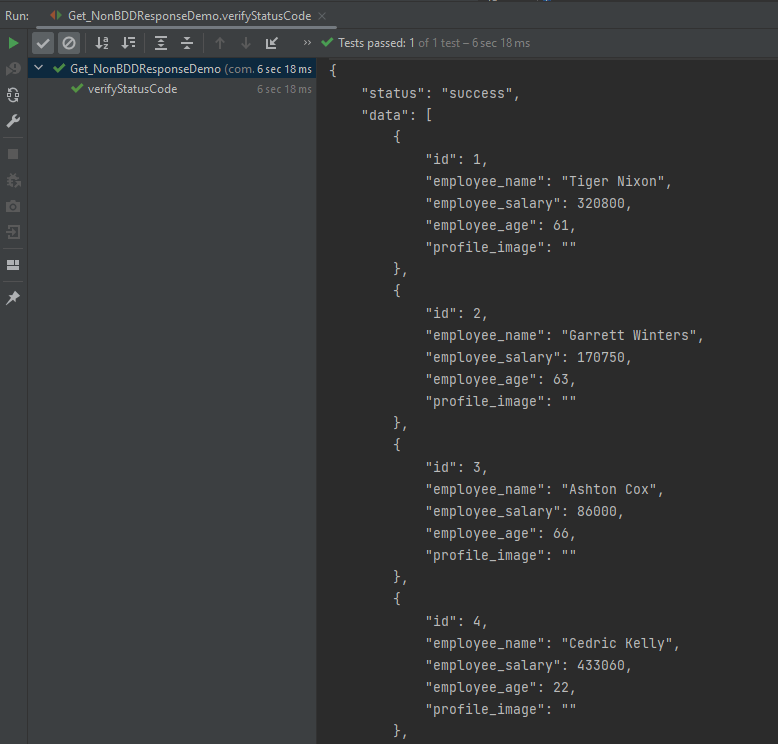
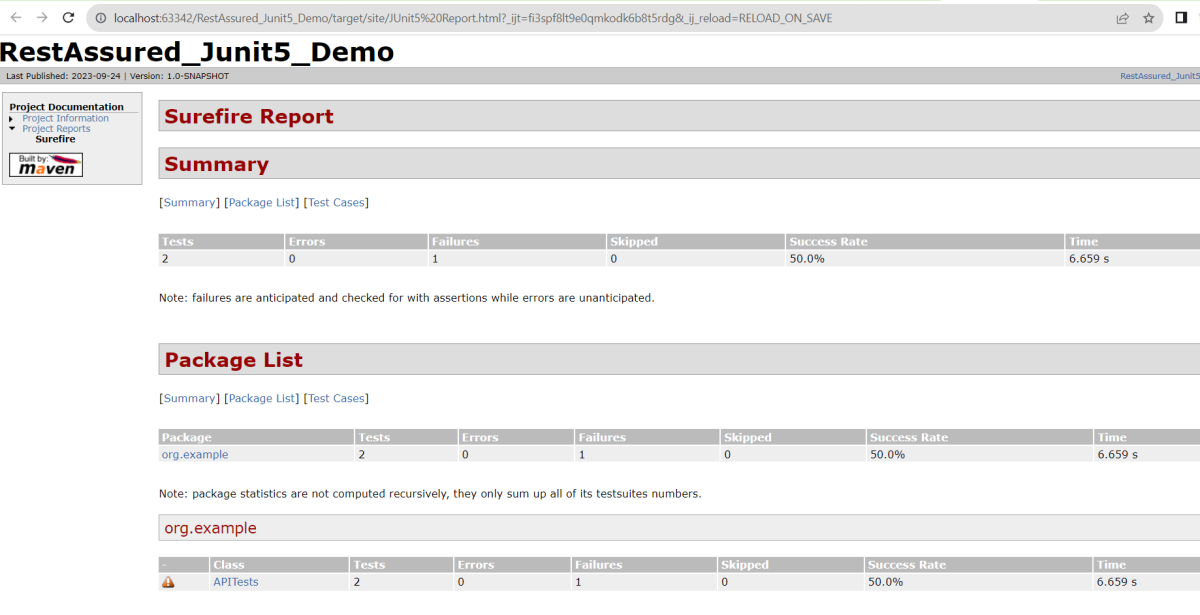
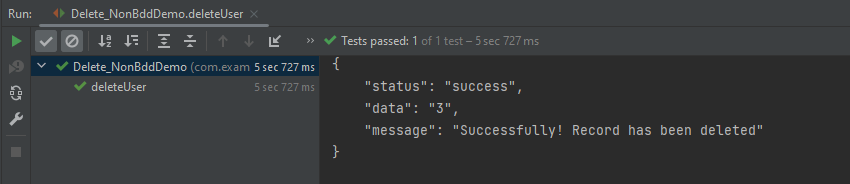
The output of the above program is
Let’s write DELETE request in REST Assured in BDD Format:–
import io.restassured.http.ContentType;
import io.restassured.response.ValidatableResponse;
import org.junit.Test;
import static io.restassured.RestAssured.given;
import static org.hamcrest.CoreMatchers.equalTo;

public class Delete_BDDDemo {

    ValidatableResponse validatableResponse;

    @Test
    public void deleteUser() {

        validatableResponse = given()
                .baseUri("https://dummy.restapiexample.com/api/v1/delete/3")
                .contentType(ContentType.JSON)
                .when()
                .delete()
                .then()
                .assertThat().statusCode(200)
                .body("message", equalTo("Successfully! Record has been deleted"));

        System.out.println("Response :" + validatableResponse.extract().asPrettyString());

    }

}
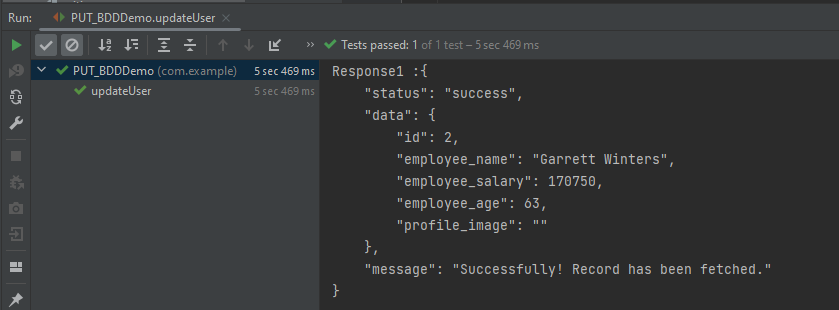
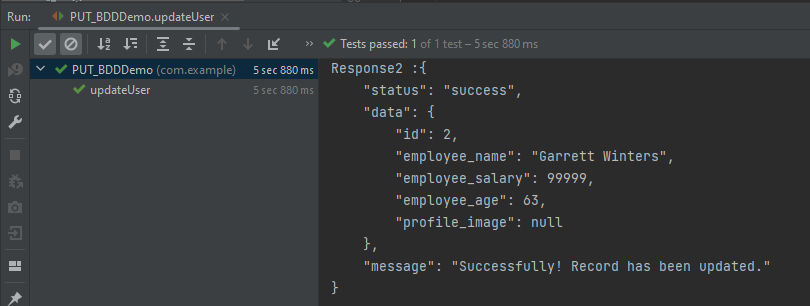
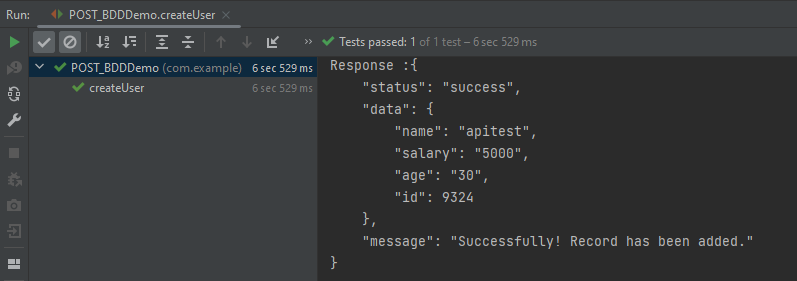
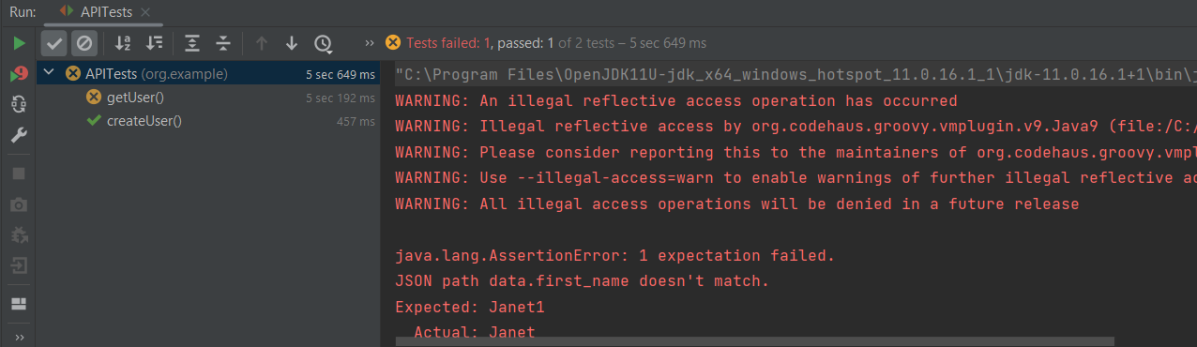
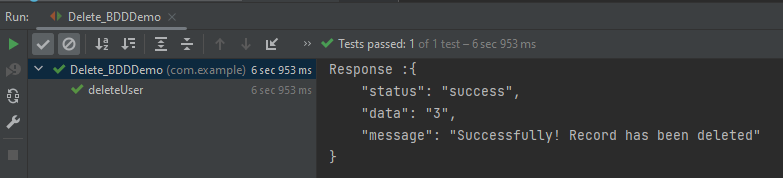
The output of the above program is
Explanation:
1. GIVEN: Specifies the initial conditions or setup for the test.
- “given()”: Starts the BDD chain.
- Sets the base URI for the API endpoint.
.baseUri("https://dummy.restapiexample.com/api/v1/delete/3")
- Specifies that the content type of the request is JSON.
.contentType(ContentType.JSON)
2. WHEN: Describes the action or event that triggers the response.
.when().delete() – Executes the DELETE HTTP request against the configured endpoint URL.
3. THEN: Asserts expected outcomes of the request.
- “.then()”: Starts the section for response validation.
- Asserts that the HTTP status code of the response is 200, which typically indicates success.
assertThat().statusCode(200)
Asserts that the “message” field in the response matches “Successfully! Record has been deleted”.
.body("message", equalTo("Successfully! Record has been deleted"));
We are done. Congratulations on making it through this tutorial and hope you found it useful! Happy Learning!! Cheers!!