In this tutorial, we will set the variable values from the Run time command argument in Robot Framework using Selenium WebDriver and Python.
Variables can be changed from the command line using the –variable (-v) option or a variable file using the –variablefile (-V) option. Variables set from the command line are universally accessible for all executed test data files, and they override any variables with the same names in the Variable section and variable files imported into the test data.
Individual variables are established using the syntax –variable name:value, where name is the variable’s name without the $ symbol and value is its value. This option can be used multiple times to define multiple variables. This syntax can only be used to establish scalar variables, and they can only receive string values.
Table of Contents
Prerequisite:
- Install Python
- Install PIP
- Install Robot Framework
- Install Robot framework Selenium Library
- Install PyCharm IDE
Please refer to this tutorial to install Robot Framework – How to install and setup Robot Framework for Python.
Implementation Steps:
Step 1 – Create a new project
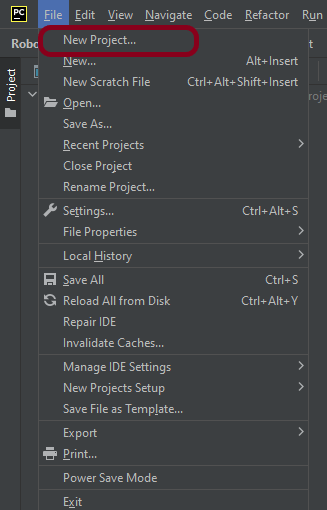
Step 1.1 – Open PyCharm and create a new project. Go to File and select “New Project” from the main menu.
Step 1.2 – Choose the project location. Click the “Browse” button next to the Location field and specify the directory for your project.
Deselect the Create a main.py welcome script checkbox because you will create a new Python file for this tutorial.

Click on the “Create” Button.
Step 1.3 – A new dialog will appear asking to Open the project using any one of the given options. I have selected New Window as I like to have separate windows for each project.

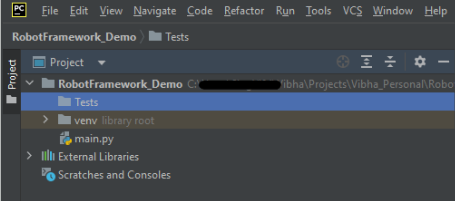
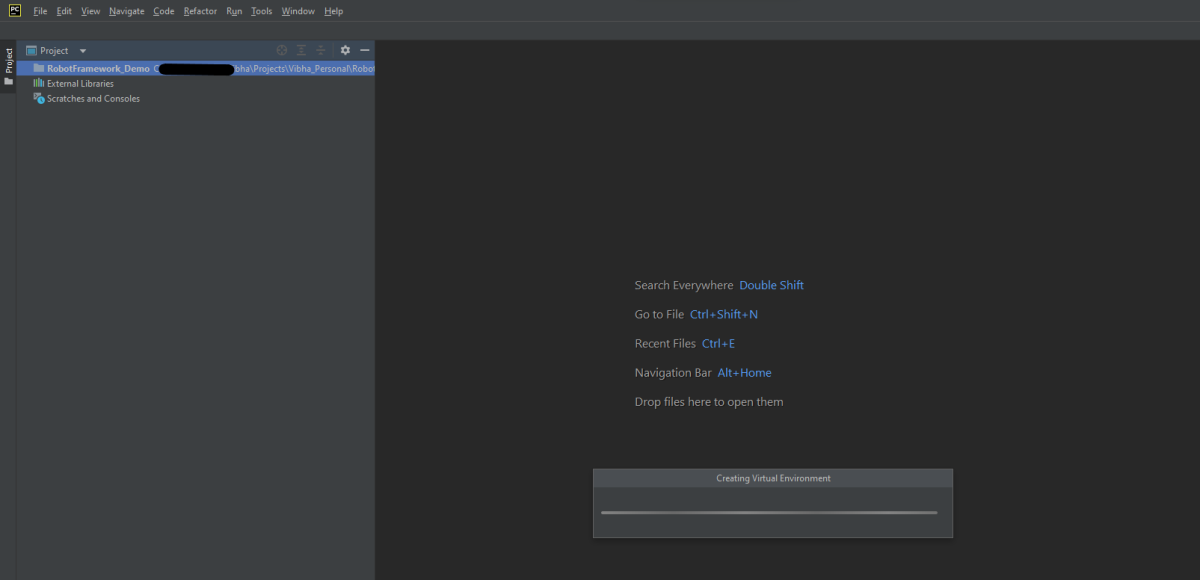
Below is the image of the new project created in PyCharms.
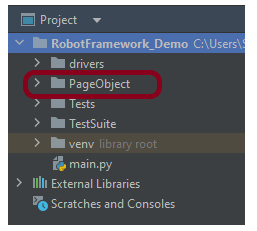
Step 2 – Create a new directory in the new project
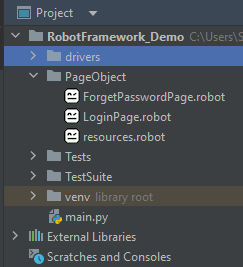
Right-Click on the project, select New->Directory and provide name as PageObject
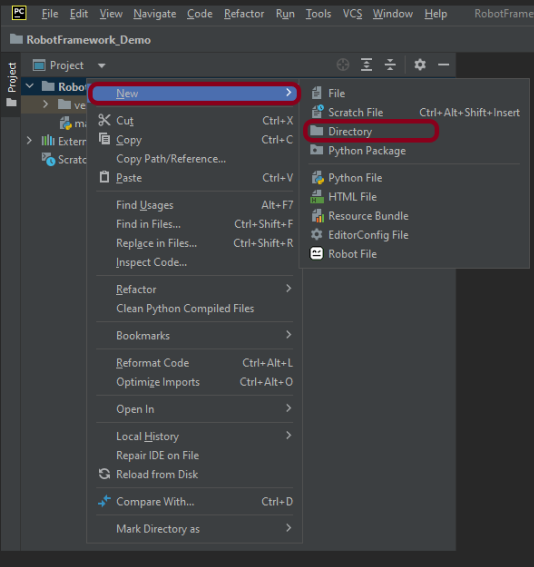
Below is the image of the new directory.
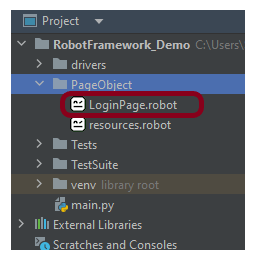
Right-click on the new directory select New File and provide the name LoginPage.robot as shown below:
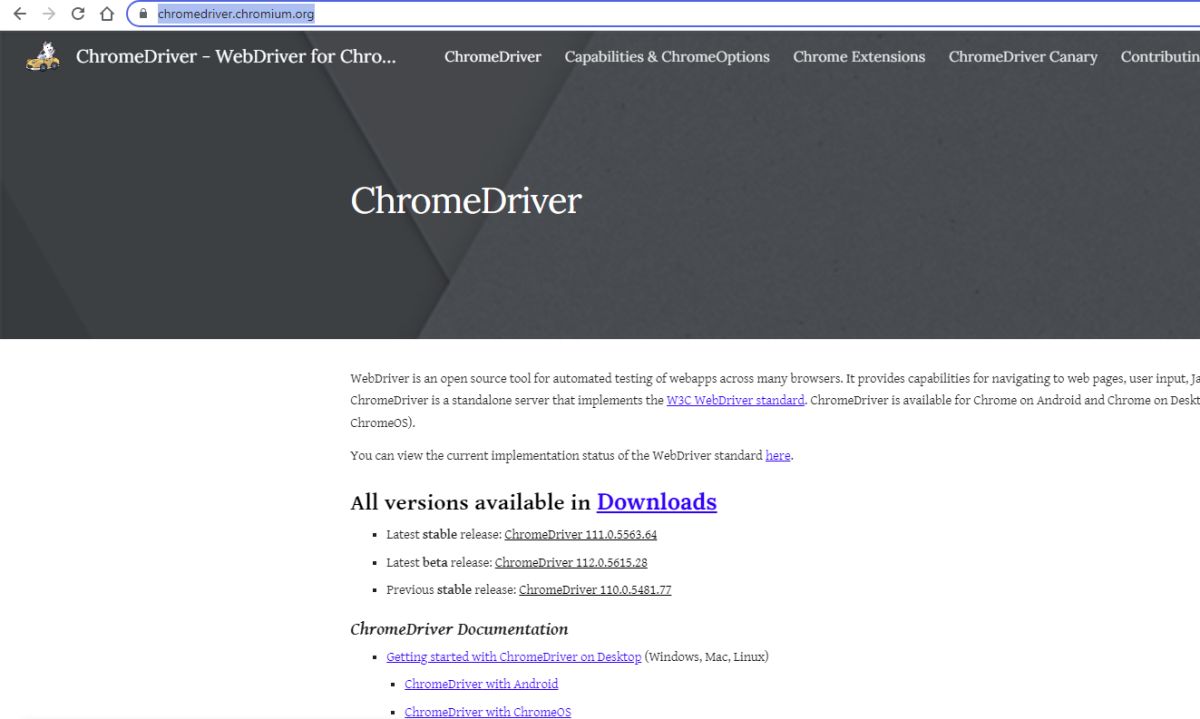
Step 3 – Download ChromeBinaries from the below location
The tests are going to use the Chrome browser, so we need to download the ChromeBinaries to open a blank browser in Chrome.
https://chromedriver.chromium.org/
The chromedriver and geckodriver are placed in a folder name drivers in the RobotFramework_Demo project. I have renamed chromedriver to chrome and geckodriver to firefox.

Step 4 – Create a simple Selenium Test
*** Settings ***
Documentation       Tests to login to Login Page
Library     SeleniumLibrary

*** Variables ***
${valid_username}     Admin
${valid_password}       admin123
${invalid_username}     1234
${invalid_password}     45678
${blank_username}
${blank_password}
${url}      https://opensource-demo.orangehrmlive.com/web/index.php/auth/login
${browser_name}      Chrome
${login_error_message}      css:.oxd-alert-content--error
${dashboard_title}       css:.oxd-topbar-header-breadcrumb-module
${missing_username_error_message}    xpath://*[@class='oxd-form']/div[1]/div/span
${missing_password_error_message}   xpath://*[@class='oxd-form']/div[2]/div/span


*** Test Cases ***

Validate Unsuccessful Login using invalid credentials
    [Tags]    SMOKE
    Open the Browser with URL
    Fill the login form     ${valid_username}       ${invalid_password}
    Verify the error message is correct
    Close Browser Session

Validate Unsuccessful Login for blank username
    [Tags]    REGRESSION
    Open the Browser with URL
    Fill the login form     ${blank_username}       ${valid_password}
    Verify the error message is displayed for username
    Close Browser Session

Validate Unsuccessful Login for blank password
    [Tags]    SMOKE     REGRESSION
    Open the Browser with URL
    Fill the login form     ${valid_username}       ${blank_password}
    Verify the error message is displayed for password
    Close Browser Session

Validate successful Login
    [Tags]    UAT
    Open the Browser with URL
    Fill the login form     ${valid_username}       ${valid_password}
    Verify Dashboard page opens
    Close Browser Session

*** Keywords ***

Open the Browser with URL
    Create Webdriver    ${browser_name}  executable_path=/Vibha_Personal/RobotFramework_Demo/drivers/${browser_name}
    Go To       ${url}
    Maximize Browser Window
    Set Selenium Implicit Wait    5

Fill the login form
   [Arguments]    ${username}      ${password}
   Input Text    css:input[name=username]   ${username}
   Input Password    css:input[name=password]   ${password}
   Click Button    css:.orangehrm-login-button

Verify the error message is correct
    Element Text Should Be    ${login_error_message}    Invalid credentials

Verify Dashboard page opens
    Element Text Should Be    ${dashboard_title}      Dashboard

Verify the error message is displayed for username
     Element Text Should Be    ${missing_username_error_message}      Required

Verify the error message is displayed for password
      Element Text Should Be    ${missing_password_error_message}      Required

Close Browser Session
    Close Browser
Step 5 – Set Variable values from the Runtime command
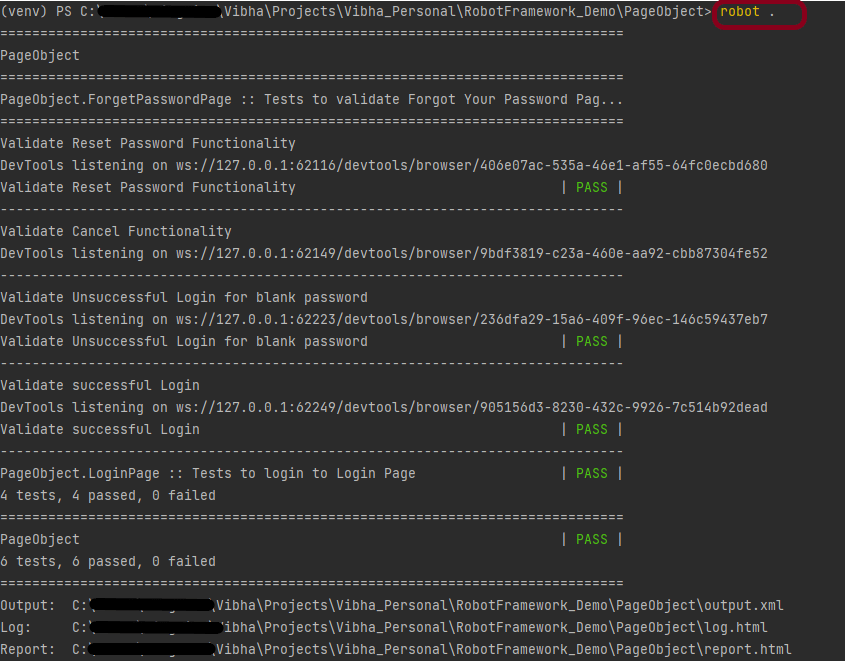
In the above example, we are using the Chrome browser to run the tests. I want to run the tests on the Firefox browser, but without making any changes to the existing code. How this can be achieved? We can pass variable
robot --variable browser_name:Firefox .
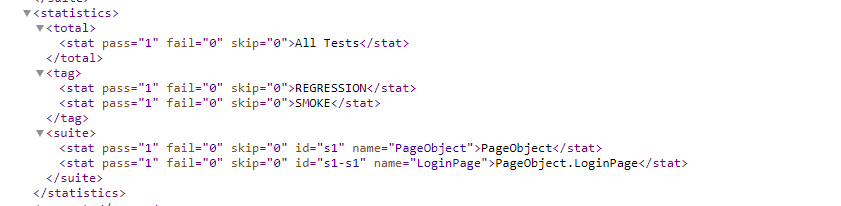
The output of the above program is
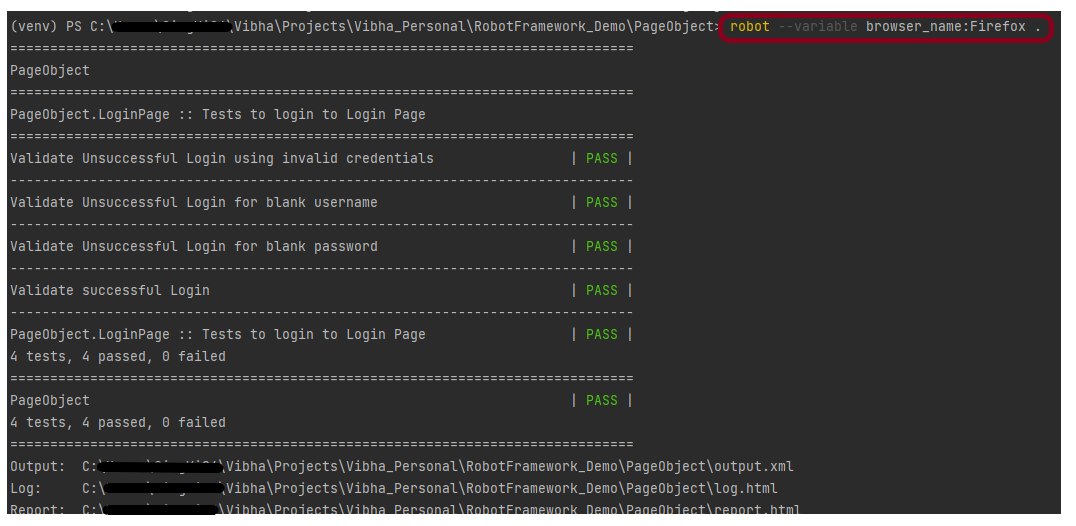
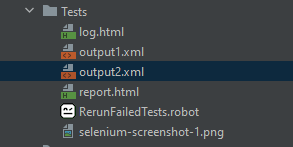
We have the test case passed. The Robot Framework generates log.html, output.xml, and report.html by default.

Let us now see the report and log details.
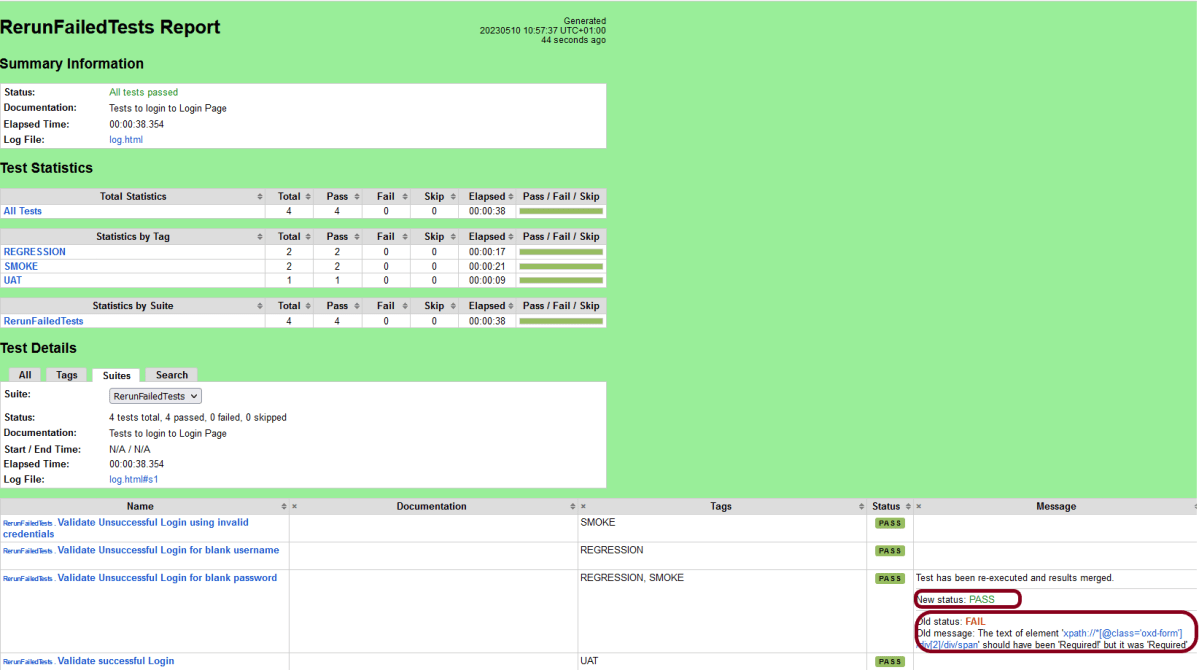
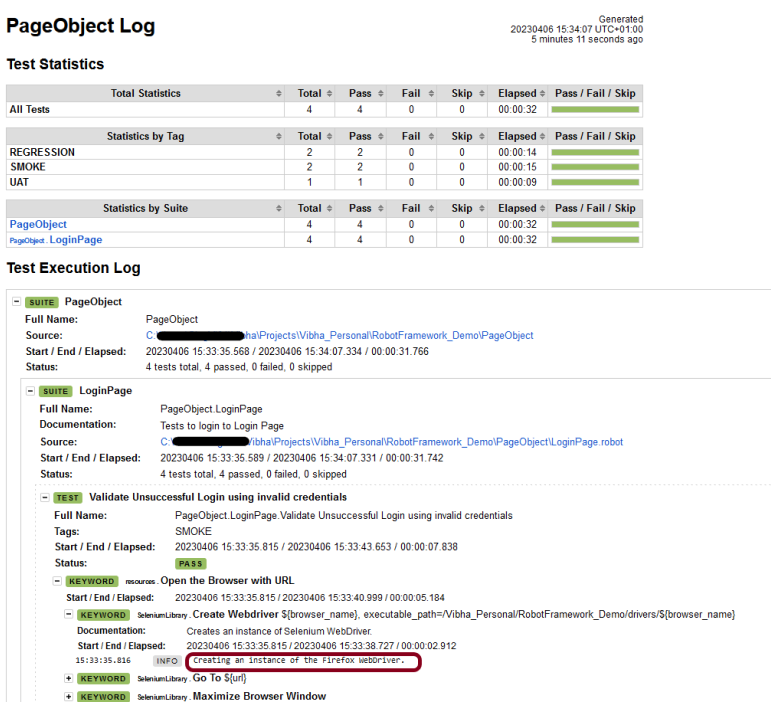
Report
Right-click on report.html. Select Open In->Browser->Firefox (any browser of your wish).

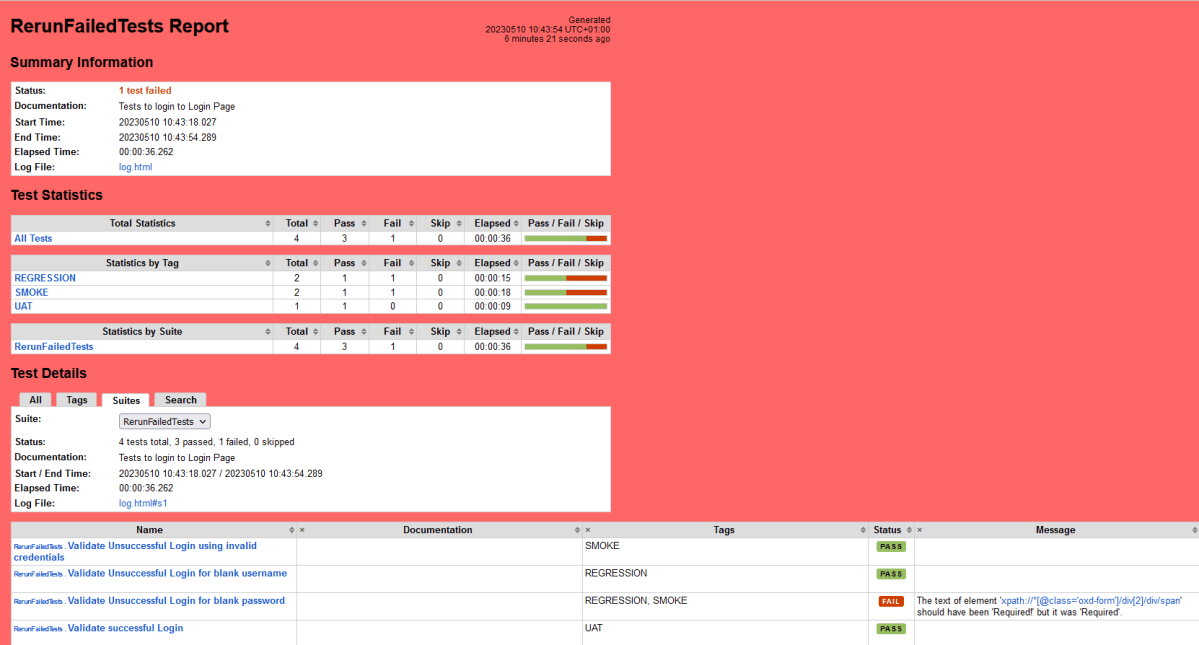
The Report generated by the framework is shown below:
Log
Robot Framework has multiple log levels that control what is shown in the automatically generated log file. The default Robot Framework log level is INFO.
Right-click on log.html. Select Open In->Browser->Firefox (any browser of your wish).
Variables with Tags
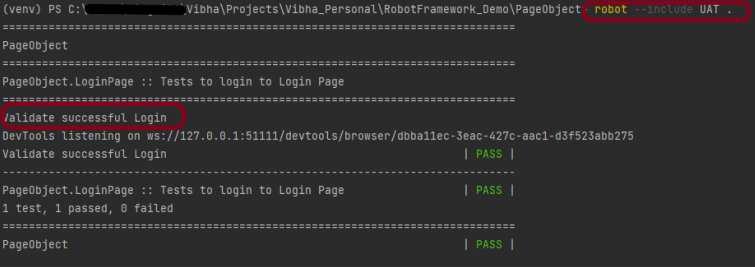
If you want to execute only test scenario tagged with UAT using firefox browser, it can be done using the below command:
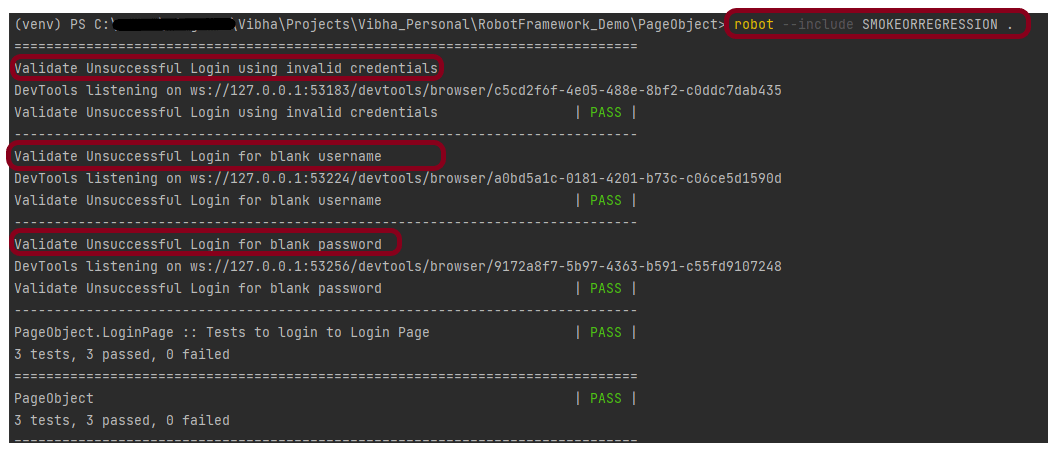
robot --variable browser_name:Firefox --include UAT .
The output of the above program is

That’s it! Congratulations on making it through this tutorial and hope you found it useful! Happy Learning!!
Additional Tutorials