This tutorial will explain the step-by-step process to download and install PyCharm on Windows.
Prerequisite:
Python is already installed on the machine.
You can refer to this tutorial to install Python on Windows 11.
Installation Steps
Step 1 – To download PyCharm visit the website https://www.jetbrains.com/pycharm/download/, and it will give you two options: Professional or Community. The professional edition of PyCharm requires a subscription, while the community edition is free. Click the “DOWNLOAD” button under the Community Section.

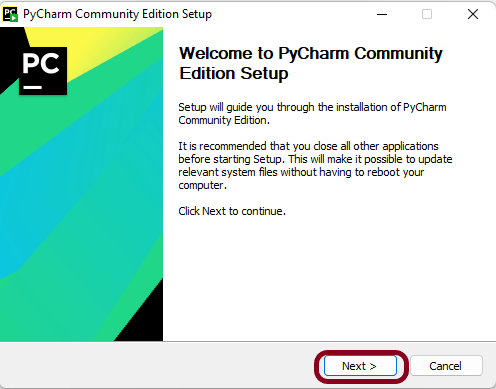
Step 2 – Once the download is complete, run the exe to install PyCharm. The setup wizard should have started. Click the “Next” button.
Step 3 – On the next screen, Change the installation path if required. Click the “Next” button.

Step 4 – On the next screen, you can create a desktop shortcut if you want, Add Open Folder as Project, Create Associations, Update PATH variable (restart needed), and click on the “Next” button.

Step 5 – Choose the start menu folder. Keep selecting JetBrains and click on the “Install” button.

Step 6 – Wait for the installation to finish.

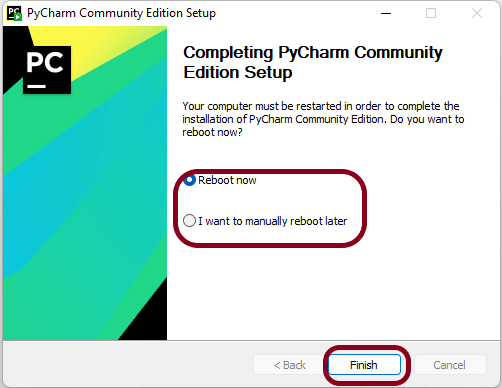
Step 7 – Once the installation is finished, you should receive a message screen that PyCharm is installed. You can select either of the options – Reboot now or I want to manually reboot later and click the “Finish” button.
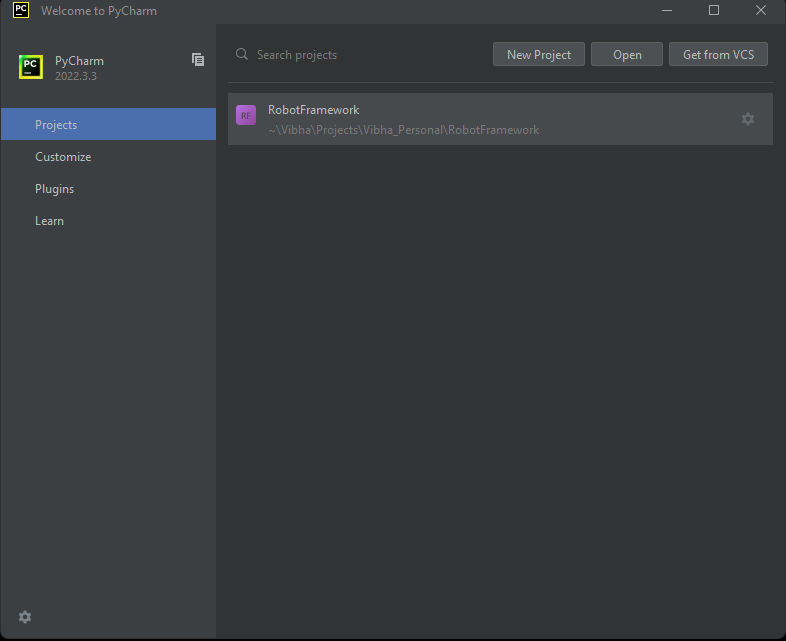
Step 8 – After you click on the “Finish” button, the following screen will appear. I already have created a new project, so you can see the RobotFramework project here.