Last Updated On
In this article, we will discuss how to verify status code and status line in Robot Framework.
Table of Contents
What is Status Code?
A response code indicating the status of the request (e.g., 200 OK, 404 Not Found). The status code that the server returns tells us whether the request was successful or not. If the request was successful, the server sends the status code in the range of 200-299. If the request was not successful, then the status code other than the range is returned.
What is Status Line?
The status line is a key component of an HTTP response or request message. It provides information about the status of an HTTP request or the version of protocol being used.
HTTP/1.1 200 OK
HTTP/1.1: The HTTP protocol version.
200: The status code indicating success.
OK: A human-readable reason phrase for the status code.
What is RequestLibrary?
RequestLibrary is a Robot Framework library aimed to provide HTTP API testing functionalities by wrapping the well-known Python Requests Library.
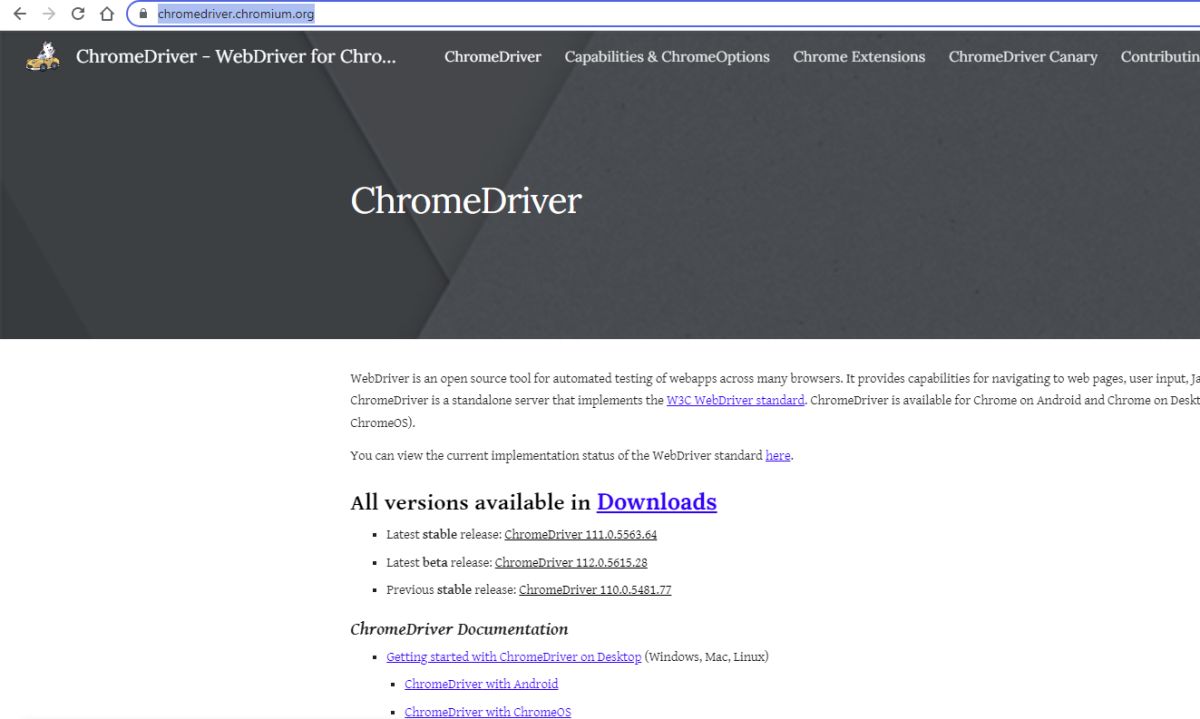
Prerequisite:
- Install Python
- Install PIP
- Install Robot Framework
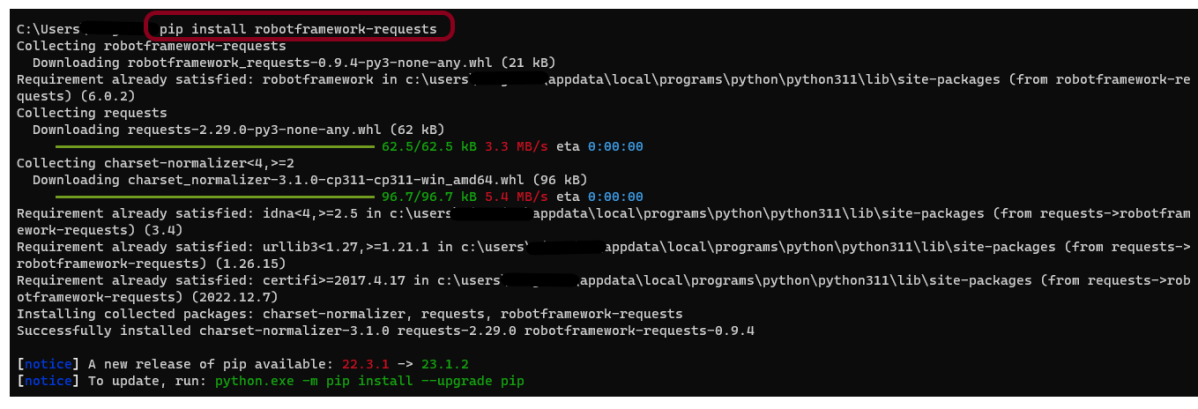
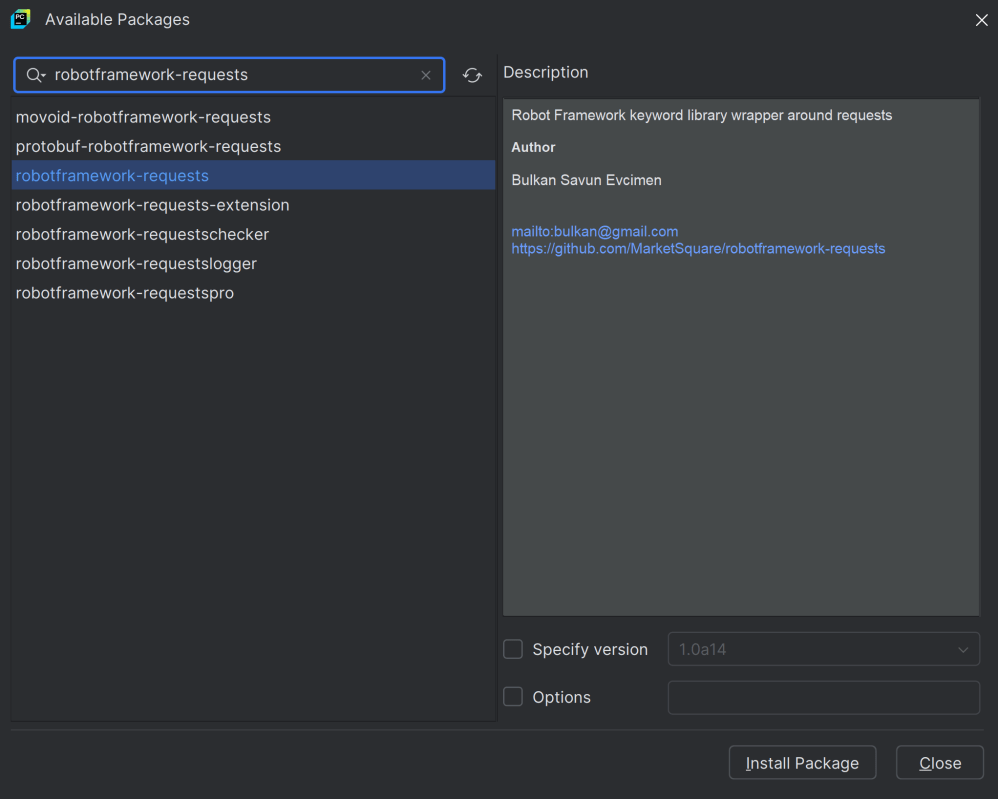
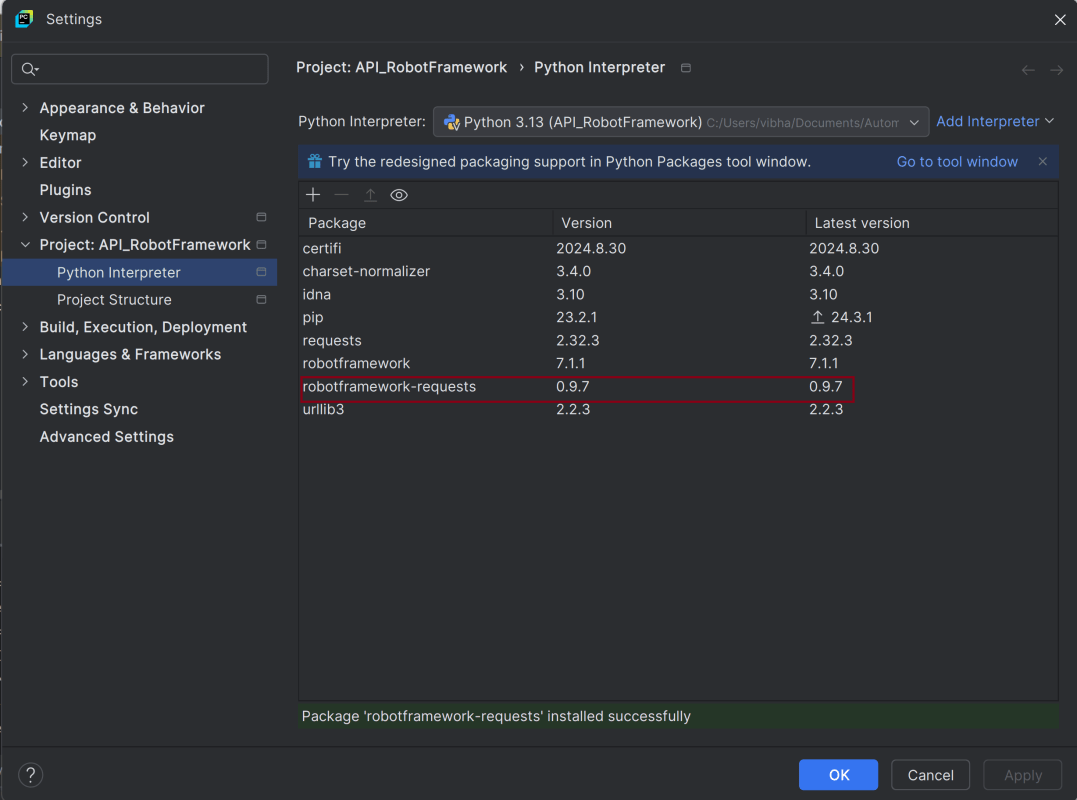
- Install Robot framework RequestLibrary
- Install PyCharm IDE
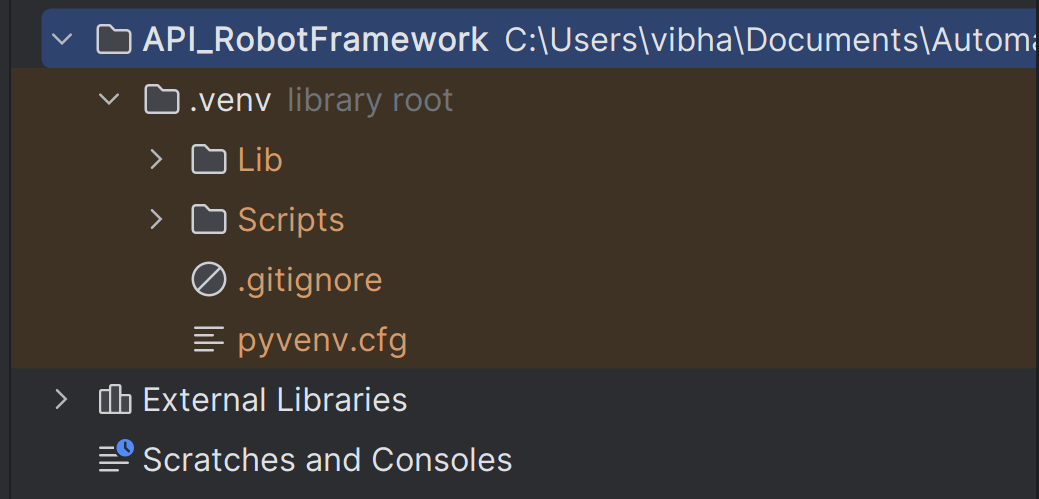
Please refer to this tutorial to install Robot Framework – How to install and setup Robot Framework for Python.
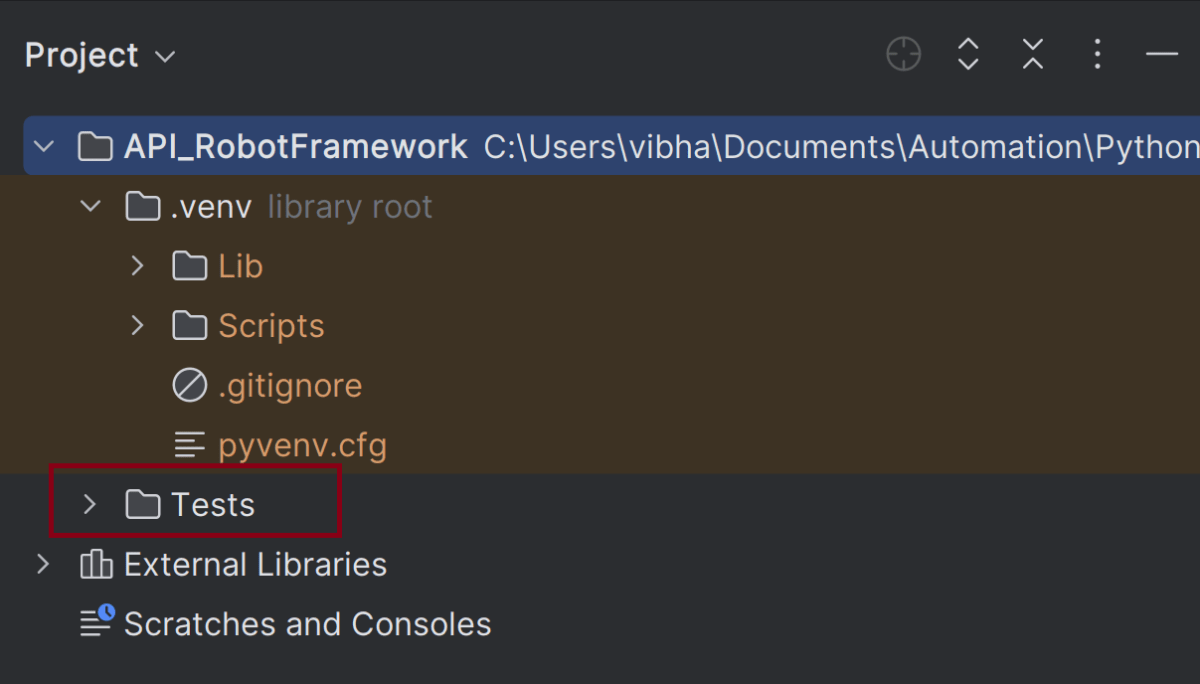
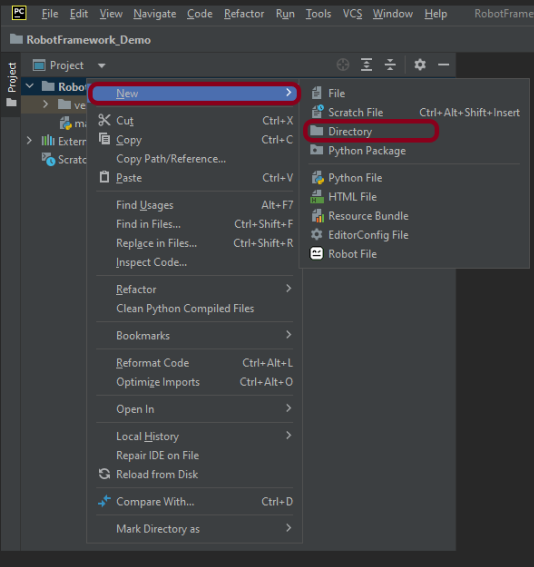
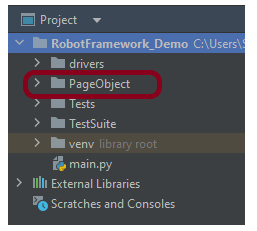
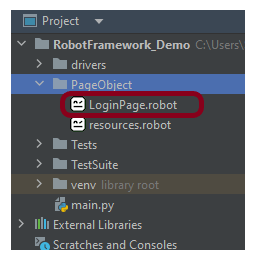
Implementation Steps:
Create API tests to verify status code
The API Test in Robot Framework.
*** Settings ***
Library           RequestsLibrary
Library           Collections
Library           BuiltIn

*** Variables ***
${BASE_URL}          https://reqres.in/api/users/2

*** Test Cases ***
Validate HTTP Response Details
    [Documentation]   This test case validates the HTTP response status code, line, body, headers, and content type

    # Create session
    Create Session    api    ${BASE_URL}

    # Create headers dictionary in the test case
    ${HEADERS}=       Create Dictionary      Content-Type=application/json

    # Send GET request
    ${response}=      GET On Session    api    url=${BASE_URL}    headers=${HEADERS}

    # Validate Status Code
    Should Be Equal As Numbers    ${response.status_code}    200
    Log To Console    Status Code: ${response.status_code}

   # Construct expected status line dynamically
    ${expected_status_line}=    Set Variable    HTTP/1.1 ${response.status_code} OK
    Log To Console    Expected Status Line: ${expected_status_line}

    # Validate Status Line
    ${actual_status_line}=   Evaluate    f"HTTP/1.1 ${response.status_code} OK"
    Should Be Equal    ${actual_status_line}    ${expected_status_line}
    Log To Console    Status Line: ${actual_status_line}
Settings Section
RequestsLibrary: Used for making HTTP requests.
Collections: Provides utilities like creating and manipulating dictionaries.
BuiltIn: Provides core Robot Framework keywords (like Log To Console).
Variables Section
${BASE_URL}: The base URL for the HTTP request.
Test Case Section:
This test case send an HTTP GET request.
1. Initializes an HTTP session named “api” with the specified base URL.
Create Session api ${BASE_URL}
2. Create Headers and includes the Content-Type.
${HEADERS}= Create Dictionary Content-Type=application/json
3. Sends a GET request on the “api” session to the specified URL. This request uses the headers created earlier, which includes the headers (${headers}) for authentication.
${response}= GET On Session api url=${BASE_URL} headers=${HEADERS}
${response}= We are saving the response of the GET operation in the ${response} variable.
4. Asserts that the response status code is 200, indicating a successful request. We have logged the Status Code too
Should Be Equal As Numbers    ${response.status_code}    200
Log To Console    Status Code: ${response.status_code}
5. Set Variable to construct expected Status Line. It dynamically constructs the expected status line using ${response.status_code}.
${expected_status_line}= Set Variable HTTP/1.1 ${response.status_code} OK
6. Evaluate to construct actual Status Line. Uses Python’s f-string syntax inside Evaluate to dynamically construct the actual status line.
${actual_status_line}= Evaluate f"HTTP/1.1 ${response.status_code} OK"
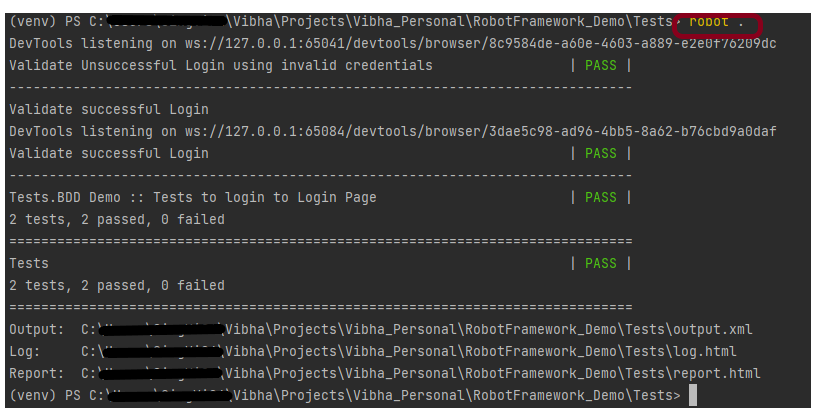
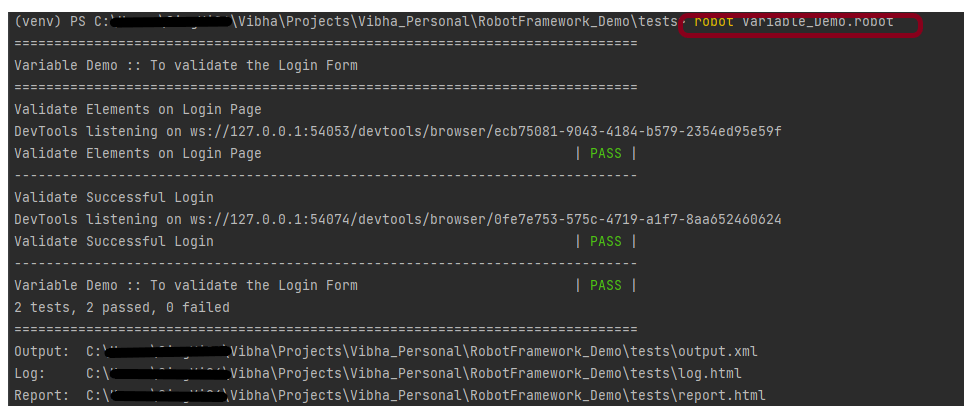
Execute the tests
We need the below command to run the Robot Framework script.
robot ValidateStatusCode.robot
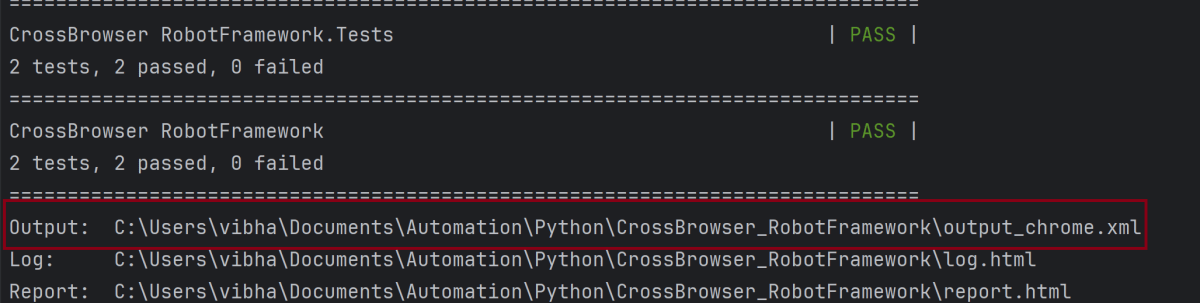
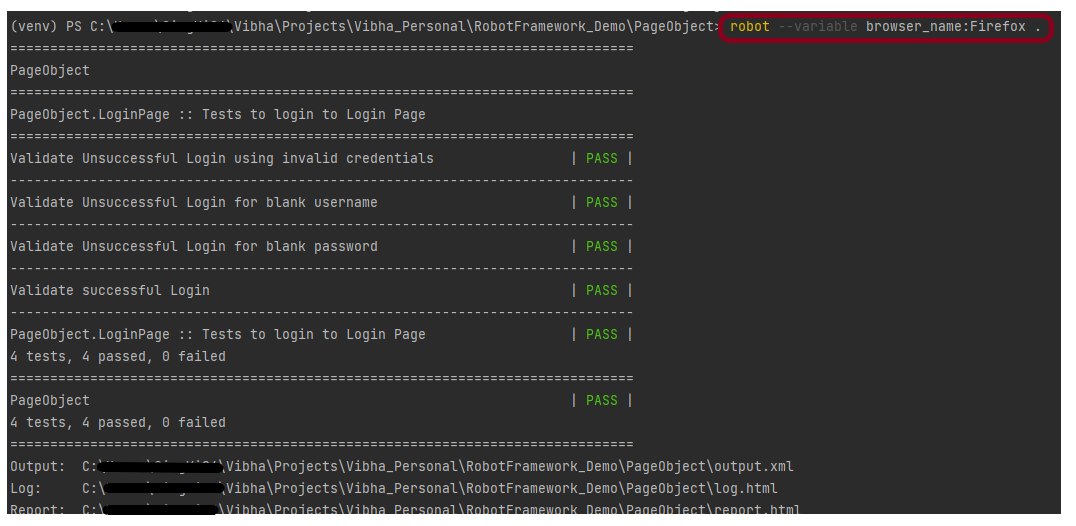
The output of the above program is

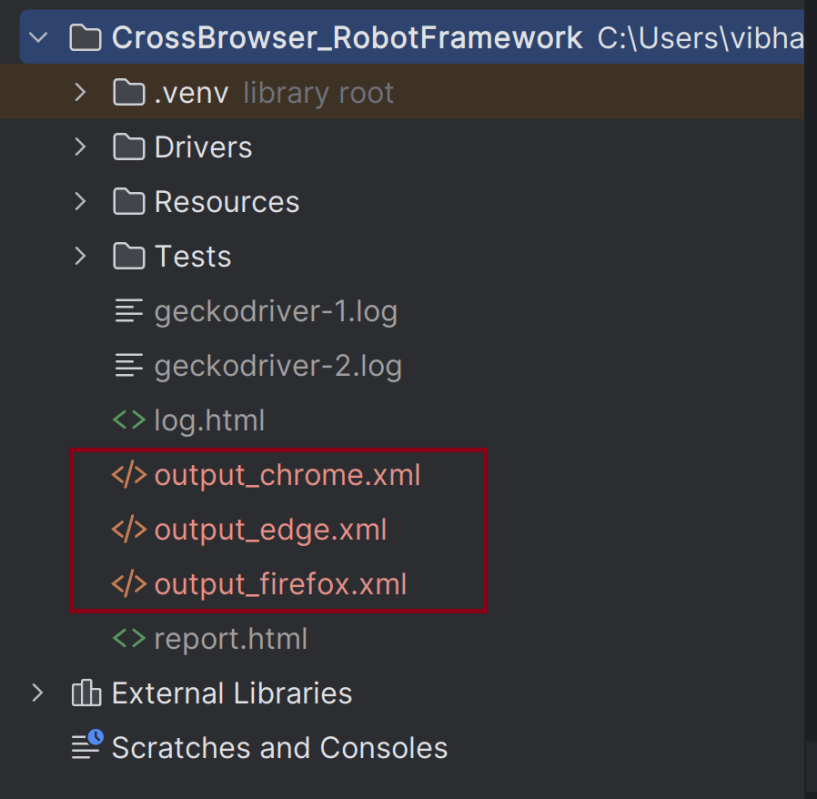
View Report and Log
We have the test case passed. The Robot Framework generates log.html, output.xml, and report.html by default.
Let us now see the report and log details.
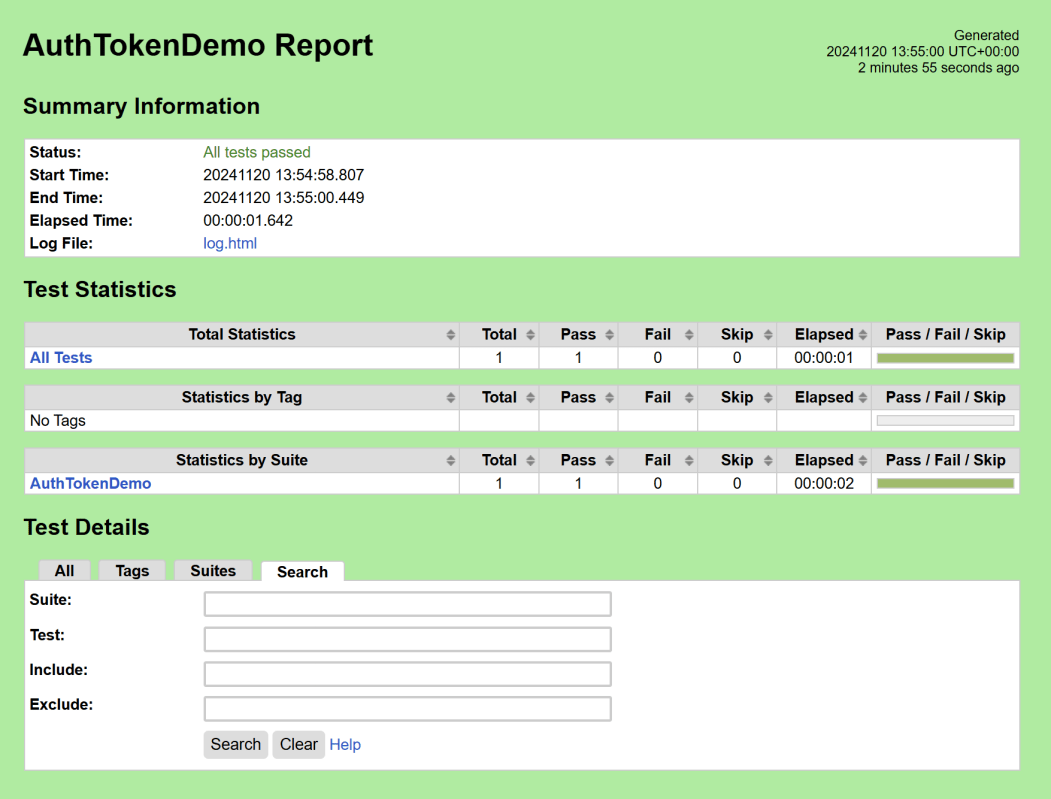
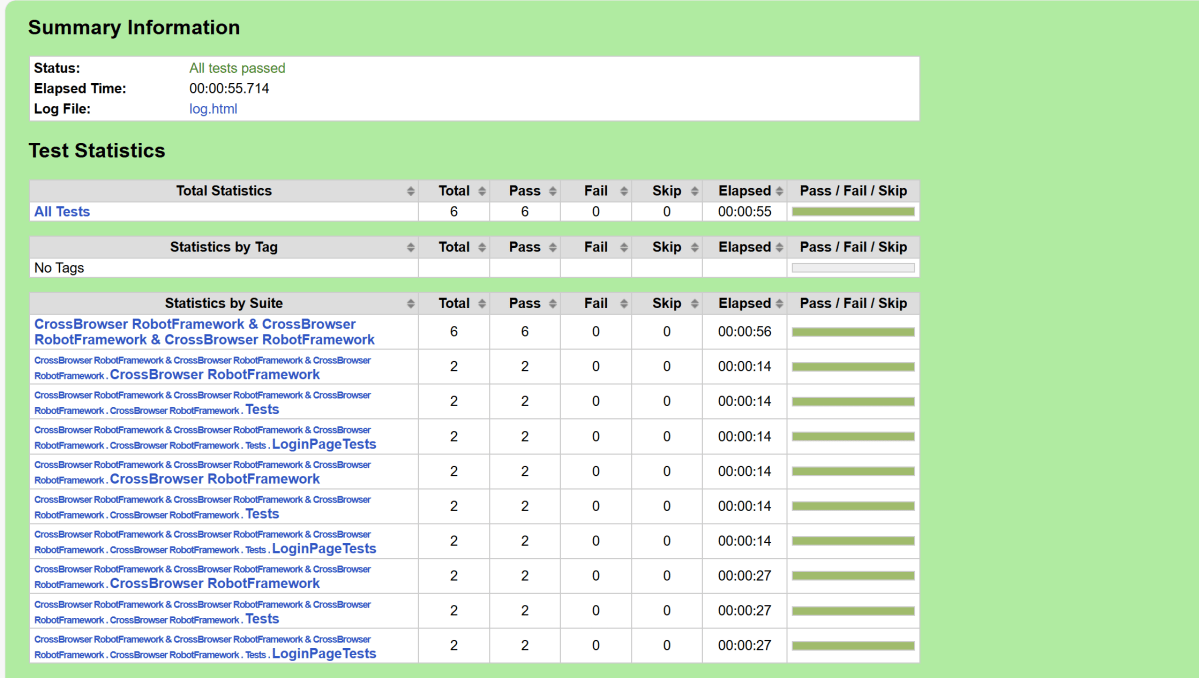
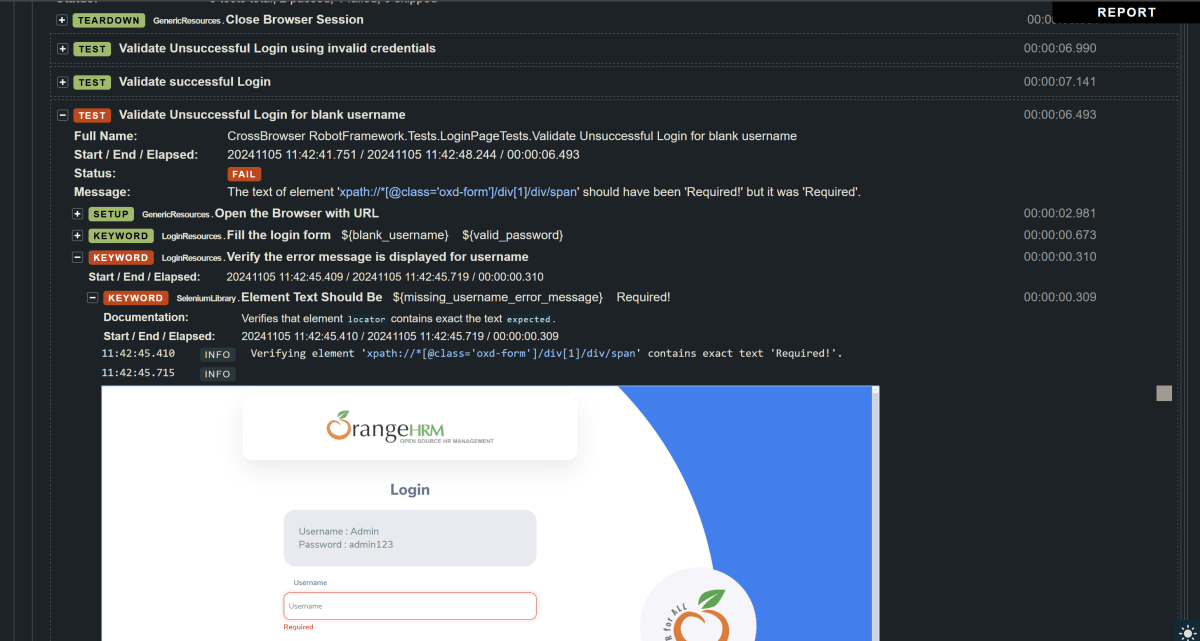
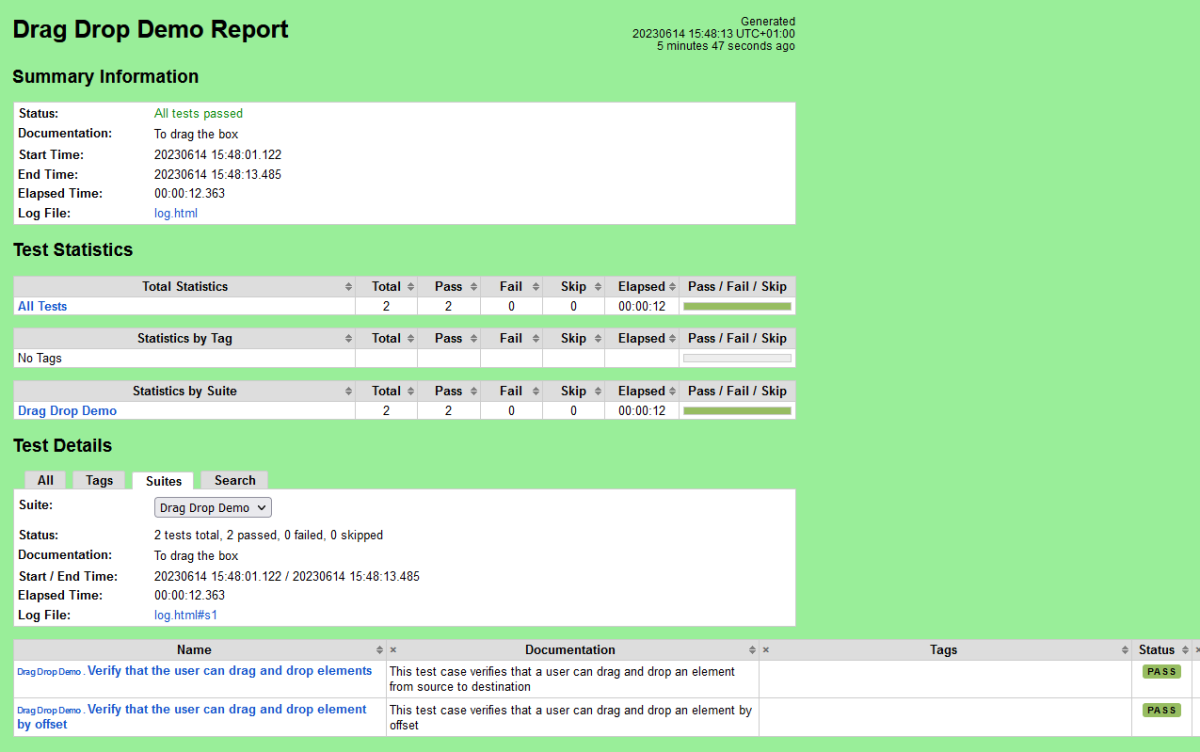
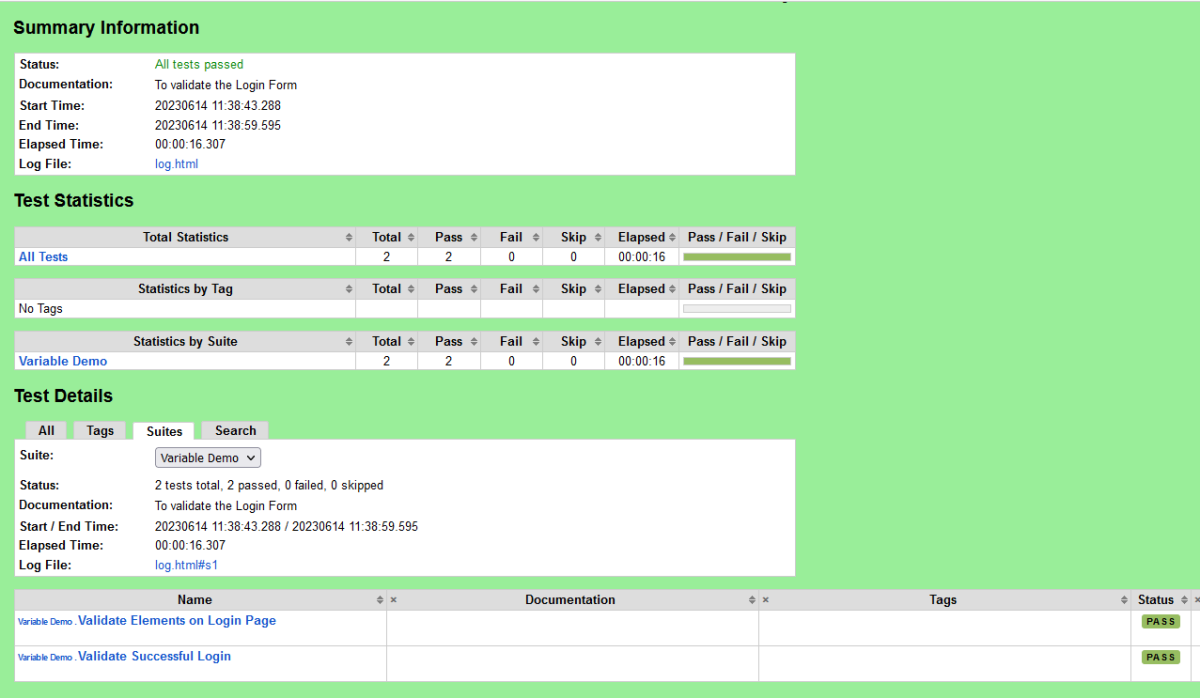
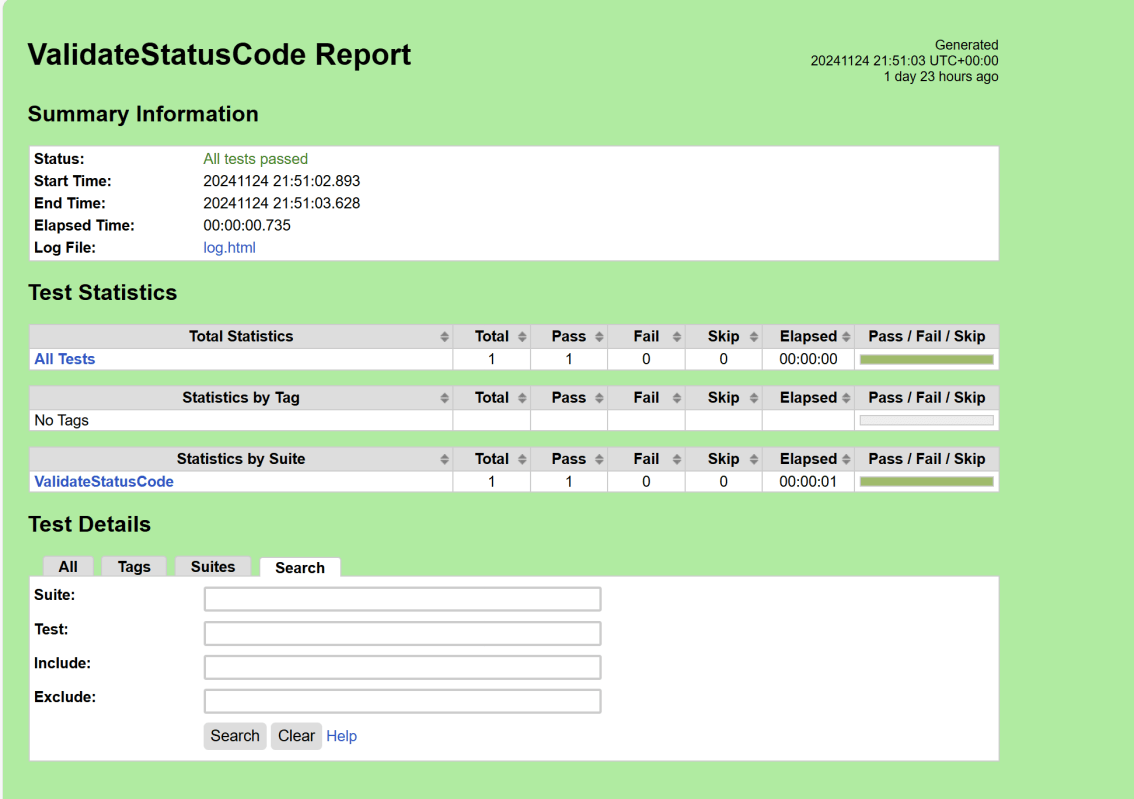
Report
Right-click on report.html. Select Open In->Browser->Chrome(any browser of your wish).
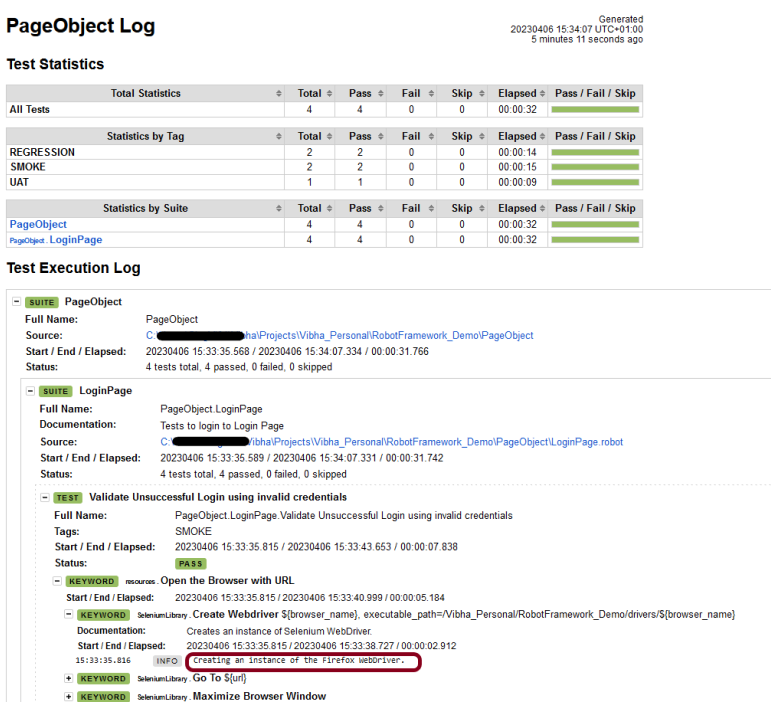
The Report generated by the framework is shown below:
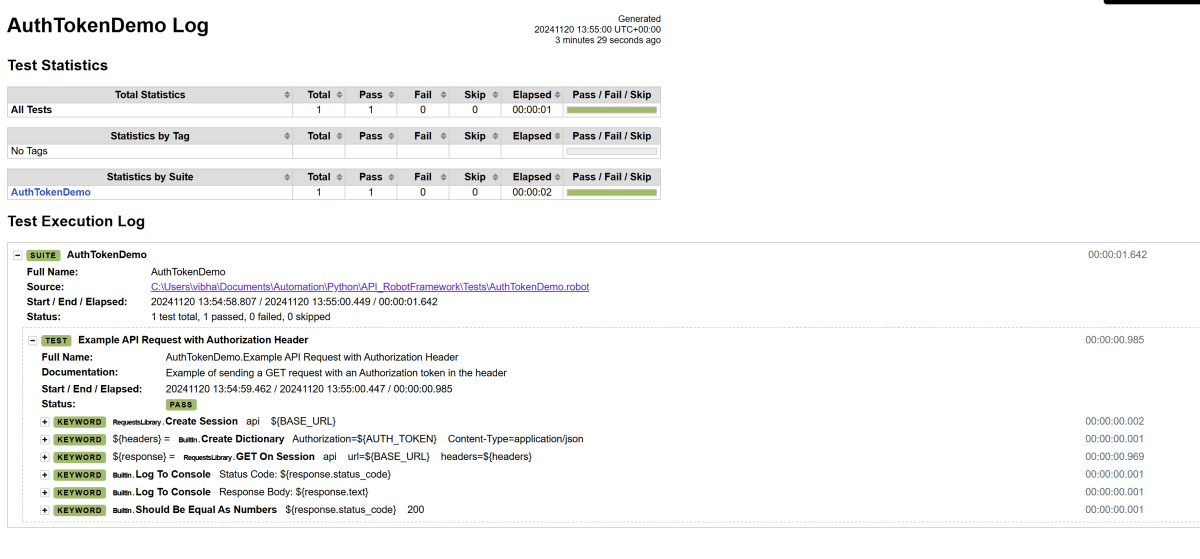
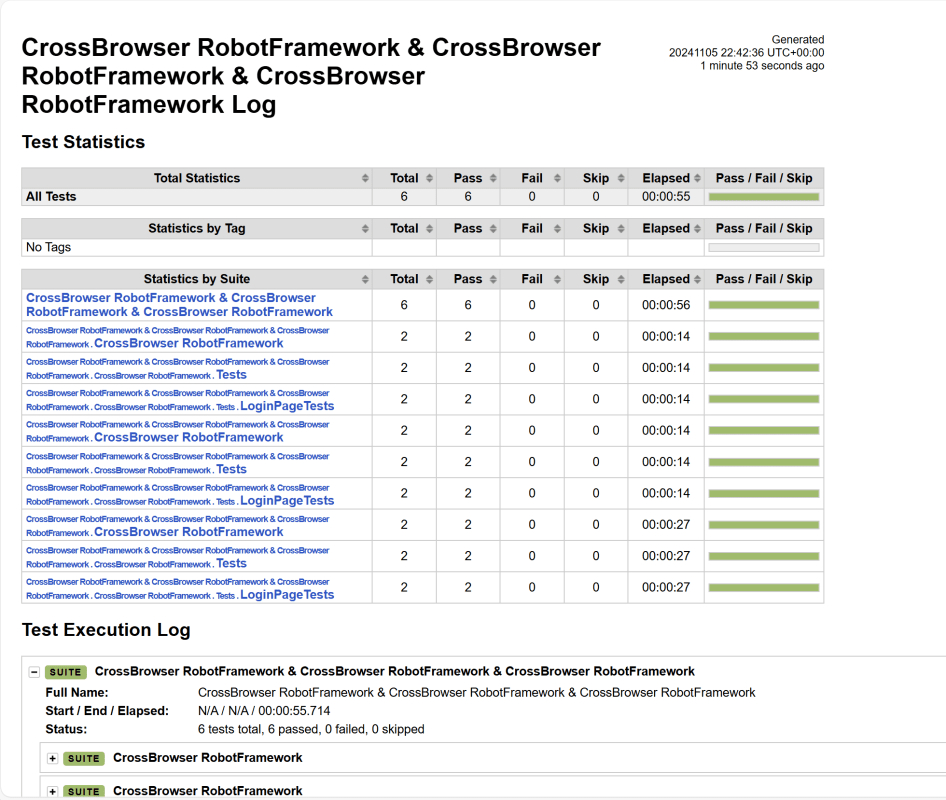
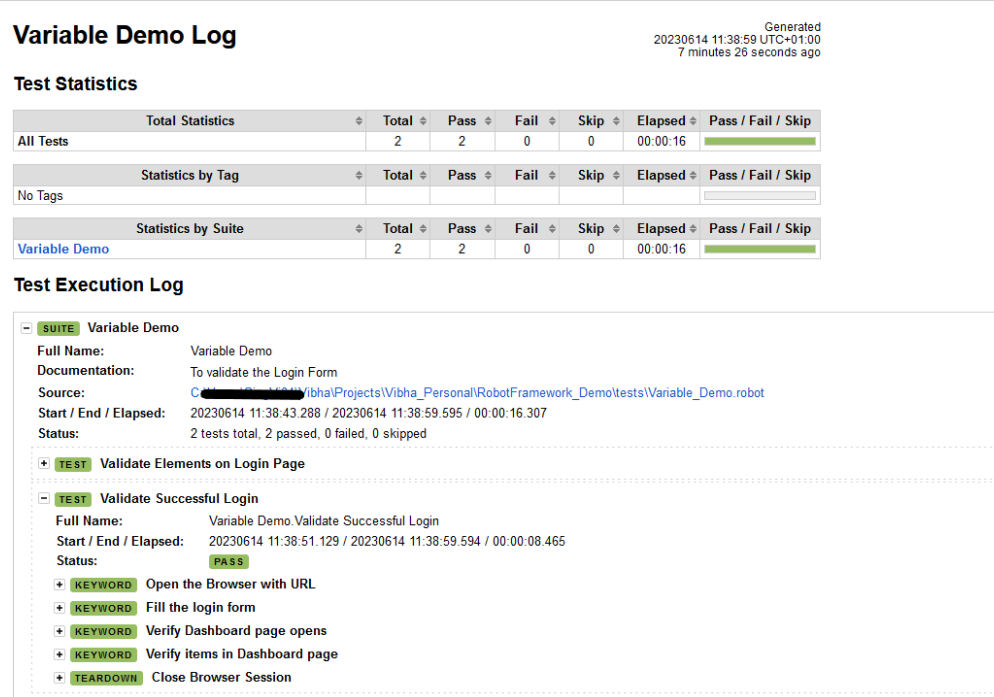
Log
Robot Framework has multiple log levels that control what is shown in the automatically generated log file. The default Robot Framework log level is INFO.
Right-click on log.html. Select Open In->Browser->Chrome(any browser of your wish).

That’s it! Congratulations on making it through this tutorial and hope you found it useful! Happy Learning!!
Additional Tutorials