Python requests are generally used to fetch the content from a particular resource URI. Whenever we make a request to a specified URI through Python, it returns a response object. Now, this response object would be used to access certain features such as status code, status line, body, content, headers, etc.
Table of Contents:
Prerequisite:
- Python is installed on the machine
- PIP is installed on the machine
- PyCharm or other Python Editor is installed on the machine
If you need help in installing Python, please refer to this tutorial – How to Install Python on Windows 11.
If you need help in installing PyCharms, please refer to this tutorial – How to install PyCharms on Windows 11.
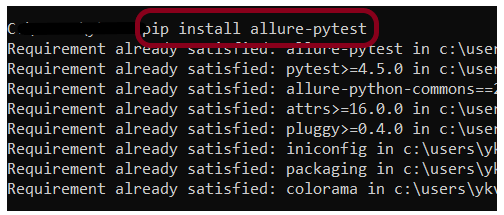
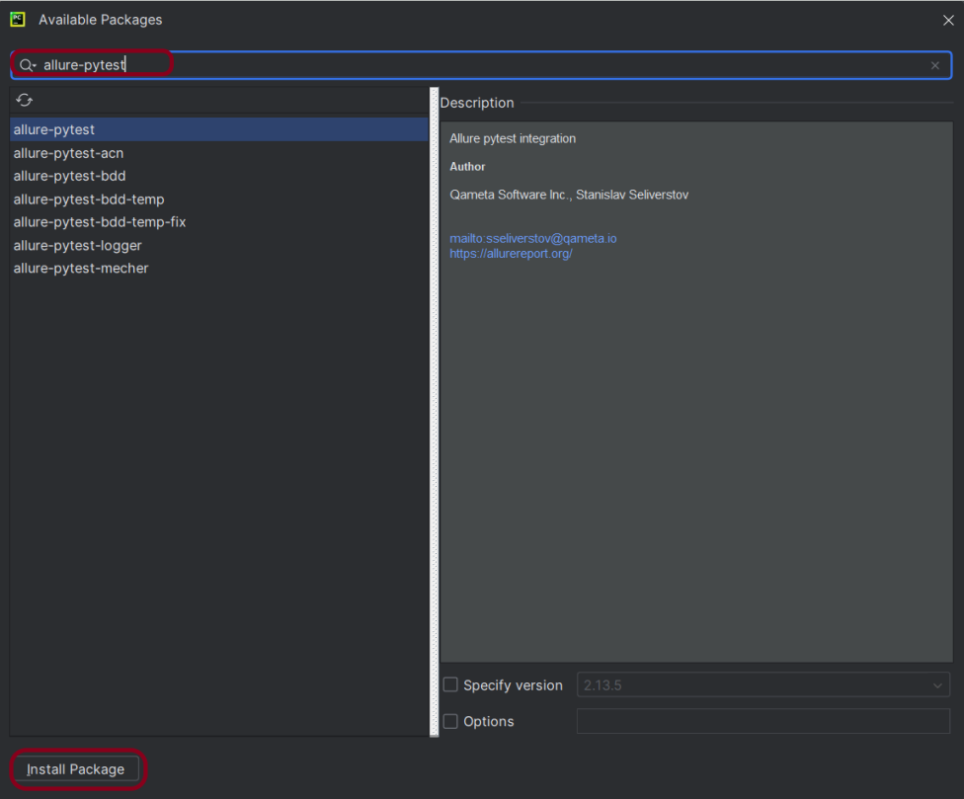
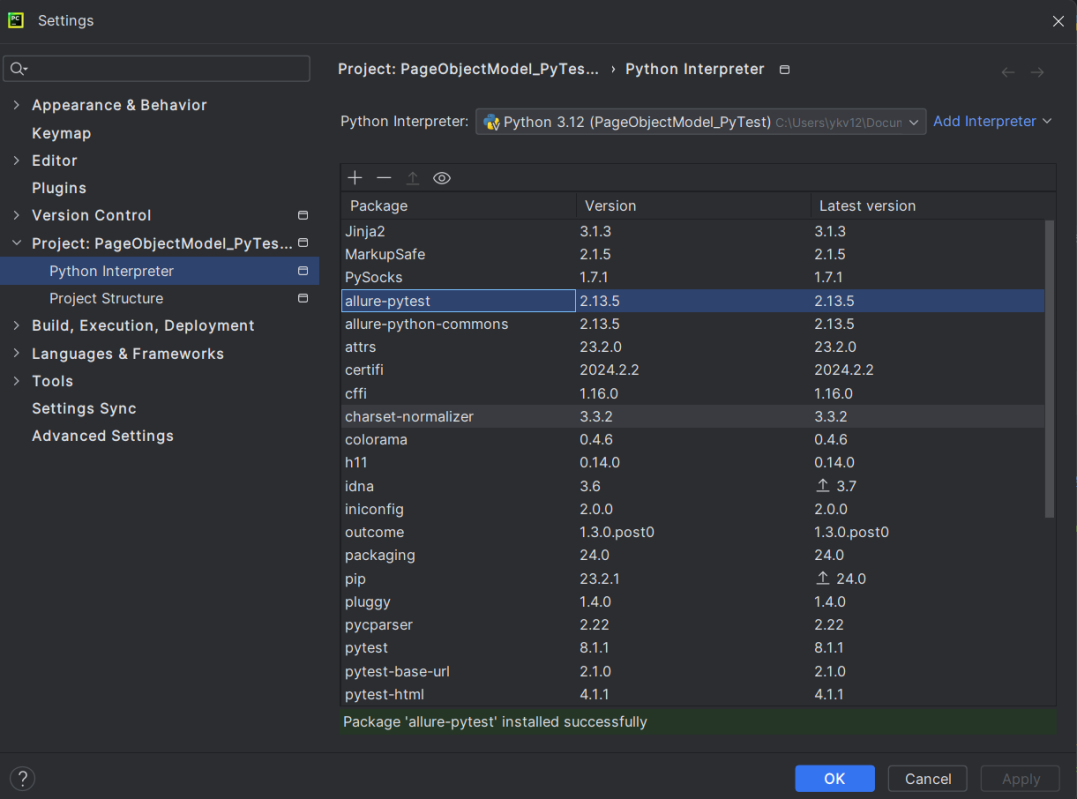
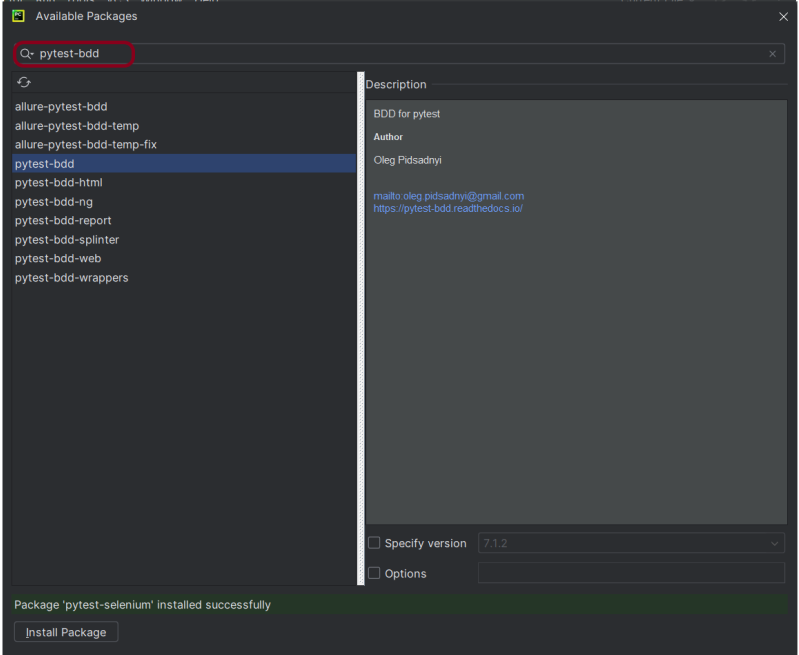
If you are using PyCharm IDE then you need to install the Request library. Execute the below command using pip.
pip install -U requests
Install pytest
pip install -U pytest
Verifying HTTP Response Status Code
A response code indicating the status of the request (e.g., 200 OK, 404 Not Found). The status code that the server returns tells us whether the request was successful or not. If the request was successful, the server sends the status code in the range of 200-299. If the request was not successful, then the status code other than the range is returned.
response.status_code attribute allows us to access the HTTP status code returned by an HTTP request.
import requests


def test_get_statuscode():

    # Define the API endpoint
    url = "https://reqres.in/api/users/2"

    # Make a GET request to the API endpoint
    response = requests.get(url)

    # Retrieve status code
    status_code = response.status_code

    # Display the results
    print("Status Code:", status_code)
    assert status_code == 200
Save above file as ResponseStatusCode_test.py and run using the below command:
pytest ResponseStatusCode_test.py -s
Note: -s is shortcut for –capture=no
The output of the above program is

Handling different status code
The requests library handles different status codes through the response.status_code attribute.
import requests


def test_get_statuscode():

    # Define the API endpoint
    url = "https://reqres.in/api/users/200000"

    # Make a GET request to the API endpoint
    response = requests.get(url)

    # Retrieve status code
    status_code = response.status_code

    # Display the results
    if status_code == 200:
        print("Request is successful")
    elif status_code == 401:
        print("Unauthorized Request")
    elif status_code == 404:
        print("Resource not found")
    elif status_code == 500:
        print("Server Error")
    elif status_code == 503:
        print("Service Unavailable")
    else:
        print("Status Code:", status_code)
The output of the above program is

Raising an Exception for HTTP Errors
response.raise_for_status() method is use to raise an HTTP Error if the HTTP response returned an unsuccessful status code like 4xx, 5xx.
import requests
def test_get_statuscode():
# Define the API endpoint
url = "https://reqres.in/api/users/200000"
# Make a GET request to the API endpoint
response = requests.get(url)
# Retrieve status code
status_code = response.status_code
# Display the results
try:
response.raise_for_status()
print("Request is successful")
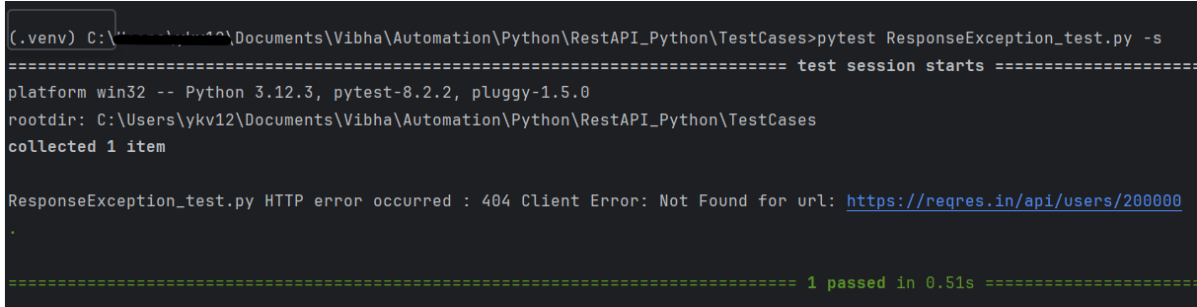
except requests.exceptions.HTTPError as http_err:
print(f"HTTP error occurred : {http_err}")
except Exception as err:
print(f"Other error occurred: {err}")
The output of the above program is
Verifying HTTP Response Status Line
import requests


def test_get_statusline():

    # Define the API endpoint
    url = "https://reqres.in/api/users/2"

    # Make a GET request to the API endpoint
    response = requests.get(url)

    # Retrieve status line (in this example, requests library does not provide status line directly, so we can construct it)
    status_line = f"{response.status_code} {response.reason}"

    # Display the results
    print("Status Line:", status_line)
    assert status_line == "200 OK"
The output of the above program is

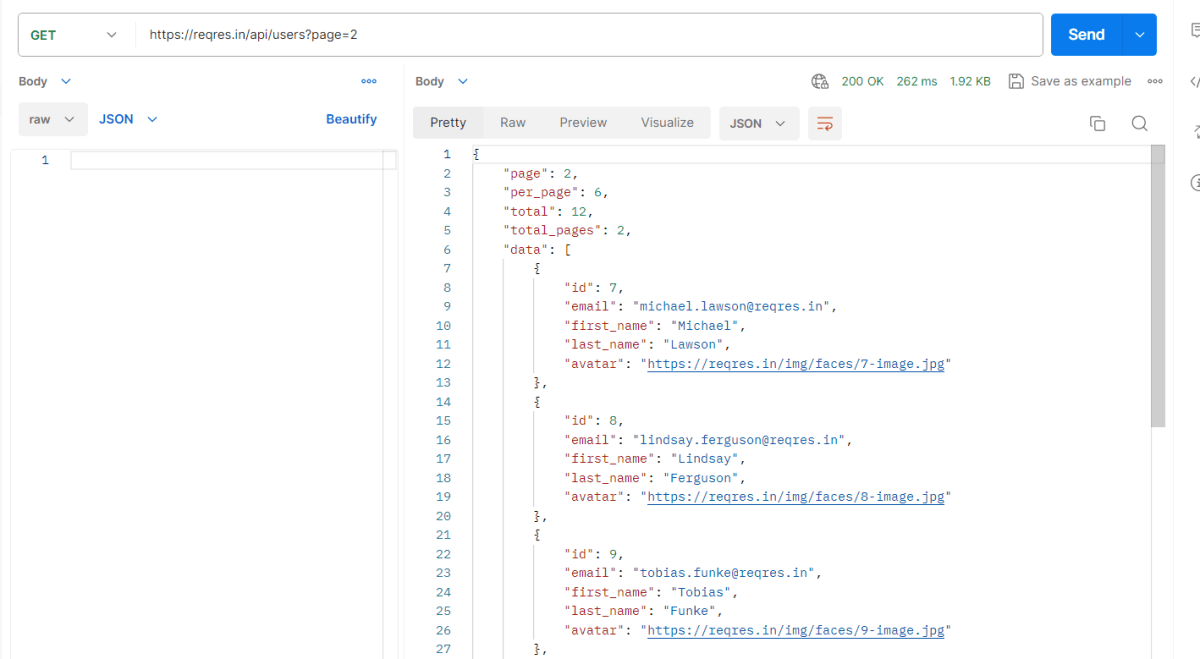
Verifying HTTP Response Body
response.content returns the content of the response, in bytes.
import requests


def test_get_responsebody():

    # Define the API endpoint
    url = "https://reqres.in/api/users/2"

    # Make a GET request to the API endpoint
    response = requests.get(url)

    # Retrieve response content
    content = response.content

    # Display the results
    print("Response Content:", content)
The output of the above program is

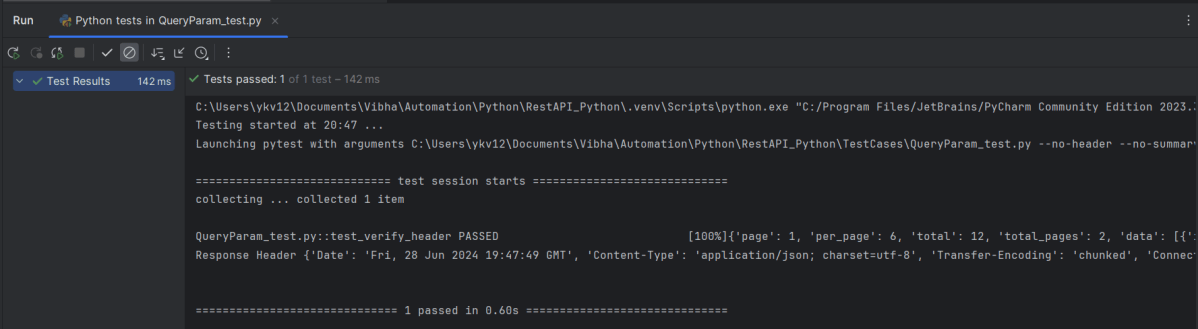
Verifying HTTP Response Header Content Type
response.headers returns a dictionary of response headers. Headers are used for different purposes such as Authentication/ Passing and retrieving data from the server, etc.
import requests


def test_get_headers():

    # Define the API endpoint
    url = "https://reqres.in/api/users/2"

    # Make a GET request to the API endpoint
    response = requests.get(url)

    # Retrieve content type
    content_type = response.headers['Content-Type']

    # Display the results
    print("Content Type:", content_type)
    assert content_type == "application/json; charset=utf-8"
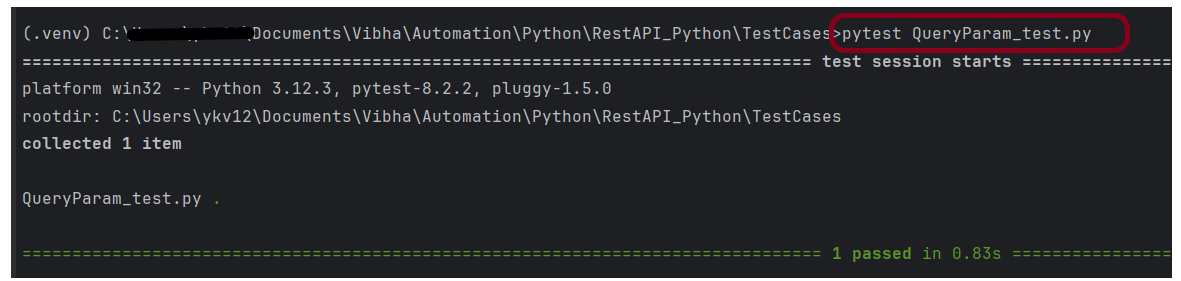
The output of the above program is

We are done! Congratulations on making it through this tutorial and hope you found it useful! Happy Learning!