Last Updated on
In this tutorial, we will discuss the Integration of Allure Report with the PyTest.
Table of Contents:
- What is an Allure Report?
- Prerequisite
- Implementation Steps
What is an Allure Report?
Allure Framework is a flexible lightweight multi-language test report tool that not only shows a very concise representation of what has been tested in a neat web report form but allows everyone participating in the development process to extract maximum useful information from everyday execution of tests.
From the dev/qa perspective, Allure reports shorten common defect lifecycle: test failures can be divided into bugs and broken tests, also logs, steps, fixtures, attachments, timings, history, and integrations with TMS and bug-tracking systems can be configured, so the responsible developers and testers will have all information at hand.
Prerequisite:
- Python is installed on the machine
- PIP is installed on the machine
- PyCharm or another Python Editor is installed on the machine
If you need help installing Python, please refer to this tutorial – How to Install Python on Windows 11.
If you need help installing PyCharm, please refer to this tutorial – How to install PyCharms on Windows 11.
Implementation Steps:
Step 1 – Install allure-pytest plugin
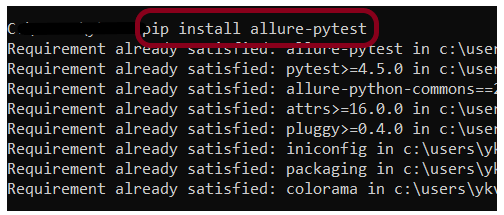
Go to the command prompt and run the below-mentioned command to download the plugin:
pip install allure-pytest
The below image shows that the plugin is installed successfully.
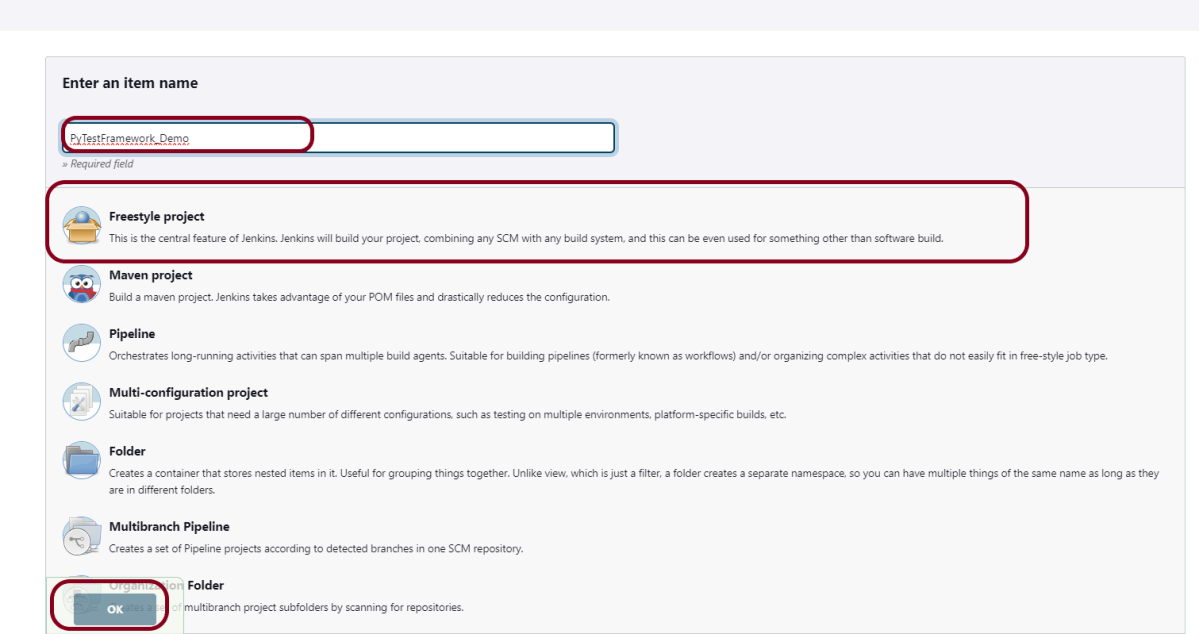
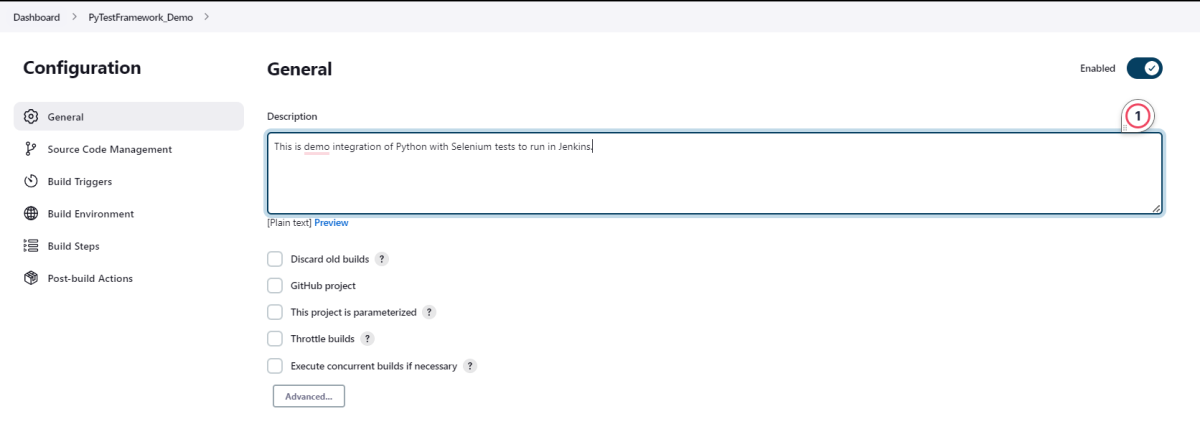
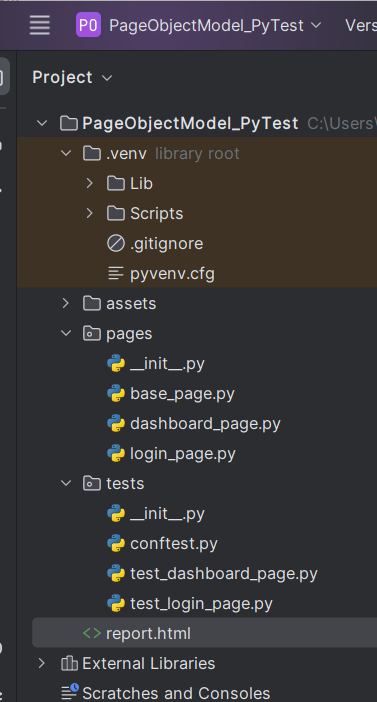
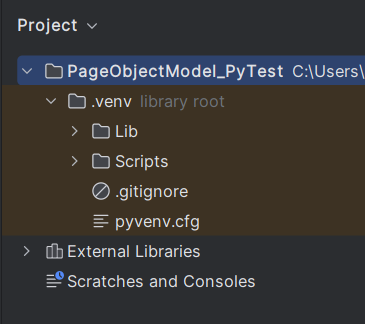
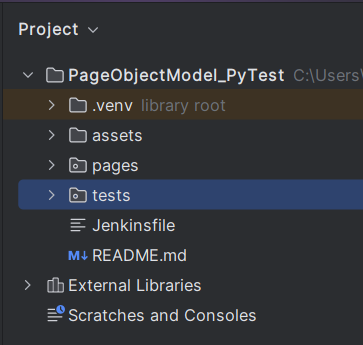
Step 2 – Create a new project folder and open it in PyCharm
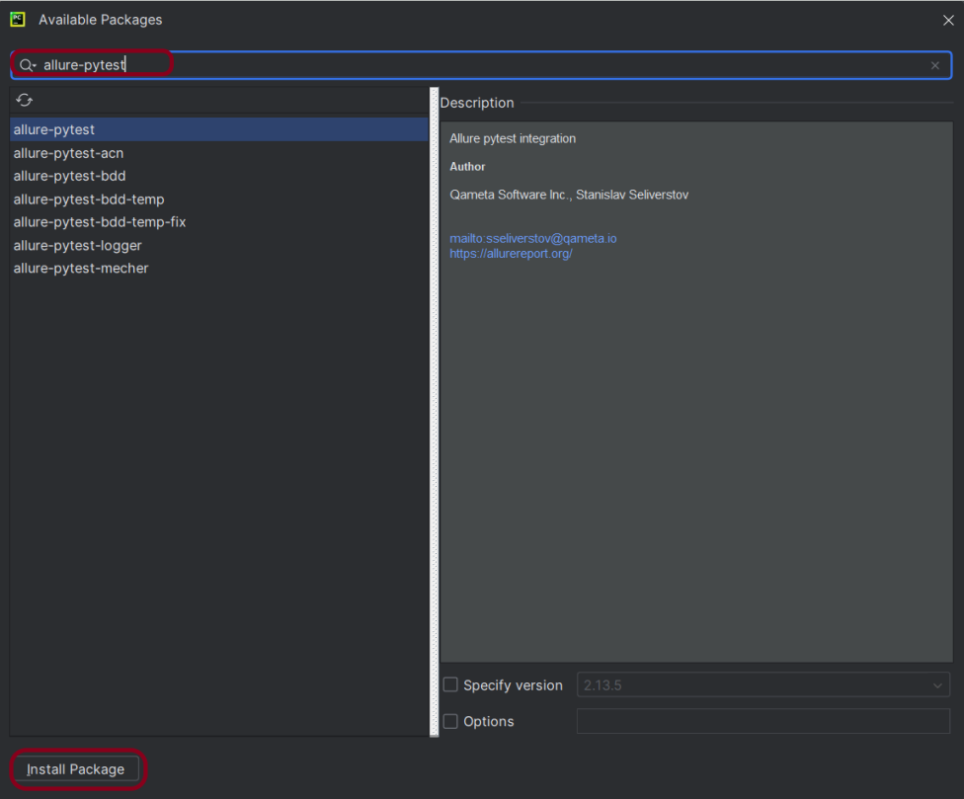
Step 3 – Add the allure-pytest package to the PyCharms
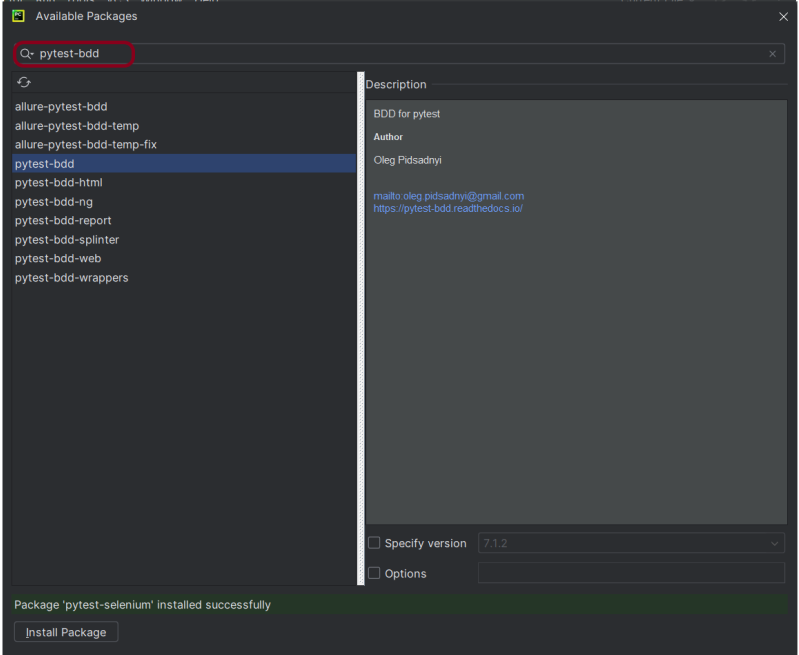
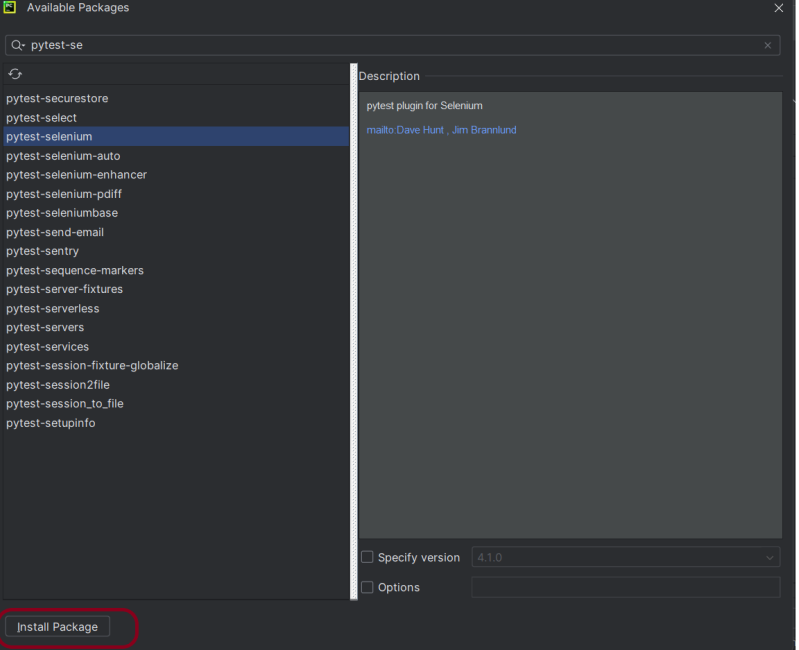
Go to File->Settings ->Project:PageObjectModel_Pytest->Python Interpreter.
Click on the “+” sign and enter allure-pytest in the search bar. It will show a list of packages. Select the “allure-pytest” package and click on the “Install Package”.
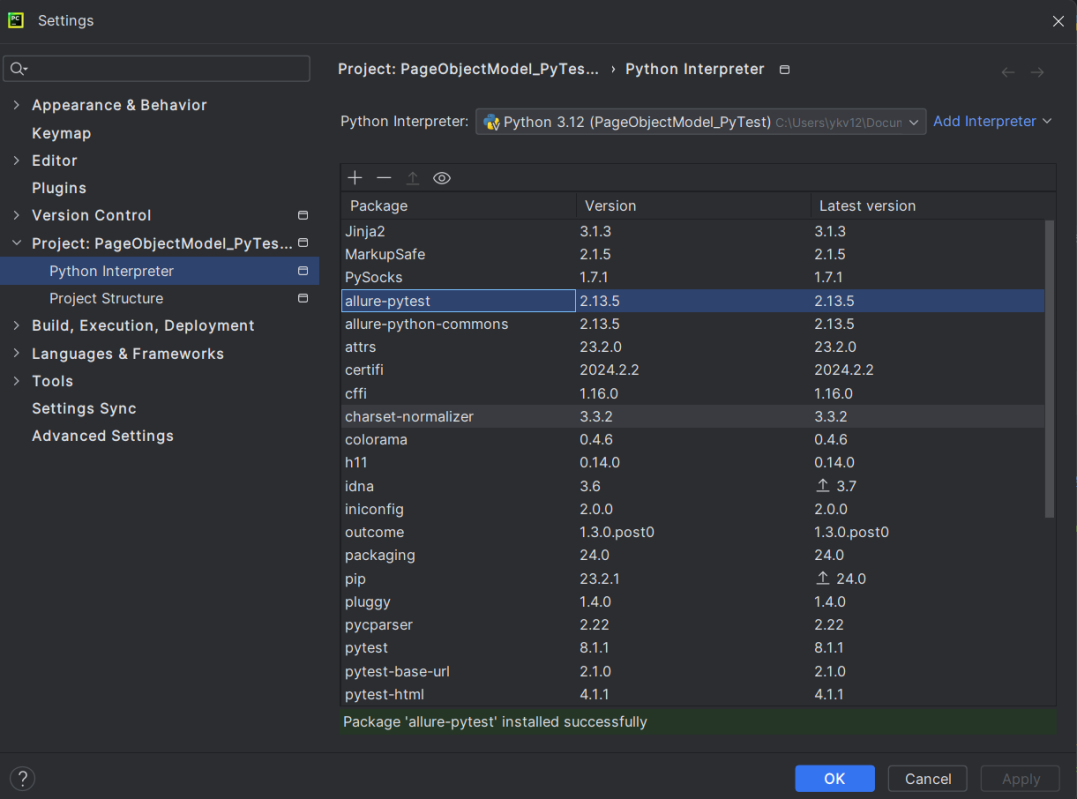
Once the package is installed, we will see the message that the package is installed successfully, and it can be seen under the package list as shown below:
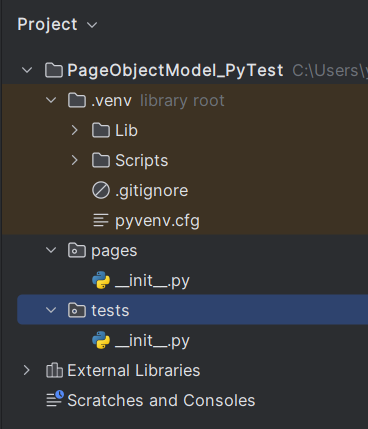
Step 4 – Create the test code
The complete PyTest framework can be found here – Page Object Model Implementation of Python with Selenium – PyTest.
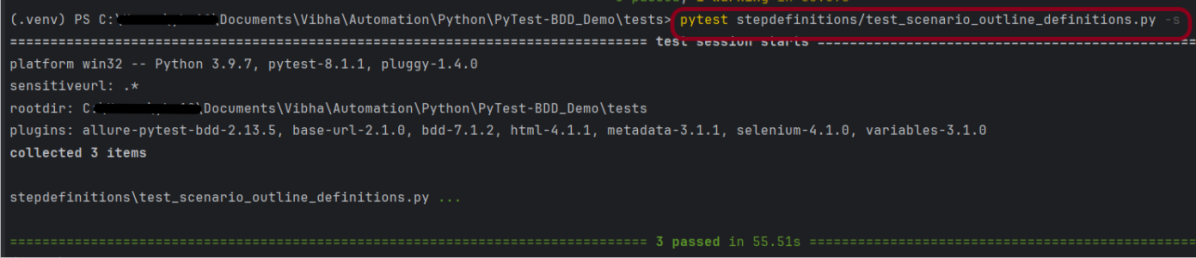
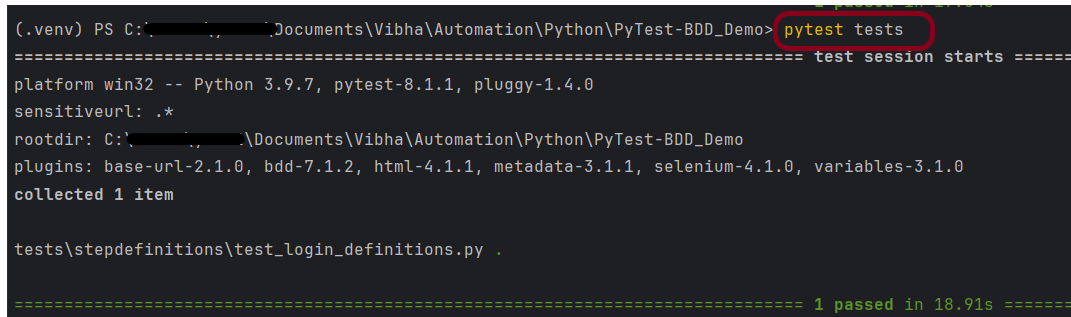
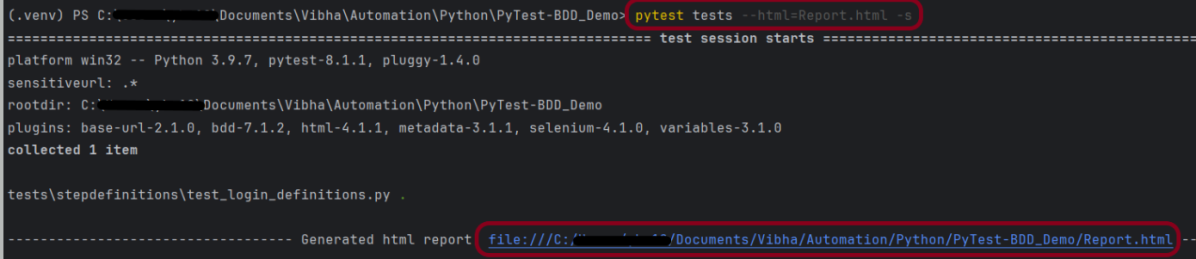
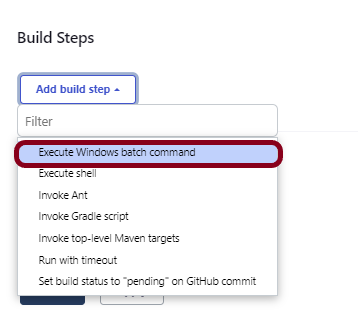
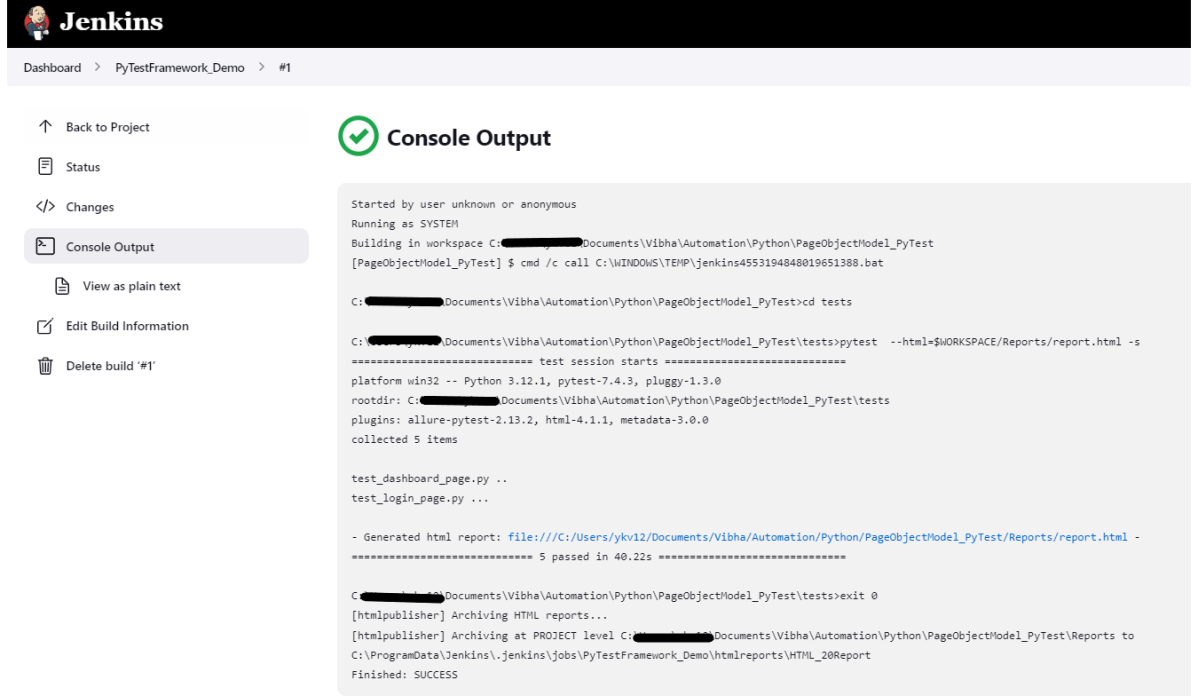
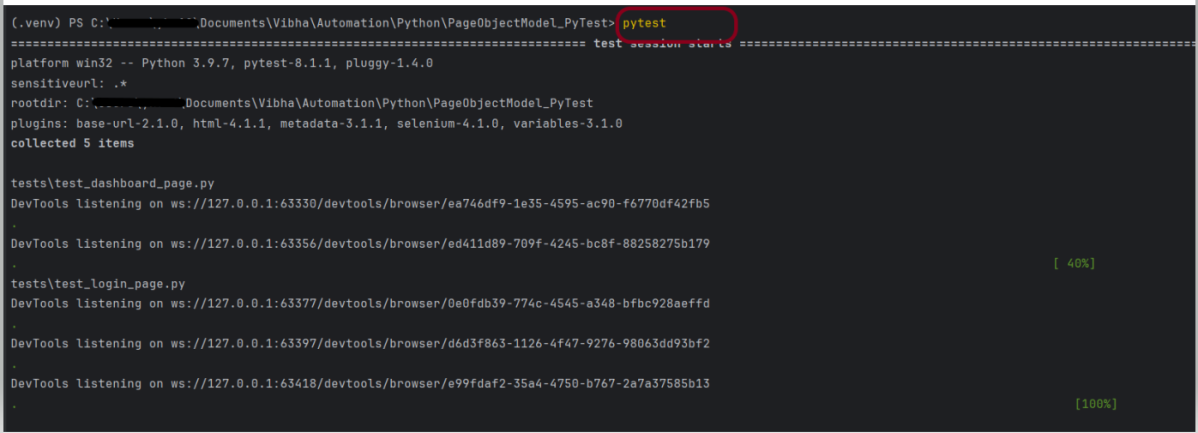
Step 5 – Execute the tests
We need the below command to run the PyTest Framework script using the Allure listener.
pytest --alluredir allure-results
The output of the above program is

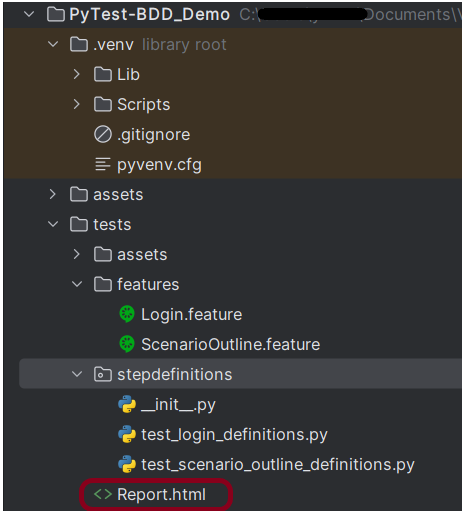
Step 6 – Generation of allure-results folder
We have the test case passed. It will generate an allure-results folder in the tests directory. This folder contains all the files needed to generate the Allure Report.

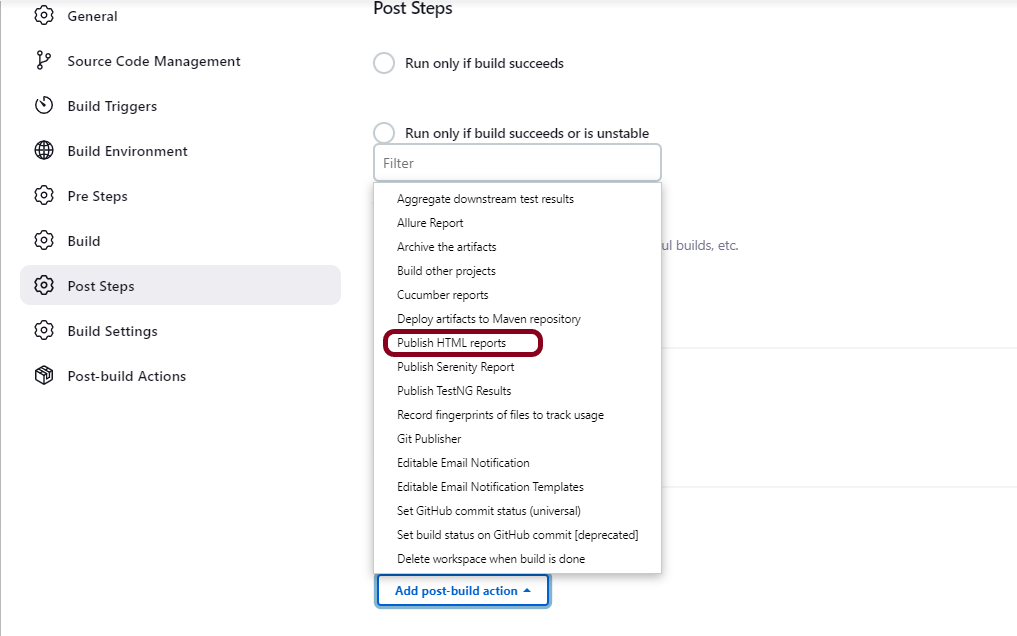
Step 7 – Generate the Allure Report
To create Allure Report, use the below command
allure serve allure-results

This will generate the beautiful Allure Test Report as shown below.
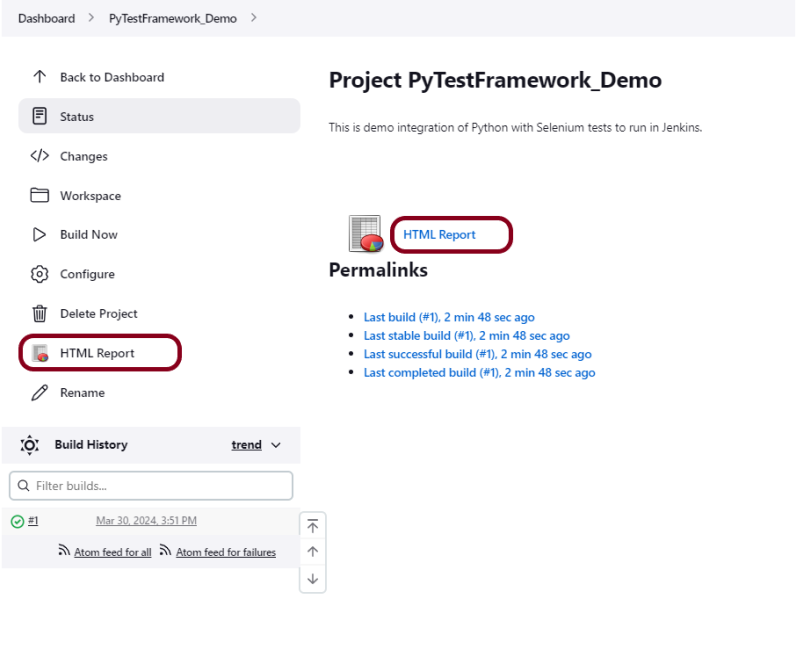
Step 8 – Allure Report Dashboard
The overview page hosts several default widgets representing the basic characteristics of your project and test environment.
- Statistics – overall report statistics.
- Launches – if this report represents several test launches, statistics per launch will be shown here.
- Behaviours – information on results aggregated according to stories and features.
- Executors – information on test executors that were used to run the tests.
- History Trend – if tests accumulated some historical data, it’s trend will be calculated and shown on the graph.
- Environment – information on the test environment.

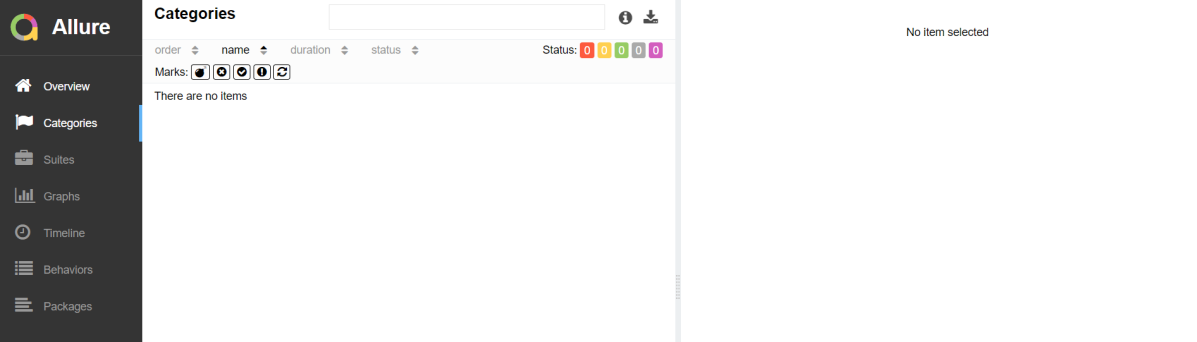
Categories in Allure Report
The categories tab gives you a way to create custom defect classifications to apply for test results. There are two categories of defects – Product Defects (failed tests) and Test Defects (broken tests).
Suites in Allure Report
On the Suites tab a standard structural representation of executed tests, grouped by suites and classes can be found.

Graphs in Allure Report
Graphs allow you to see different statistics collected from the test data: statuses breakdown or severity and duration diagrams.

Timeline in Allure Report
The timeline tab visualizes retrospective of tests execution, allure adaptors collect precise timings of tests, and here on this tab, they are arranged accordingly to their sequential or parallel timing structure.

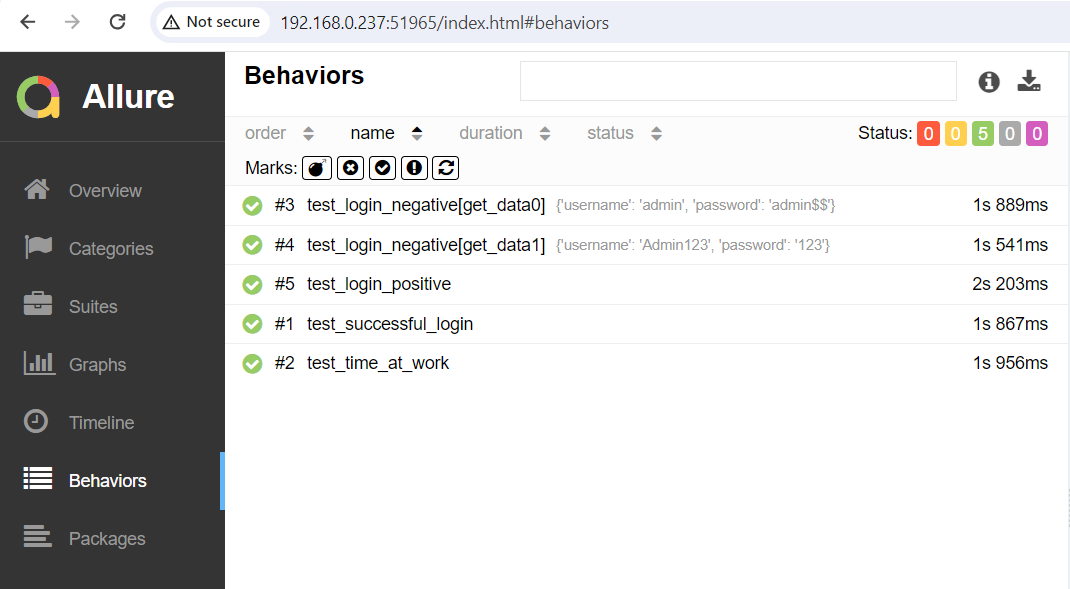
Behaviours of Allure Report
This tab groups test results according to Epic, Feature, and Story tags.
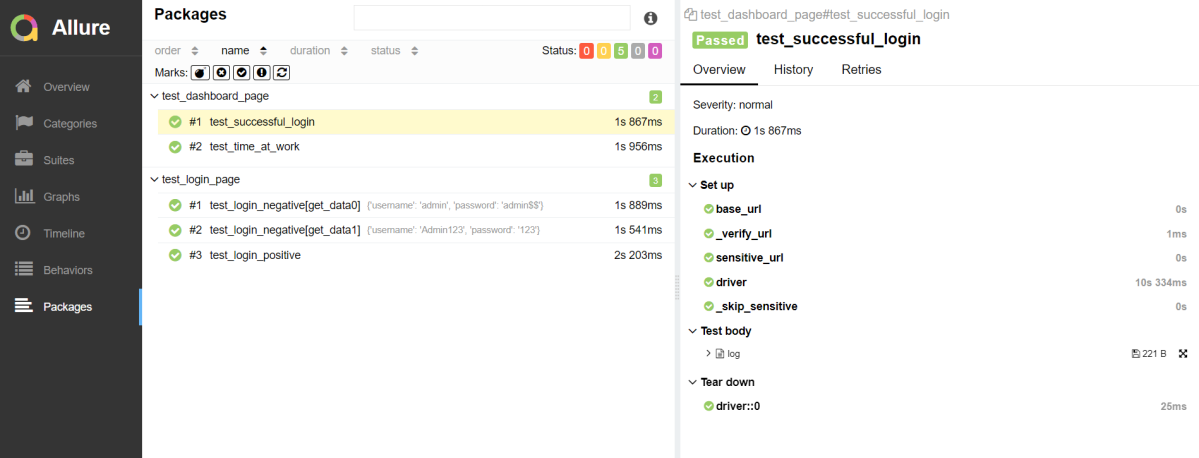
Packages in Allure Report
The packages tab represents a tree-like layout of test results, grouped by different packages.
That’s it! Congratulations on making it through this tutorial and hope you found it useful! Happy Learning!!