This tutorial explains the process to run the Selenium Tests in the GitLab pipeline. This is a very important step towards achieving CI/CD. Ideally, the tests need to run after any change (minor/major) before merging the latest change to the master branch. Suppose there are 100 changes merged to the master branch in a day. It is expected to run the tests every time before deployment. In this case, any QA won’t want to start the tests manually 100 times in a day. Now, what should be done to overcome this problem. Now, adding tests to the GitLab pipeline comes into the picture. We can add a test stage to the pipeline and the tests will run automatically when the pipeline run.
Table of Contents
- Prerequisite
- What is GitLab CI/CD Workflow?
- What is a headless browser?
- Implementation Steps
- GitLab Section
Prerequisite
- Selenium
- TestNG/JUnit (for Assertions)
- Java 11
- Maven/ Gradle
- GitLab Account
What is GitLab CI/CD Workflow?
Build the proposed changes. Then, push the commits to a feature branch. This branch should be in a remote repository that’s hosted in GitLab. The push triggers the CI/CD pipeline for your project. Then, GitLab CI/CD runs automated scripts (sequentially or in parallel) to build as well as to test the application. After a successful run of the test scripts, GitLab CI/CD deploys your changes automatically to any environment (DEV/QA/UAT/PROD). But if the test stage is failed in the pipeline, then the deployment is stopped.
After the implementation works as expected:
- Get the code reviewed and approved.
- Merge the feature branch into the default branch.
- GitLab CI/CD deploys your changes automatically to a production environment.
To use GitLab CI/CD, we need to keep 2 things in mind:
a) Make sure a runner is available in GitLab to run the jobs. If there is no runner, install GitLab Runner and register a runner for your instance, project, or group.
b) Create a .gitlab-ci.yml file at the root of the repository. This file is where CI/CD jobs are defined.
The Selenium tests run on a headless browser in the pipeline.
What is a headless browser?
A headless browser is like any other browser, but without a Head/GUI (Graphical User Interface). A headless browser is used to automate the browser without launching the browser. While the tests are running, we cannot see the browser. However, we can see the test results coming on the console.
To explain, I have created 2 Selenium tests and used TestNG for asserting the tests. The tests will run on a headless Chrome browser. One more thing to keep in mind is that when tests run on a headless Chrome browser, the window screen won’t be full screen. So, the screen needs to be maximized explicitly otherwise some of the tests would fail.
Implementation Steps
Step 1 – Create a new Maven Project

Step 2- Add the dependencies to the POM.xml
Add the below-mentioned dependencies that need to add to the project to the pom.xml in Maven Project.
 <dependencies>

        <dependency>
            <groupId>io.github.bonigarcia</groupId>
            <artifactId>webdrivermanager</artifactId>
            <version>5.1.0</version>
        </dependency>

        <dependency>
            <groupId>org.seleniumhq.selenium</groupId>
            <artifactId>selenium-java</artifactId>
            <version>3.141.59</version>
        </dependency>

        <dependency>
            <groupId>org.testng</groupId>
            <artifactId>testng</artifactId>
            <version>7.5</version>
            <scope>test</scope>
        </dependency>

    </dependencies>
    <build>
     <plugins>

     <!--  Compiler Plugin -->

    <plugin>
        <groupId>org.apache.maven.plugins</groupId>
        <artifactId>maven-compiler-plugin</artifactId>
        <version>3.8.1</version>
        <configuration>
           <source>11</source>
           <target>11</target>
        </configuration>
    </plugin>

      <!--  Plugin used to execute tests -->
      <plugin>
        <groupId>org.apache.maven.plugins</groupId>
        <artifactId>maven-surefire-plugin</artifactId>
        <version>3.0.0-M5</version>
        <configuration>
          <suiteXmlFiles>
            <suiteXmlFile>testng.xml</suiteXmlFile>
          </suiteXmlFiles>
        </configuration>
      </plugin>
     </plugins>
  </build>
</project>
As explained in one of the previous tutorial, it is needed to add the maven-surefire-plugin to run the TestNG tests through the command line.
Step 3 – Create the Test Code
This is the BaseTest Class. The WebDriver is initialized here. It operates in headless mode and full screen. At the end, the WebDriver is closed.
import org.openqa.selenium.WebDriver;
import org.openqa.selenium.chrome.ChromeDriver;
import org.openqa.selenium.chrome.ChromeOptions;
import org.testng.annotations.AfterMethod;
import org.testng.annotations.BeforeMethod;

import io.github.bonigarcia.wdm.WebDriverManager;

public class BaseTest {

	WebDriver driver;

	@BeforeMethod
	public void beforeTests() {
        WebDriverManager.chromedriver().setup();
        ChromeOptions options=new ChromeOptions();
        options.setHeadless(true);
        options.addArguments("window-size=1920,1200");
        driver=new ChromeDriver(options);
        driver.get("https://opensource-demo.orangehrmlive.com/");
    }

	@AfterMethod
    public void afterTests() {
        driver.quit();
    }

}
There are 2 different pages that need to be tested – LoginPage and ForgetPasswordPage
LoginPage contains the tests to log in to the application. After successful login, the application moves to the next webpage – HomePage. You can see that BaseTest class is extended in both the Test classes.
import org.openqa.selenium.By;
import org.testng.Assert;
import org.testng.annotations.Test;

@Test
public class LoginPage extends BaseTest{

	@Test
	public void validCredentials() throws InterruptedException {

	        driver.findElement(By.name("txtUsername")).sendKeys("Admin");
	        driver.findElement(By.name("txtPassword")).sendKeys("admin123");
	        driver.findElement(By.id("btnLogin")).click();
	         String newPageText = driver.findElement(By.xpath("//*[@id='content']/div/div[1]/h1")).getText();
	        System.out.println("newPageText :" + newPageText);
	        Assert.assertEquals(newPageText,"Dashboard");

	}

}
ForgetPasswordPage
import org.openqa.selenium.By;
import org.testng.Assert;
import org.testng.annotations.Test;

@Test
public class ForgetPasswordPage extends BaseTest{

	@Test
	public void getHeading() {

		Thread.sleep(1000);
		driver.findElement(By.xpath("//*[@id='forgotPasswordLink']/a")).click();
		String heading = driver.findElement(By.xpath("//*[@id='content']/div[1]/div[2]/h1")).getText();
		System.out.println("Title : "+ heading );
		Assert.assertEquals(heading, "Forgot Your Password?");
	}

}
Step 4 – Create testng.xml to run the tests
Now, let’s create a testng.xml to run the TestNG tests. If JUnit is used instead of TestNG, then this step is not needed.
<?xml version="1.0" encoding="UTF-8"?>
<!DOCTYPE suite SYSTEM "https://testng.org/testng-1.0.dtd">
<suite name="Suite">
  <test name="Test">
    <classes>
      <class name="org.example.DockerDemo.LoginPage"/>
      <class name="org.example.DockerDemo.ForgetPasswordPage"/>
    </classes>
  </test> <!-- Test -->
</suite> <!-- Suite -->
Step 5 – Run the tests through command line
Now, let us execute the tests through the command line. Go to the place where the pom.xml of the project is placed and use the below command to run the tests. This step makes sure that all the tests are running as expected.
mvn compile test

GitLab Section
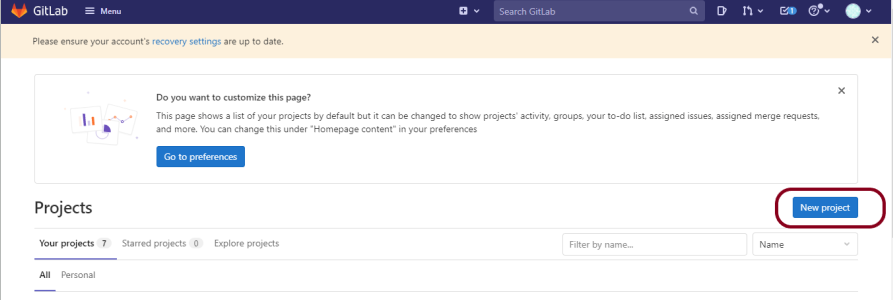
Step 6 – Create a blank project in GitLab
To know, how to create a blank new project in GitLab, please refer to this tutorial.
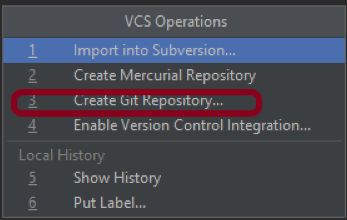
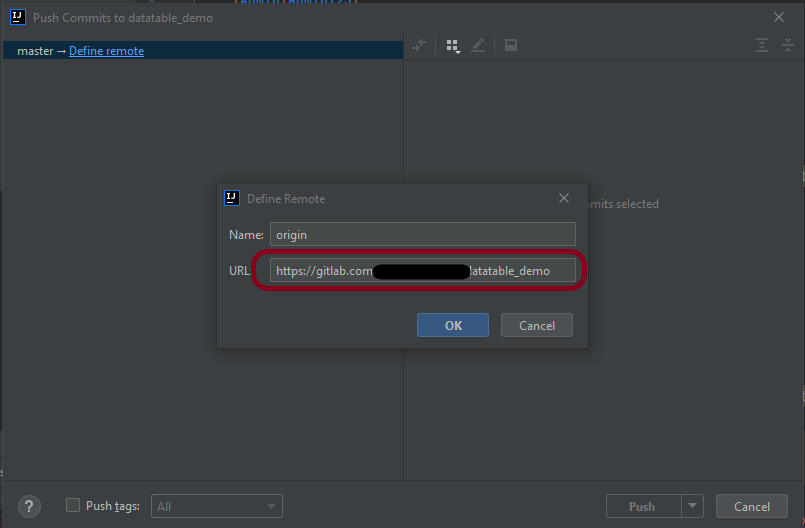
Step 7 – Push the project from local repository to Gitlab Repository
To know, how to push the changes in GitLab, please refer to this tutorial.
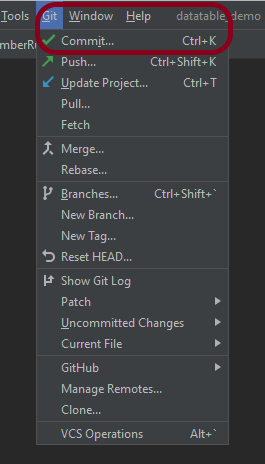
Step 8 – Create a .gitlab-ci.yml file in the project in GitLab
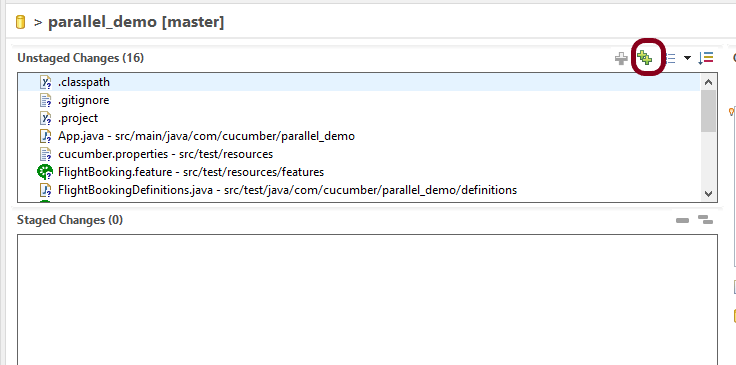
There are many ways to create a new file in GitLab. One of the ways is to create a file as shown in the below image.

It is a YAML file where you configure specific instructions for GitLab CI/CD. In the .gitlab-ci.yml, we can define:
- The scripts you want to run.
- Other configuration files and templates you want to include.
- Dependencies and caches.
- The commands you want to run in sequence and those you want to run in parallel.
- The location to deploy your application to.
- Whether you want to run the scripts automatically or trigger any of them manually.
image: markhobson/maven-chrome

stages:
  - test

variables:
  MAVEN_OPTS: "-Dmaven.repo.local=.m2/repository"

test:
  stage: test
  allow_failure: true

# Run the tests
  script:
    - mvn $MAVEN_OPTS clean package
    - mvn compile test

# Store artifacts
  artifacts:
    when: always
    name: "report"
    paths:
    - target/surefire-reports/*
    expire_in: 1 h
Image – markhobson/maven-chrome is used in this test. It is a docker image for Java automated UI tests.
This gitlab-ci.yml has only 1 stage. It is a test stage that contains the command to run the tests. It also creates an artifact that contains all the surefire reports. These reports can be saved as Test Evidence.
Step 9 – Run the tests in the GitLab pipeline
Now, when a new change is committed, a pipeline kicks off and it runs all the tests.

Step 10 – Check the status of the pipeline
Once the Status of the pipeline changes to either failed or passed.. that means the tests are already executed.

As you can see the Status is failed here which means that the execution is completed. Let us see the logs of the execution it shows that out of 2 tests, 1 test passed and 1 test failed. This shows that tests are running successfully in the GitLab pipeline.

As I have added an artifact also in the gitalb-ci.yml, which is highlighted in the image. This artifact creates a folder with the name “report” and the reports in this folder come from the path /target/surefire-reports. This artifact gives us the option to download the reports or browse the report. This report will be available for 1 hour only as mentioned in the gitlab-ci.yml.
Step 11 – Download the report
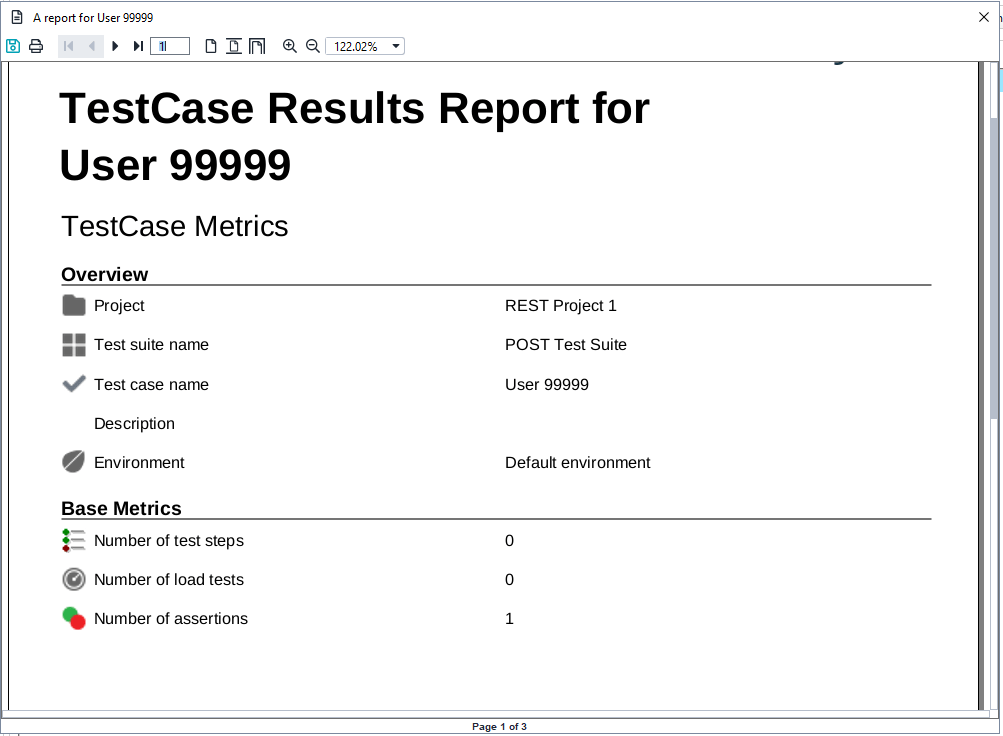
Once, will click on the download button, it will download “report.zip”. Unzip the folder and it looks like something as shown below:

Example of Emailable-Report.html

Example of Index.html

Congratulations. This tutorial has explained the steps to run Selenium tests in GitLab CI/CD. Happy Learning!!