This tutorial explains the steps to install Git on Windows 10.
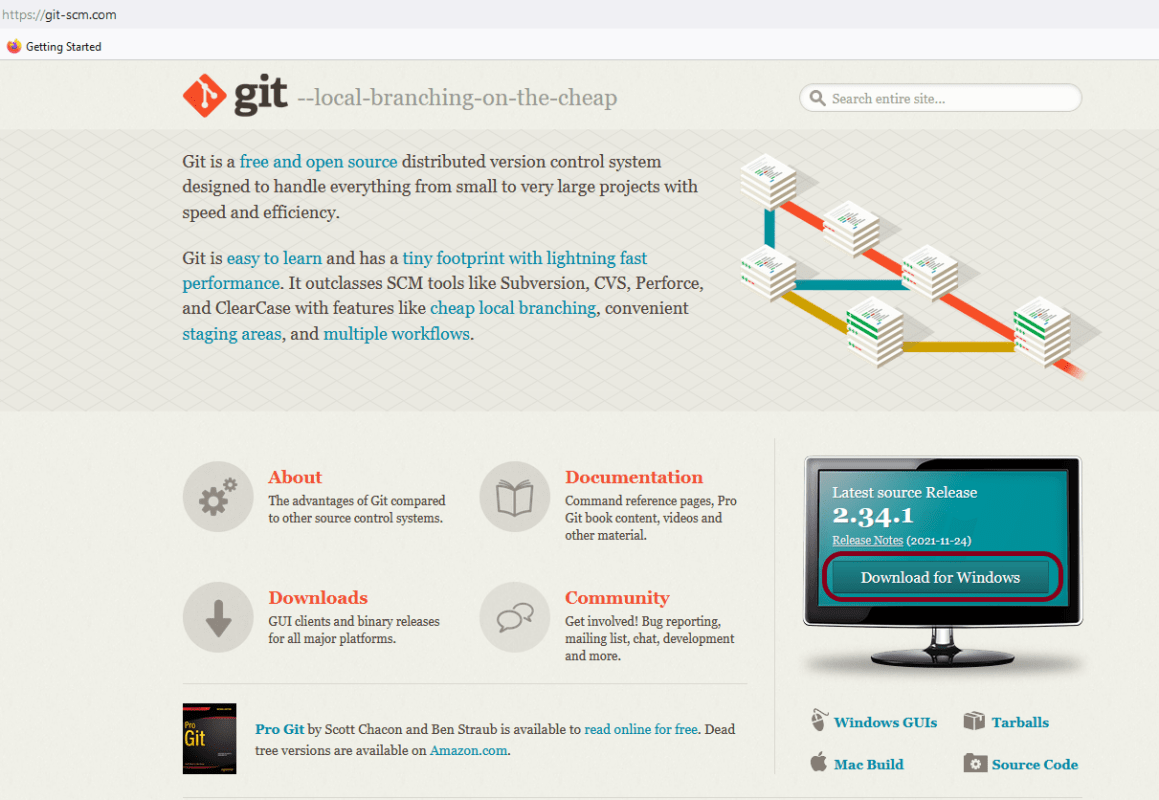
Step 1 – To install Git, go to – Git (git-scm.com). I want to install Git on Windows, so can use highlighted option to install Git.
The latest version here is 2.34.1.
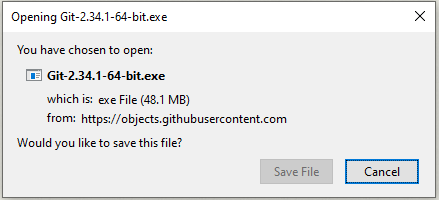
Step 2 – Save the Git.exe file.
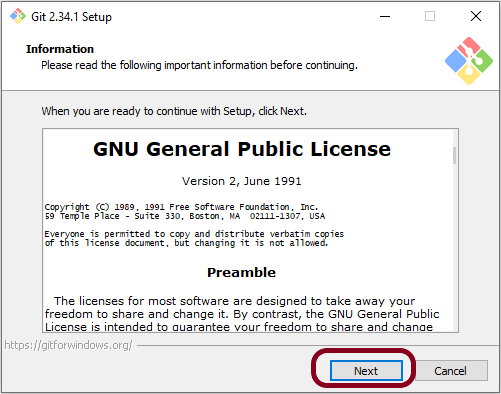
Step 3 – Now open the installer you have downloaded and go through the installation process. Unless you know what you are doing, leave all settings to their defaults. Click the Next button.
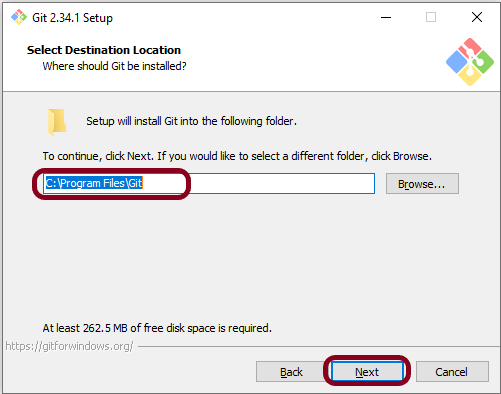
Step 4 – Select the destination location where GIT will be installed. You can continue with the default location as shown below, or use the installation path suggested by Git. Click the Next button.
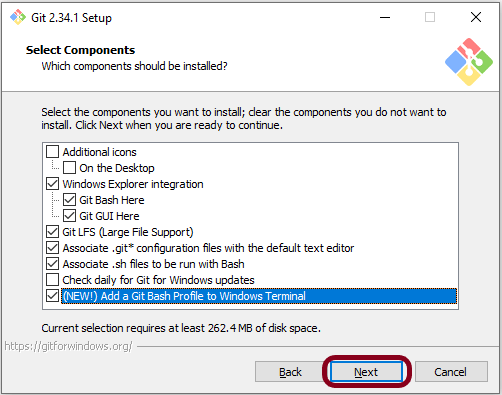
Step 5 – In this step, you need to select components to be installed. Apart from the pre-selected options, you may also want to select “Add a Git Bash Profile to Windows Terminal”. This can be useful later on, especially if you plan to use Visual Studio Code or other IDEs that have a built-in terminal window. Click the Next button.
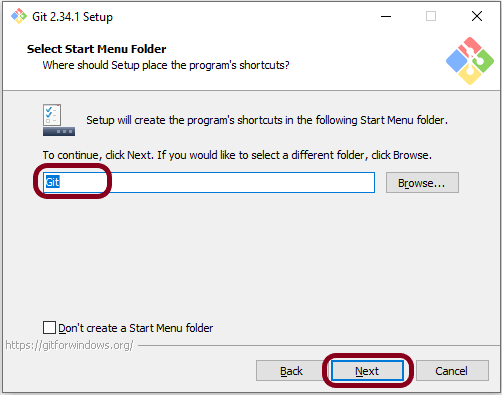
Step 6 – Select if you would like to GIT shortcut in the start menu. Click the Next button.
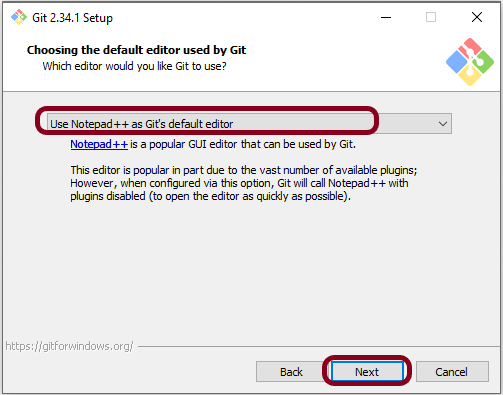
Step 7 – Select the default editor of GIT. I use Notepad++ as the default editor used by GIT.
Click the Next button.
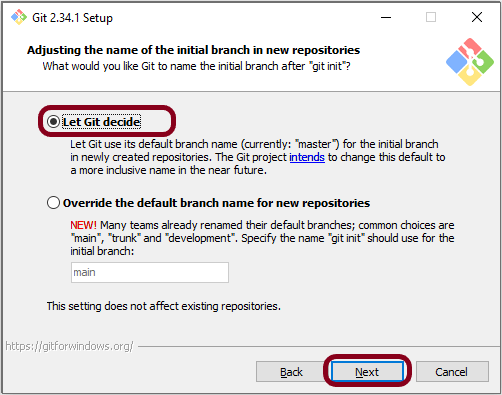
Step 8 – Git hosting tools like GitHub or GitLab already use main as their default branch.
Click the Next button.
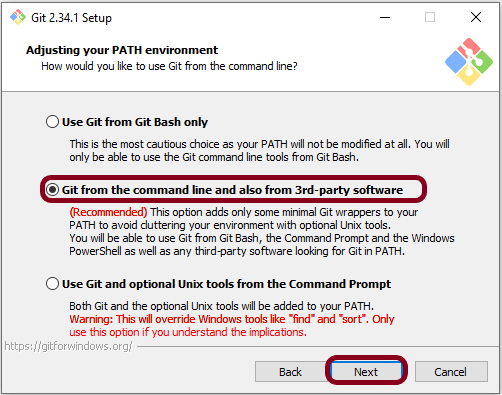
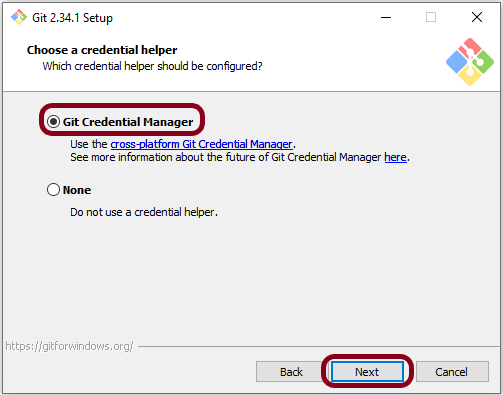
Step 9 – Click the Next button.
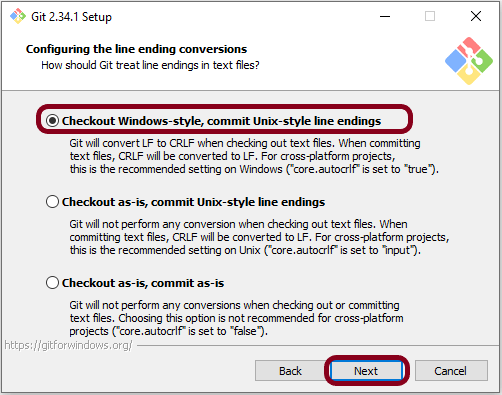
Step 10 – Click the Next button.

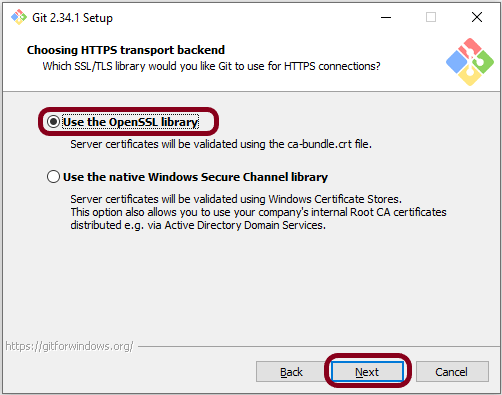
Step 11 – Select SSL/TLS library used by GIT to use for the HTTPS connection. Go with default selection and click the Next button.
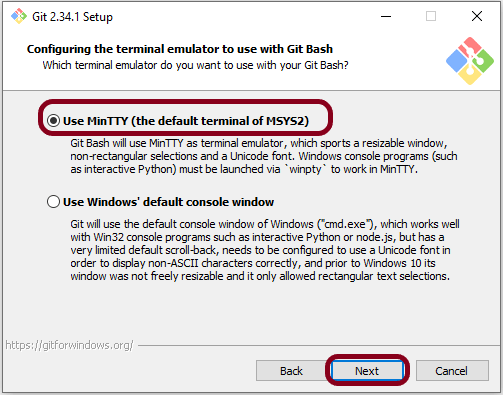
Step 12 – Click the Next button.
Step 13 – Click the Next button.
Step 14 – Configure the default behaviour of the git pull command. Click the Next button.

Step 15 – Click the Next button.
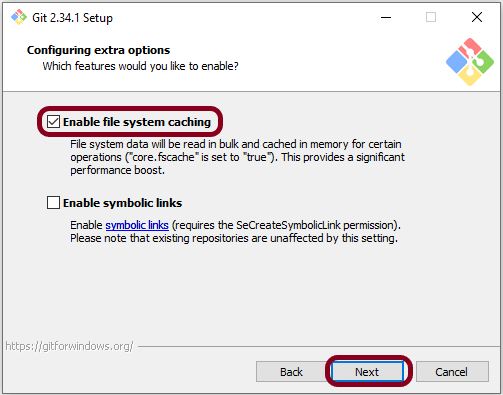
Step 16 – Enable file system caching to boost performance, which is the default selection. Click the Next button.
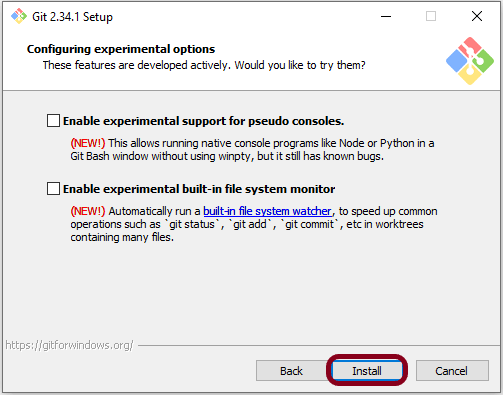
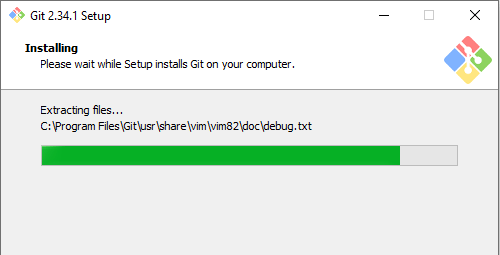
Step 17 – Click the Install button.
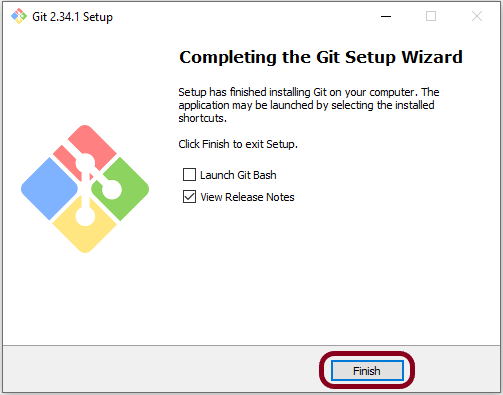
Step 18 – You will get the below screen after the successful installation of GIT. Click the Finish button. This wizard has also installed a new tool called Git Bash, a terminal alternative for cmd or Powershell.
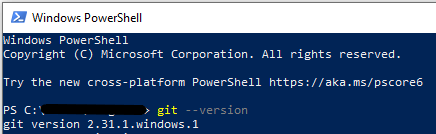
From Git Bash or terminal of your choice, run the following command:-
git --version

You can also use Windows PowerShell as well.
We are done! Congratulations on making it through this tutorial and hope you found it useful! Happy Learning!!
