What is GitLab?
GitLab is the open DevOps platform, delivered as a single application that spans the entire software development lifecycle. If you’re not using GitLab, your DevOps lifecycle is likely spread across any number of applications. These silos take overhead to integrate, manage, configure, and maintain, slowing down your team and your deployments. Moving to a single application will speed up your workflow and help you deliver better software, faster. To know more about GitLab, click here.
In this article, we will see how to push an existing project to GitLab using Eclipse IDE.
Implementation Steps
Step 1 – Go to Git at the top, select VCS ->VCS Oprations -> Create Git Repository.
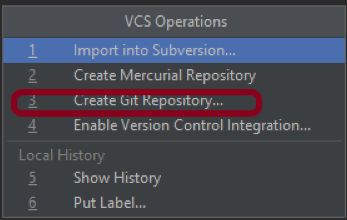
This will convert the project to a Git project.
Step 2 – Go to Git option present at the top and then select “Commit” option.
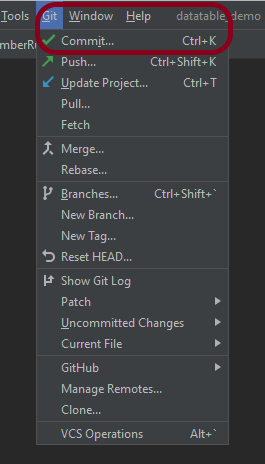
Step 3 – This will show all the files which are uncommitted. Select the files you want to commit and mention a message in the below message box as “New project from IntelliJ to GitLab“. Click on the Commit button.

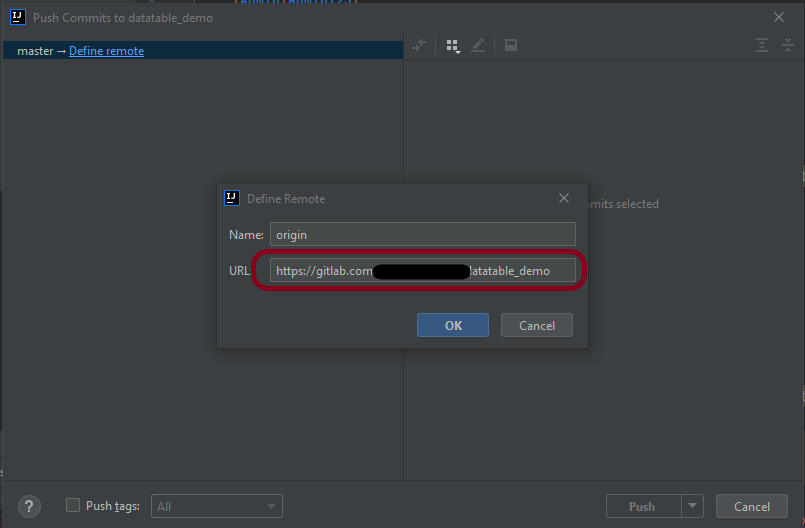
Step 4 – A window opens where we need to mention the location where the project should be pushed in GitLab.
Click the OK button. It will ask for credentials to the GitLab, provide them.
Step 5 – The below image shows that the latest code is moved to GitLab. Here, the origin branch is used to commit and pushed the changes. If we are using a local branch to commit and push the changes, then we need to create a merge request to merge the code of the new branch to the code of existing origin(master branch).

Congratulations on making it through this tutorial and hope you found it useful! Happy Learning!! Cheers!!
