The previous tutorial has explained to create a Test in a new project using ReadyAPI. This tutorial explains to add a new Test Suite to the existing project.
Steps to be followed
- Create a new Test Suite to old project
- Add new Test Case
- Add a Test Step
- Add Assertions
- Run the Test and verify Test Result
- Generate Test Report
- Sample Test Report
Create a new Test Suite for the old project
Step 1 – Go to the Existing Project as REST Project 1 here. Right-click on Functional Tests and select “New Test Suite”.

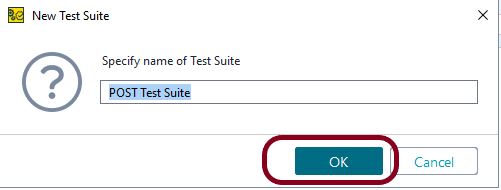
Step 2 – Enter a new test suite name. Click the OK button.
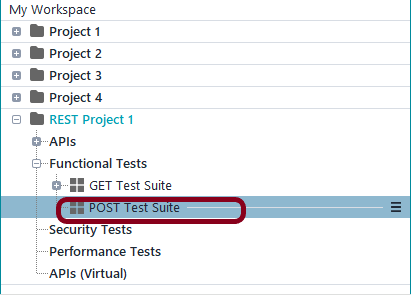
Step 3 – ReadyAPI will show the created functional Test Suite in the Navigator.
Add new Test Case
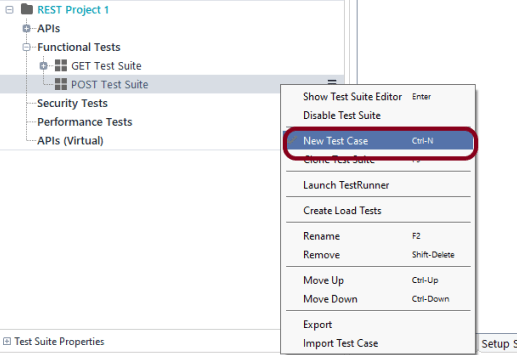
Step 4 – Right-click on the newly created Test Suite and select New Test Case as highlighted on the screen.
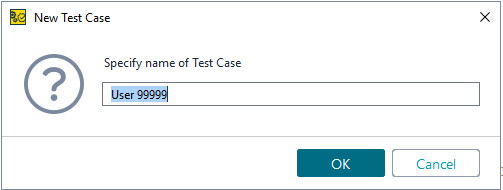
Step 5 – Enter a new Test Case name. Click OK.
Add a Test Step
Step 6 – Right-click the test case, to which you want to add the test step, and select Add Step from the context menu.
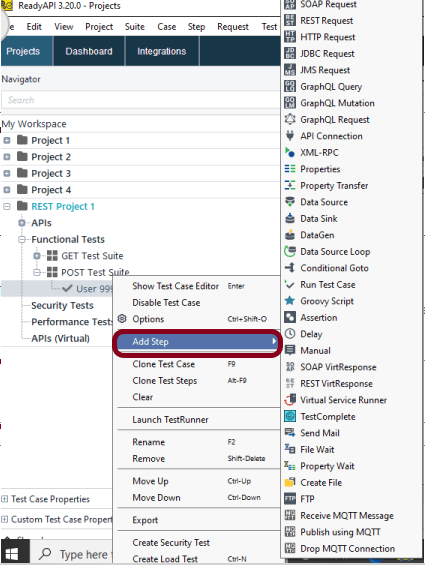
I’m selecting to add an HTTP Request.
An HTTP Request test step is a standalone HTTP request that can be used to call any HTTP service. This means you can use it to send an HTTP request through HTTP, HTTPS, or JMS.
Using the test step’s properties, you can specify the request type (GET, POST, or other), target URL, parameters, attachments, and other values. You can also define specific assertions for checking the server response.
Step 7 – To create an HTTP request, you do not need to have a service added to your project. When you add the test step, you will see the New HTTP Request Step dialog:

Test Step name – Specifies the name of a new test step.
Endpoint – Specifies the endpoint, to which the request will be sent.
Extract Params – This allows you to obtain parameters and their values from the URL specified in the Endpoint field.
Parameters – The list of request parameters. To modify them, use the toolbar buttons.
+ or Add Parameter– adds a new parameter.
X or or Delete Parameter– removes the selected parameter.
URL – extracts parameters from an endpoint specified in the ensuing dialog.
Method – specifies the type of the request (GET, POST, PUT, and so on).
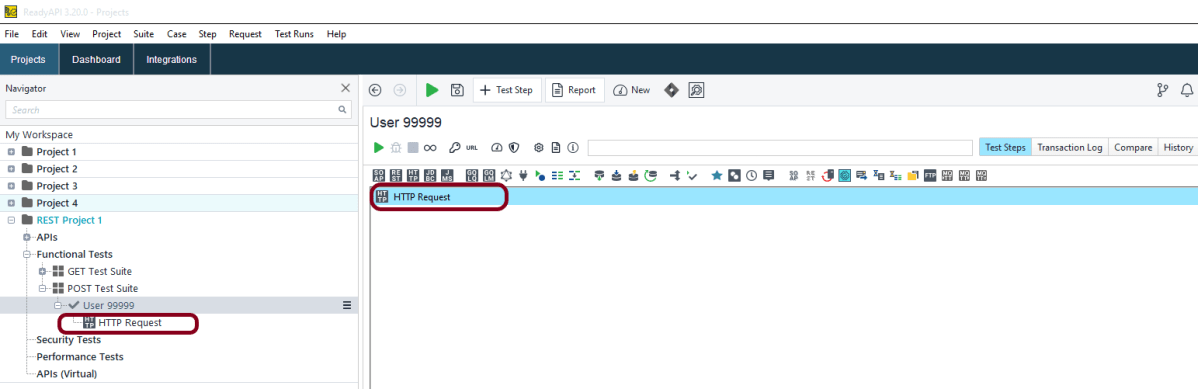
Step 8 – This screen shows the addition of HTTP Request to the Test Case User 99999.
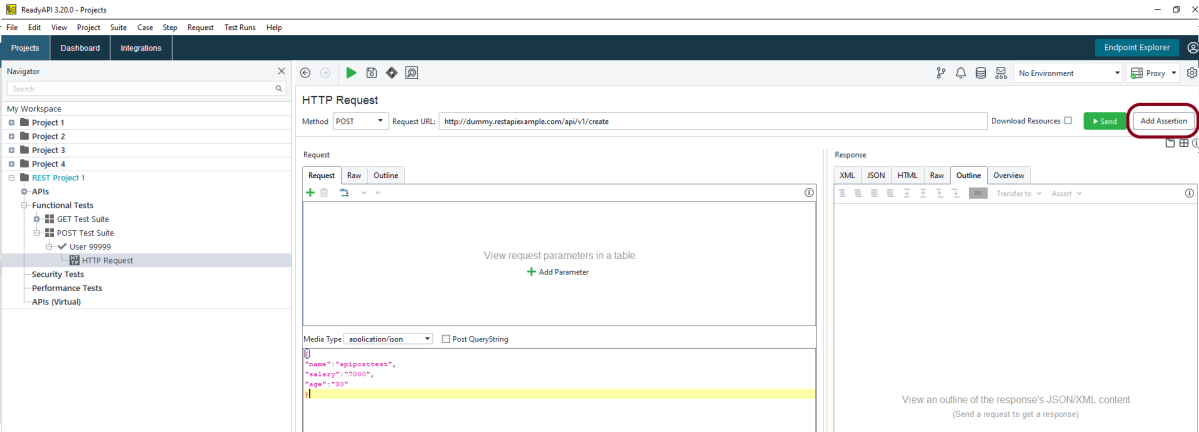
Step 9 – Click on HTTP Request and mention the request body as shown in the image. Media Type is configurable. I have selected application/json.

Add Assertions
Step 10 – Add Assertion to the Test Case. Click on Add Assertion button.
Step 11 – In the dialog, select the SLA category on the left and then Response SLA on the right, and click Add:

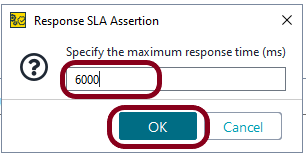
Step 12 – In the dialog, mention the time in ms to wait for the response and click the OK button.
Run the Test and verify Test Result
Step 13 – To run the Test Case, click on the Send button. The below image shows the successful response.

Test Report Generation
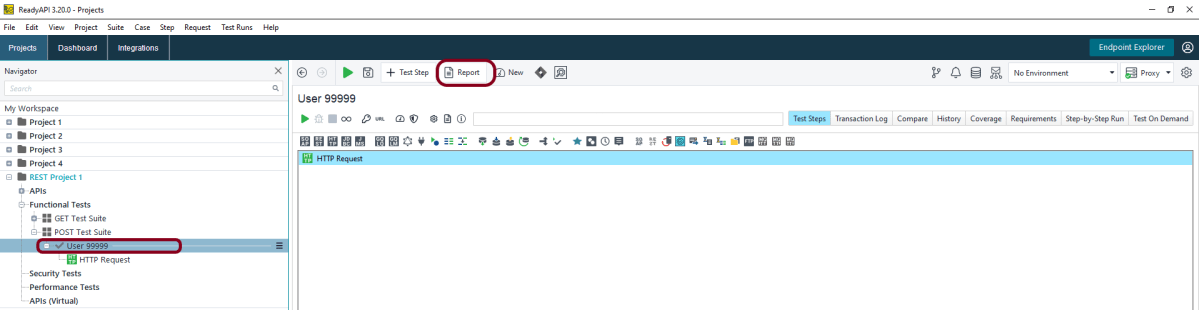
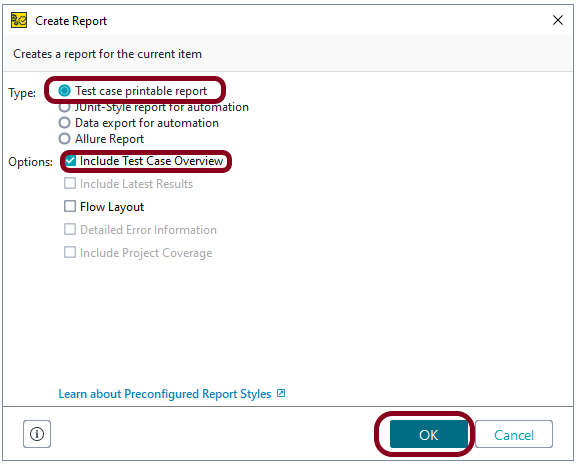
The Create Report dialog configuration varies depending on the report type you select. You can create project reports only on the level of the Functional tests in the Navigator.
Sample Test Report
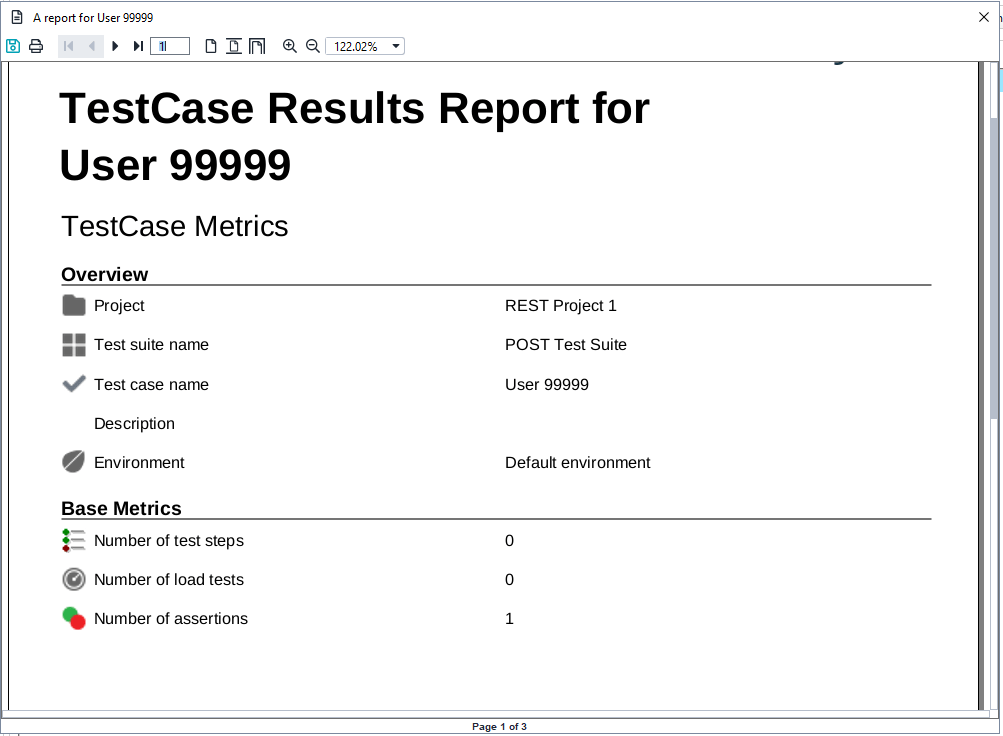
Congratulations!! We have added a new test suite to the old project as well as run the test and generated the Test Report too.
