In this tutorial, we will create a test framework using Serenity, Cucumber and JUnit4 for Web Application.
Table of Contents
- What is Serenity BDD?
- Getting started Cucumber 6 with Serenity BDD
- Prerequisite
- Project Structure
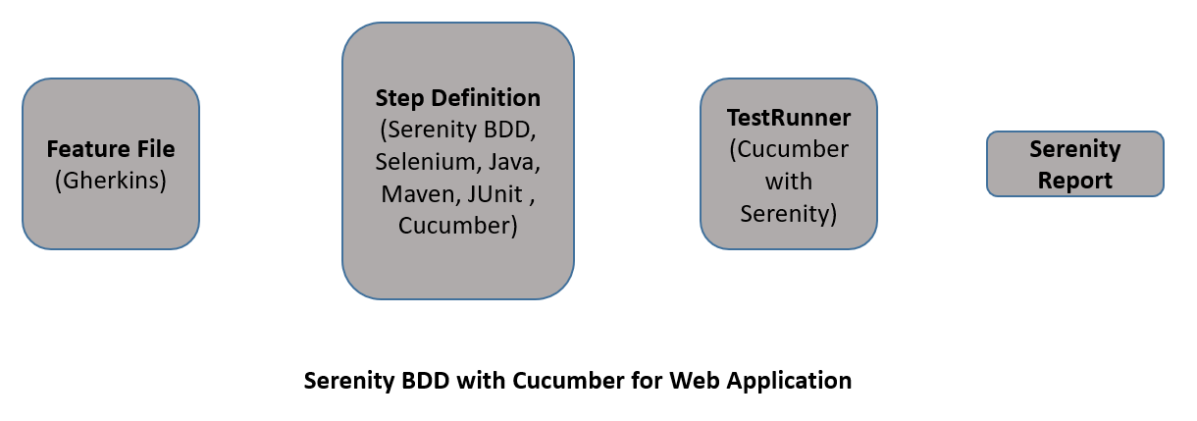
- Relationship between Web Application, Serenity BDD, Cucumber, and Selenium
- Implementation Steps
- Add Serenity, Cucumber, and JUnit4 dependencies to the Maven project
- Create a Feature File under src/test/resources
- Create the Step Definition class
- Create Serenity Test Runner under src/test/java
- Create serenity.conf (Configuration File)
- Create serenity.properties at the root level
- Executing the tests as JUnit Tests
- Executing the tests through the command line
- View the Serenity Reports
What is Serenity BDD?
Serenity BDD is an open-source library that aims to make the idea of living documentation a reality.
Serenity BDD helps you write cleaner and more maintainable automated acceptance and regression tests faster. Serenity also uses the test results to produce illustrated, narrative reports that document and describe what your application does and how it works. Serenity tells you not only what tests have been executed, but more importantly, what requirements have been tested.
One key advantage of using Serenity BDD is that you do not have to invest time in building and maintaining your own automation framework.
Serenity BDD provides strong support for different types of automated acceptance testing, including:
- Rich built-in support for web testing with Selenium.
- REST API testing with Rest Assured.
- Highly readable, maintainable, and scalable automated testing with the Screenplay pattern.
Getting started Cucumber 6 with Serenity BDD
Cucumber is a popular tool for automating BDD-style acceptance criteria.
Serenity seamlessly supports Cucumber 2.x, Cucumber 5, and Cucumber 6. However, this flexibility requires a little tweaking in the build dependencies.
If you are using Maven, you need to do the following:
- exclude the default cucumber-core dependency from your serenity-core dependency
- Add dependencies on the Cucumber 6.x version of cucumber-java and cucumber-junit into your project.
Prerequisite:
- Serenity – 4.0.30
- JUnit4 – 4.13.2
- Serenity Cucumber – 4.0.30
- Maven Compiler – 3.12.1
- Maven Surefire Plugin – 3.2.3
- Java – 17
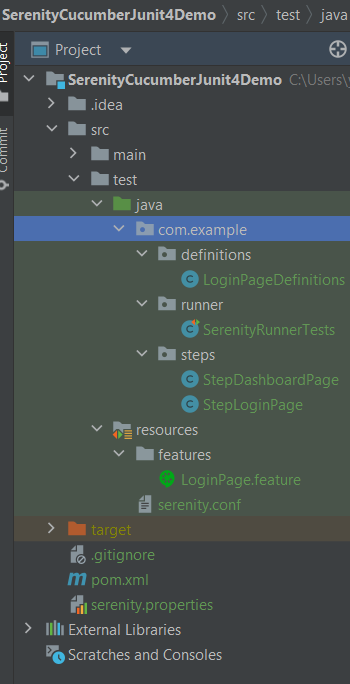
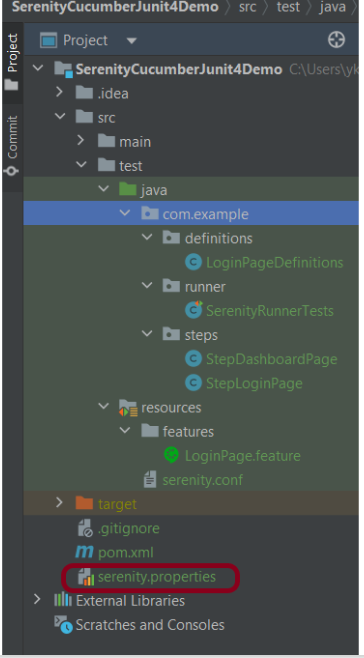
Project Structure
Relationship between Web Application, Serenity BDD, Cucumber, and Selenium
Implementation Steps
Step 1: Add Serenity, Cucumber, and JUnit4 dependencies to the Maven project
The pom.xml will look like something as shown below.
<project xmlns="http://maven.apache.org/POM/4.0.0" xmlns:xsi="http://www.w3.org/2001/XMLSchema-instance"
  xsi:schemaLocation="http://maven.apache.org/POM/4.0.0 http://maven.apache.org/xsd/maven-4.0.0.xsd">
  <modelVersion>4.0.0</modelVersion>

  <groupId>com.example</groupId>
  <artifactId>SerenityCucumberJunit4Demo</artifactId>
  <version>1.0-SNAPSHOT</version>
  <packaging>jar</packaging>

  <name>SerenityCucumberJunit4Demo</name>
  <url>http://maven.apache.org</url>

  <properties>
    <project.build.sourceEncoding>UTF-8</project.build.sourceEncoding>
    <serenity.version>4.0.30</serenity.version>
    <serenity.maven.version>3.5.1</serenity.maven.version>
    <junit.version>4.13.2</junit.version>
    <maven.compiler.plugin.version>3.12.1</maven.compiler.plugin.version>
    <maven.surefire.plugin.version>3.2.3</maven.surefire.plugin.version>
    <maven.failsafe.plugin.version>3.2.3</maven.failsafe.plugin.version>
    <maven.compiler.source.version>17</maven.compiler.source.version>
    <maven.compiler.target.version>17</maven.compiler.target.version>
    <tags></tags>
    <parallel.tests></parallel.tests>
    <webdriver.base.url></webdriver.base.url>
  </properties>

  <dependencies>
    <dependency>
      <groupId>net.serenity-bdd</groupId>
      <artifactId>serenity-core</artifactId>
      <version>${serenity.version}</version>
      <scope>test</scope>
    </dependency>

    <dependency>
      <groupId>net.serenity-bdd</groupId>
      <artifactId>serenity-junit</artifactId>
      <version>${serenity.version}</version>
      <scope>test</scope>
    </dependency>

    <dependency>
      <groupId>net.serenity-bdd</groupId>
      <artifactId>serenity-screenplay-webdriver</artifactId>
      <version>${serenity.version}</version>
      <scope>test</scope>
    </dependency>

    <dependency>
      <groupId>net.serenity-bdd</groupId>
      <artifactId>serenity-cucumber</artifactId>
      <version>${serenity.version}</version>
      <scope>test</scope>
    </dependency>

    <dependency>
      <groupId>junit</groupId>
      <artifactId>junit</artifactId>
      <version>${junit.version}</version>
      <scope>test</scope>
    </dependency>

  </dependencies>
  <build>
    <plugins>
      <plugin>
        <groupId>org.apache.maven.plugins</groupId>
        <artifactId>maven-surefire-plugin</artifactId>
        <version>${maven.surefire.plugin.version}</version>

        <configuration>
          <skip>false</skip>
        </configuration>
      </plugin>

      <plugin>
        <artifactId>maven-failsafe-plugin</artifactId>
        <version>${maven.failsafe.plugin.version}</version>
        <configuration>
          <includes>
            <include>**/Test*.java</include>
          </includes>
          <systemPropertyVariables>
            <webdriver.base.url>${webdriver.base.url}</webdriver.base.url>
          </systemPropertyVariables>
          <parallel>classes</parallel>
          <threadCount>${parallel.tests}</threadCount>
          <forkCount>${parallel.tests}</forkCount>
        </configuration>
        <executions>
          <execution>
            <goals>
              <goal>integration-test</goal>
              <goal>verify</goal>
            </goals>
          </execution>
        </executions>
      </plugin>

      <plugin>
        <groupId>org.apache.maven.plugins</groupId>
        <artifactId>maven-compiler-plugin</artifactId>
        <version>${maven.compiler.plugin.version}</version>
        <configuration>
          <source>${maven.compiler.source.version}</source>
          <target>${maven.compiler.target.version}</target>
        </configuration>
      </plugin>

      <plugin>
        <groupId>net.serenity-bdd.maven.plugins</groupId>
        <artifactId>serenity-maven-plugin</artifactId>
        <version>${serenity.version}</version>
        <dependencies>
          <dependency>
            <groupId>net.serenity-bdd</groupId>
            <artifactId>serenity-single-page-report</artifactId>
            <version>${serenity.version}</version>
          </dependency>
        </dependencies>
        <configuration>
          <tags>${tags}</tags>
          <reports>single-page-html</reports>
        </configuration>
        <executions>
          <execution>
            <id>serenity-reports</id>
            <phase>post-integration-test</phase>
            <goals>
              <goal>aggregate</goal>
            </goals>
          </execution>
        </executions>
      </plugin>
    </plugins>
  </build>
</project>
Step 2: Create a Feature File under src/test/resources
A Feature File is an entry point to the Cucumber tests. This is a file where you will describe your tests in Descriptive language (Like English). A feature file can contain a scenario or can contain many scenarios in a single feature file. Below is an example of a Feature file.

Feature: Login Page

@ValidCredentials
   Scenario: Login with valid credentials

    Given User is on Home page
    When User enters username as "Admin"
    And User enters password as "admin123"
    Then User should be able to login successfully

@InValidCredentials
   Scenario Outline: Login with invalid credentials

    Given User is on Home page
    When User enters username as '<username>'
    And User enters password as '<password>'
    Then User should be able to see error message '<errorMessage>'

  Examples:
   | username   | password  | errorMessage                      |
   | $$$$$      | ££££££££  | Invalid credentials               |
   | admin      | Admin123  | Invalid credentials               |
   | Admin123   | admin     | Invalid credentials               |
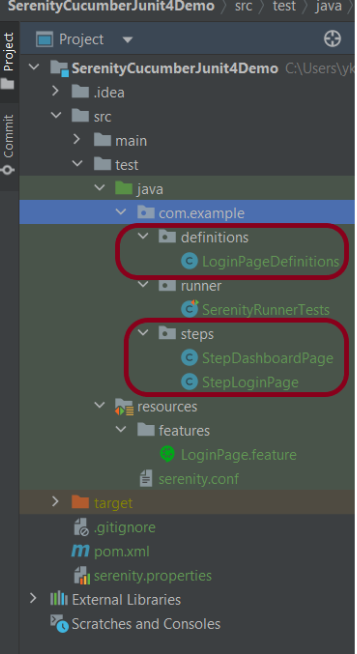
Step 3: Create the Step Definition class
The glue code shown below uses Serenity step libraries as action classes to make the tests easier to read and to improve maintainability.
These classes declare using the Serenity @Steps annotation. The @Steps annotation tells Serenity to create a new instance of the class, and inject any other steps or page objects that this instance might need.
Each action class models a particular facet of user behavior: navigating to a particular page, performing a search, or retrieving the results of a search. These classes design to be small and self-contained, which makes them more stable and easier to maintain.
LoginPageDefinition contains the steps to open the web browser, enter the username, enter the password and click on the Login Button
package com.example.definitions;

import com.example.steps.StepDashboardPage;
import com.example.steps.StepLoginPage;
import io.cucumber.java.en.Given;
import io.cucumber.java.en.Then;
import io.cucumber.java.en.When;
import net.serenitybdd.annotations.Steps;
import org.junit.Assert;

public class LoginPageDefinitions {

    @Steps
    StepLoginPage loginPage;

    @Steps
    StepDashboardPage dashPage;

    @Given("User is on Home page")
    public void openApplication() {
        loginPage.open();
        System.out.println("Page is opened");
    }

    @When("User enters username as {string}")
    public void enterUsername(String userName) {
        System.out.println("Enter Username");
        loginPage.inputUserName(userName);
    }

    @When("User enters password as {string}")
    public void enterPassword(String passWord) {
        loginPage.inputPassword(passWord);

        loginPage.clickLogin();
    }

    @Then("User should be able to login successfully")
    public void clickOnLoginButton() {
        dashPage.loginVerify();
    }

    @Then("User should be able to see error message {string}")
    public void unsucessfulLogin(String expectedErrorMessage) throws InterruptedException {

        String actualErrorMessage = loginPage.errorMessage();
        Assert.assertEquals(expectedErrorMessage, actualErrorMessage);
    }

}
This annotation lets you define a URL or a set of URLs that work with a particular page.
@DefaultUrl("https://opensource-demo.orangehrmlive.com/")
StepLoginPage is created by extending it from PageObject class. In this class, $() method used below, which locates a web element using a By locator or an XPath or CSS expression. This class is responsible for uniquely locating elements on the page, and it does this by defining locators or occasionally by resolving web elements dynamically.
package com.example.steps;

import net.serenitybdd.annotations.Step;
import net.serenitybdd.core.pages.PageObject;
import net.serenitybdd.core.pages.WebElementFacade;
import org.openqa.selenium.support.FindBy;

public class StepLoginPage extends PageObject {

    @FindBy(name = "username")
    WebElementFacade username;

    @FindBy(name = "password")
    WebElementFacade password;

    @FindBy(xpath = "//*[@id='app']/div[1]/div/div[1]/div/div[2]/div[2]/form/div[3]/button")
    WebElementFacade submitButton;

    @FindBy(xpath = "//*[@id='app']/div[1]/div/div[1]/div/div[2]/div[2]/div/div[1]/div[1]/p")
    WebElementFacade errorMessage;

    @FindBy(xpath = "//*[@id='app']/div[1]/div/div[1]/div/div[2]/div[2]/form/div[4]/p")
    WebElementFacade linkText;

    @Step("Enter Username")
    public void inputUserName(String userName) {
        username.sendKeys((userName));
    }

    @Step("Enter Password")
    public void inputPassword(String passWord) {
        password.sendKeys((passWord));
    }

    @Step("Click Submit Button")
    public void clickLogin() {
        submitButton.click();
    }

    @Step("Error Message on unsuccessful login")
    public String errorMessage() {
        String actualErrorMessage = errorMessage.getText();
        return actualErrorMessage;
    }

}
StepDashboardPage is also created by extending Page Object Model. Here, we are verifying the Dashboard page
package com.example.steps;

import net.serenitybdd.core.pages.PageObject;
import net.serenitybdd.core.pages.WebElementFacade;
import org.junit.Assert;
import org.openqa.selenium.support.FindBy;

public class StepDashboardPage extends PageObject {

    @FindBy(xpath = "//*[@id='app']/div[1]/div[1]/header/div[1]/div[1]/span/h6")
    WebElementFacade dashboardText;

    public void loginVerify() {

        String dashboardTitle = dashboardText.getText();
        Assert.assertTrue(dashboardTitle.contains("Dashboard"));
    }
}
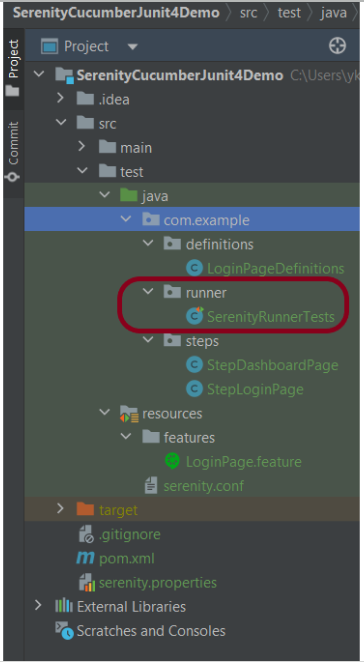
Step 4: Create Serenity Test Runner under src/test/java
We cannot run a Feature file on its own in a cucumber-based framework. We need to create a Java class, which will run the Feature File. It is the starting point for JUnit to start executing the tests. TestRunner class creates under src/test/java. When you run the tests with serenity, you use the CucumberWithSerenity test runner. If the feature files are not in the same package as the test runner class, you also need to use the @CucumberOptions class to provide the root directory where the feature files found.
Below is the code for SerenityRunnerTests.
import io.cucumber.junit.CucumberOptions;
import net.serenitybdd.cucumber.CucumberWithSerenity;
import org.junit.runner.RunWith;

@RunWith(CucumberWithSerenity.class)
@CucumberOptions(plugin = { "pretty" }, features = "src/test/resources/features/LoginPage.feature",
        glue="com.example.definitions")

public class SerenityRunnerTests {}
Step 5: Create serenity.conf (Configuration File)

Serenity uses serenity.conf file in the src/test/resources directory to configure test execution options. serenity.config can also contain the environment URL and other options like headless mode and soon.
headless.mode = false

webdriver {
  driver = chrome
  capabilities {
    browserName = "chrome"
    acceptInsecureCerts = true
    "goog:chromeOptions" {
      args = ["remote-allow-origins=*","test-type", "no-sandbox", "ignore-certificate-errors", "--window-size=1920,1080",
        "incognito", "disable-infobars", "disable-gpu", "disable-default-apps", "disable-popup-blocking",
        "disable-dev-shm-usage", "disable-extensions", "disable-web-security", "disable-translate", "disable-logging"]
    }
  }
}


#
# Define drivers for different platforms. Serenity will automatically pick the correct driver for the current platform
#

environments {
  default {
    webdriver.base.url = "https://opensource-demo.orangehrmlive.com/"
  }
  dev {
    webdriver.base.url = "https://opensource-demo.orangehrmlive.com/dev"
  }
  staging {
    webdriver.base.url = "https://opensource-demo.orangehrmlive.com/staging"
  }
  prod {
    webdriver.base.url = "https://opensource-demo.orangehrmlive.com/prod"
  }
}
Step 6: Create serenity.properties at the root level
Serenity.properties file is created at the root level.
serenity.project.name = Serenity and Cucumber and JUnit4 Demo
Step 7: Executing the tests as JUnit Tests
We can run the tests as JUnit tests. Right-click on the Runner class and select Run As Junit Test (Eclipse).
In case of IntelliJ, select Run ‘SerenityRunnerTests’.

Step 8: Executing the tests through the command line
You can run the tests from the command line by using the below command:
mvn clean verify
By default, the tests will run using Firefox. You can run them in Chrome by overriding the driver system property, e.g.
$ mvn clean verify -Ddriver=chrome
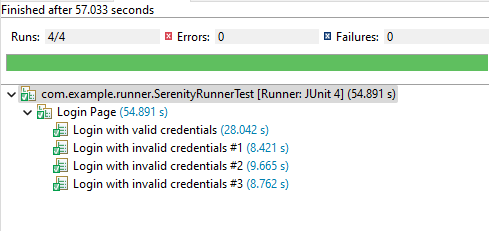
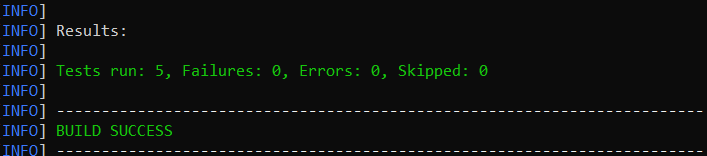
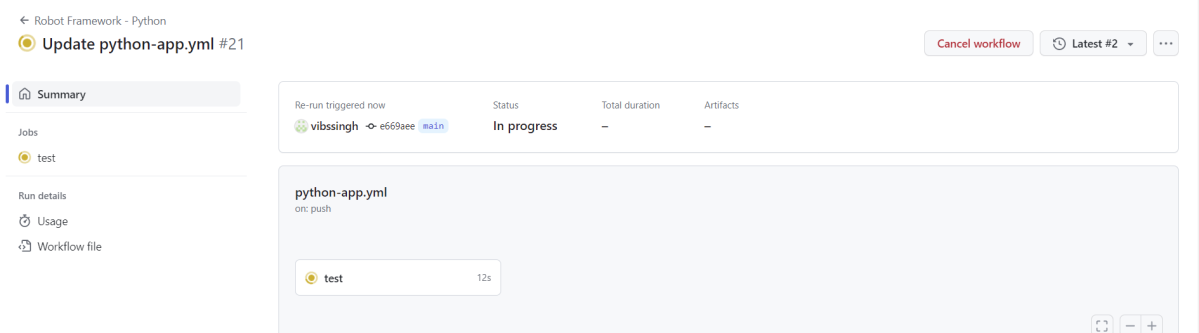
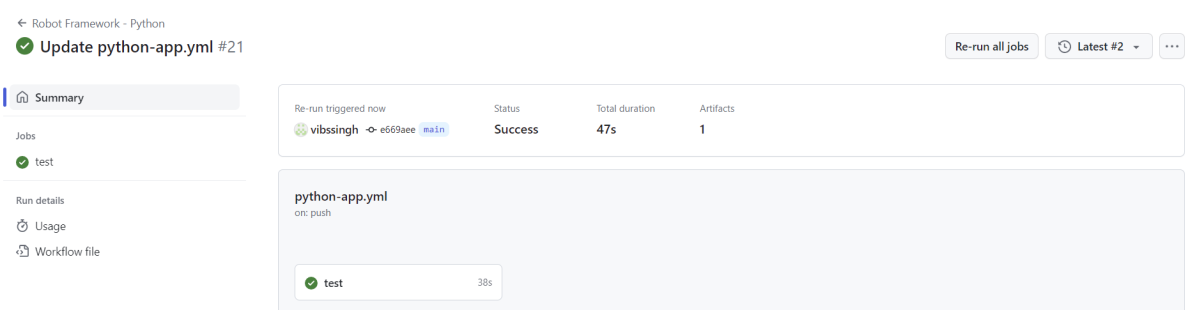
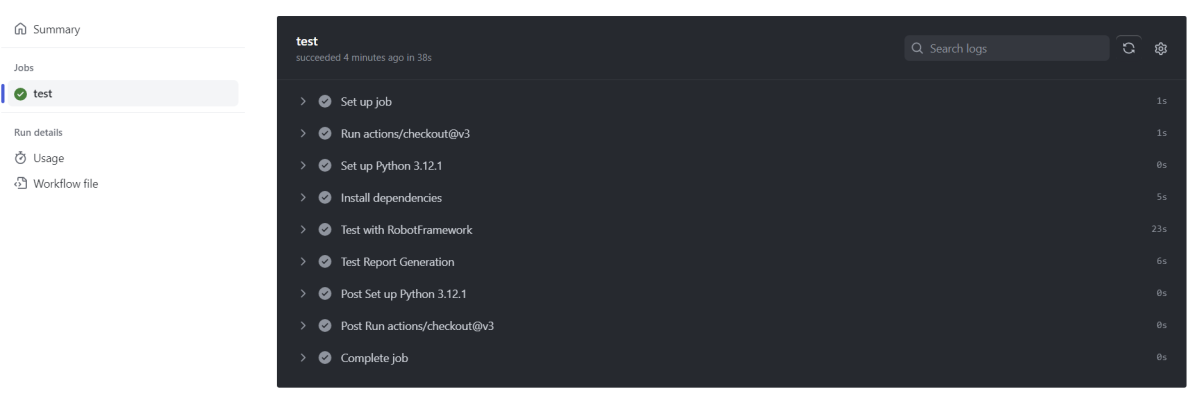
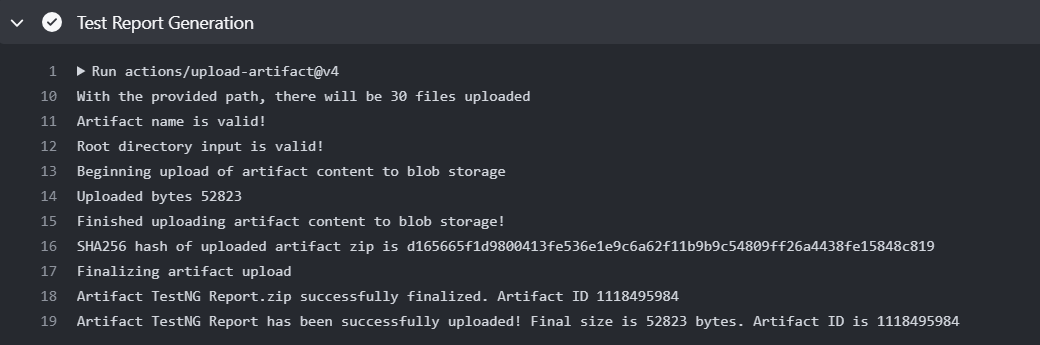
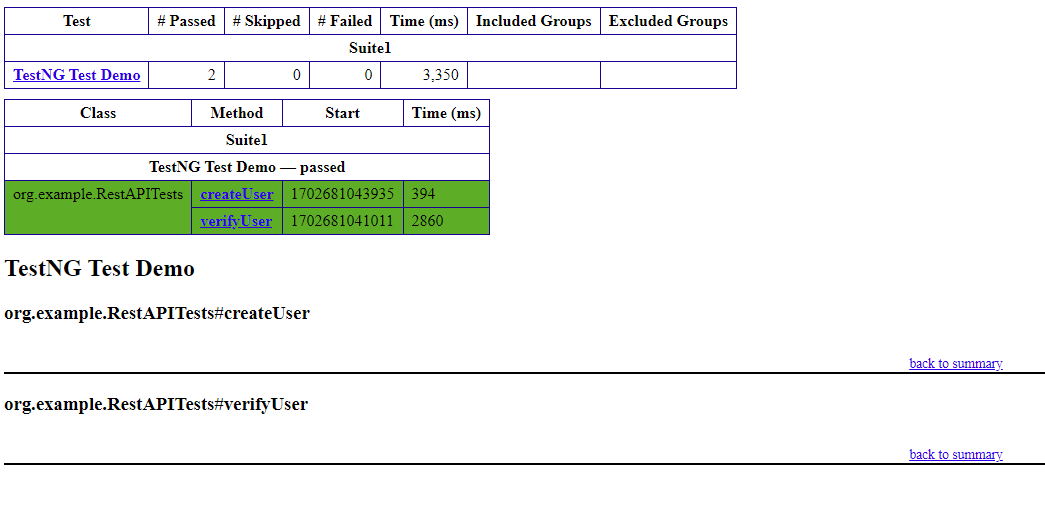
The test execution status looks like something this

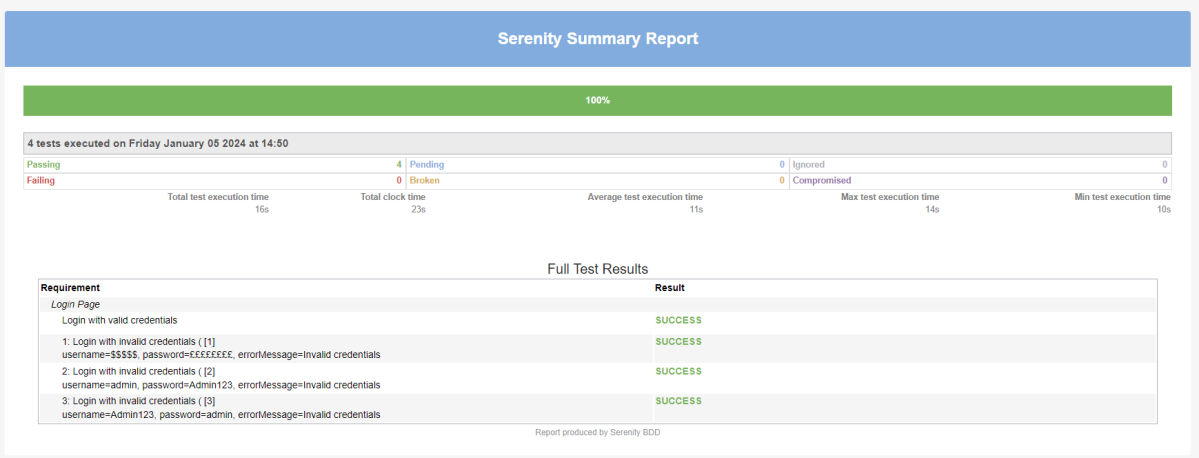
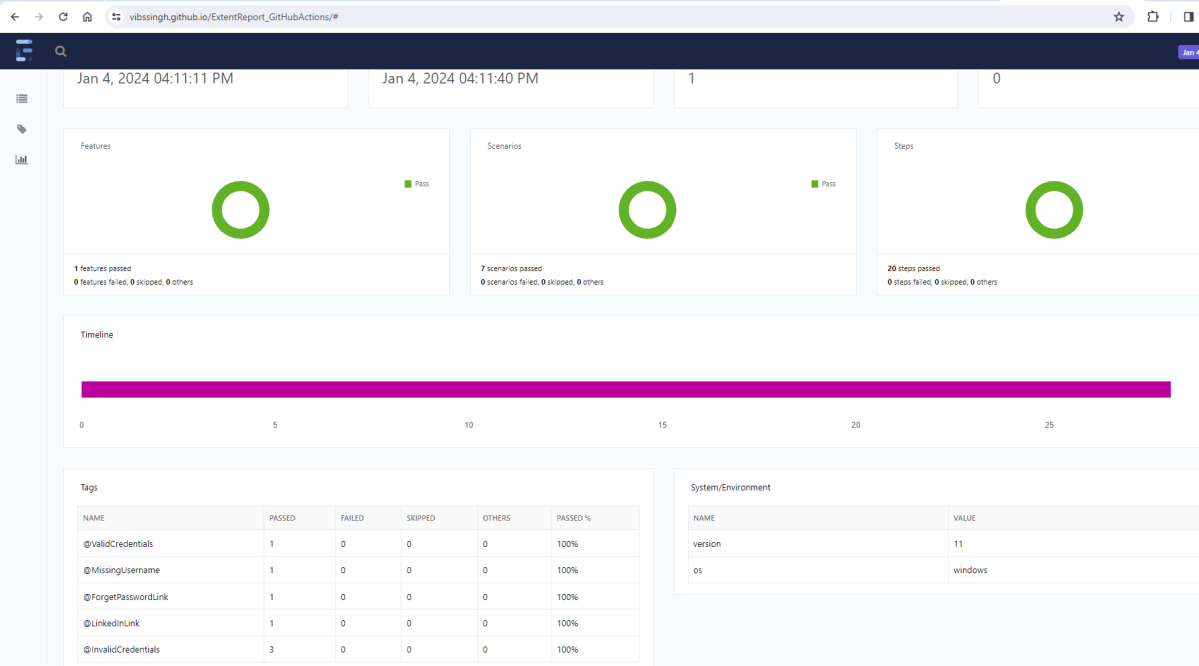
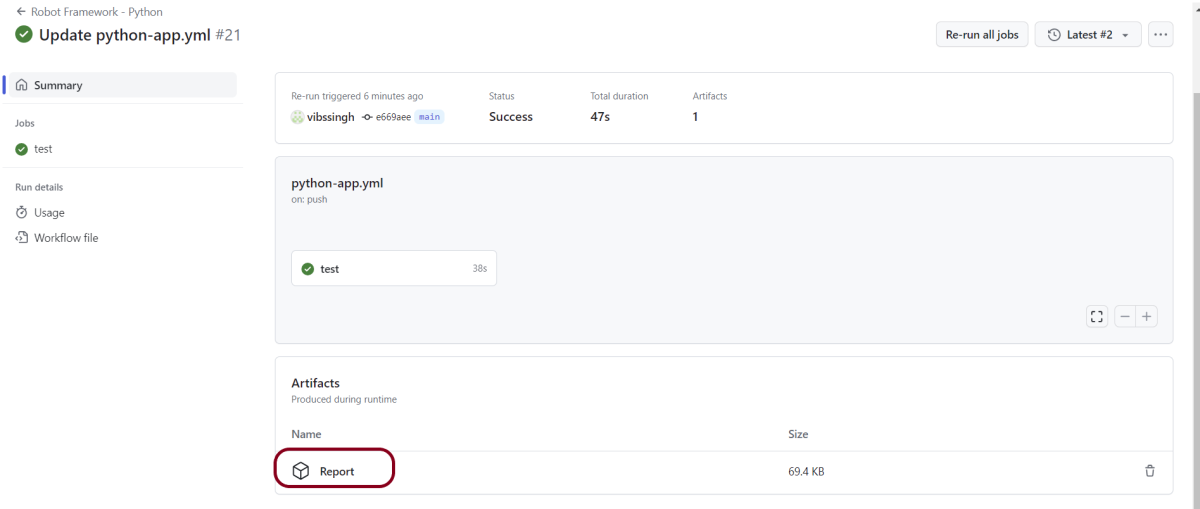
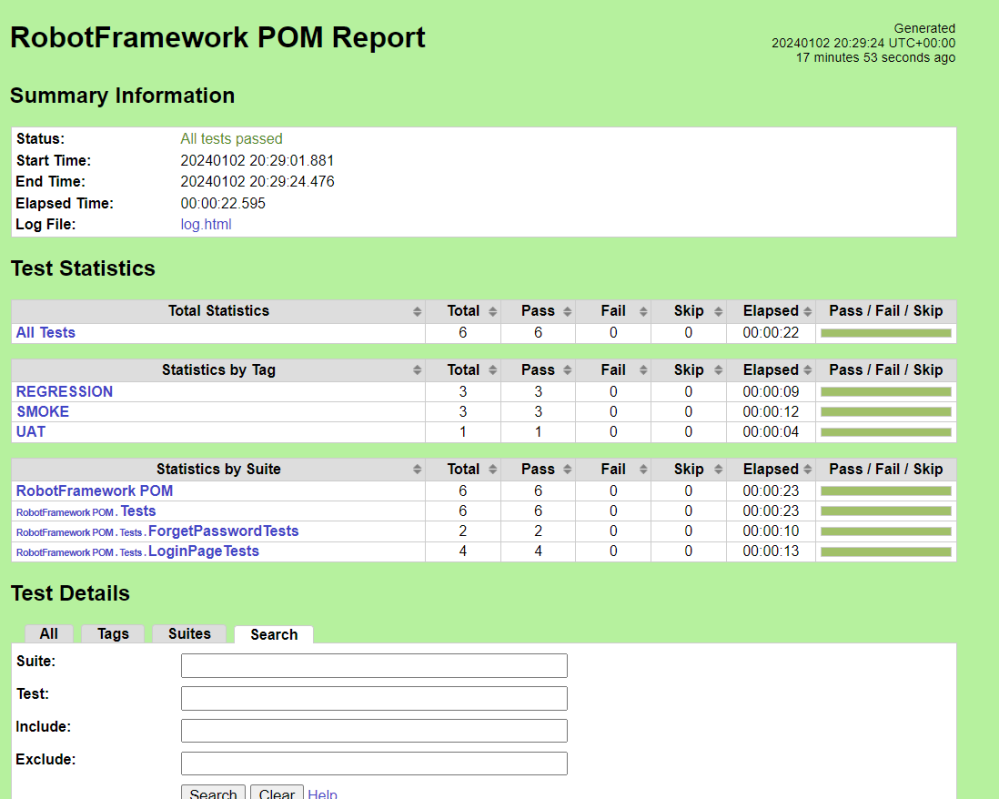
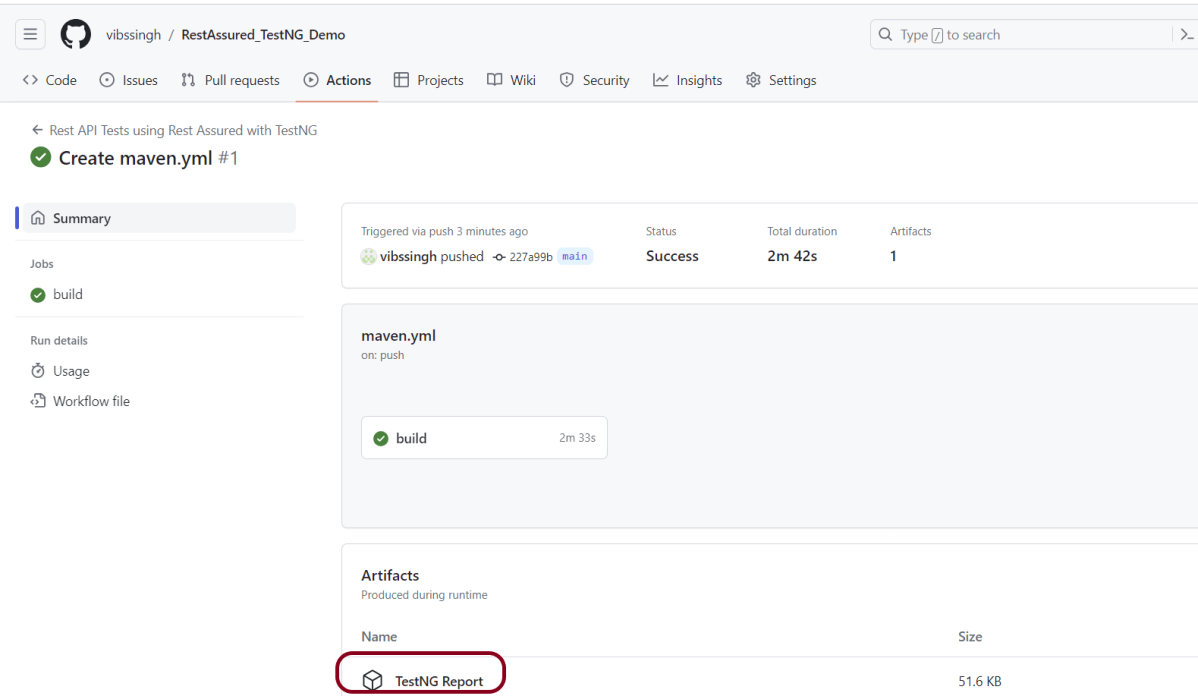
Step 9: View the Serenity Reports
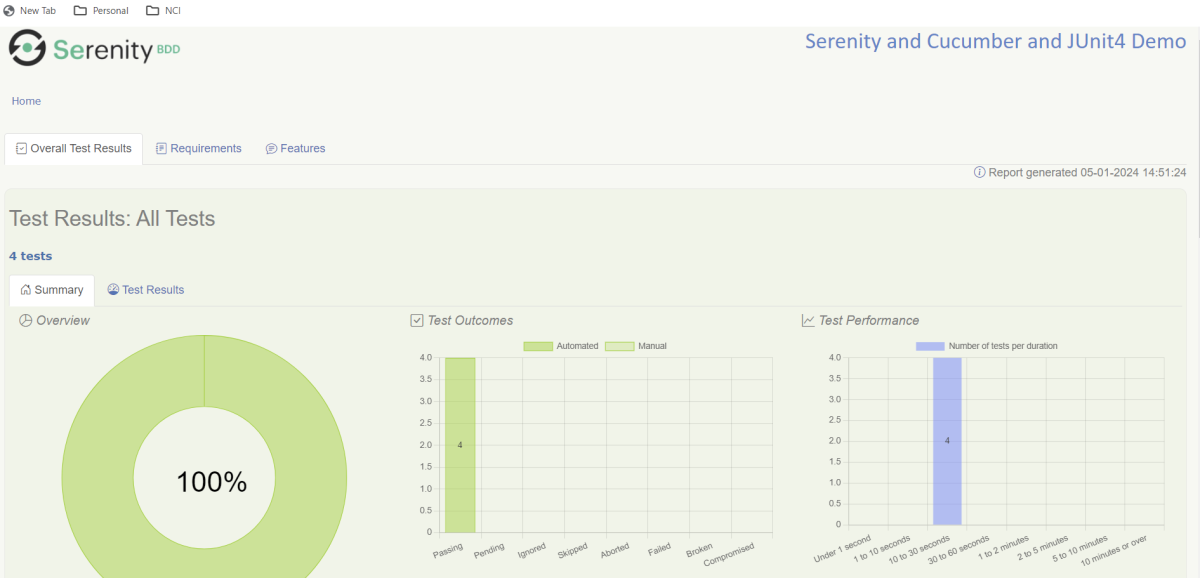
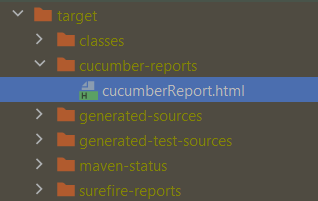
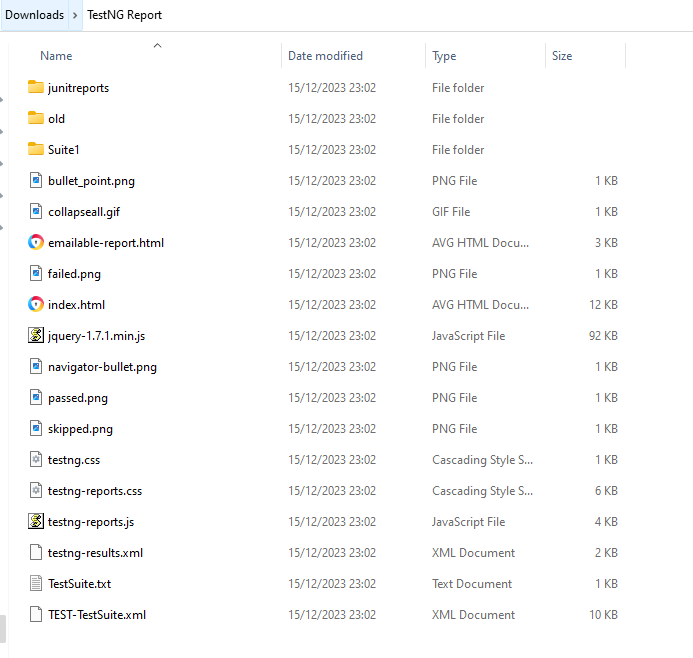
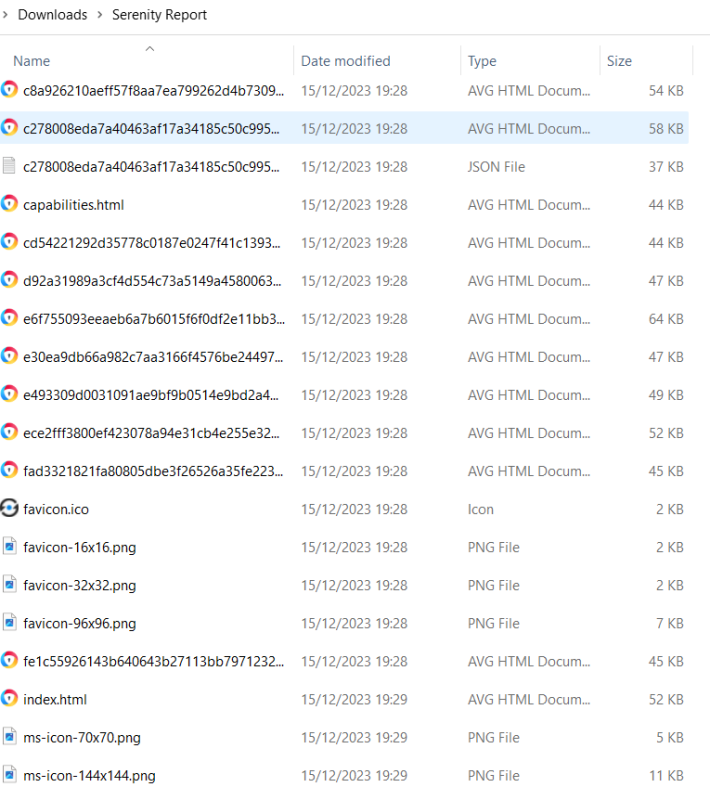
The test report generated by Serenity is placed under target/site/serenity.

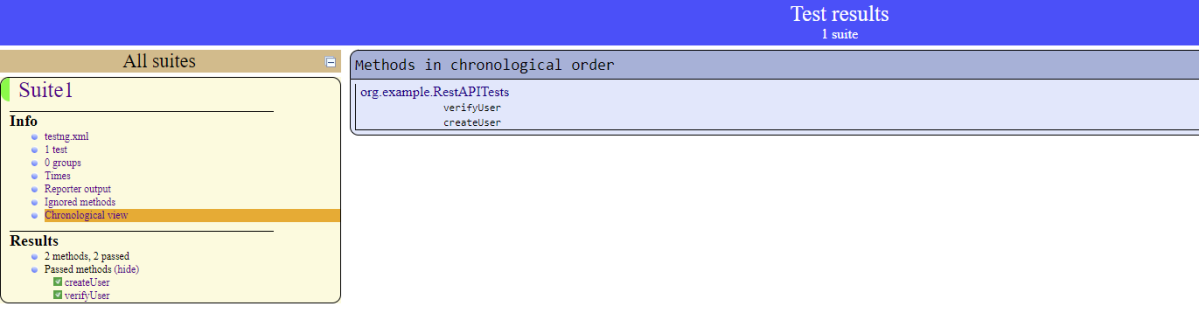
There are a lot of reports under the Serenity folder. But we are interested in 2 reports – index.html and serenity-summary.html.
Index.html
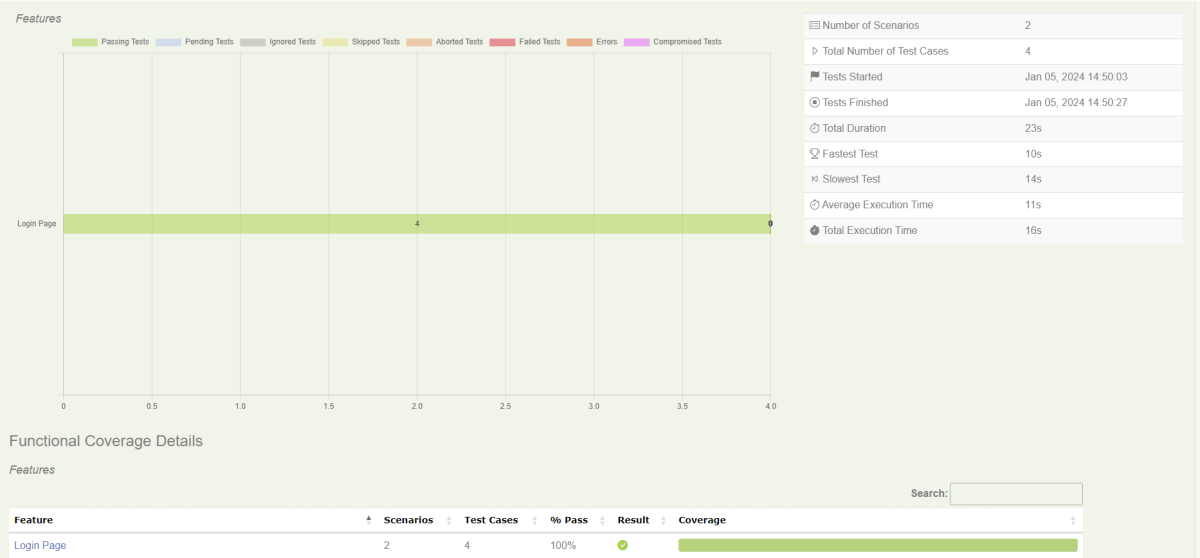
Serenity-Summary.html
Congratulations on making it through this tutorial and hope you found it useful! Happy Learning!! Cheers!!
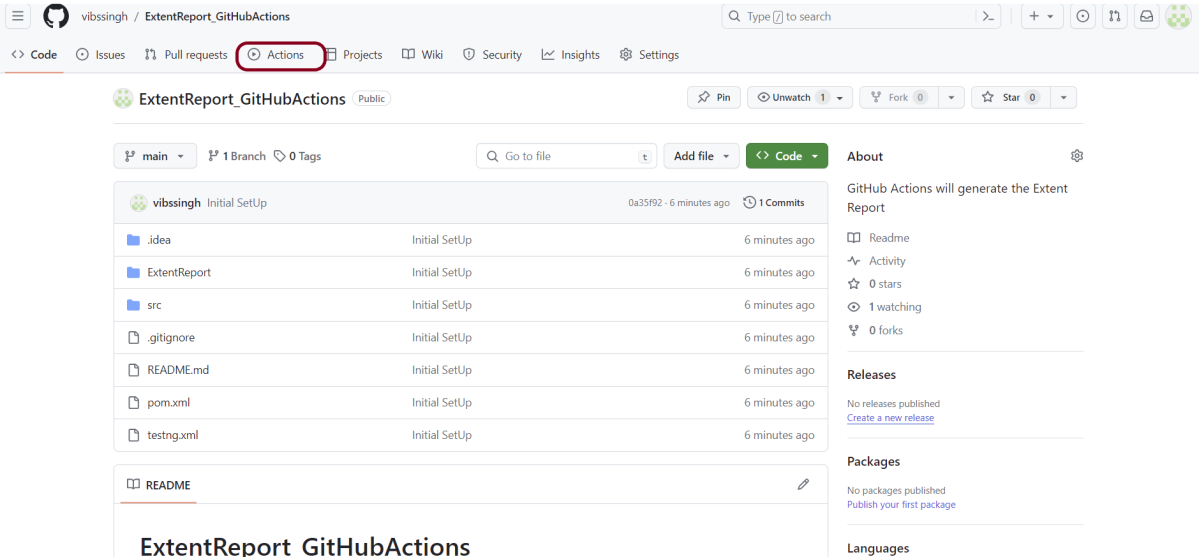
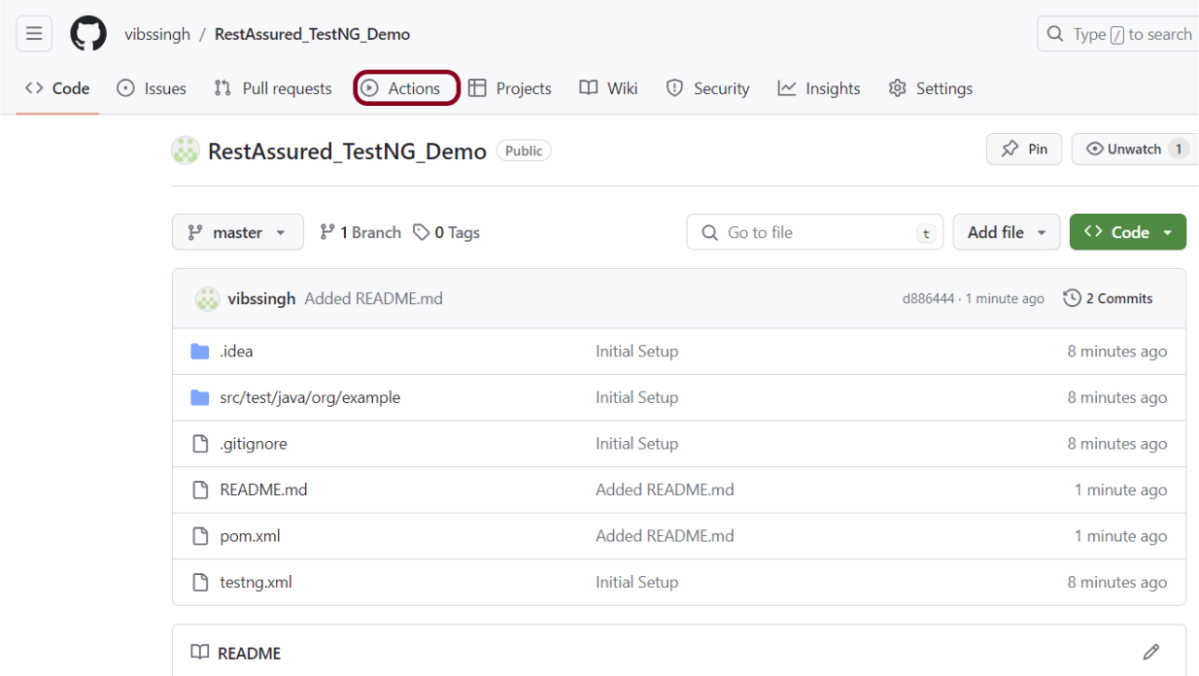
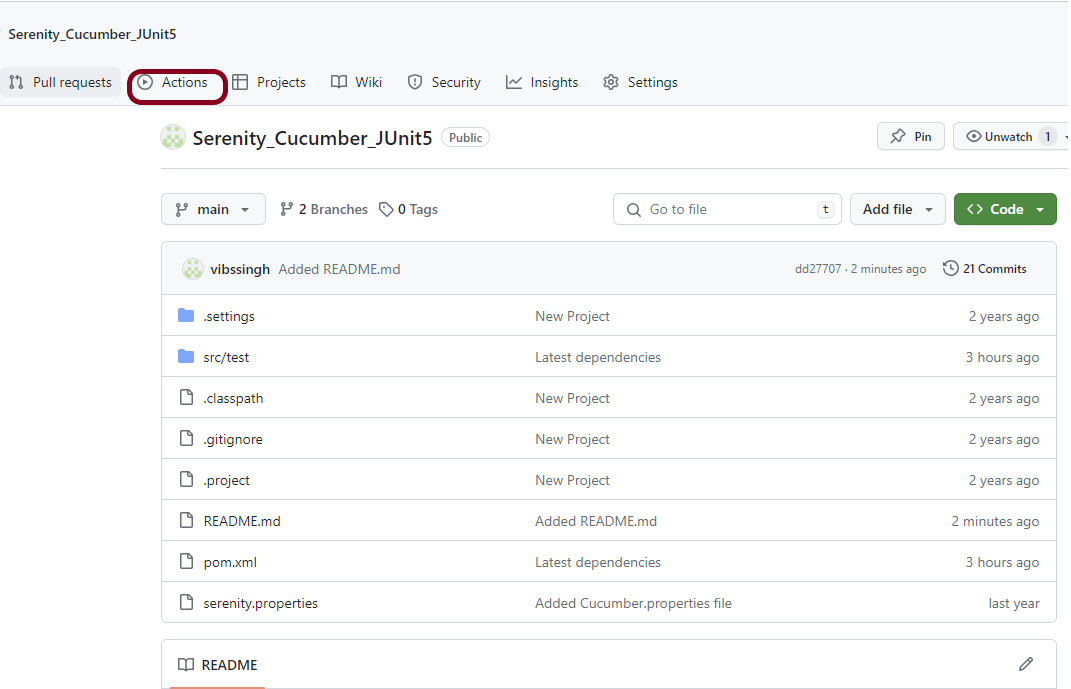
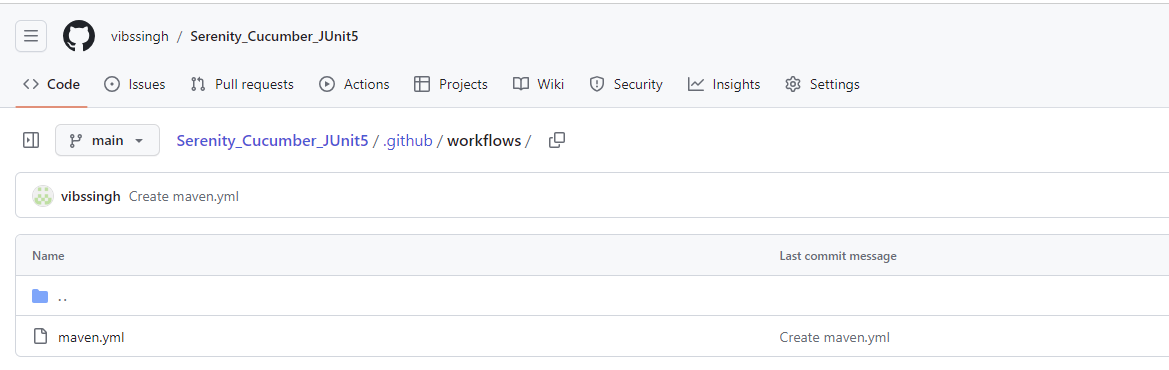
The complete code can be found on GitHub – vibssingh/SerenityCucumberJUnit4_Demo.
Additional Tutorials:


