The previous tutorial explains the staging of the changes. This tutorial explains how to commit changes in GIT.
As we remember from previous tutorials, committing a change (like new file, updated file, etc) is a 2 step process.
“git add” is the first command in a chain of operations that directs Git to “save” a snapshot of the current project state, into the commit history or can say . Now we can say that “git commit” is the second command in above chain of operations.

git commit is used to save the changes to the local Git Repository. When a file is changes and we use git commit, GIT will not automatically commit the changes. Instead, we need to use the “git add” command to mark the desired changes for inclusion.
Let me explain this with an example.
Step 1– Create an empty directory – GitTest.
Step 2 – Right-click and click on Git Bash Here to open GitBash at that place.
Step 3 – Type a git command as “git init”. This command is used for initial setup of a Git local Repository. To know how to create an empty directory, refer this tutorial.
Step 4 – Type “git status“ command. This command displays the state of the working directory and the staging area.
Step 5 – Create 2 new files with some content – ReadMe.txt and Index.txt.
Step 6 – Type “git add ReadMe.txt“ command. This will promote pending changes (new file or altered file) in the working directory , to the git Staging area.
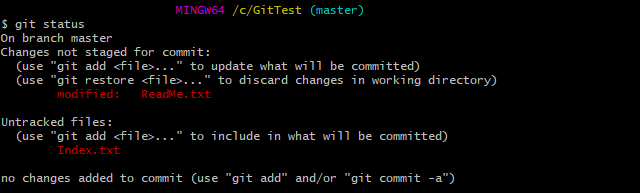
Step 7 – Type “git status“ command.
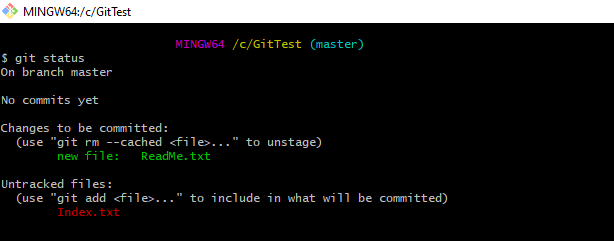
This shows that ReadMe.txt file is already staged and Indesx.txt is not staged. As ReadMe.txt is already staged, we can commit this file to Git local Repository. This can be done by using the command “git commit”.
Step 8 – Type git commit “ReadMe.txt”.
git commit <fileName>
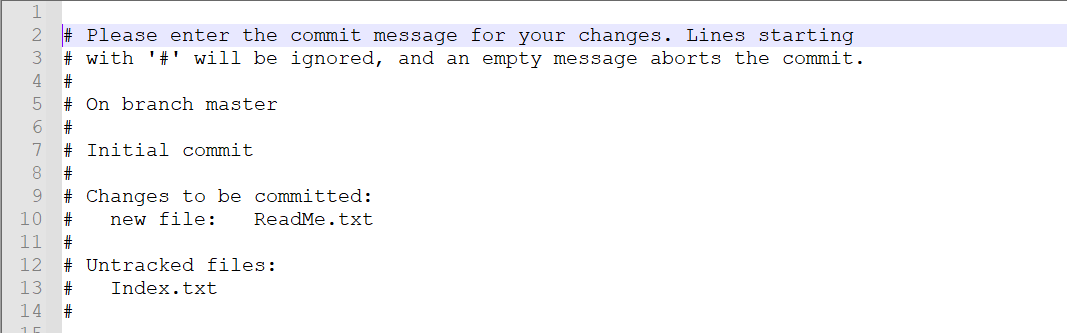
This will launch a text editor prompting you for a commit message. After you’ve entered a message, save the file and close the editor to create the actual commit. Below is the editor opens. I have added the message – First commit at line 15 (which is not commented – #)
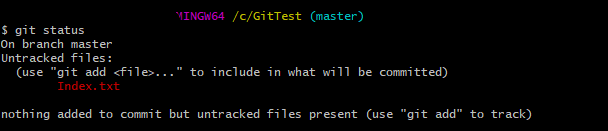
This is how the message is displayed in GitBash now.

Step 9 – Type git status again. This command shows that now we have only Index.txt to stage and commit.
A shortcut command that immediately creates a commit with a passed commit message without opening of text editor.
git commit -m "commit message"
There are some other options to available with git commit.
- This command commit a snapshot of all changes present in Git Staging area.
git commit -a
2. A power user shortcut command that combines the -a and -m options. This combination immediately creates a commit of all the staged changes and takes an inline commit message.
git commit -am "commit message"
In the below example,
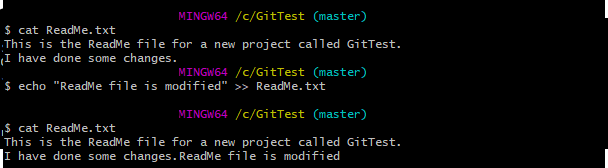
Step 1 – Modified Index.txt file
Step 2 – Type git status to see that ReadMe.txt is modified so needs to be staged again and Index.txt which also needs to be staged.
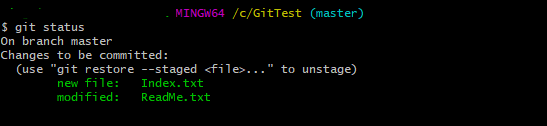
Step 3 – Type git add . to stage both files Index.txt and ReadMe.txt to Staging Area.

Step 4 – Type git status to check the status of both files.
Step 5 – Type git commit -am “Second commit with Index and ReadMe files” to commit both the files.
Step 6 – Type git status to check if both the files are committed or not.

Hopefully, this tutorial will help you to understand the process of committing the changes in GIT. Happy Learning.
