In the previous tutorial, we have seen the How to generate HTML Reports in Jenkins. In this tutorial, we show you how to integrate PyTest tests with Jenkins.
Table Of Contents
Prerequisite:
Jenkin’s installed and started on the computer. The current Jenkins version is – 2.361.2
Implementation Steps
To generate HTML Report in Jenkins, we need to download HTML Publisher Plugin. Please refer to this tutorial to install the plugin – How to install Plugins in Jenkins.
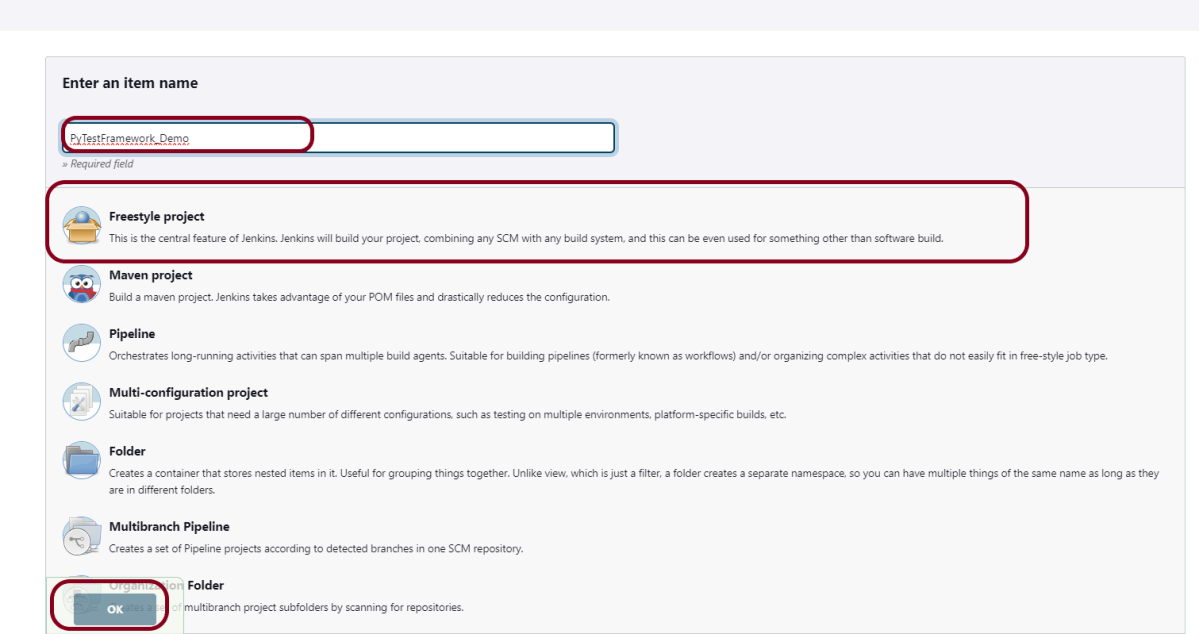
Step 1: Create a new FreeStyle project
- Give the Name of the project – PyTestFramework_Demo
- Click on the Freestyle project.
- Click on the OK button.
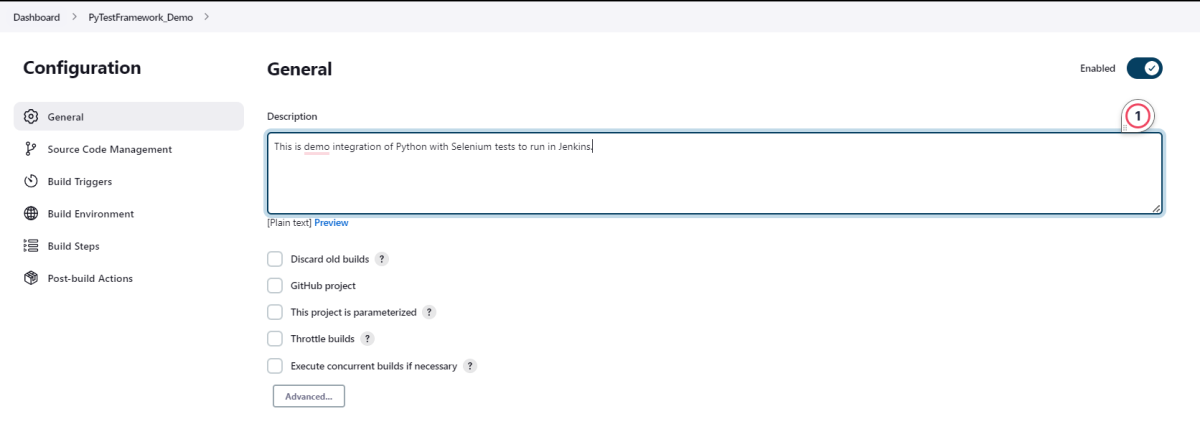
In the General section, enter the project description in the Description box – This is demo integration of Python with Selenium tests to run in Jenkins.
Step 2: Select a custom workspace
Mention the full path of the project in the Use custom workspace.

Select Source Code Management as None if the project is locally present on the machine.
Step 3: Build Management
The source code used for this tutorial can be seen here – Page Object Model Implementation of Python with Selenium – PyTest.
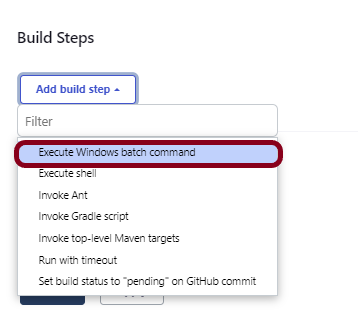
Go to the Build section of the new job. Select “Execute Windows batch command”.
Mention the command needed to execute the tests. In this case, I have to execute all the tests, so used the below command:
cd tests
pytest  --html=$WORKSPACE/Reports/report.html -s
We have tests present in test directory. So we have used cd tests.
$WORKSPACE is the environment variable. It provides the absolute path of the workspace.

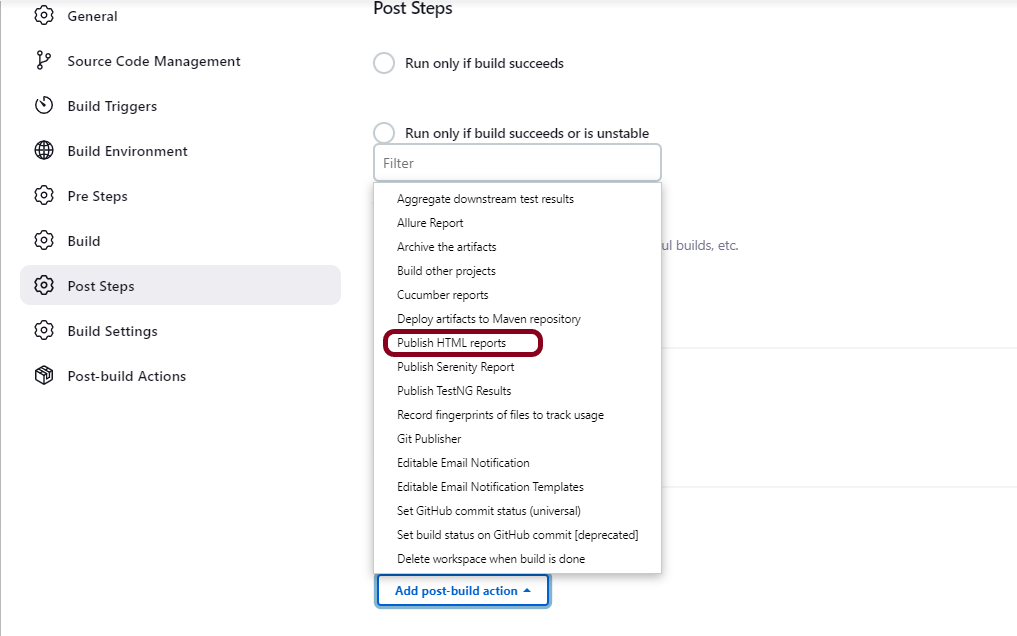
Step 4: Select “Publish HTML reports” from “Post Build Actions”
Scroll down to “Post Build Actions” and click on the “Add Post Build Actions” drop-down list. Select “Publish HTML reports“.
If you want to see where the report will be saved in Jenkins, go to the Dashboard -> PyTestFramework_Demo -> Workspace -> Reports ->report.html.

This can be only viewed once the project is built and the job is executed. Then go to Workspace to check the location of the report.html file.
Enter the HTML directory to archive – Reports, Index page[s] – report.html, and Report title – HTML Report.

Click on the Apply and Save buttons.
We have created a new FreeStyle project “PyTestFramework_Demo” with the configuration to run the Python tests in windows batch.

Step 5: Execute the tests
Let’s execute it now by clicking on the “Build Now” button.

Right-click on Build Number (here in my case it is #1).
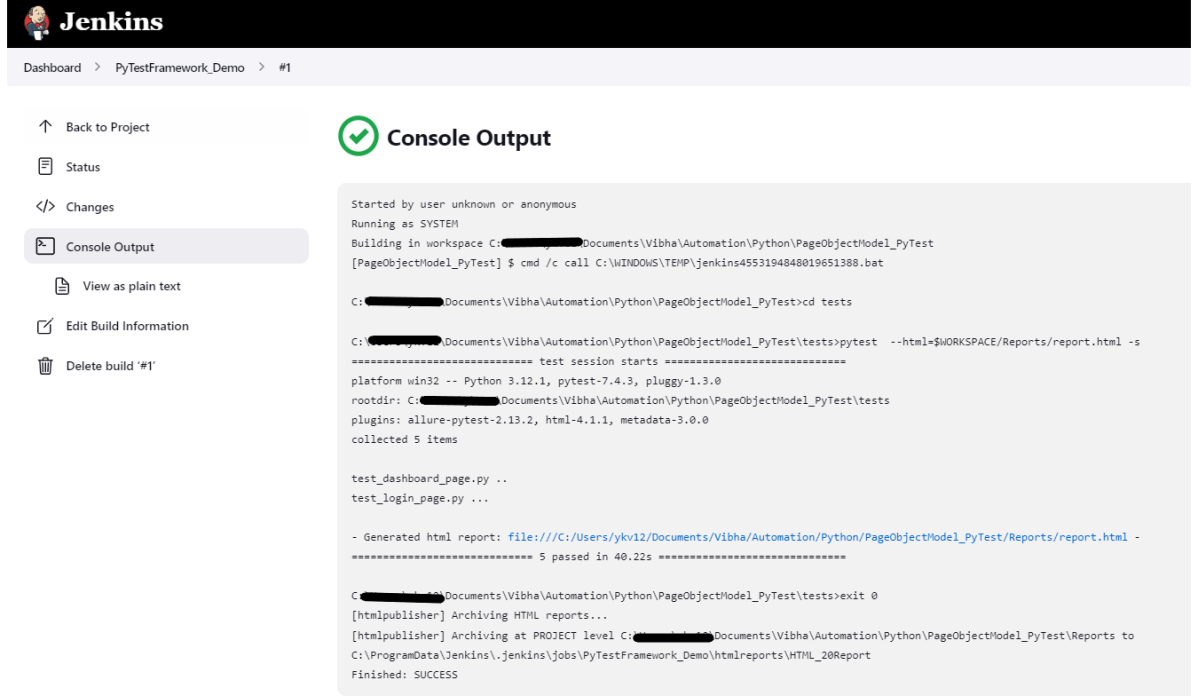
Click on Console Output to see the result.
Step 6: View the HTML Report
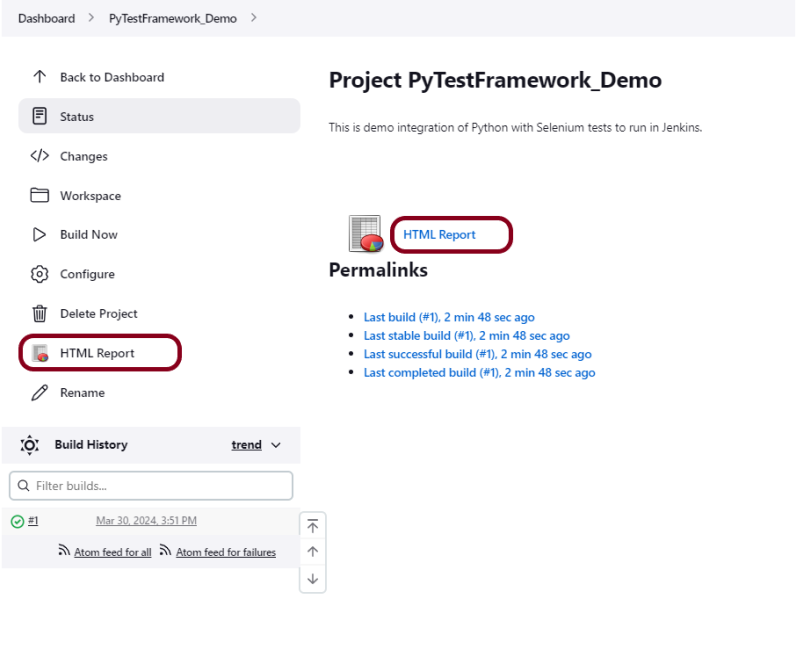
Once the execution is completed, click on go “Back to Project“, and we could see a link to view the “HTML Report“.

We can see here that the HTML Report link is displayed in the Console.
Below is the HTML Report generated in Jenkins.

There are chances that the report won’t look very pretty. The reason is that CSS is stripped out because of the Content Security Policy in Jenkins.
The default rule set in Jenkins is:
sandbox; default-src 'none'; img-src 'self'; style-src 'self';
To know more about this, please refer to this tutorial – https://www.jenkins.io/doc/book/security/configuring-content-security-policy/.
We can customize Content Security Policy in Jenkins. But keep in mind that it should be done after checking with the Security team in your organization. This is a workaround solution. I can’t emphasize enough that this is not a standard practice.
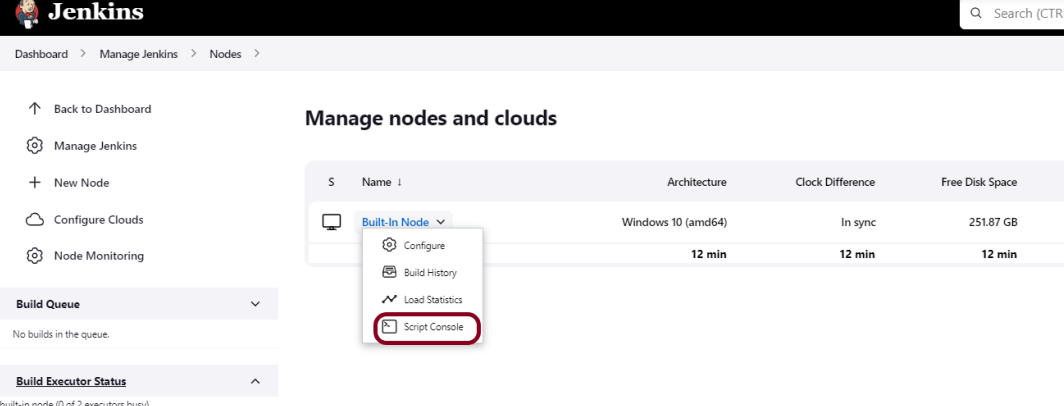
Go to Manage Jenkins -> Manage Nodes and Clouds.
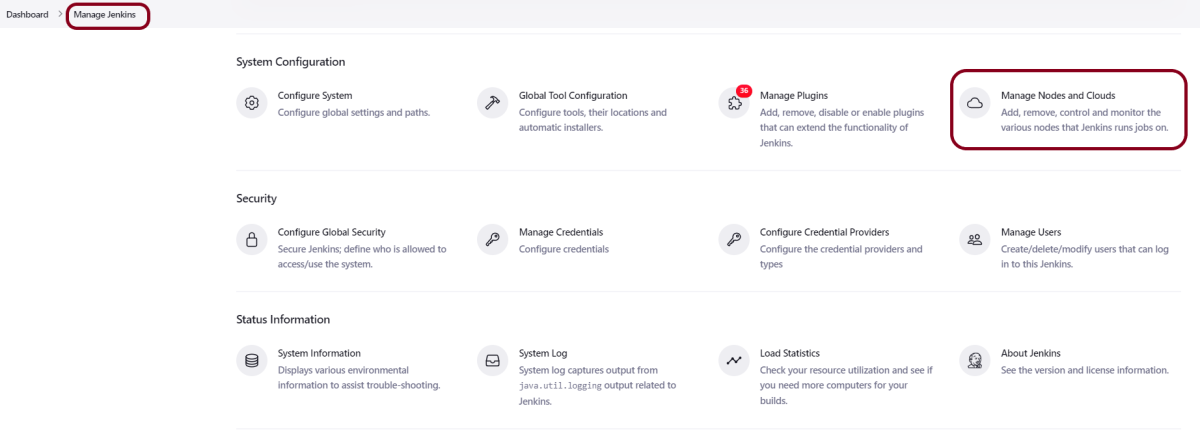
Click on the Script Console option.
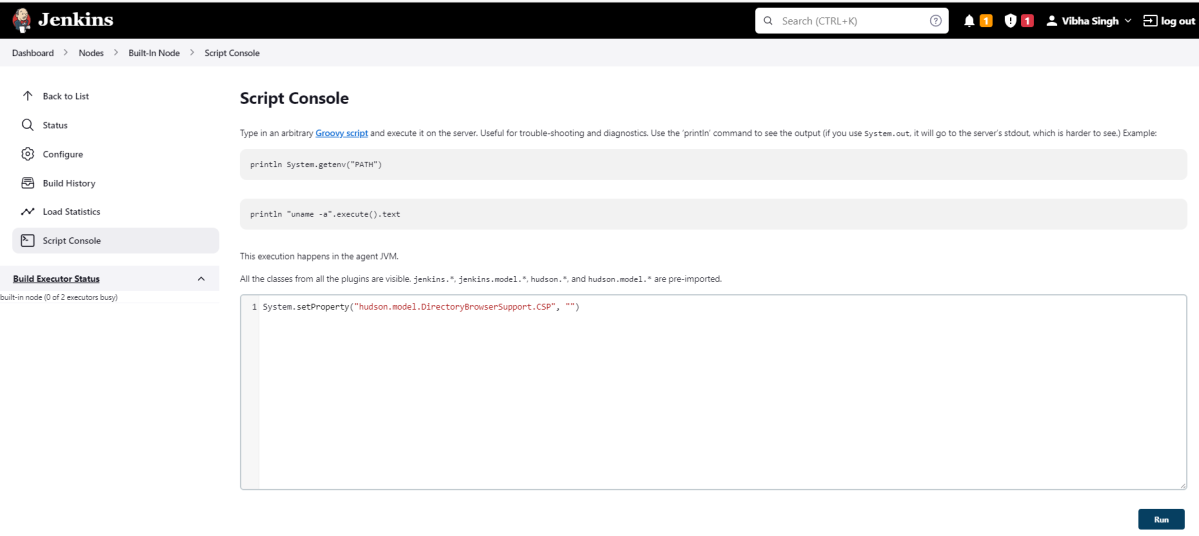
Type in the following command and Press Run. If you see the output as ‘Result:’ then the protection is disabled. Re-Run your build and you can see that the new HTML files archived will have the CSS enabled.
System.setProperty("hudson.model.DirectoryBrowserSupport.CSP","")
Re-run the HTMLReport_Demo project. Now you can see a properly rendered HTML Report.
Congratulations on making it through this tutorial and hope you found it useful! Happy Learning!! Cheers!!
Additional Tutorials