In the previous tutorial, I explained the Integration of the Allure Report with Rest Assured with JUnit4. In this tutorial, I will explain how to Integrate Allure Report with Rest Assured and TestNG.
The below example covers the implementation of Allure Report for Rest API using Rest Assured, TestNG, Java, and Maven.
Table of Contents
Prerequisite
- Java 17 installed
- Maven installed
- Eclipse or IntelliJ installed
- Allure installed
Dependency List:
- Java 17
- Maven – 3.9.6
- Allure Report – 2.14.0
- Allure Rest Assured – 2.25.0
- Allure TestNG – 2.25.0
- Aspectj – 1.9.21
- Json – 20231013
- Maven Compiler Plugin – 3.12.1
- Maven Surefire Plugin – 3.2.3
Implementation Steps
Step 1 – Update Properties section in Maven pom.xml
<properties>
        <hamcrest.version>1.3</hamcrest.version>
        <allure.rest.assured.version>2.25.0</allure.rest.assured.version>
        <json.version>20231013</json.version>
        <maven.compiler.plugin.version>3.12.1</maven.compiler.plugin.version>
        <maven.compiler.source>17</maven.compiler.source>
        <maven.compiler.target>17</maven.compiler.target>
        <aspectj.version>1.9.21</aspectj.version>
        <maven.surefire.plugin.version>3.2.3</maven.surefire.plugin.version>
        <allure.maven.version>2.12.0</allure.maven.version>
        <allure.testng.version>2.25.0</allure.testng.version>
        <project.build.sourceEncoding>UTF-8</project.build.sourceEncoding>
 </properties>
Step 2 – Add the Allure-Rest Assured dependency
 <!--Allure Reporting Dependency-->
   <dependency>
      <groupId>io.qameta.allure</groupId>
      <artifactId>allure-rest-assured</artifactId>
      <version>${allure.rest-assured.version}</version>
   </dependency>
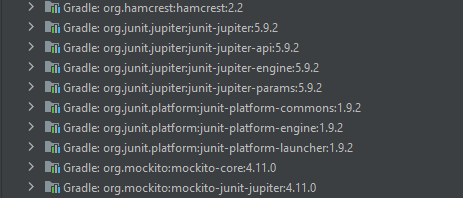
Add other dependencies like Rest Assured and Allure-TetNG dependencies in POM.xml
 <dependencies>

        <!-- Hamcrest Dependency -->
        <dependency>
            <groupId>org.hamcrest</groupId>
            <artifactId>hamcrest-all</artifactId>
            <version>${hamcrest.version}</version>
            <scope>test</scope>
        </dependency>

        <!-- JSON Dependency -->
        <dependency>
            <groupId>org.json</groupId>
            <artifactId>json</artifactId>
            <version>${json.version}</version>
        </dependency>

        <!-- Allure TestNG Dependency -->
        <dependency>
            <groupId>io.qameta.allure</groupId>
            <artifactId>allure-testng</artifactId>
            <version>${allure.testng.version}</version>
        </dependency>

        <!-- Allure Rest-assured Dependency-->
        <dependency>
            <groupId>io.qameta.allure</groupId>
            <artifactId>allure-rest-assured</artifactId>
            <version>${allure.rest.assured.version}</version>
        </dependency>

    </dependencies>
Step 3 – Update the Build Section of pom.xml in the Allure Report Project
 <build>
        <plugins>
            <plugin>
                <groupId>org.apache.maven.plugins</groupId>
                <artifactId>maven-compiler-plugin</artifactId>
                <version>${maven.compiler.plugin.version}</version>
                <configuration>
                    <source>${maven.compiler.source}</source>
                    <target>${maven.compiler.target}</target>
                </configuration>
            </plugin>

            <plugin>
                <groupId>org.apache.maven.plugins</groupId>
                <artifactId>maven-surefire-plugin</artifactId>
                <version>${maven.surefire.plugin.version}</version>
                <configuration>
                    <suiteXmlFiles>
                        <suiteXmlFile>testng.xml</suiteXmlFile>
                    </suiteXmlFiles>
                    <argLine>
                        -javaagent:"${settings.localRepository}/org/aspectj/aspectjweaver/${aspectj.version}/aspectjweaver-${aspectj.version}.jar"
                    </argLine>
                </configuration>
                <dependencies>
                    <dependency>
                        <groupId>org.aspectj</groupId>
                        <artifactId>aspectjweaver</artifactId>
                        <version>${aspectj.version}</version>
                    </dependency>
                </dependencies>
            </plugin>

             <plugin>
                <groupId>io.qameta.allure</groupId>
                <artifactId>allure-maven</artifactId>
                <version>${allure.maven.version}</version>
                <configuration>
                    <reportVersion>${allure.maven.version}</reportVersion>
                </configuration>
            </plugin>

        </plugins>
    </build>
</project>
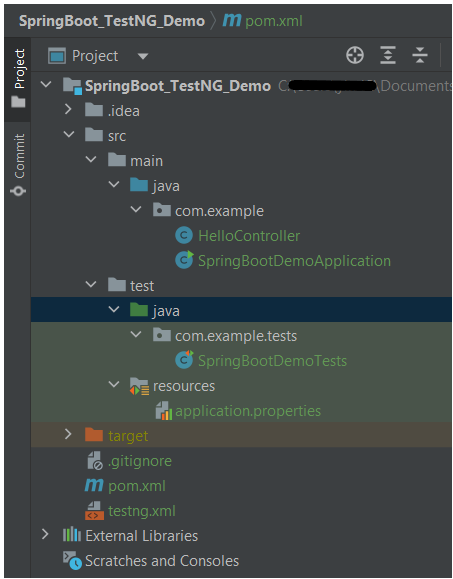
Step 4 – Create the Test Code for the testing of REST API under src/test/java
To see our request and response in more detail using Rest Assured, we need to add a line to our Rest Assured tests. This will provide the request and response details in the report.
.filter(new AllureRestAssured())
import io.qameta.allure.*;
import io.qameta.allure.restassured.AllureRestAssured;
import io.restassured.http.ContentType;
import org.json.JSONObject;
import org.testng.annotations.Test;
import static io.restassured.RestAssured.given;
import static org.hamcrest.Matchers.equalTo;

@Epic("REST API Regression Testing using TestNG")
@Feature("Verify CRUID Operations on User module")
public class RestAPITests {

    @Test(description = "To get the details of user with id 3", priority = 0)
    @Story("GET Request with Valid User")
    @Severity(SeverityLevel.NORMAL)
    @Description("Test Description : Verify the details of user of id-3")
    public void verifyUser() {

        // Given
        given()

                .filter(new AllureRestAssured())
                // When
                .when()
                .get("https://reqres.in/api/users/3")

                // Then
                .then()
                .statusCode(200)
                .statusLine("HTTP/1.1 200 OK")

                // To verify user of id 3
                .body("data.email", equalTo("emma.wong@reqres.in"))
                .body("data.first_name", equalTo("Emma"))
                .body("data.last_name", equalTo("Wong"));
    }

    @Test(description = "To create a new user", priority = 1)
    @Story("POST Request")
    @Severity(SeverityLevel.NORMAL)
    @Description("Test Description : Verify the creation of a new user")
    public void createUser() {

        JSONObject data = new JSONObject();

        data.put("name", "RestAPITest");
        data.put("job", "Testing");

        // GIVEN
        given()

                .filter(new AllureRestAssured())
                .contentType(ContentType.JSON)
                .body(data.toString())

                // WHEN
                .when()
                .post("https://reqres.in/api/users")

                // THEN
                .then()
                .statusCode(201)
                .body("name", equalTo("RestAPITest"))
                .body("job", equalTo("Testing"));

    }

}
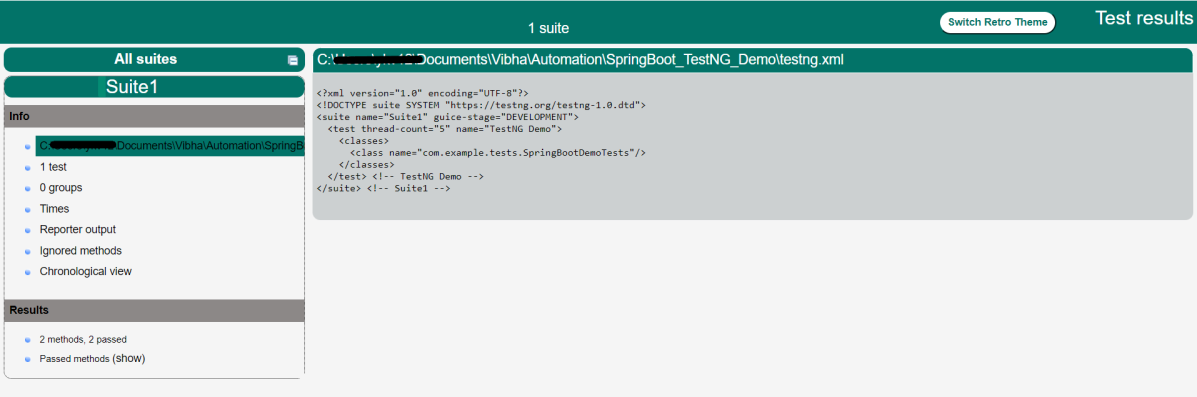
Step 5 – Create testng.xml for the project
<?xml version = "1.0"encoding = "UTF-8"?>
<!DOCTYPE suite SYSTEM "http://testng.org/testng-1.0.dtd">
<suite name = "Suite1">
    <test name = "TestNG Test Demo">
        <classes>
            <class name = "org.example.RestAPITests"/>
        </classes>
    </test>
</suite>
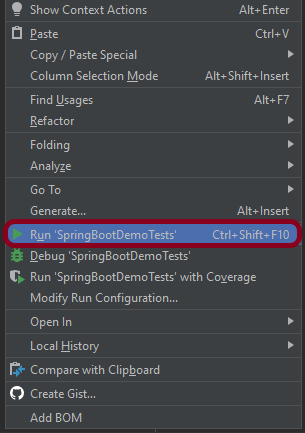
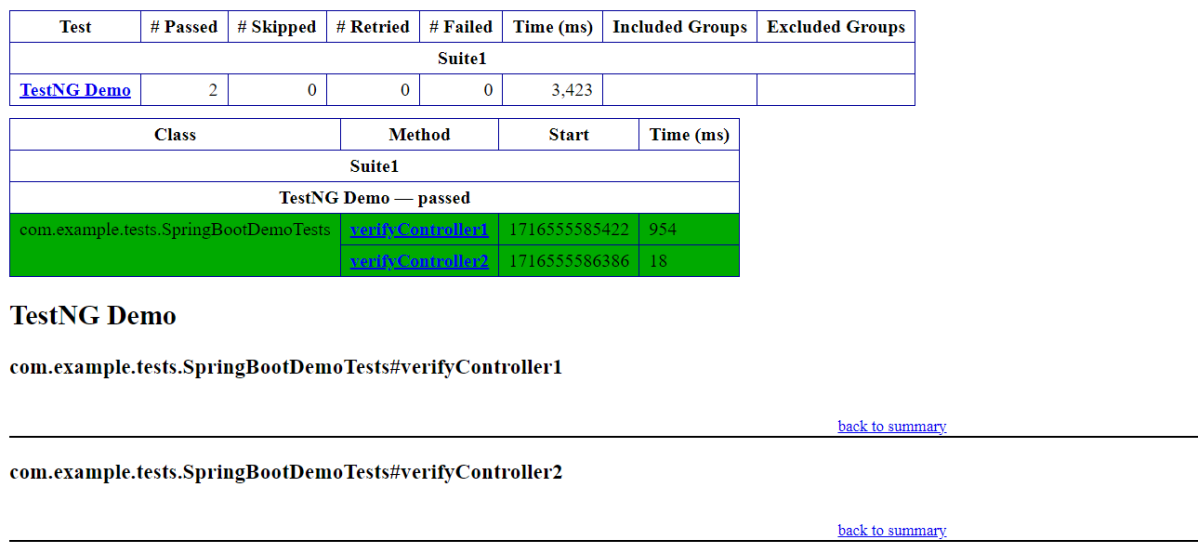
Step 6 – Run the Test and Generate Allure Report
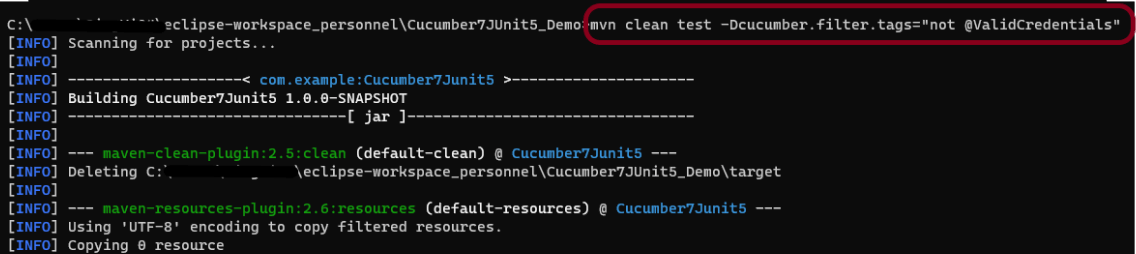
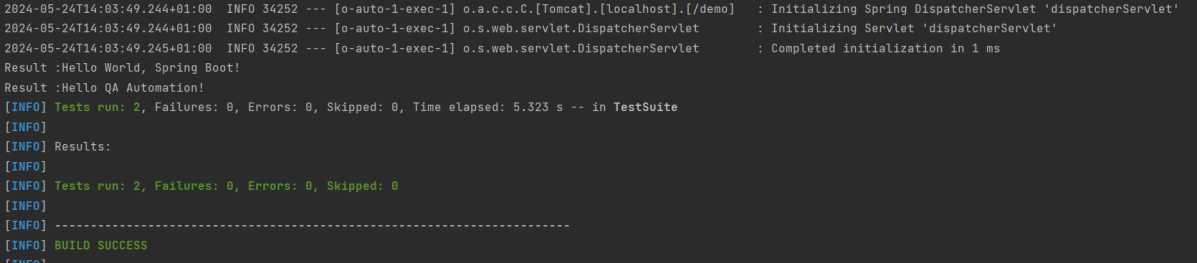
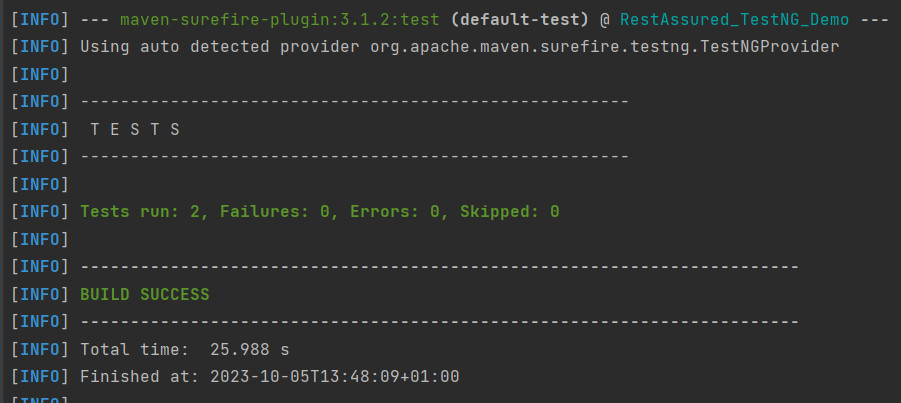
To run the tests, use the below command
mvn clean test
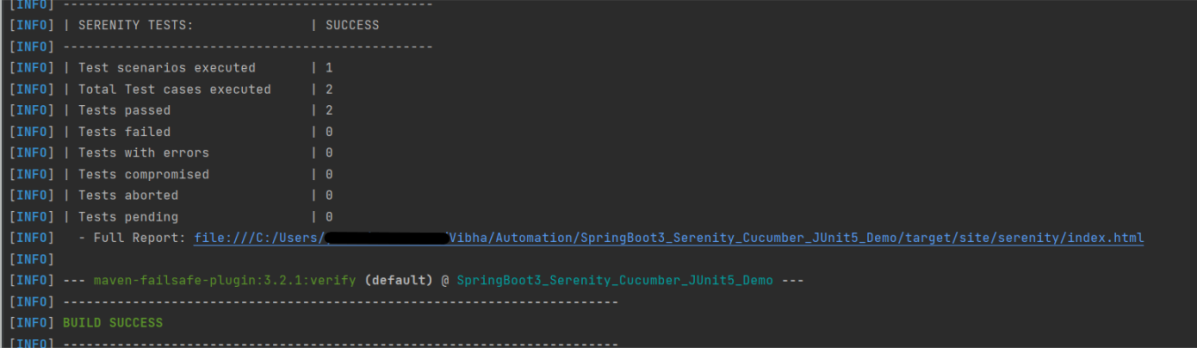
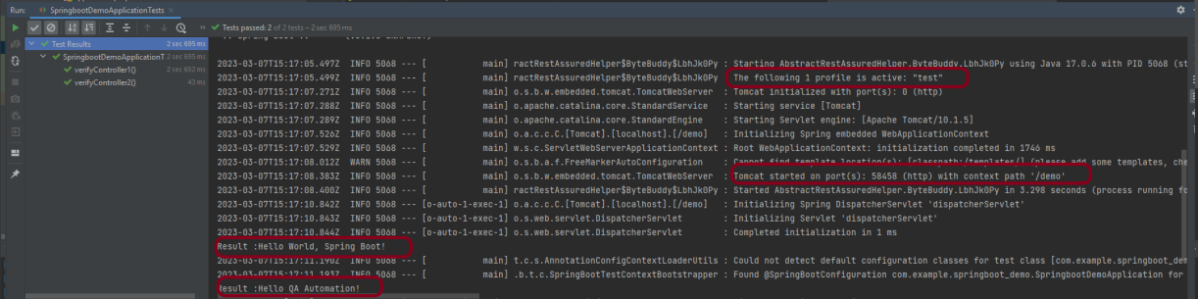
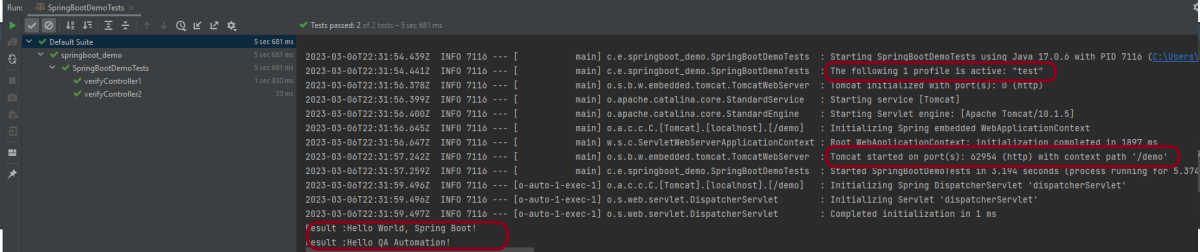
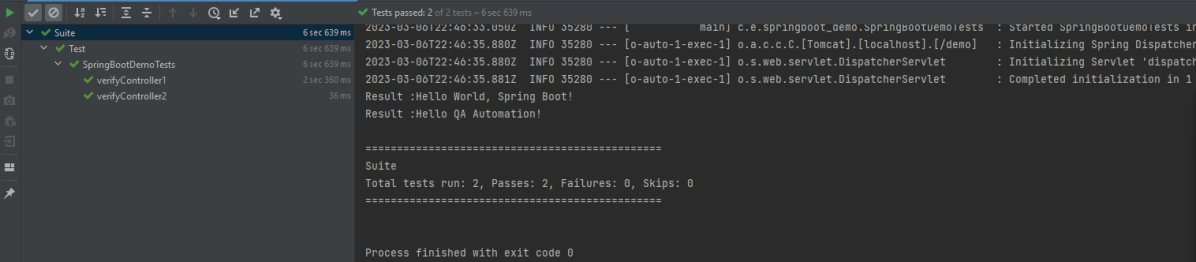
In the below image, we can see that all three tests are passed.
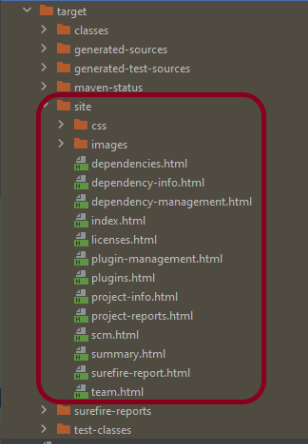
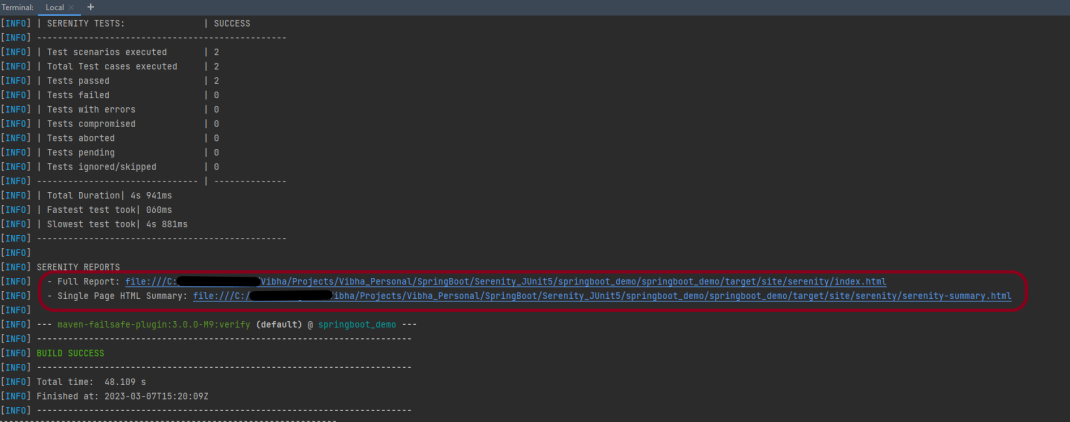
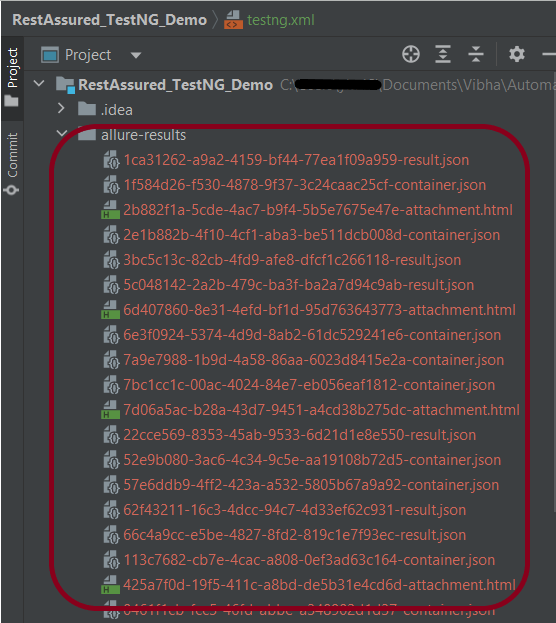
This will create the allure-results folder with all the test reports. These files will be used to generate the Allure Report.
To create an Allure Report, use the below command
allure serve
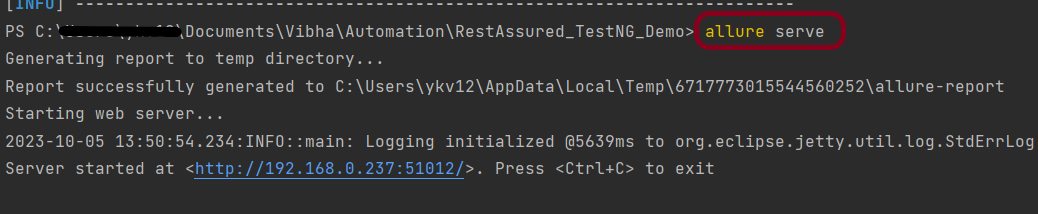
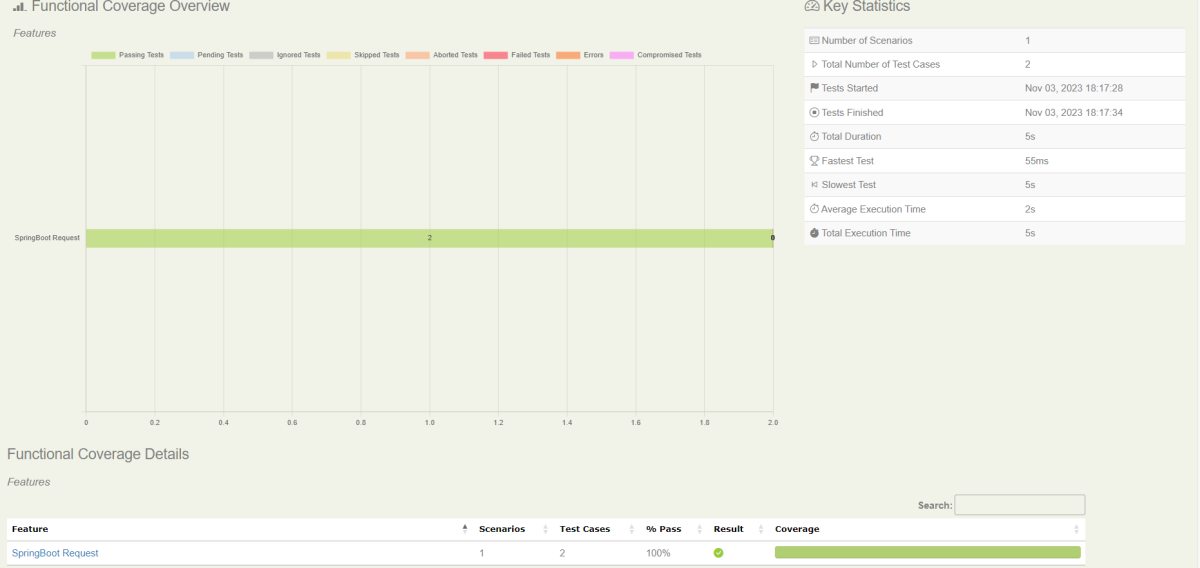
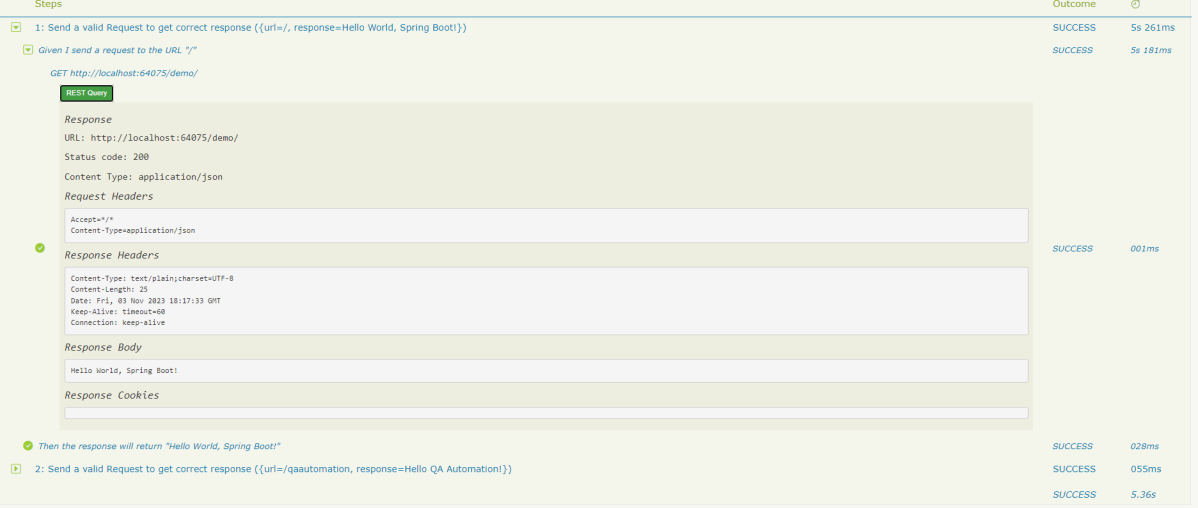
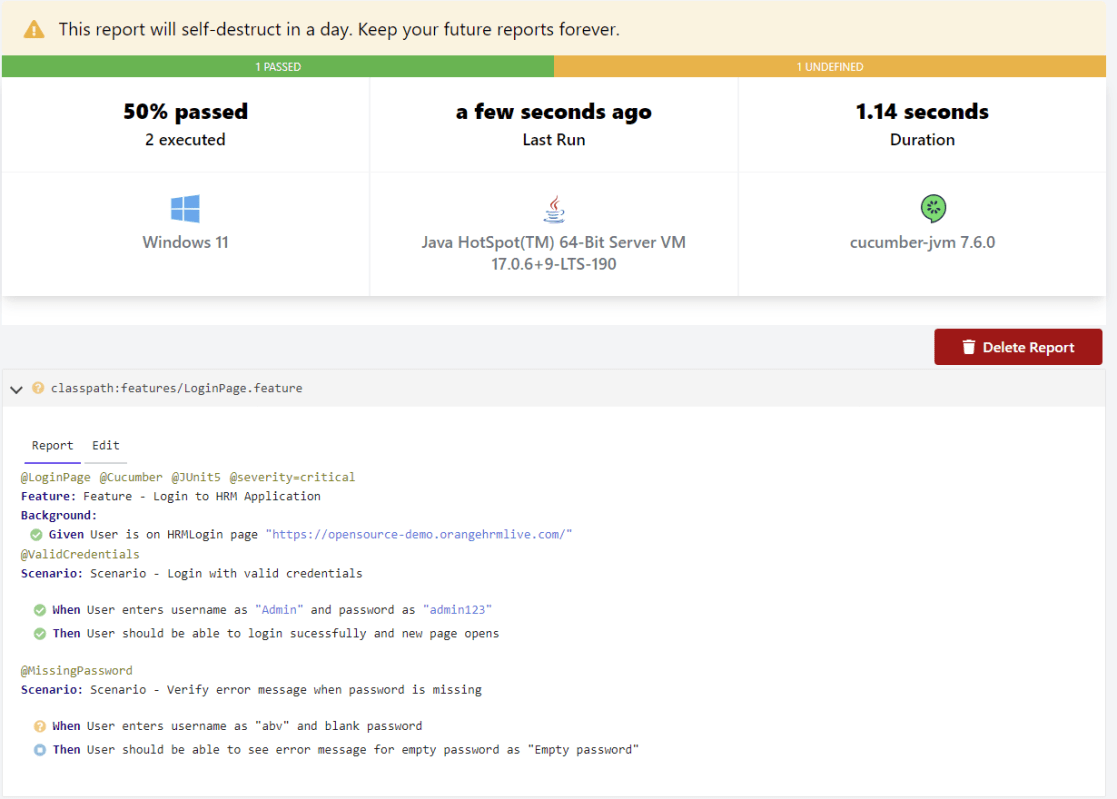
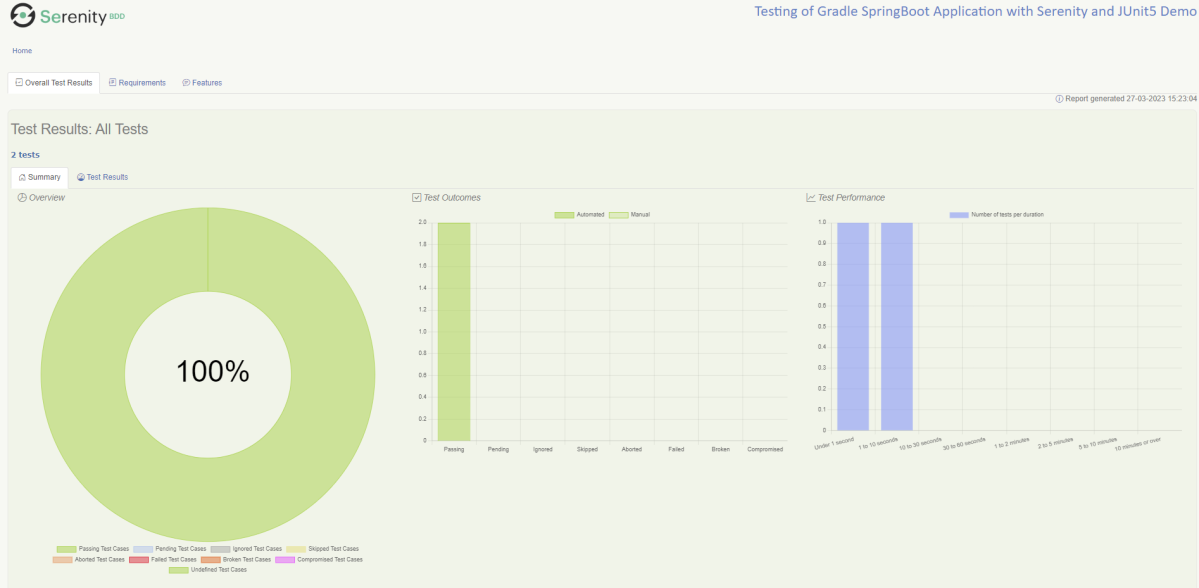
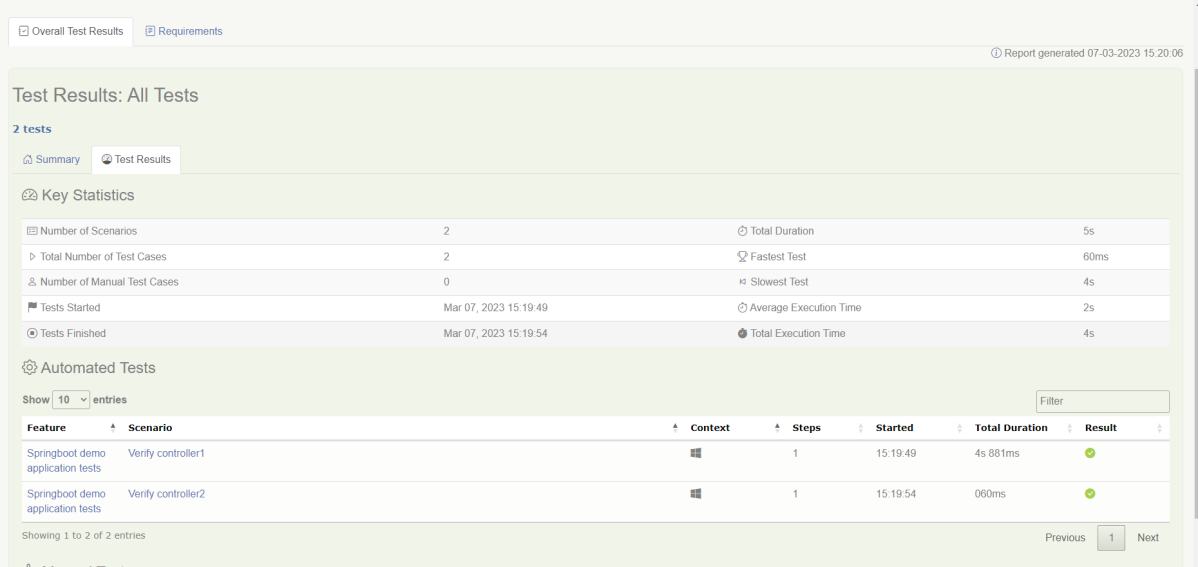
This will generate the beautiful Allure Test Report as shown below.
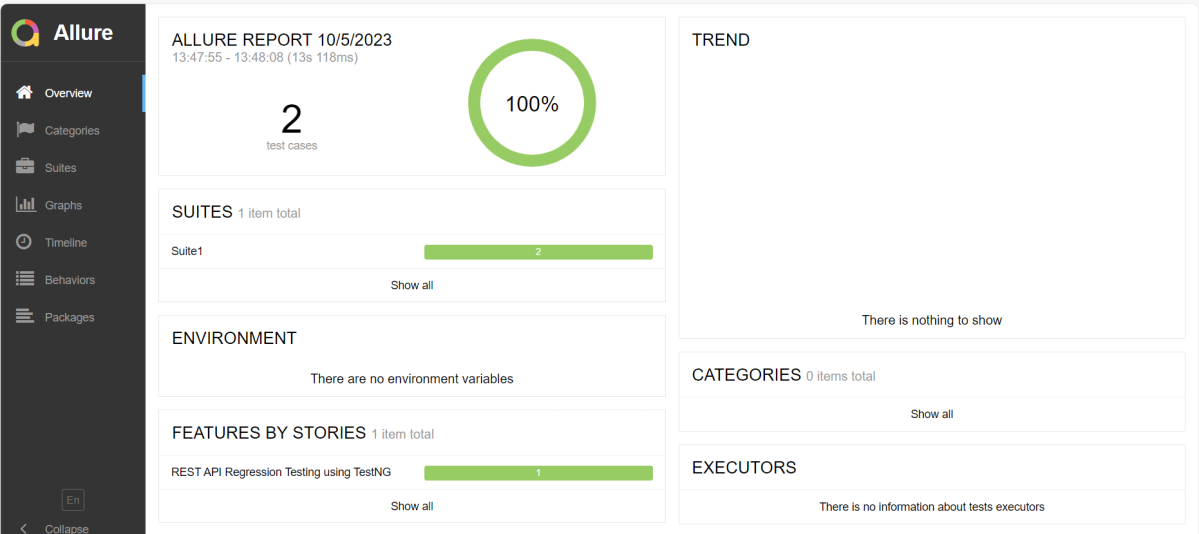
Allure Report Dashboard
The overview page hosts several default widgets representing the basic characteristics of your project and test environment.
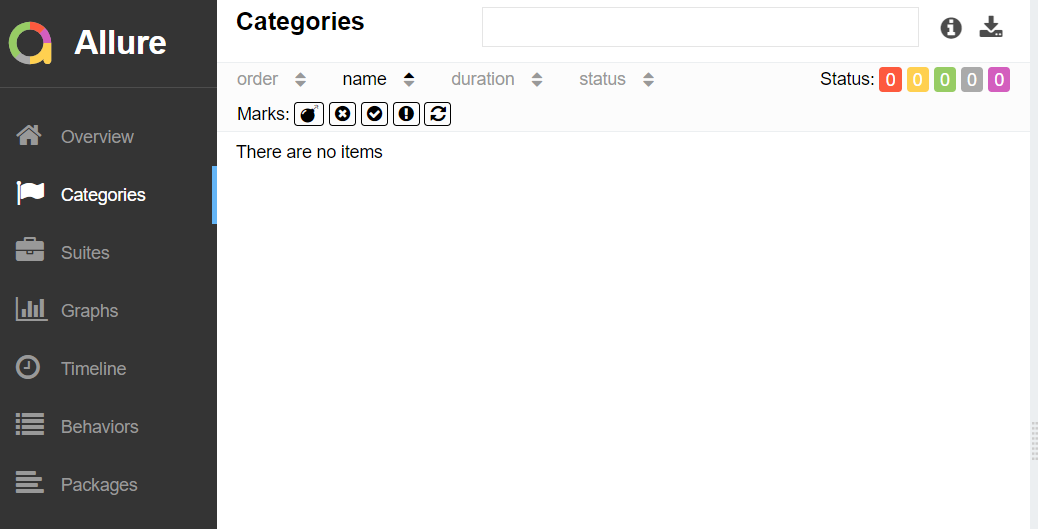
Categories in Allure Report
The categories tab gives you a way to create custom defect classifications to apply for test results. There are two categories of defects – Product Defects (failed tests) and Test Defects (broken tests).
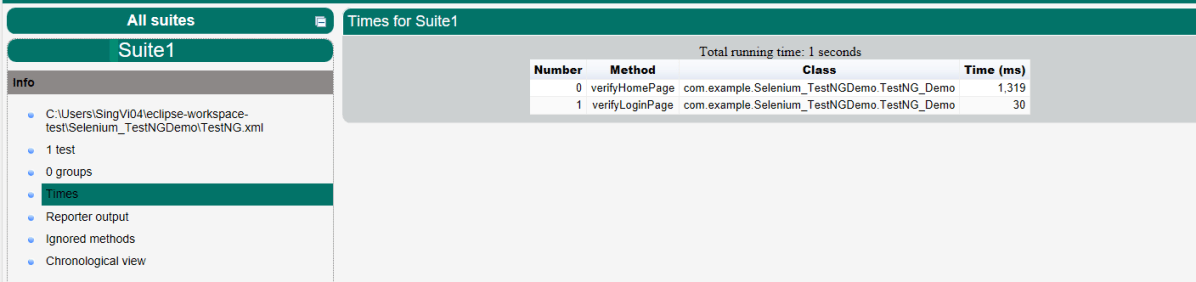
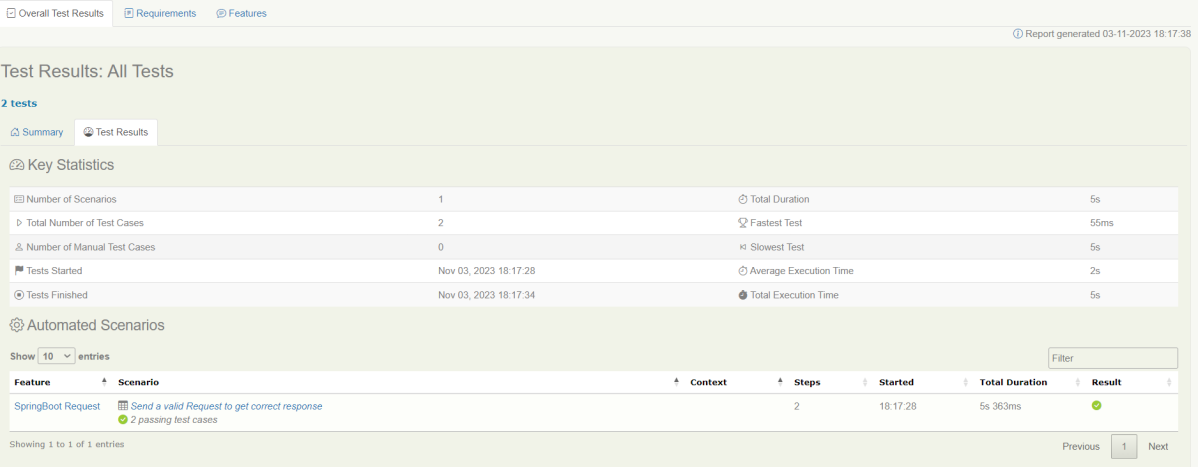
Suites in Allure Report
On the Suites tab a standard structural representation of executed tests, grouped by suites and classes, can be found.

View test history
Each time you run the report from the command line with the mvn clean test command, a new result JSON file will get added to the allure-results folder. Allure can use those files to include a historical view of your tests. Let’s give that a try.
To get started, run mvn clean test a few times and watch how the number of files in the allure-reports folder grows.
Now go back to view your report. Select Suites from the left nav, select one of your tests and click Retries in the right pane. You should see the history of test runs for that test:

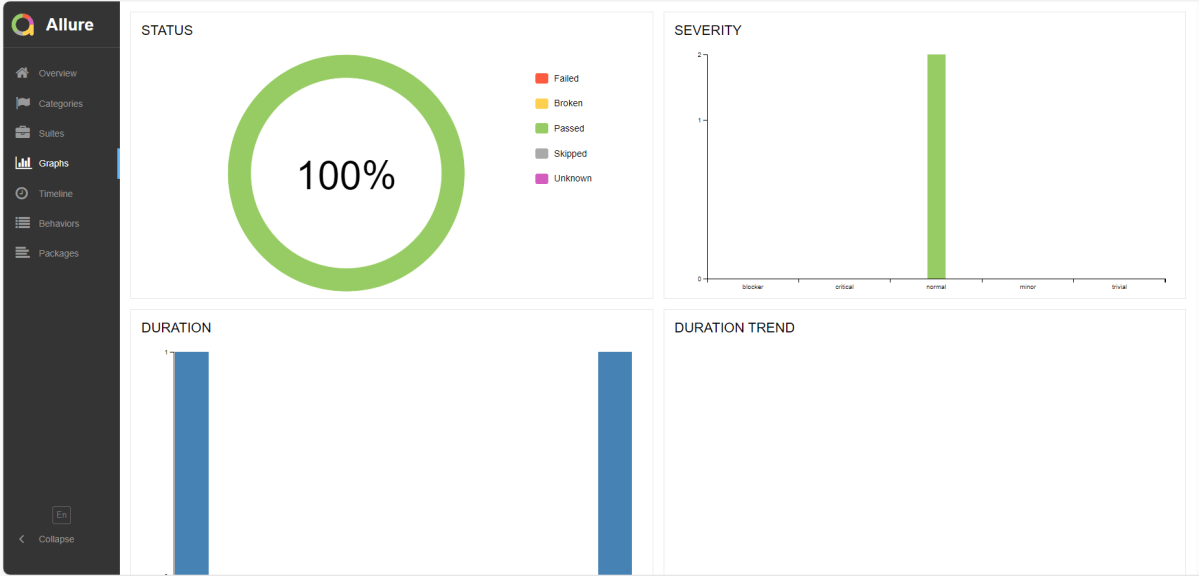
Graphs in Allure Report
Graphs allow you to see different statistics collected from the test data: status breakdown or severity and duration diagrams.
Timeline in Allure Report
Timeline tab visualizes retrospective of tests execution, allure adaptors collect precise timings of tests, and here on this tab, they are arranged accordingly to their sequential or parallel timing structure.


Behaviors of Allure Report
This tab groups test results according to Epic, Feature, and Story tags.


Packages in Allure Report
The packages tab represents a tree-like layout of test results, grouped by different packages.

We are done! Congratulations on making it through this tutorial and hope you found it useful! Happy Learning!!
The complete code can be found on GitHub – vibssingh/RestAssured_TestNG_Demo.