To have a successful and effective implementation of a test framework, it is always advisable that the test framework supports test execution in multiple ways.
The most commonly used ways to execute tests in Cucumber Framework are by running the tests using JUnit and TestNG.
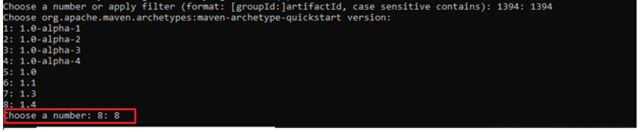
To execute tests using JUnit, we need to create a JUnit Test Runner. Whereas, we need a Maven project to execute Cucumber tests from Command-Line.
Table of Contents
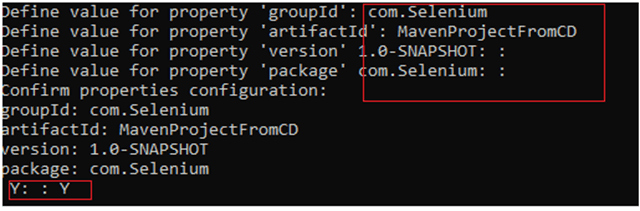
Create a Maven project and add the below-mentioned dependencies to your Maven project.
<project xmlns="http://maven.apache.org/POM/4.0.0" xmlns:xsi="http://www.w3.org/2001/XMLSchema-instance"
  xsi:schemaLocation="http://maven.apache.org/POM/4.0.0 http://maven.apache.org/xsd/maven-4.0.0.xsd">
  <modelVersion>4.0.0</modelVersion>

  <groupId>com.example</groupId>
  <artifactId>Cucumber_TestNG_Demo</artifactId>
  <version>1.0-SNAPSHOT</version>
  <packaging>jar</packaging>

  <name>Cucumber_TestNG_Demo</name>
  <url>http://maven.apache.org</url>

  <properties>
    <project.build.sourceEncoding>UTF-8</project.build.sourceEncoding>
    <cucumber.version>7.15.0</cucumber.version>
    <selenium.version>4.16.1</selenium.version>
    <testng.version>7.9.0</testng.version>
    <maven.compiler.plugin.version>3.12.1</maven.compiler.plugin.version>
    <maven.surefire.plugin.version>3.2.3</maven.surefire.plugin.version>
    <maven.compiler.source.version>17</maven.compiler.source.version>
    <maven.compiler.target.version>17</maven.compiler.target.version>
  </properties>

  <dependencies>

    <dependency>
      <groupId>io.cucumber</groupId>
      <artifactId>cucumber-java</artifactId>
      <version>${cucumber.version}</version>
    </dependency>

    <dependency>
      <groupId>io.cucumber</groupId>
      <artifactId>cucumber-testng</artifactId>
      <version>${cucumber.version}</version>
      <scope>test</scope>
    </dependency>

    <!-- Selenium -->
    <dependency>
      <groupId>org.seleniumhq.selenium</groupId>
      <artifactId>selenium-java</artifactId>
      <version>${selenium.version}</version>
    </dependency>

    <!-- TestNG -->
    <dependency>
      <groupId>org.testng</groupId>
      <artifactId>testng</artifactId>
      <version>${testng.version}</version>
      <scope>test</scope>
    </dependency>

  </dependencies>
  <build>
    <plugins>
      <plugin>
        <groupId>org.apache.maven.plugins</groupId>
        <artifactId>maven-compiler-plugin</artifactId>
        <version>${maven.compiler.plugin.version}</version>
        <configuration>
          <source>${maven.compiler.source.version}</source>
          <target>${maven.compiler.target.version}</target>
        </configuration>
      </plugin>
      <plugin>
        <groupId>org.apache.maven.plugins</groupId>
        <artifactId>maven-surefire-plugin</artifactId>
        <version>${maven.surefire.plugin.version}</version>
        <configuration>
          <suiteXmlFiles>
            <suiteXmlFile>testng.xml</suiteXmlFile>
          </suiteXmlFiles>
        </configuration>
      </plugin>
    </plugins>
  </build>

</project>
For this tutorial, we are using 2 feature files.
LoginPage.feature
Feature: Login to HRM Application

  Background:
    Given User is on HRMLogin page "https://opensource-demo.orangehrmlive.com/"

  @ValidCredentials
  Scenario: Login with valid credentials

    When User enters username as "Admin" and password as "admin123"
    Then User should be able to login successfully

  @InvalidCredentials
  Scenario Outline: Login with invalid credentials

    When User enters username as "<username>" and password as "<password>"
    Then User should be able to see error message "<errorMessage>"

    Examples:
      | username   | password  | errorMessage                      |
      | Admin      | admin12$$ | Invalid credentials               |
      | admin$$    | admin123  | Invalid credentials               |
      | abc123     | xyz$$     | Invalid credentials               |
HomePage.feature
Feature: Login to Home

  Background:
    Given User is on HRMLogin page "https://opensource-demo.orangehrmlive.com/"

  @ValidCredentialsHome
  Scenario: Login with valid credentials to got to home page

    When User enters username as "Admin" and password as "admin123"
    Then User should be able to login successfully and new Home page opens
Run Test from Command Line
1. Running all the tests
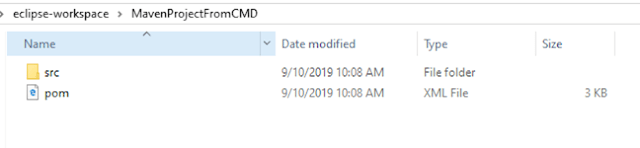
1. Open the command prompt and change the directory to the project location where pom.xml is present.
C:\Users\Documents\Vibha\Automation\Cucumber_Selenium_TestNG
2. All feature files should be in src/test/resources and create the Cucumber Runner class as CucumberRunnerTest.
Note:- The Runner class name should end with Test to execute the tests from Command Line
Run the following command in the command prompt:
mvn clean test
mvn clean test runs Cucumber Features using Cucumber’s JUnit Runner. The @RunWith (Cucumber.class) annotation on the TestRunner class tells JUnit to start Cucumber. Cucumber runs time parses the command-line options to know what feature to run, where the Glue Code lives, what plugins to use, and so on.

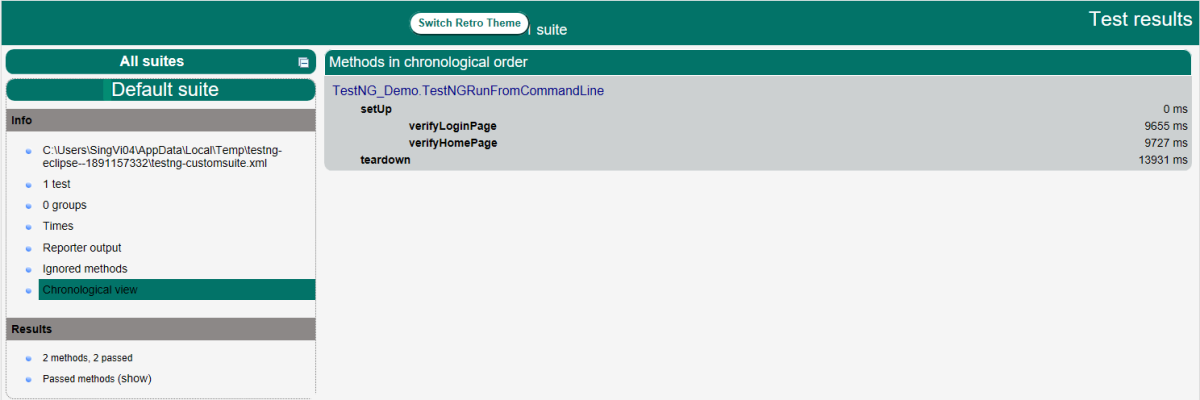
3. The below screenshot shows that CucumberRunnerTest class is triggered.

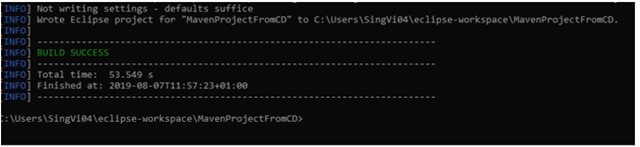
4. The below screenshot shows the build success output.
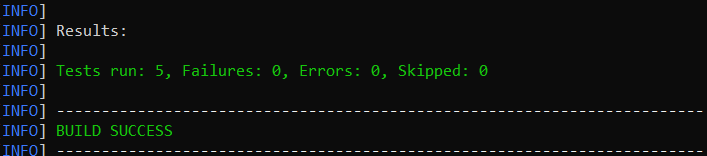
Cucumber provides several options that can be passed to on the command line.
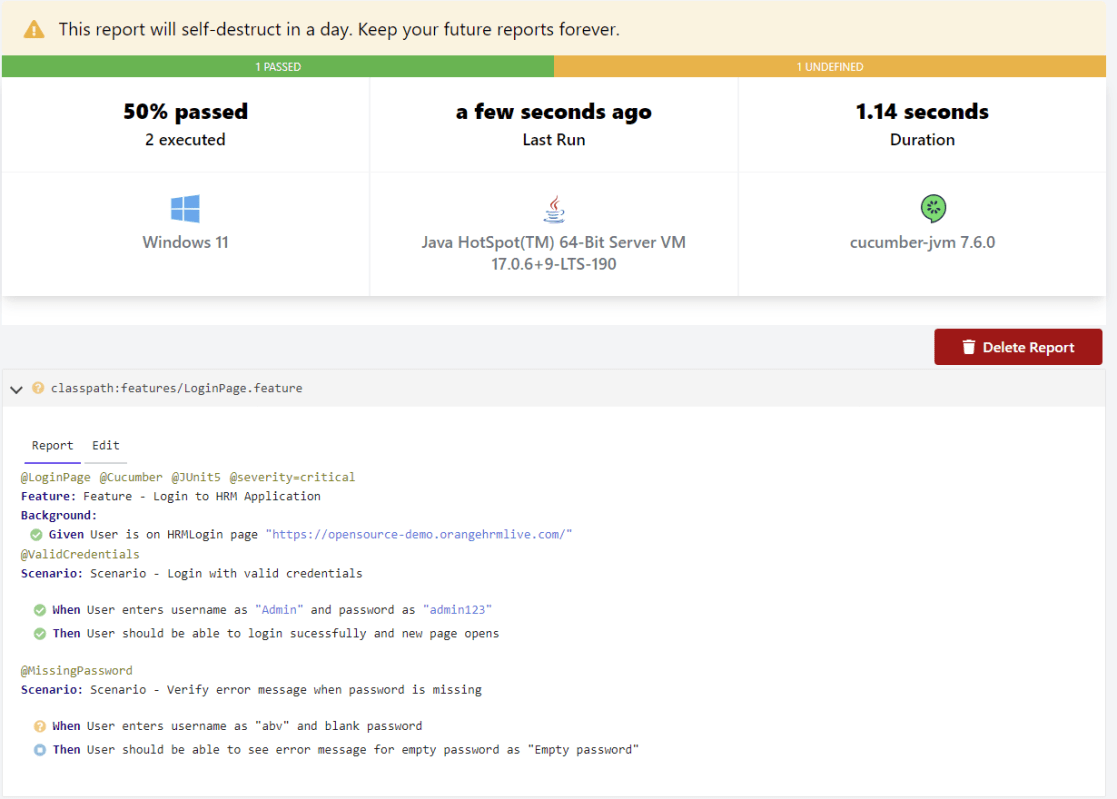
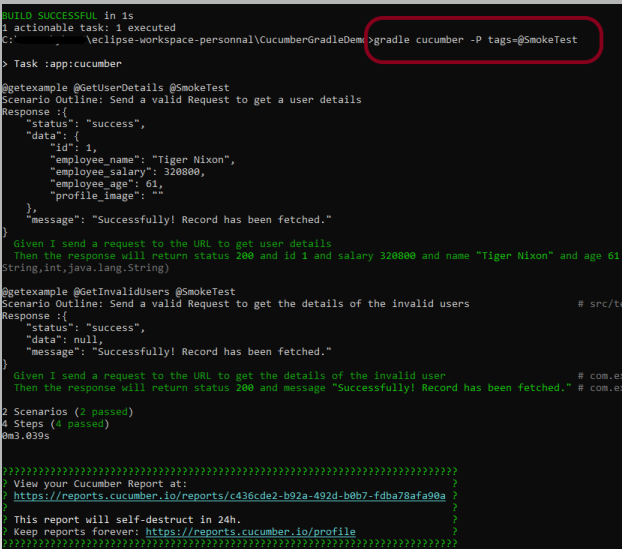
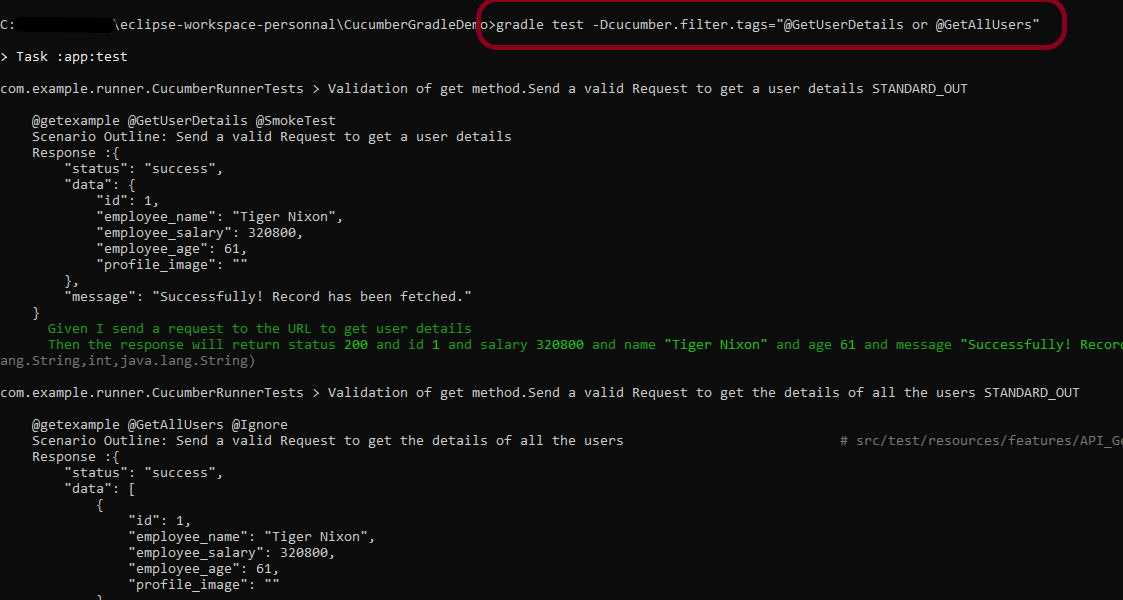
2. Running Scenarios using Tags
If you are using Maven and want to run a subset of scenarios tagged with @ValidCredentials.
mvn clean test -Dcucumber.filter.tags="@ValidCredentials"
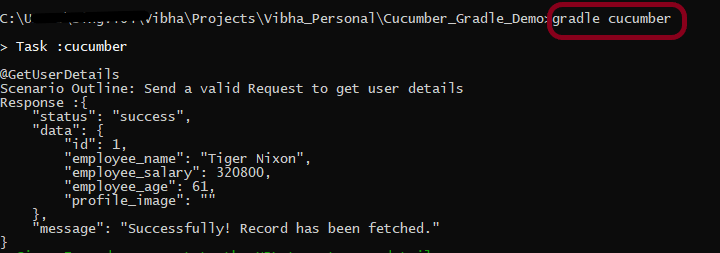
The output of the above program is

3. Running a Feature file
Suppose you want to run a single Feature File from the command line, then use the below syntax
mvn clean test -Dcucumber.features="src/test/resources/features/HomePage.feature"
The output of the above program is

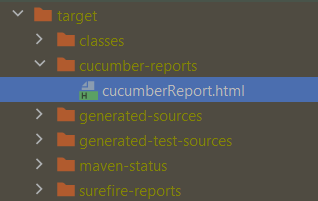
4. Creating Cucumber Report from Command Line
If we want to generate a different report, then we can use the following command and see the HTML report generate at the location mentioned:
mvn clean test -Dcucumber.plugin="html:target/cucumber-reports/cucumberReport.html"

The output of the above program is
5. Passing multiple Parameters
If we want to pass more than one parameter, then we can use the following command
mvn clean test -Dcucumber.features="src/test/resources/features/LoginPage.feature" -Dcucumber.filter.tags="@ValidCredentials"
The output of the above program is

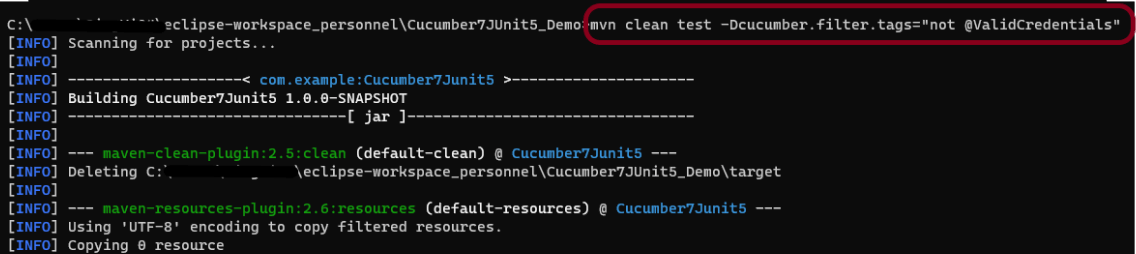
6. Running a Scenario without a tag
If we want to run a single Scenario from the command line and no tag is assigned to that scenario, this is how we specify
mvn clean test -Dcucumber.features="src/test/resources/features/LoginPage.feature:7"

The output of the above program is

That’s it! Congratulations on making it through this tutorial and hope you found it useful! Happy Learning!!
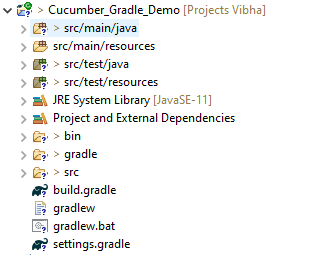
In the next tutorial, I explained to run Cucumber Gradle tests from Command Line.