What is ReadyAPI?
ReadyAPI allows teams to create, manage, and execute automated functional, security, and performance tests in one centralized interface – accelerating API quality for Agile and DevOps software teams. It allows importing API definitions like OpenAPI/Swagger or AsyncAPI, testing and recording live API traffic, or virtualizing web services to remove pipeline dependencies.
ReadyAPI is handled by SmartBear. ReadyAPI is not an open source tool, but a licensed tool.
In ReadyAPI, We can easily manage our APIs and project. We can easily create APIs from an openAPI, Swagger, WSDL, and WADL definition and use Discovery to record API requests and methods.
ReadyAPI can be used to perform
- Security Testing
- Functional Testing
- Performance Testing
How to install ReadyAPI – Version 3.20.0
Step 1 – Go to SmartBear ReadyAPI Installation site.
Step 2 – Before starting the installation, please check the system requirements for ReadyAPI.
Step 3 – As ReadyAPI is a licensed tool, but it also provides a trial version as well as commercial Pro License.
If you want to go for the trial version, fill in the details on this page and get Free Trial.
If you have license, then download the installer for your platform from the ReadyAPI Downloads Center.

I have a license, so will download ReadyAPI Desktop 3.20.0 (Windows Installer 64-bit).
Step 4 – Once the download is completed, run the installer. The installer will unpack the files and prepare them for installation:

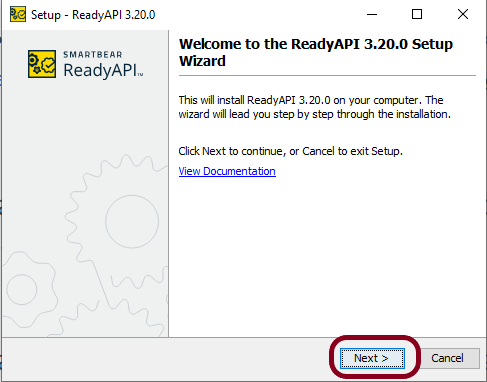
Step 5 – Click the Next button to proceed with the installation:
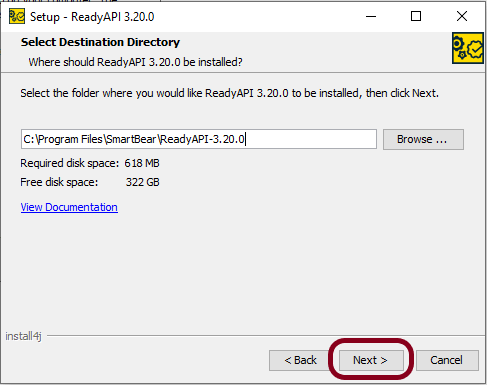
Step 6 – If you install ReadyAPI for the first time or have chosen to install it to a different directory, the wizard will ask you to specify the installation folder:
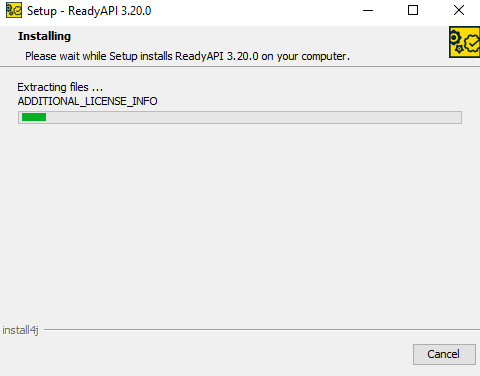
Step 7 – This image shows that installation is in progress.
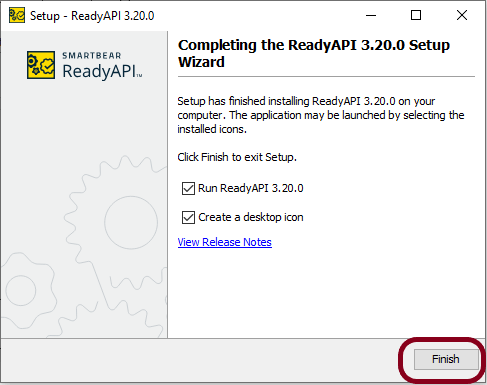
Step 8 – When the installation is complete, you can select the Run ReadyAPI check box to run ReadyAPI upon closing the wizard. You can also select the Create a desktop icon check box to create a desktop icon for ReadyAPI. Click the Finish button.
Step 9 – Once the installation is successfully completed, ReadyAPI will open, and it will look like something as in the below image.
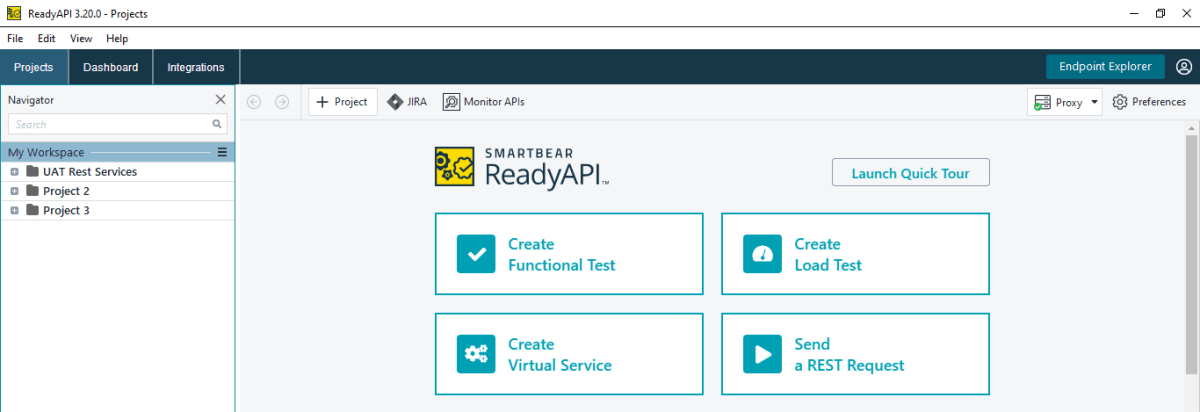
We are done! Congratulations on making it through this tutorial and hope you found it useful! Happy Learning!!
