Assumptions is a collection of utility methods that support conditional test execution based on assumptions.
In direct contrast to failed assertions, failed assumptions do not result in a test failure; rather, a failed assumption results in a test being aborted.
Assumptions are typically used whenever it does not make sense to continue execution of a given test method — for example, if the test depends on something that does not exist in the current runtime environment.
Junit 5 comes with a subset of the assumption methods that JUnit 4 provides with Java 8 lambda expressions and method references. All JUnit Jupiter assumptions are static methods in the org.junit.jupiter.api.Assumptions class.
- Assumptions.assumeTrue() – If the condition is true, then run the test, else aborting the test.
- Assumptions.false() – If the condition is false, then run the test, else aborting the test.
- Assumptions.assumingThat() – is much more flexible, If condition is true then executes, else do not abort test continue rest of code in test.
1. assumeTrue
The assumeTrue() method validates the given assumption to be true and if the assumption is true – the test proceed, otherwise, test execution is aborted.
    int num1 = 4;
    int num2=6;
    int num3 = 24;
    int num4=10;

    @Test
    void assumeTrueTest() {
        System.setProperty("ENV", "TEST");
        assumeTrue("TEST".equals(System.getProperty("ENV")));

        // Since the condition is true rest of it will get executed
        assertEquals((num1*num2),num3,"The product of "+num1+"and "+num2+"is equal to "+num3);

    }
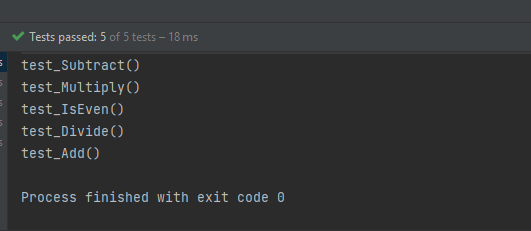
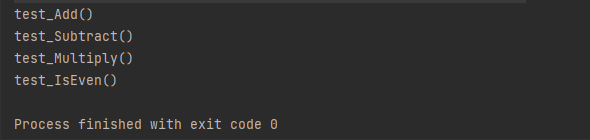
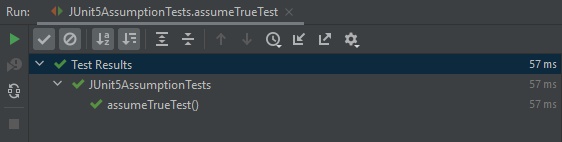
The output of the above program is
In the below example, assumeTrue() is false. So, the execution is skipped.
    int num1 = 4;
    int num2=6;
    int num3 = 24;
    int num4=10;

    @Test
    void assumeTrueTest1() {
        System.setProperty("ENV", "TEST");
        assumeTrue("QA".equals(System.getProperty("ENV")));

        // Since the condition is true rest of it will not get executed
        assertEquals((num1*num2),num3,"The product of "+num1+"and "+num2+"is equal to "+num3);

    }
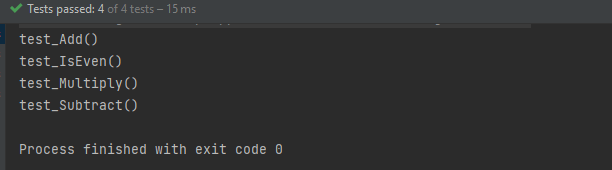
The output of the above program is

2. assumeFalse()
The assumeFalse() method validates the given assumption to false and if the assumption is false – test proceed, otherwise, test execution is aborted. In the below example, the test is false and we are using assumeFalse(), so the tests will be executed.
    int num1 = 4;
    int num2=6;
    int num3 = 24;
    int num4=10;

    @Test
    void assumeFalseTest1() {
        System.setProperty("ENV", "TEST");
        assumeFalse("DEV".equals(System.getProperty("ENV")));

        // Since the condition is true rest of it will get executed
        assertEquals((num1*num2),num3,"The product of "+num1+"and "+num2+"is equal to "+num3);

    }
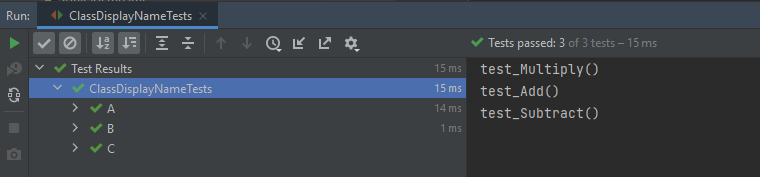
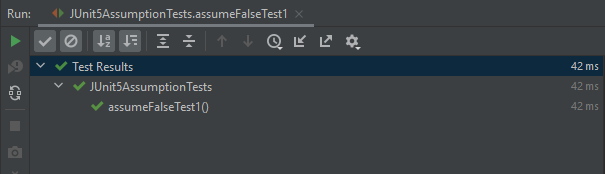
The output of the above program is
In the below example, the test is false and we are using assumeFalse(), so the tests will be executed.
 @Test
    void assumeFalseTest() {
        System.setProperty("ENV", "TEST");
        assumeFalse("TEST".equals(System.getProperty("ENV")));

        // Since the condition is false rest of it will not get executed
        assertEquals((num1*num2),num3,"The product of "+num1+"and "+num2+"is equal to "+num3);

    }
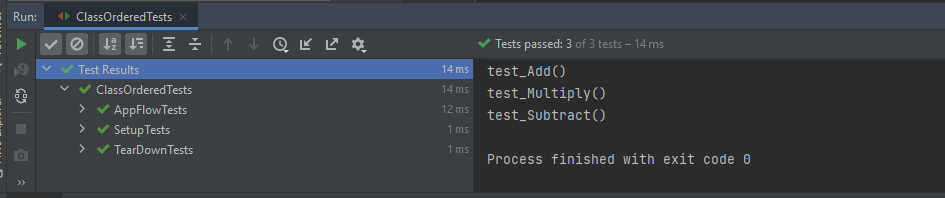
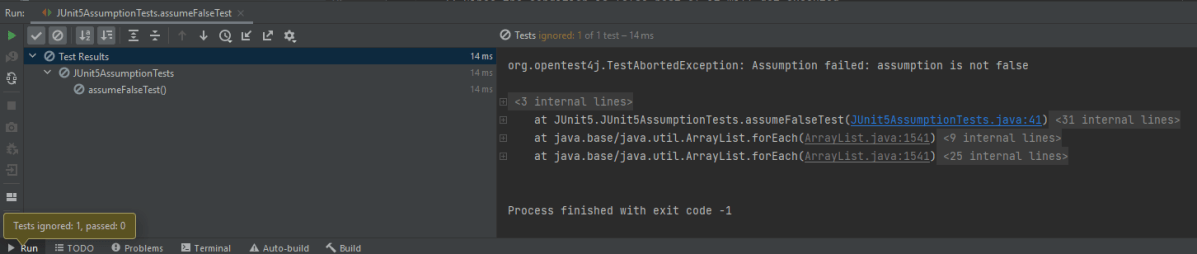
The output of the above program is
3. assertThat()
This method executes the supplied Executable, but only if the supplied assumption is valid.
Unlike the other assumption methods, this method will not abort the test.
If the assumption is invalid, this method does nothing.
If the assumption is valid and the executable throws an exception, it will be treated like a regular test failure. The thrown exception will be rethrown as is but masked as an unchecked exception.
    int num1 = 4;
    int num2=6;
    int num3 = 24;
    int num4=10;
    int num5=8;
    int num6=2;

   @Test
    void assumingThatTest() {
        System.setProperty("ENV", "UAT");
        assumingThat(
                "UAT".equals(System.getProperty("ENV")),
                () -> {
                    // Since the condition is true, this assertion will get executed
                    System.out.println("Assuming that executable executed");
                    assertEquals((num1+num2),num4,"The product of "+ num1 +" and "+ num2 +" is not equal to "+num4);
                });
        // Since the condition is false rest of it will get executed
        System.out.println("Loop outside");
        assertEquals((num5-num2),num6,"The difference of "+ num5 +" and "+num2+" is not equal to " + num6);
    }
The output of the above program is

In the below example, the condition is false , so we skip the execution of that condition. But, we execute the rest of the code.
    int num1 = 4;
    int num2=6;
    int num3 = 24;
    int num4=10;

    @Test
    void assumingThatTest1() {
        System.setProperty("ENV", "UAT");
        assumingThat(
                "DEV".equals(System.getProperty("ENV")),
                () -> {
                    // Since the condition is false, this assertion will not get executed
                    System.out.println("Assuming that executable executed");
                    assertEquals((num1+num2),num4,"The sum of "+num1+"and "+num2+"is not equal to "+num4);
                });

        System.out.println("Loop outside");
        assertEquals((num1*num2),num3,"The product of "+num1+"and "+num2+"is not equal to "+num3);
    }
The output of the above program is

Difference between Assumption and Assertion
The main difference between the assertions and assumptions is –
The assumption is use to decide whether we want to execute a section or the rest of the test method or not and if the condition is false then the test is skipped.
Whereas if a condition in an assertion fails then it fails the test and something needs to be fixed.