Jenkins is a self-contained, open-source automation server that can be used to automate all sorts of tasks related to building, testing, and delivering or deploying software.
Jenkins can be installed through native system packages, Docker, or even run standalone by any machine with a Java Runtime Environment (JRE) installed.
Jenkins is a well-known open-source tool that aids in the implementation of Continuous Integration (CI) and Continuous Deployment/Continuous Delivery (CD) processes by automating parts of the software development pipeline such as building, testing, and deployment.
It provides a centralized platform for automating the entire build pipeline, from code changes to automatic build creation, auto-execution of all layers of tests (Unit, Integration, and End to End), and finally, auto-deploying the successful build.
This allows developers to make more frequent changes while also giving end users more freedom by making new features available more frequently.
What are the prerequisites for the installation of Jenkins?
Hardware Requirements
256 MB of RAM, although more than 2 GB is recommended
10 GB of drive space (for Jenkins and your Docker image)
Software Requirement
Java 11 or Java 17
Docker (navigate to Get Docker site to access the Docker download that’s suitable for your platform)
Web Browser – Any of the browsers such as Google Chrome, Mozilla Firefox, Microsoft Internet Explorer, Microsoft Edge, Safari
Operating System – Jenkins supports almost all the modern operating systems such as Windows, macOS, Linux flavors such as Red Hat, Ubuntu, OpenSUSE, Gentoo, etc.
Installation Steps
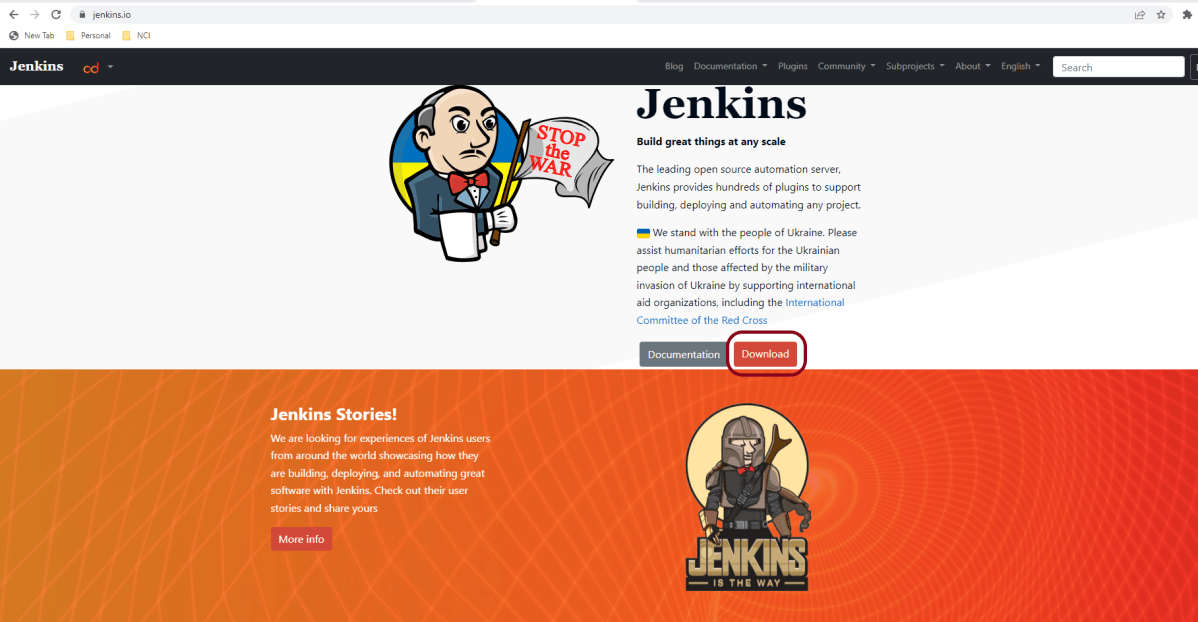
Step 1 – Firstly, go to the official Jenkins website and click on the Download button.
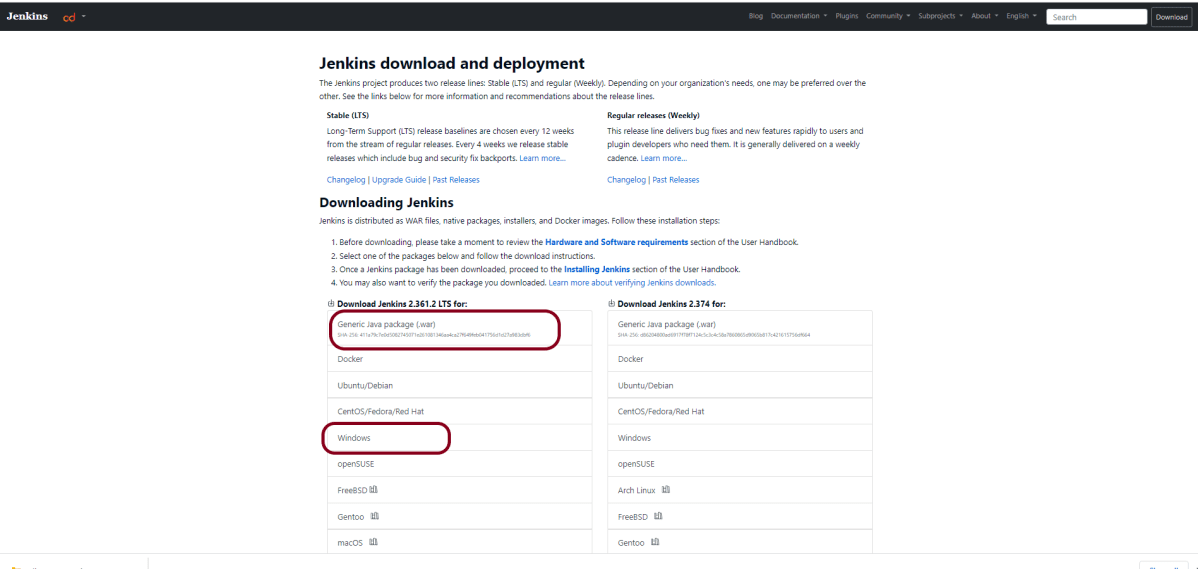
Step 2 – After clicking on the Download button, we will be redirected to the download page.
As we can see, Jenkins produces two releases, one is a stable release, and the other one is the regular bug fixes, which comes every week for all the operating system. I prefer to use the stable version.
Click on the window, and it will download jenkins.msi.
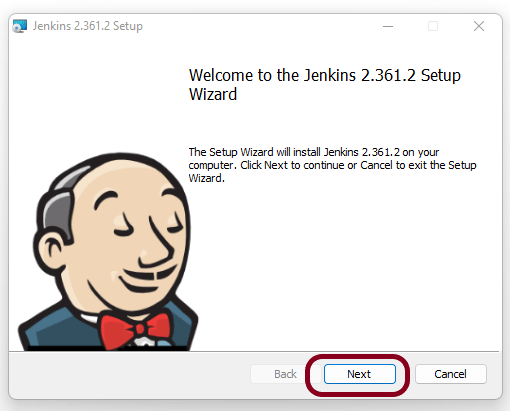
Step 3 – Double-click on jenkins.msi and a dialog box will appear
Step 4 – Choose the location where you want to have the Jenkins instance installed (default location is C:\Program Files\Jenkins), then click on the Next button.
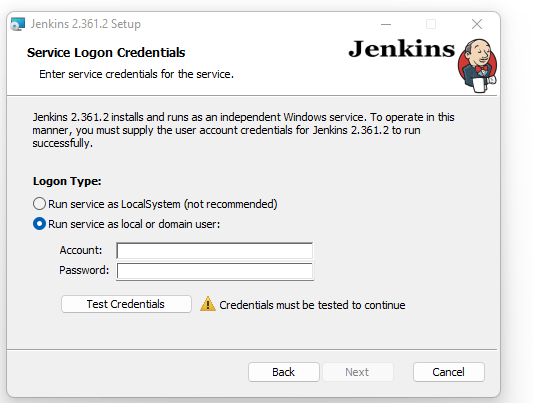
Step 5 – Enter the service logon credentials. It is recommended to select the second option “Run service as local or domain user” as it is more secure.
To run the Jenkins service using this option, you have to enter the domain username and password. Click on the “Test Credentials” button to test your domain credentials, and you will enable the “Next” button. Then, click on the “Next” button after it appears.
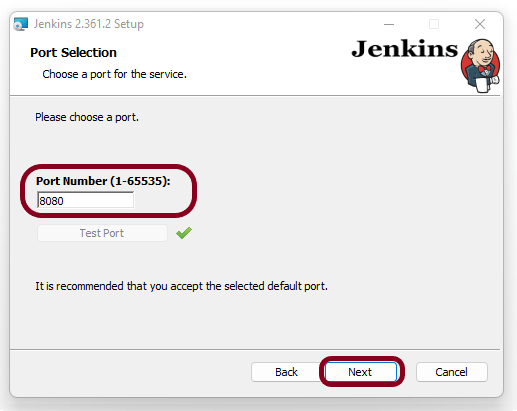
Step 6 – Enter the port on which Jenkins will be running. Click on the “Test Port” button to validate if it is free.
Step 7 – Select the Java home directory, and then click on the “Next” button.
Step 8 – Select any other services that need to be installed with Jenkins and click on the “Next” button.
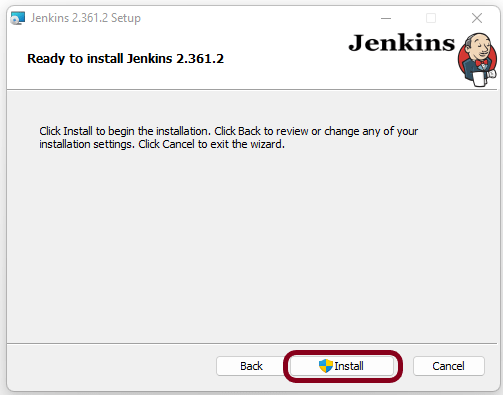
Step 9 – Click the “Install” button to start the installation process.
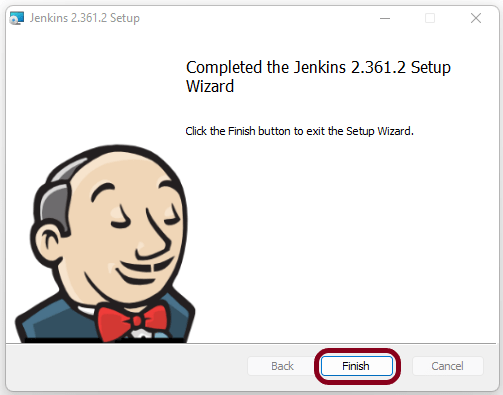
Step 10 – When done, click on “Finish” to complete the installation process. Now that the installation process is out of the way, you need to follow a few more quick steps before you start using Jenkins on Windows.
Unlock Jenkins For Windows
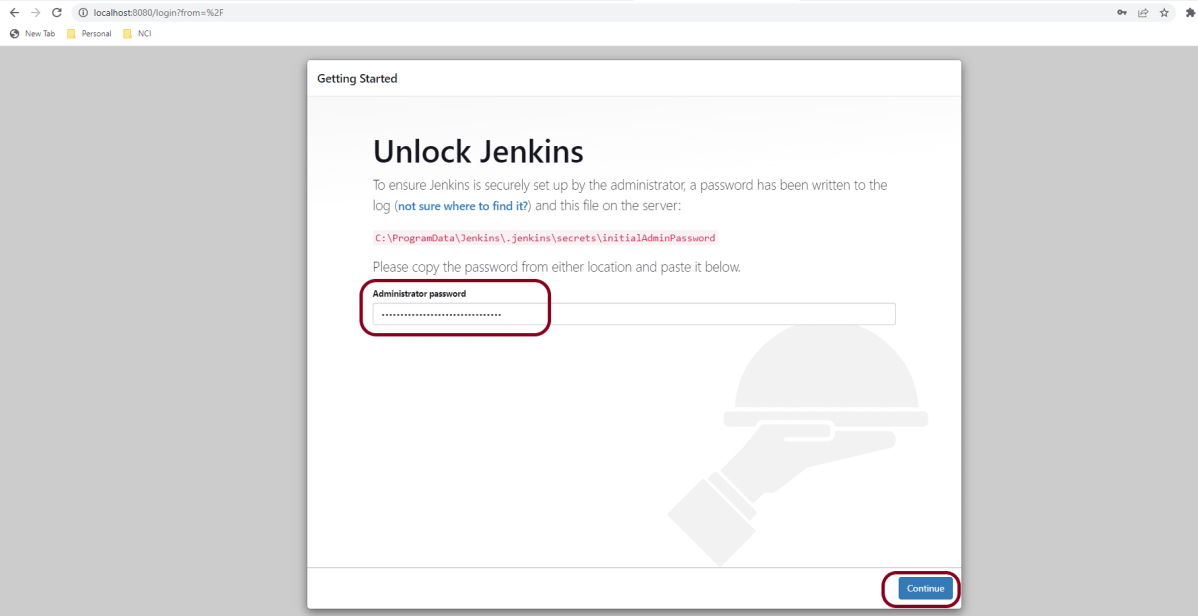
Step 1 – You will automatically be redirected to a local Jenkins page, or you can paste the URL http://localhost:8080 in a browser.
Step 2 – Copy the content of the initialAdminPassword file and paste it into the Administrator password field. Then, click the Continue button.
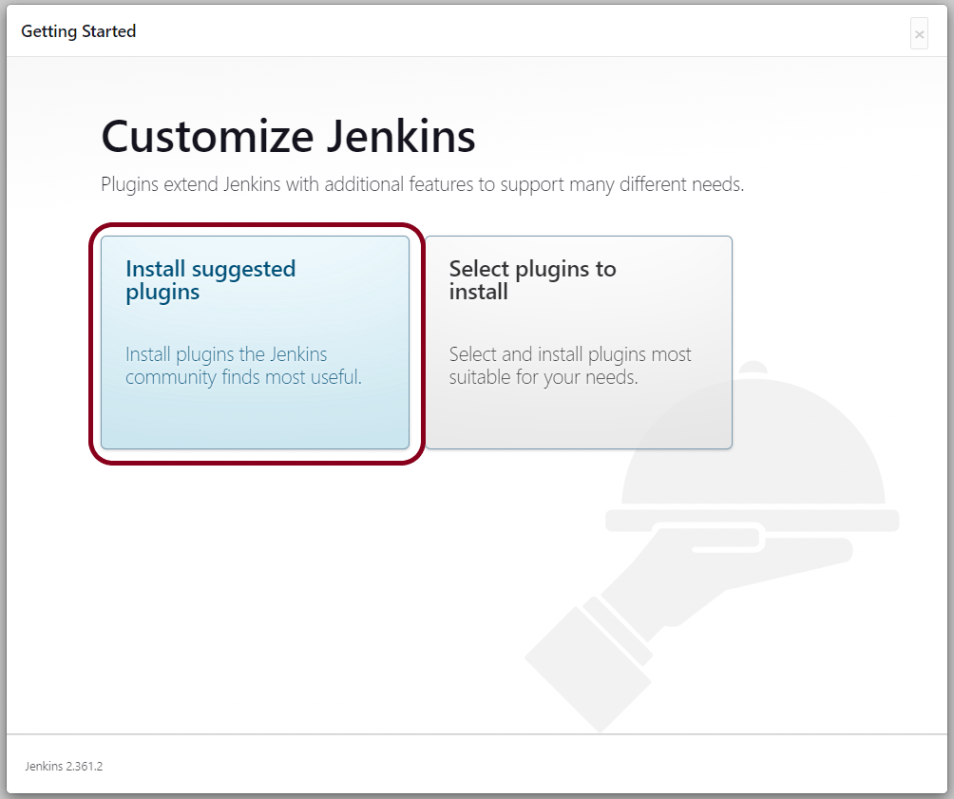
Step 3 – You can install either the suggested plugins or the selected plugins you choose based on your needs. To keep it simple, we will install the suggested plugins that the Jenkins community finds most useful.
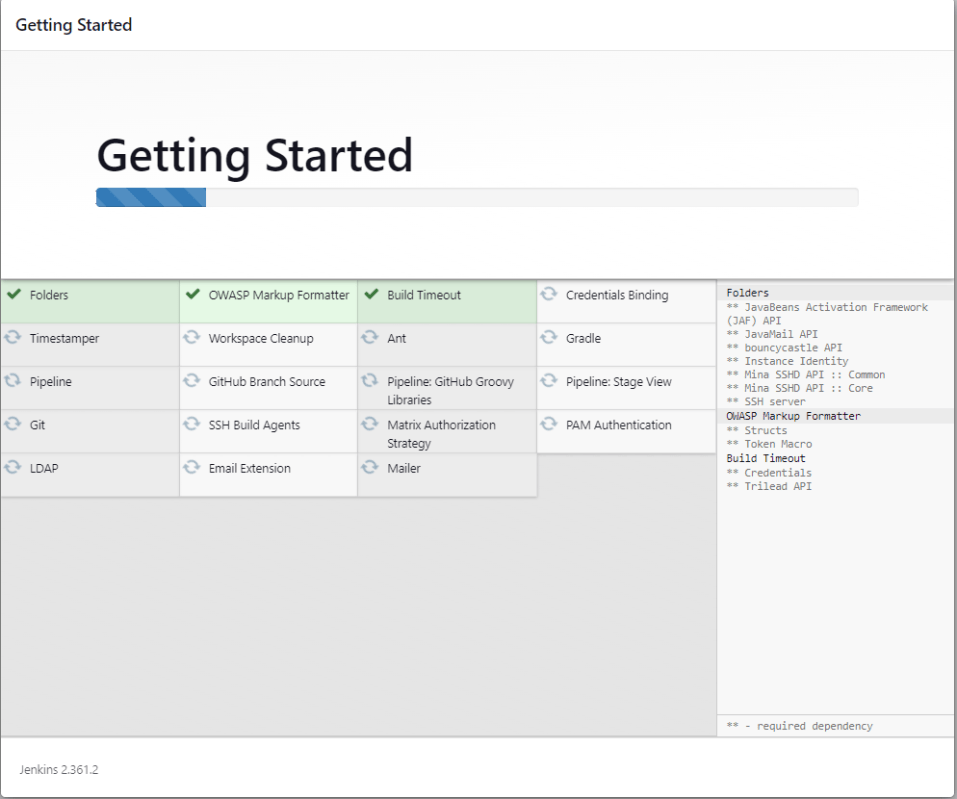
Step 4 – Wait until the plugins are completely installed.
Step 5 – The next thing that you should do is create an Admin user for Jenkins. Then, enter your details and click Save and Continue.
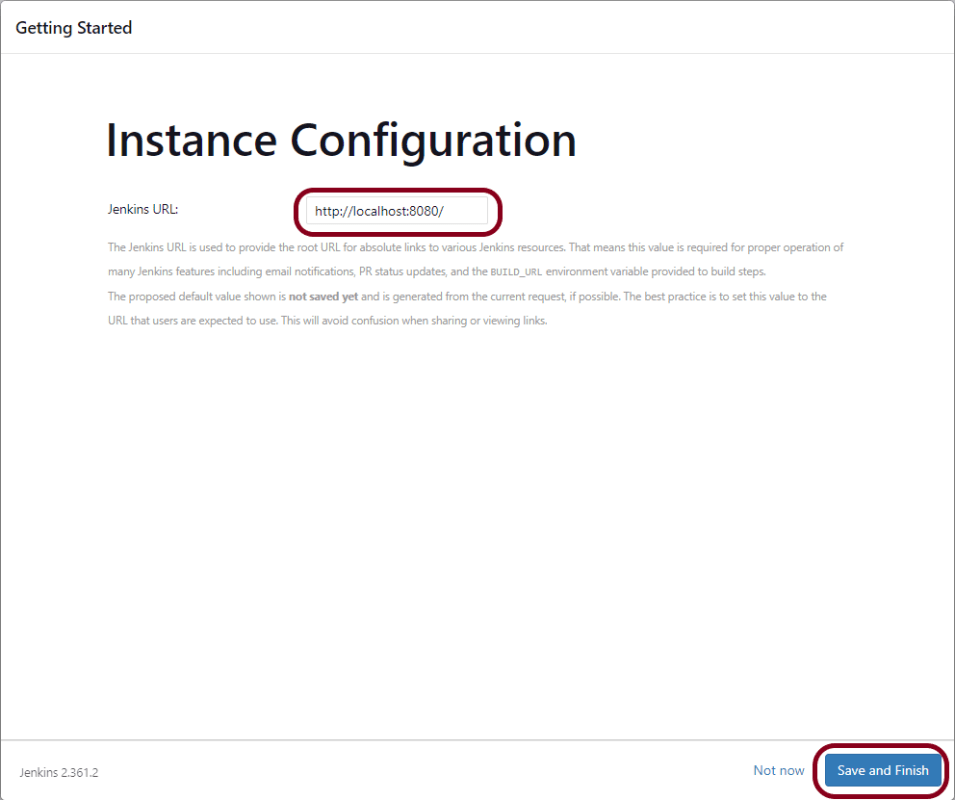
Step 6 – Click on Save and Finish to complete the Jenkins installation.
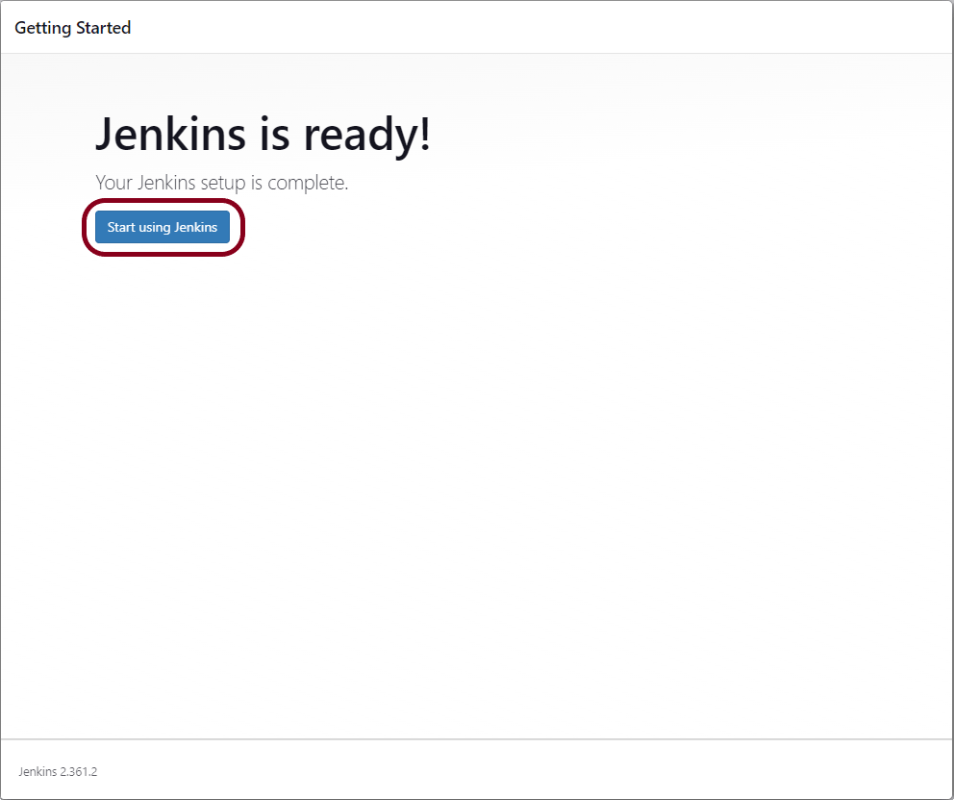
Step 7 – Now, click on the “Start using Jenkins” button to start Jenkins.
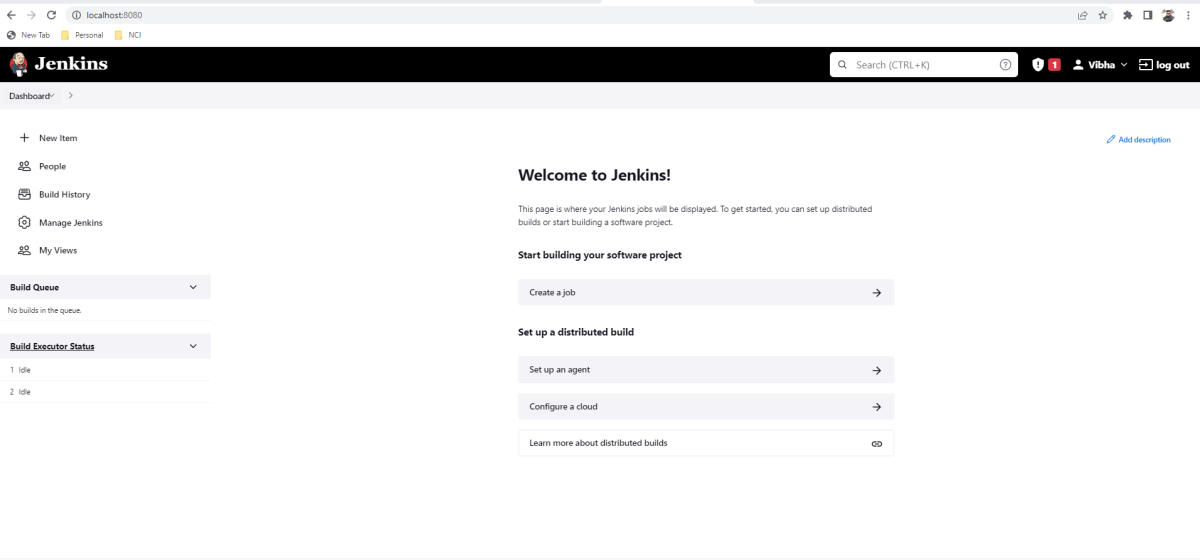
Step 8 – Finally, here is the default Jenkins page. Jenkins is now installed and running on Windows, and you are ready to start building your CI/CD pipeline.
Congratulations!! We have installed Jenkins on Windows 10 successfully.