GitHub is a web-based version control system and collaboration platform for developers. It is the centre around which all things involving git revolve. GitHub allows software developers and engineers to create remote, public-facing repositories on the cloud for free. Once you’ve set up a repository on GitHub, you can copy it to your device, add and modify files locally, and then “push” your changes back to the repository where your changes are displayed for the public.

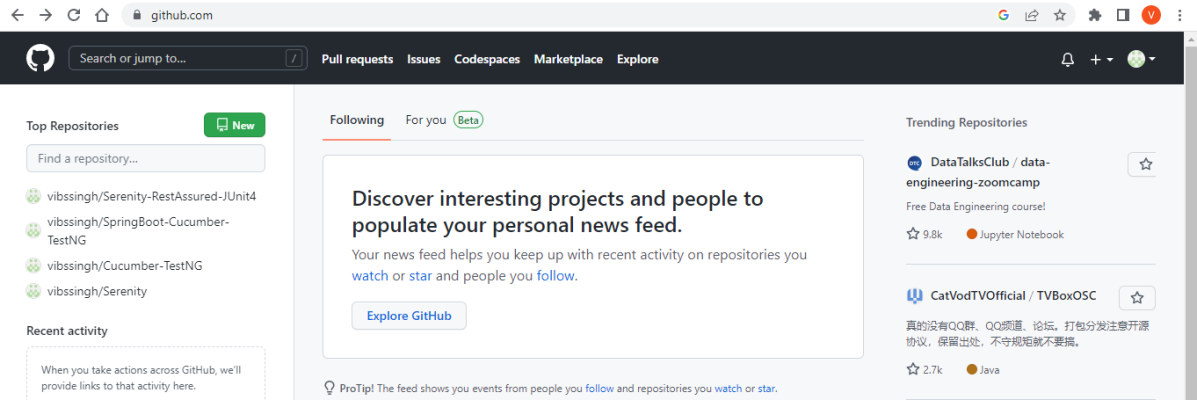
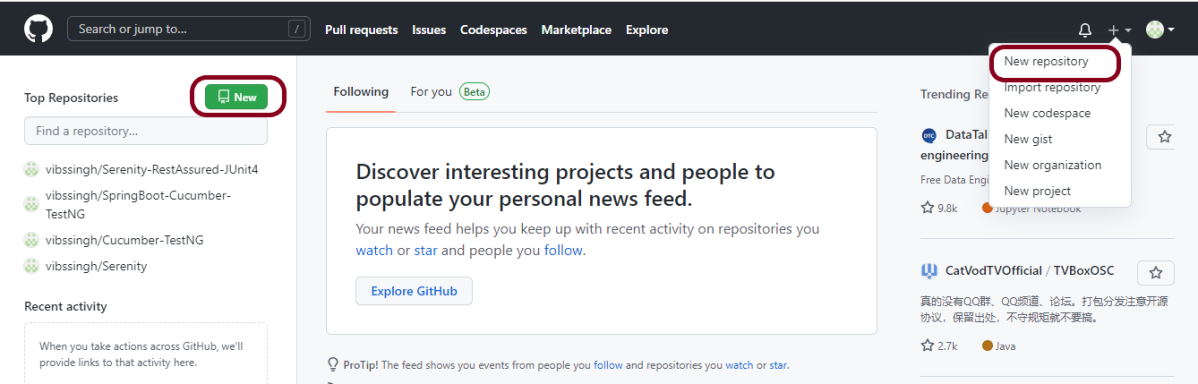
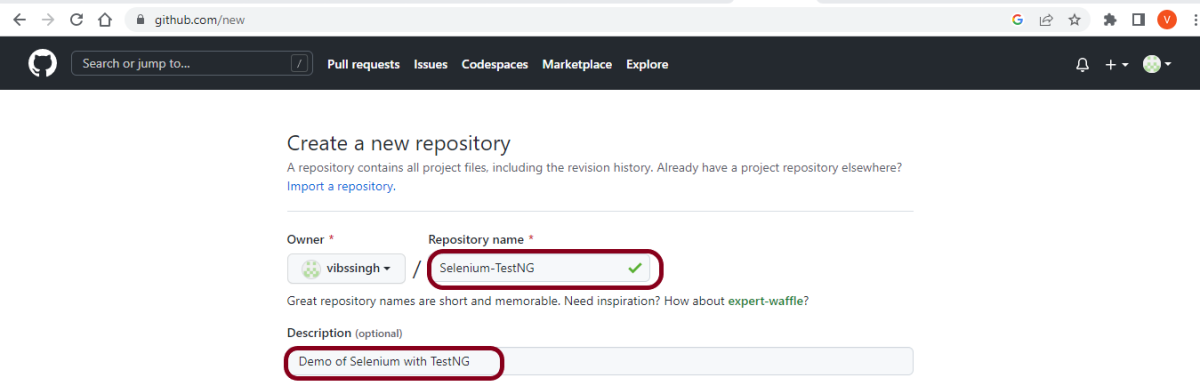
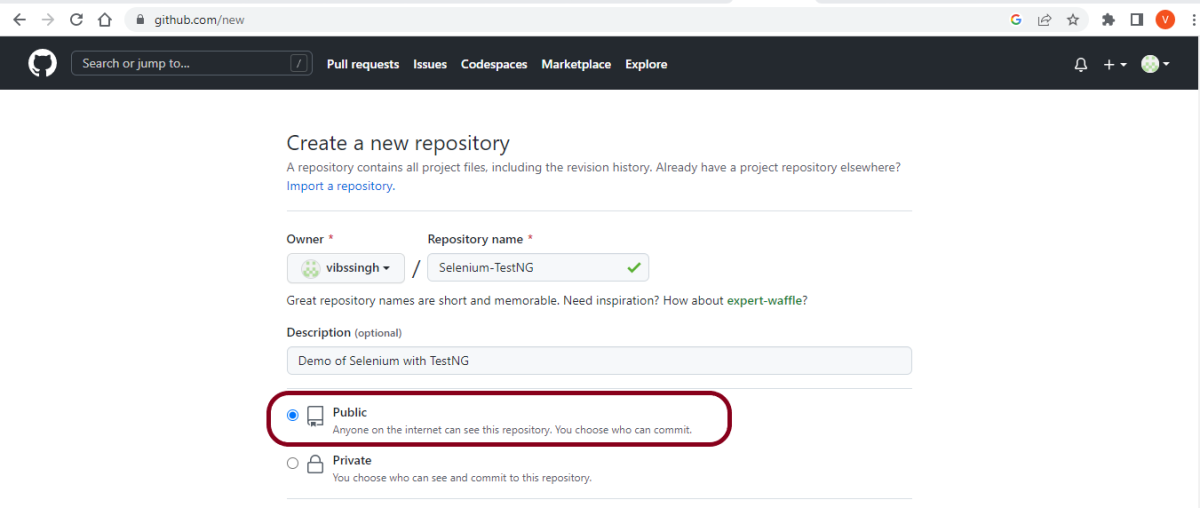
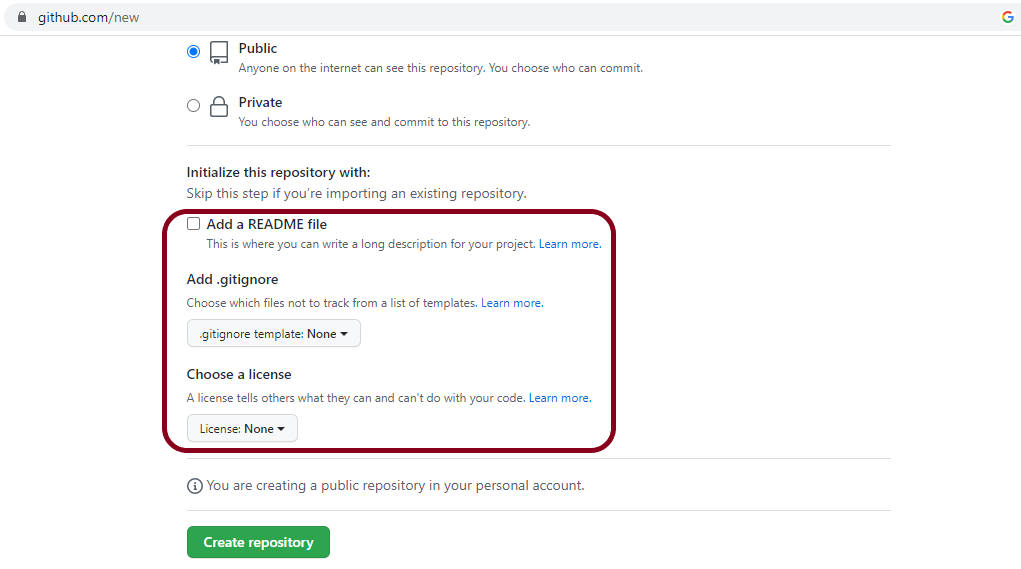
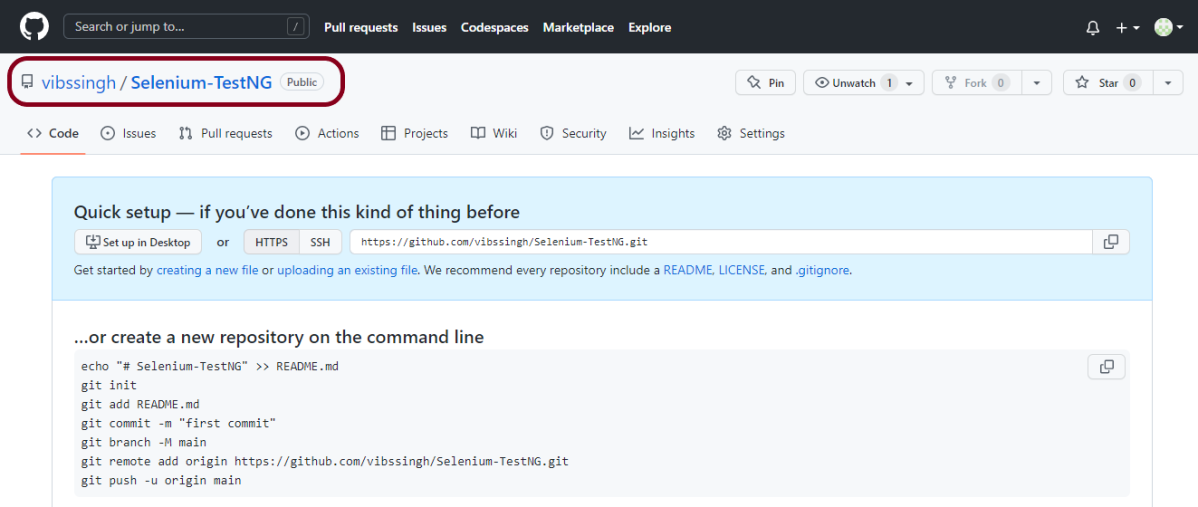
| Chapter 1 How to create a new repository on GitHub | |
| Chapter 2 How to delete a repository on GitHub | |
| Chapter 3 How to Fork a GitHub repository | |
| Chapter 4 How to clone a project from GitHub using Eclipse | |
| Chapter 5 How to copy code from another version control to GitHub – GitHub Importer | |
| Chapter 6 What is pull request in GitHub? | |
| Chapter 7 How to run Selenium tests with GitHub Actions | |
| Chapter 8 How to upload Artifacts in GitHub | |
| Chapter 9 How to run Gradle tests with GitHub Actions | |
| Chapter 10 How to run SpringBoot tests with GitHub Actions | |
| Chapter 11 How to run Serenity tests with GitHub Actions | |
| Chapter 12 How to run Rest API tests with GitHub Actions | |
| Chapter 13 How to host Extent Report on GitHub Pages with Github Actions | |
| Chapter 14 How to run Robot Framework in GitHub Actions | |
| Chapter 15 How to run PyTest Framework in GitHub Actions – NEW |