In this tutorial, I will explain how we can create a new empty repository in GitHub.
Implementation Steps
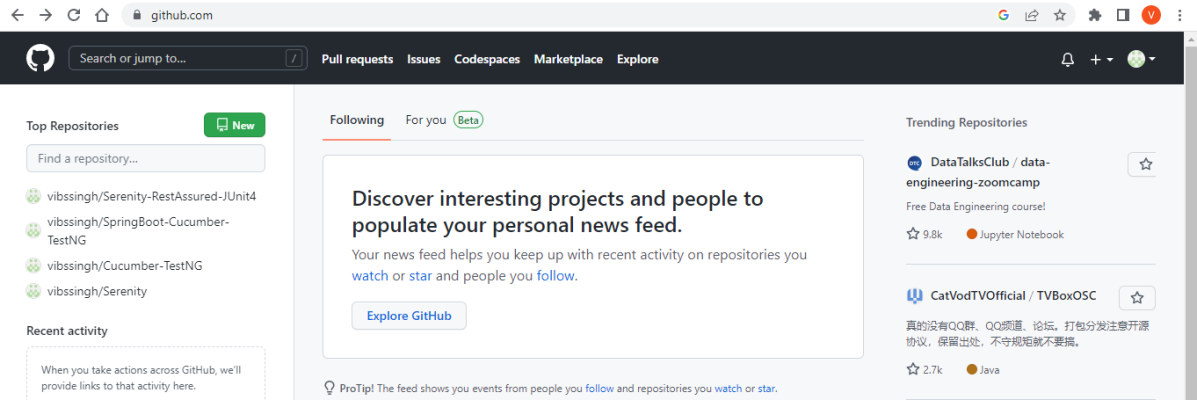
Step 1 – Login to GitHub using your username and password.
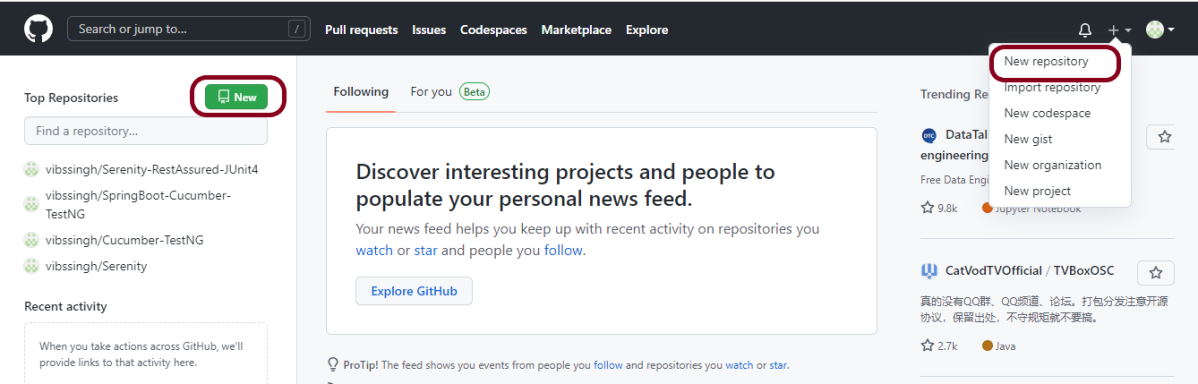
Step 2 – In the upper-right corner of any page, use the drop-down menu, and select “New repository” or left side of the page, there is a green button “New“.
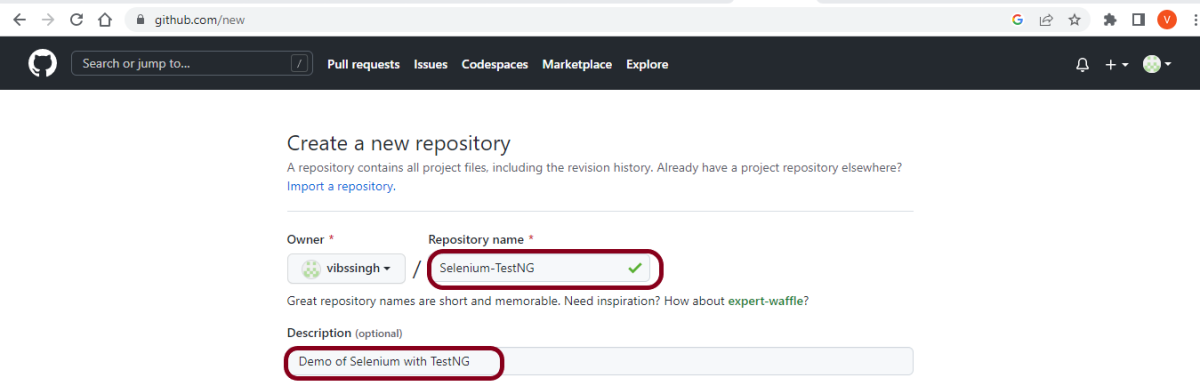
Step 3 – Type a name for your repository, and an optional description. Here, I have provided below-mentioned information:
- Owner – vibssingh
- Repository name – Selenium-TestNG
- Description – Demo of Selenium with TestNG (optional)
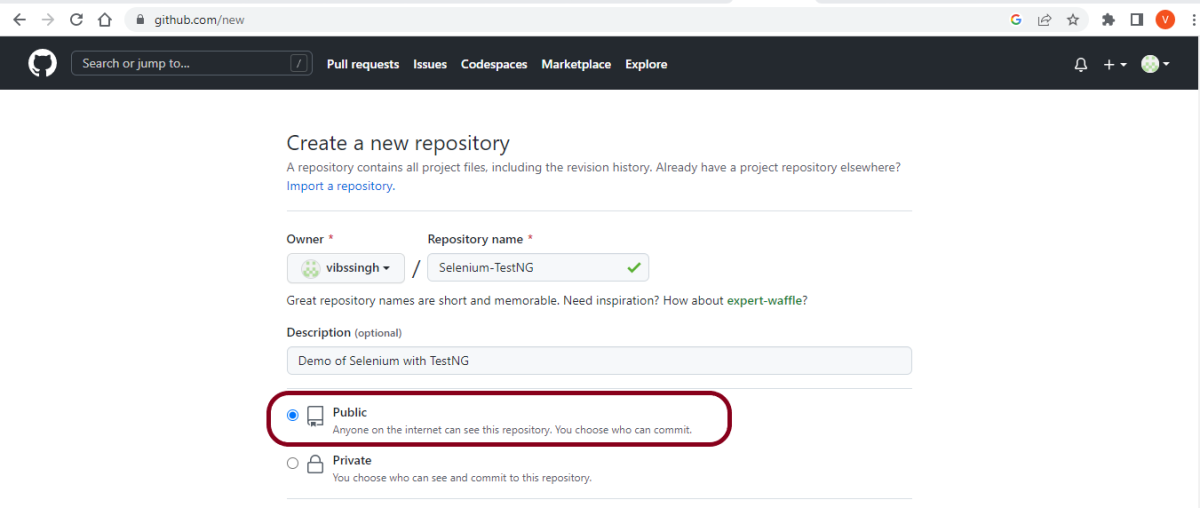
Step 4 – Choose repository visibility.
I’m selecting the “Public” option as it is a free account. You can select the Private option for a paid account (mostly organizations). For more information, see “About repositories.”
Step 5 – You can create a “README“, which is a document describing your project. For more information, see “About READMEs.”
- You can create a .gitignore file, which is a set of ignore rules. For more information, see “Ignoring files.“
- You can choose to add a software license for your project. For more information, see “Licensing a repository.”
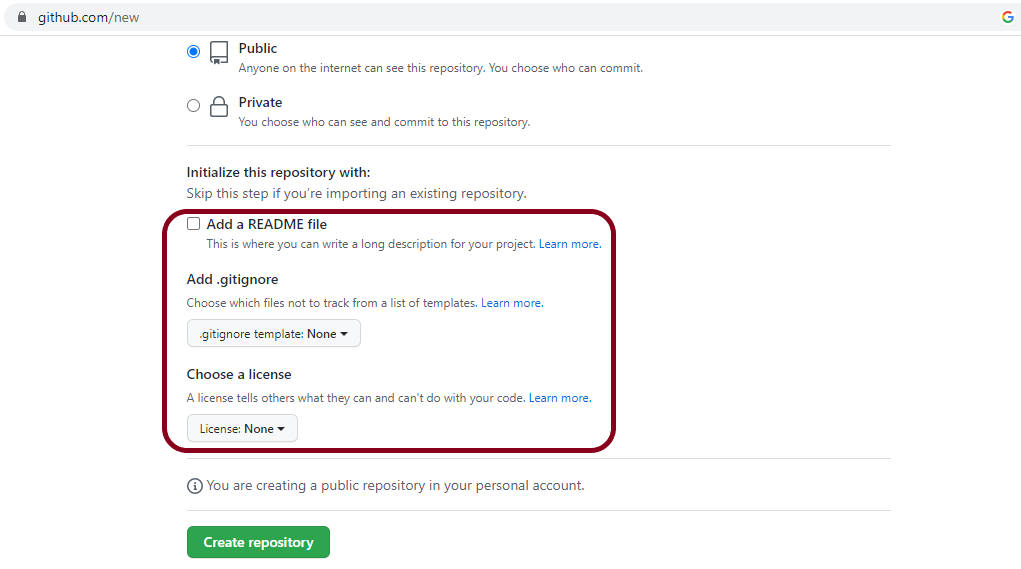
Click “Create repository” button.

Below is the screenshot of the new repository in GitHub.
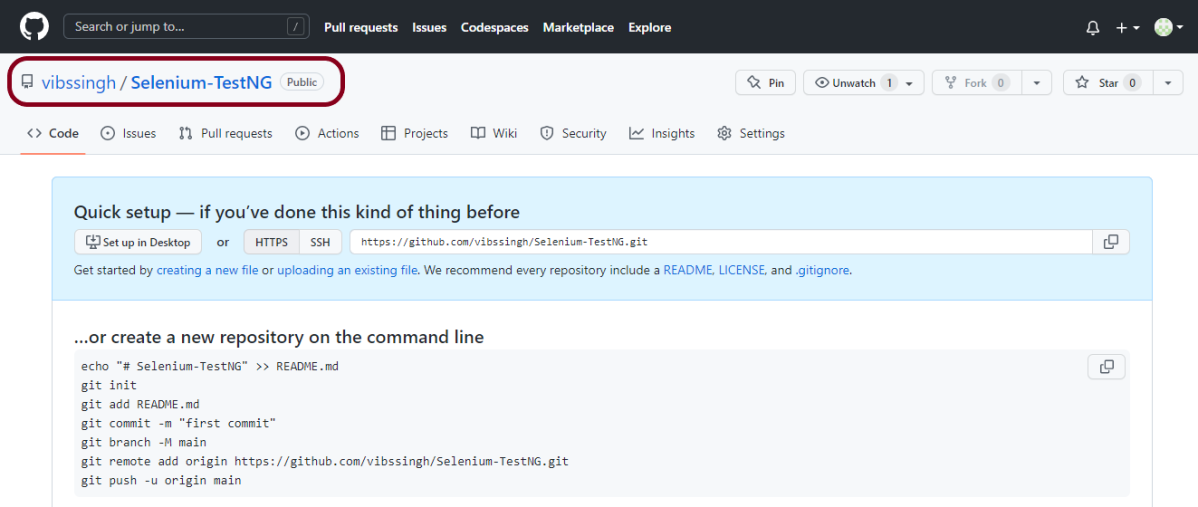
Congratulations!!. We have just created a new and empty project in GitLab. Now you can clone this project and start working on it.
