In the previous tutorial, I have explained How to create a Maven Project in IntelliJ. In this tutorail, I will explain how we can import a Java Maven project in IntelliJ IDE.
Step 1 – Open IntelliJ IDEA and Welcome Screen appears. Click Open button present on Welcome Screen.

Step 2 – Navigate to your Maven project and select the top-level folder. Select the project you want to Import. As you can see, I have selected – MavenProjectFromCMD option. Select OK button to proceed to next screen.

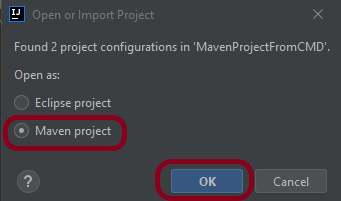
Step 3 – A screen appears to Open or Import project. It will have all the possible configurations for the project. As this is a Maven project, select Maven project and click OK Button.
Step 4 – A warning message box will appears. Select Trust Project Button and move forward.

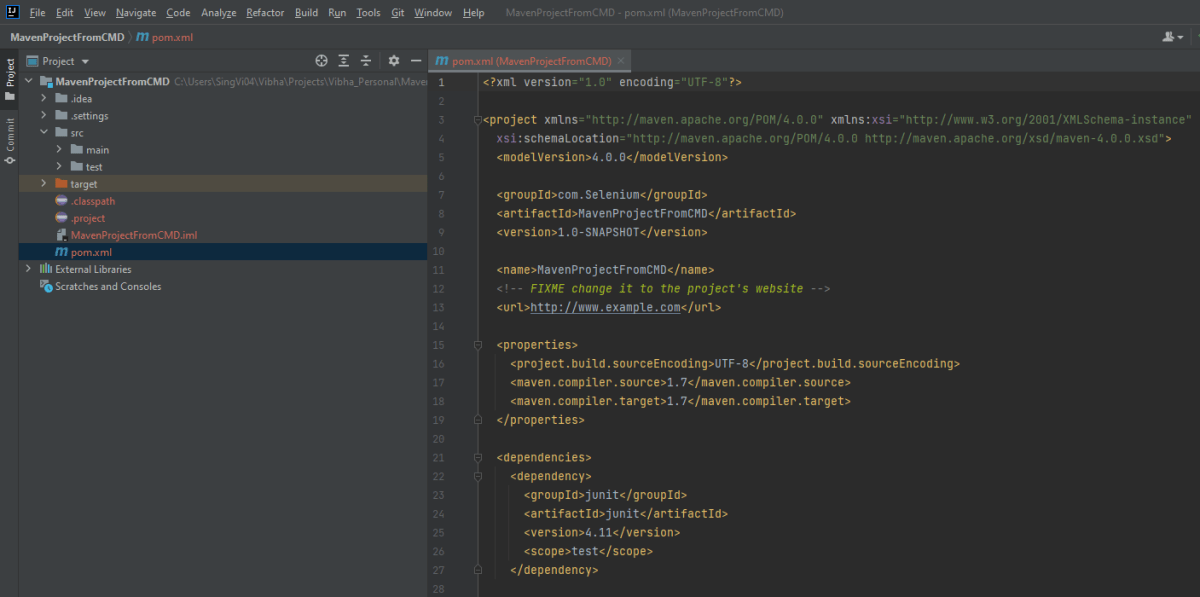
Step 5 -This screens shows that the project is imported.
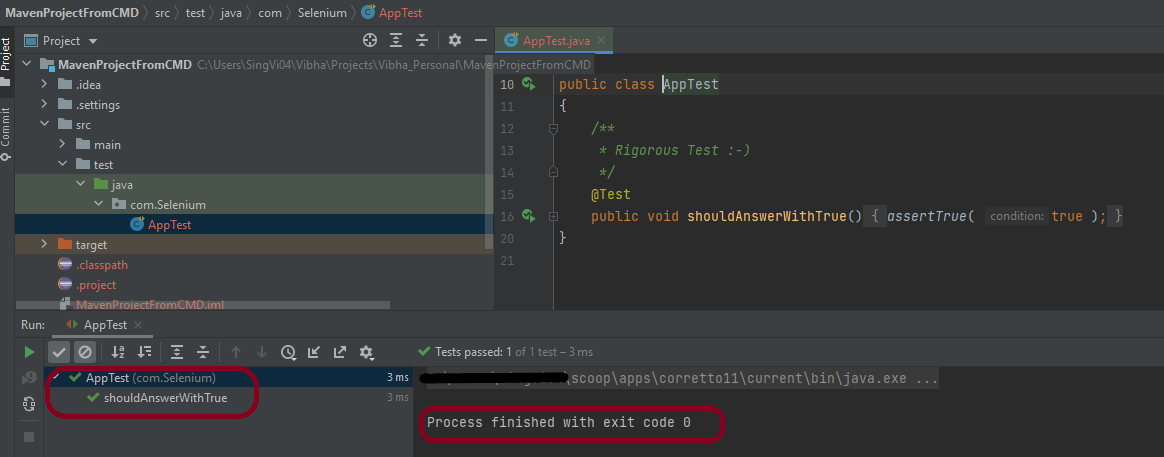
Step 6 – Run the test present in the project. Here, I have run AppTest. Right click on AppTest ->Run ‘AppTest’. Below screen shows that the project is imported successfully.
That’s it! So Simple!!!
Congratulations on making it through this tutorial and hope you found it useful! Happy Learning!!
