Last Updated On
Welcome to the world of API testing with Playwright in Java!
This tutorial demonstrates how to test Rest API requests using the Playwright Java framework.
Table of Contents
What is HTTP Request?
An HTTP request is a message sent by a client (usually a web browser or a tool like cURL or Postman) to a server, requesting a resource or action to be performed. This is a fundamental part of the Web’s client-server communication model. The HTTP protocol defines how requests and responses are formatted and transmitted over the Internet.
System requirements
The following prerequisites are required to be installed on the machine to begin with a smooth setup and installation.
- Java 11 or higher
- IntelliJ IDE or any other IDE to create a project
- Maven
Dependency List
- Playwright – 1.57.0
- Java 17
- Maven – 3.9.6
- TestNG – 7.11.0
- Maven Compiler Plugin – 3.15.0
- Maven Surefire Plugin – 3.5.4
Implementation Steps
1. Create a new Maven Project
The first step in setup is to create a new Maven project. I will be using IntelliJ in this tutorial. The following steps need to be followed to create a new Maven project :
Open IntelliJ, Navigate to File >> New >> Project

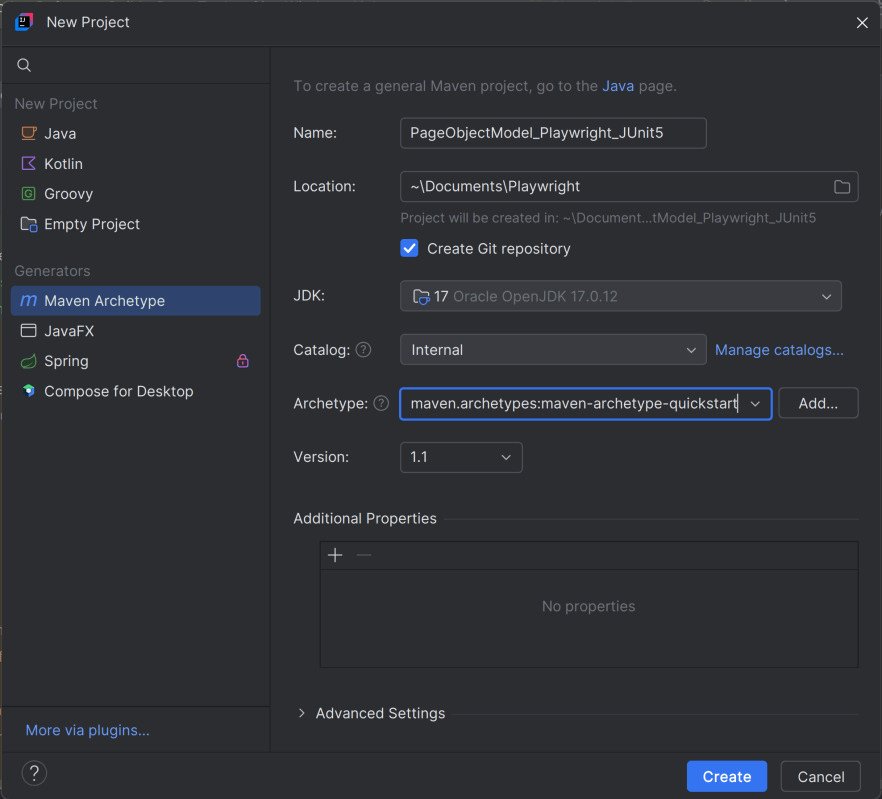
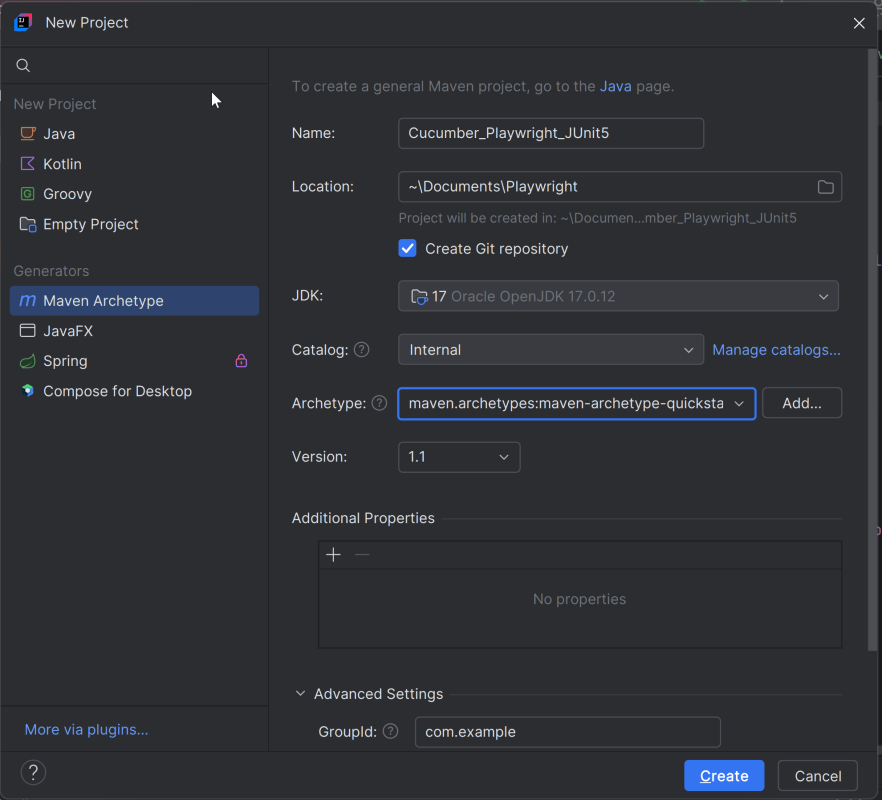
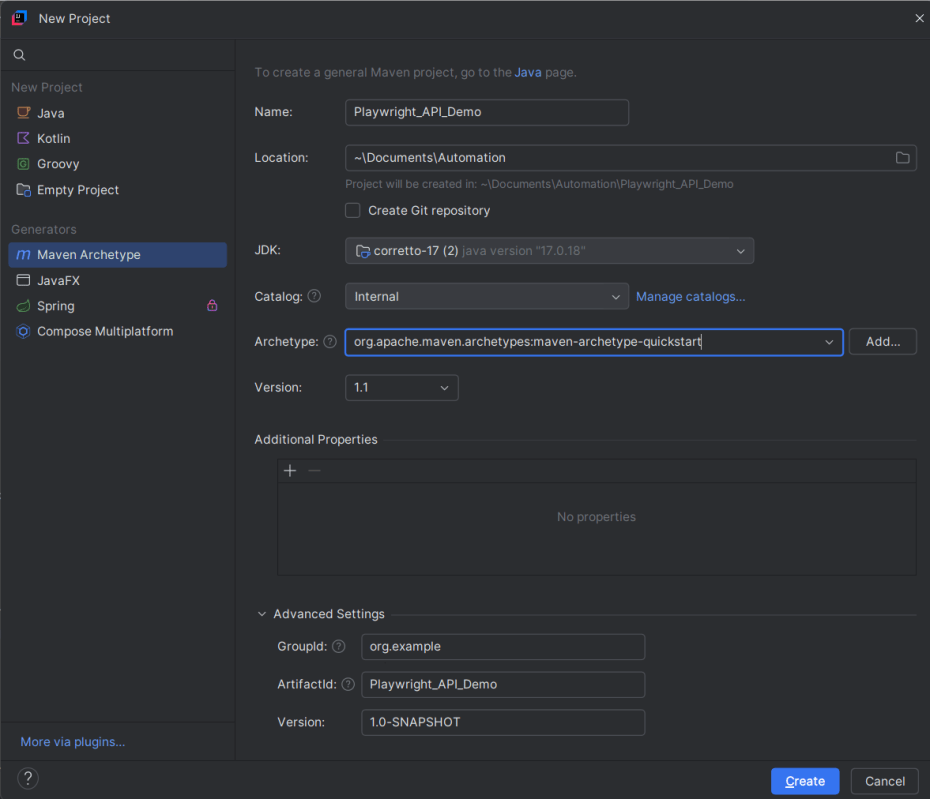
2. In the New Project window, enter the following details:
- Name of the Project – Playwright_API_Demo
- Location/path where the project needs to be saved – Documents/Playwright (my location)
- Select JDK version — I am using JDK 17
- Archetype — Search for quickstart and select maven-archetype-quickstart from the results
Click on the Create button to create the project.
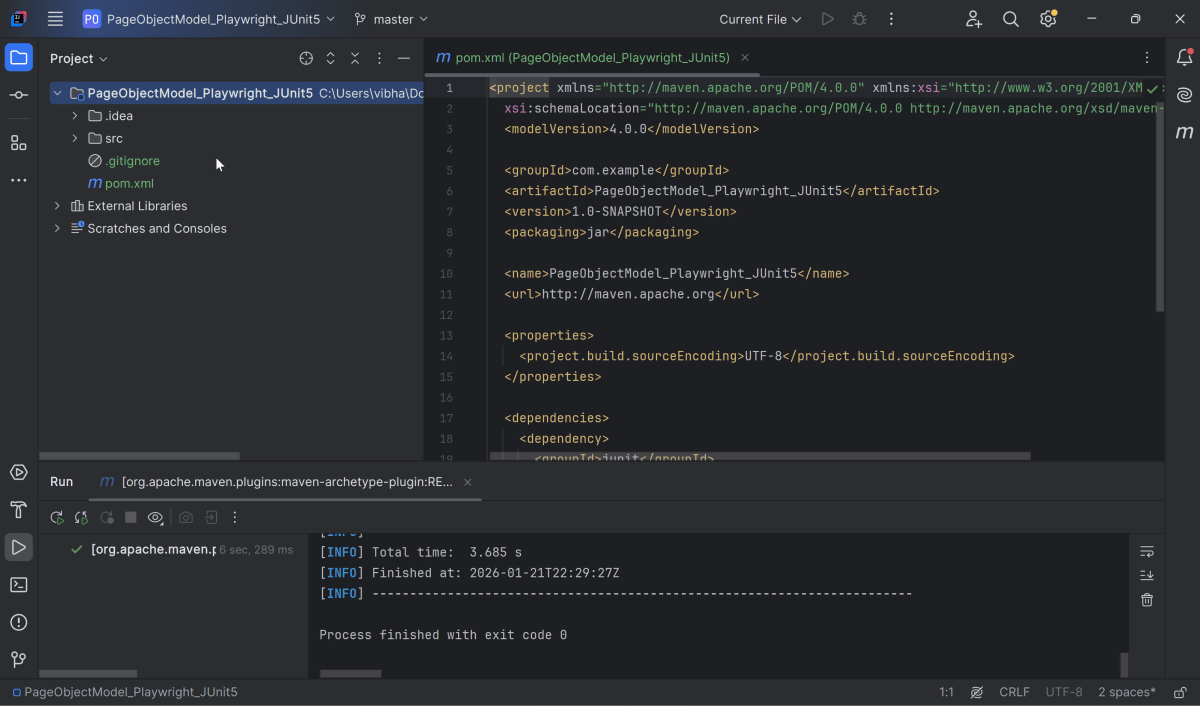
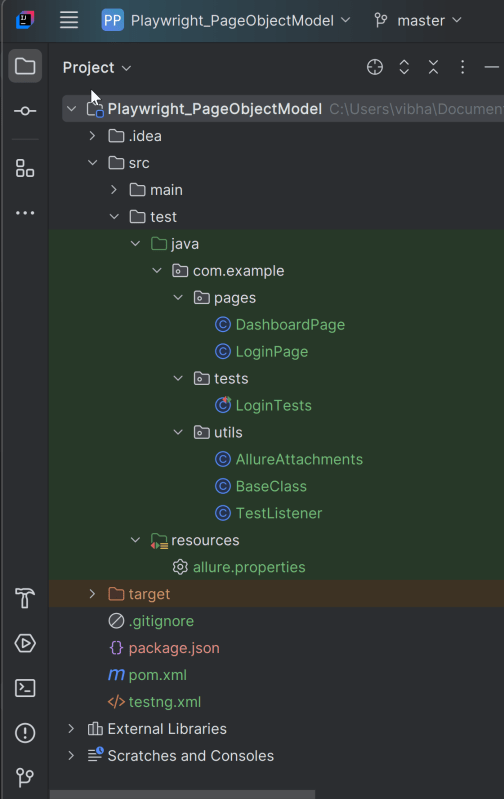
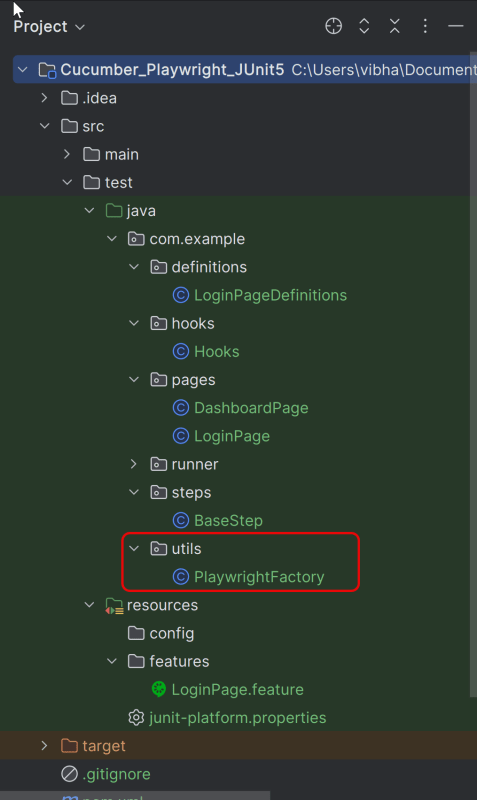
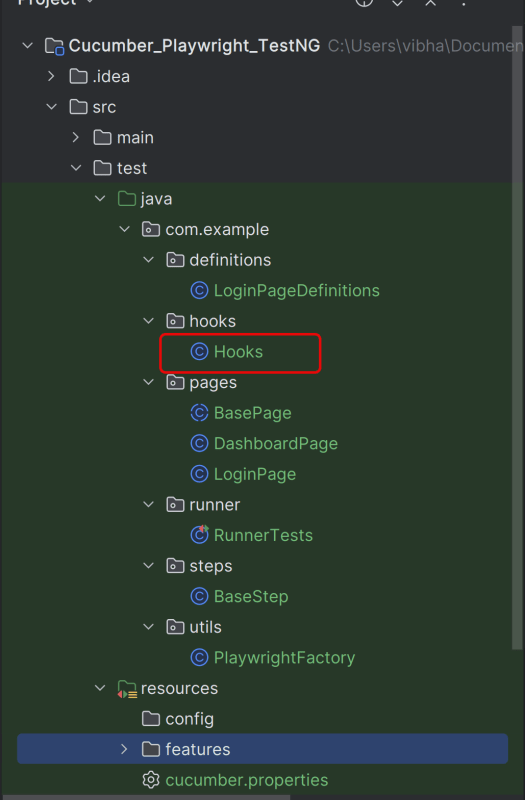
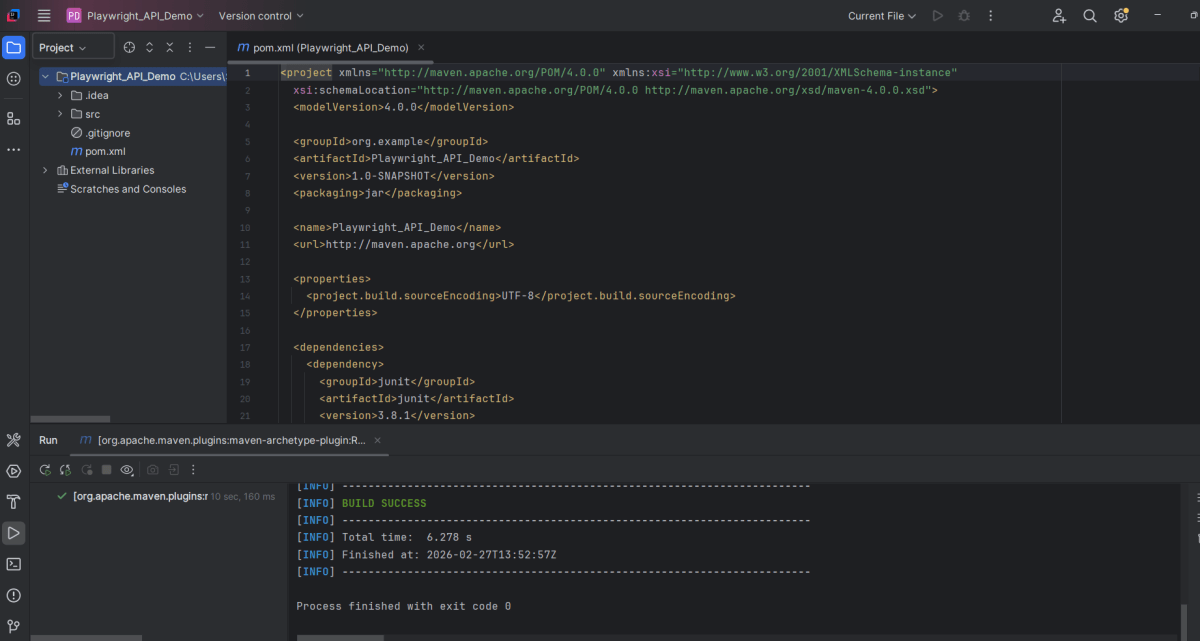
This will create a project as shown below in the IntelliJ.
2. Setup Playwright with Java and TestNG
Add the Playwright and TestNG dependencies to the pom.xml. The latest dependency can be found from here.
<project xmlns="http://maven.apache.org/POM/4.0.0" xmlns:xsi="http://www.w3.org/2001/XMLSchema-instance"
  xsi:schemaLocation="http://maven.apache.org/POM/4.0.0 http://maven.apache.org/xsd/maven-4.0.0.xsd">
  <modelVersion>4.0.0</modelVersion>

  <groupId>org.example</groupId>
  <artifactId>Playwright_API_Demo</artifactId>
  <version>1.0-SNAPSHOT</version>
  <packaging>jar</packaging>

  <name>Playwright_API_Demo</name>
  <url>http://maven.apache.org</url>

  <properties>
    <project.build.sourceEncoding>UTF-8</project.build.sourceEncoding>
    <playwright.version>1.57.0</playwright.version>
    <testng.version>7.11.0</testng.version>
    <maven.compiler.plugin.version>3.15.0</maven.compiler.plugin.version>
    <maven.compiler.source.version>17</maven.compiler.source.version>
    <maven.compiler.target.version>17</maven.compiler.target.version>
    <maven.surefire.plugin.version>3.5.4</maven.surefire.plugin.version>
  </properties>

  <dependencies>

    <!-- Playwright -->
    <dependency>
      <groupId>com.microsoft.playwright</groupId>
      <artifactId>playwright</artifactId>
      <version>${playwright.version}</version>
    </dependency>

    <!-- TestNG -->
    <dependency>
      <groupId>org.testng</groupId>
      <artifactId>testng</artifactId>
      <version>${testng.version}</version>
      <scope>test</scope>
    </dependency>

  </dependencies>

  <build>
    <plugins>
      <plugin>
        <groupId>org.apache.maven.plugins</groupId>
        <artifactId>maven-compiler-plugin</artifactId>
        <version>${maven.compiler.plugin.version}</version>
        <configuration>
          <source>${maven.compiler.source.version}</source>
          <target>${maven.compiler.target.version}</target>
        </configuration>
      </plugin>
      <plugin>
        <groupId>org.apache.maven.plugins</groupId>
        <artifactId>maven-surefire-plugin</artifactId>
        <version>${maven.surefire.plugin.version}</version>
        <configuration>
          <suiteXmlFiles>
            <suiteXmlFile>testng.xml</suiteXmlFile>
          </suiteXmlFiles>
        </configuration>
        <dependencies>
        </dependencies>
      </plugin>
    </plugins>
  </build>
</project>
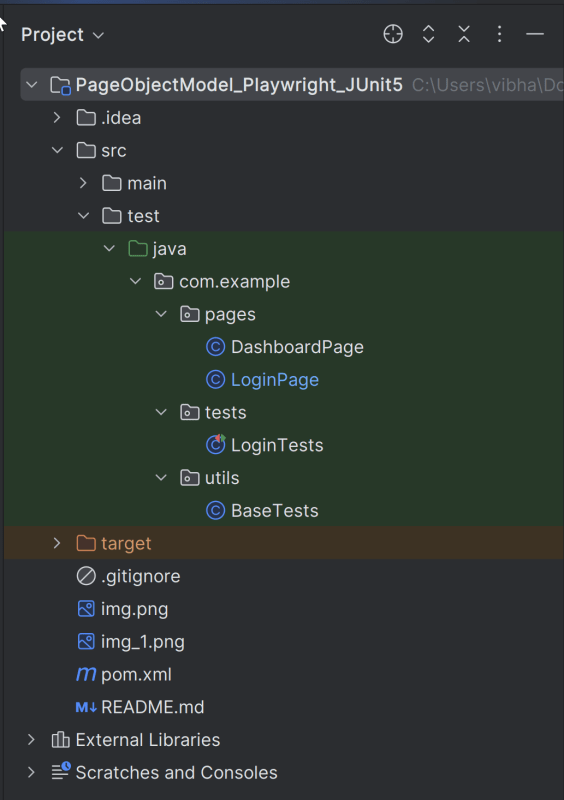
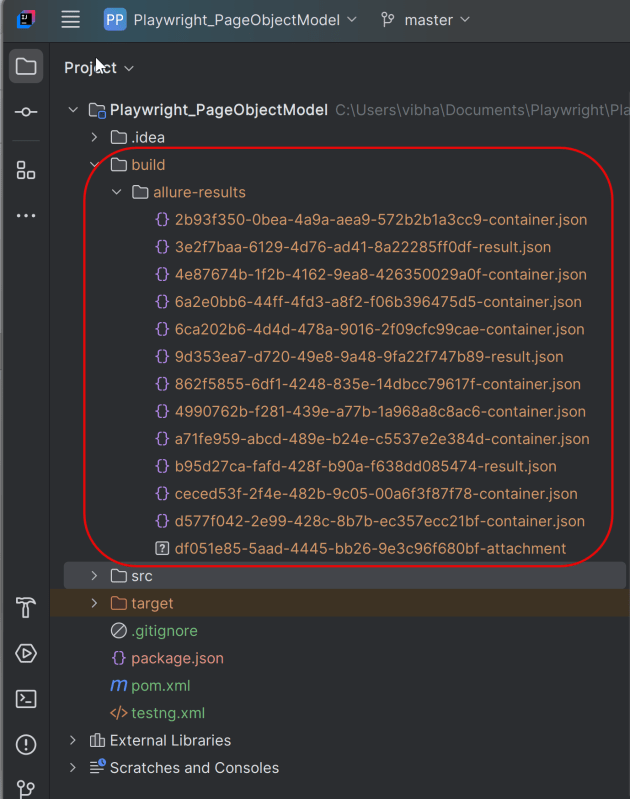
After adding the dependency, refresh the project. We can see that the Playwright jar files are downloaded in External Libraries.
3. Create API tests in
Create Setup Methods
@BeforeMethod: This annotation indicates that setUp() will run before each test method, ensuring that the Playwright environment and API request context are properly initialized.
 @BeforeMethod
    void setUp() {
        createPlaywright();
        createAPIRequestContext();
    }
createPlaywright(): Initializes a new Playwright instance, which is essential for accessing the APIRequest capabilities.
 void createPlaywright() {
        playwright = Playwright.create();
    }
createAPIRequestContext(): Sets up the API request context with a base URL (https://jsonplaceholder.typicode.com) and common headers (like “Accept: application/json”) that will be used for all requests.
void createAPIRequestContext() {
        Map<String, String> headers = new HashMap<>();
        headers.put("Accept", "application/json");

        request = playwright.request().newContext(new APIRequest.NewContextOptions()
                .setBaseURL("https://jsonplaceholder.typicode.com")
                .setExtraHTTPHeaders(headers));
    }
Create TearDown Methods
@AfterMethod: Ensures that resources are properly disposed of after every test method execution by calling request.dispose() and playwright.close(). This avoids resource leaks and ensures clean execution for subsequent tests.
  @AfterMethod
    void tearDown() {
        if (request != null) {
            request.dispose();
        }
        if (playwright != null) {
            playwright.close();
        }
    }
GET Request
What is GET Request?
The GET HTTP method requests a representation of the specified resource. Requests using GET should only be used to request data and shouldn’t contain a body.
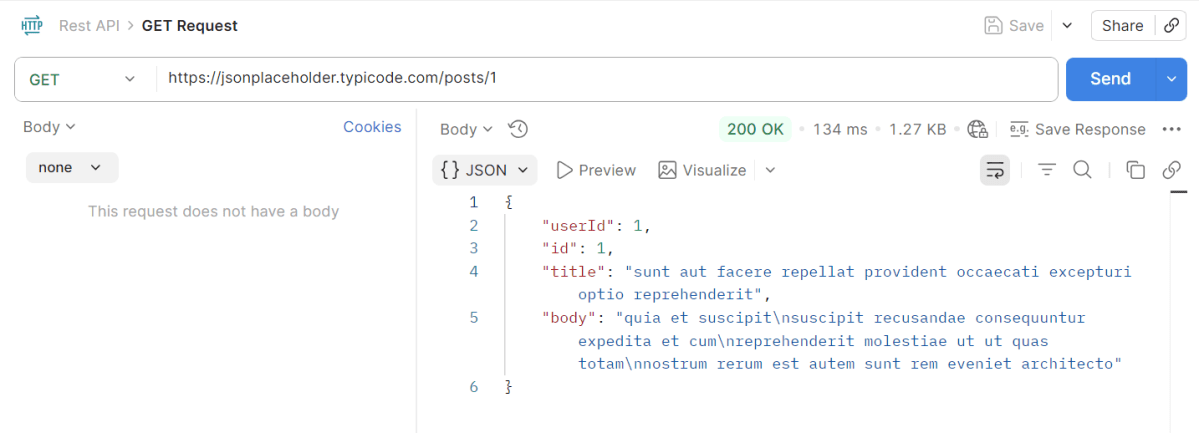
The corresponding API Test in Playwright Framework.
 @Test
    public void getUserById() {
        APIResponse response = request.get("/posts/1");
        System.out.println("GET Response :" + response.text());
        Assert.assertEquals(response.status(), 200, "Expected 200 for GET /posts/1");

        Gson gson = new Gson();
        JsonObject jsonResponse = gson.fromJson(response.text(), JsonObject.class);
        Assert.assertEquals(jsonResponse.get("userId").getAsInt(), 1, "Expected userId=1 in response body");
        Assert.assertEquals(jsonResponse.get("id").getAsInt(), 1, "Expected id=1 in response body");
    }
Explanation
- We sends a GET request to retrieve a specific post.
- Verifies that the response status code is 200 (OK).
- Parses the response JSON to check for expected values (`userId` and `id` both equal to 1).
POST Request
What is POST Request?
The POST HTTP method sends data to the server. The type of the body of the request is indicated by the Content-Type header
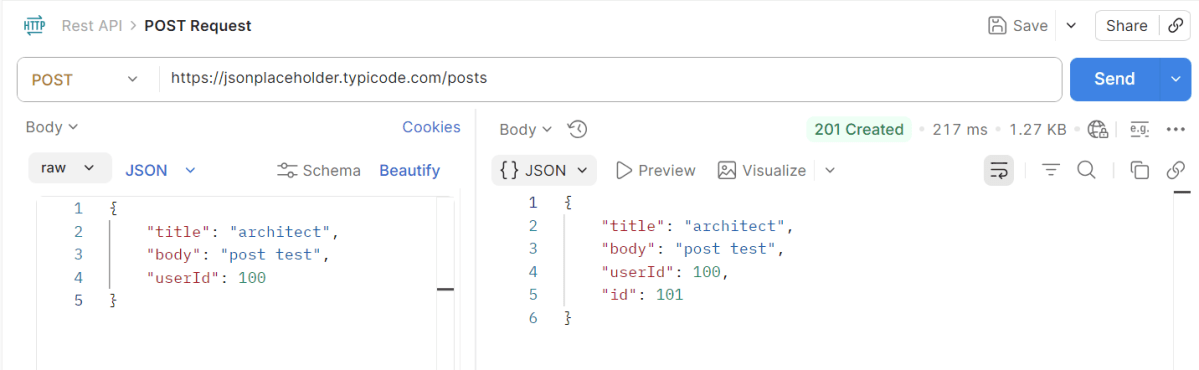
Request Body
{
    "title": "architect",
    "body": "post test",
    "userId": 100
}
The corresponding code in Playwright is
 @Test
    public void createUser() {
        Map<String, Object> payload = new HashMap<>();
        payload.put("title", "architect");
        payload.put("body", "post test");
        payload.put("userId", 100);

        APIResponse response = request.post("/posts", RequestOptions.create().setData(payload));
        System.out.println("POST Response :" + response.text());
        Assert.assertEquals(response.status(), 201, "Expected 201 for POST /users");

        Gson gson = new Gson();
        JsonObject body = gson.fromJson(response.text(), JsonObject.class);
        Assert.assertEquals(body.get("title").getAsString(), "architect");
        Assert.assertEquals(body.get("body").getAsString(), "post test");
        Assert.assertEquals(body.get("userId").getAsInt(), 100);
        Assert.assertNotNull(body.get("id"), "Expected id in create response");
    }
Explanation
- Constructs a payload for creating a new post and sends a POST request.
- Verifies that the response status code for successful creation (201).
- Parses the response and asserts that the payload values match the expected results, ensuring the ID field is not null, indicating successful resource creation.
PUT Request
What is PUT Request?
The PUT HTTP method creates a new resource or replaces a representation of the target resource with the request content.
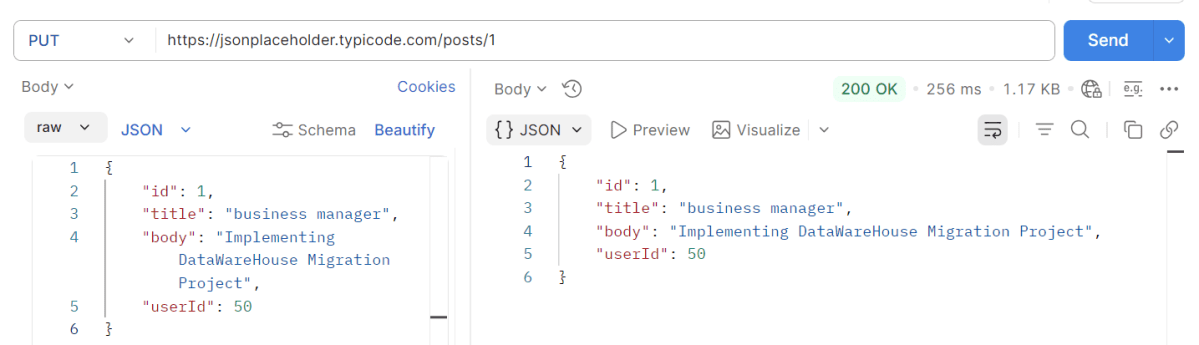
Request Body
{
    "id": 1,
    "title": "business manager",
    "body": "Implementing DataWareHouse Migration Project",
    "userId": 50
}
The corresponding code in Playwright is
 @Test
    public void updateUser() {

        APIResponse response = request.get("/posts/1");
        System.out.println("GET Response before PUT Request:" + response.text());
        Assert.assertEquals(response.status(), 200, "Expected 200 for GET /posts/1");


        Map<String, Object> payload = new HashMap<>();
        payload.put("id", 1);
        payload.put("title", "business manager");
        payload.put("body", "Implementing DataWareHouse Migration Project");
        payload.put("userId", 50);

        APIResponse response1 = request.put("/posts/1", RequestOptions.create().setData(payload));
        System.out.println("PUT Response :" + response1.text());
        Assert.assertEquals(response1.status(), 200, "Expected 200 for PUT /posts/1");

        Gson gson = new Gson();
        JsonObject body = gson.fromJson(response1.text(), JsonObject.class);
        Assert.assertEquals(body.get("title").getAsString(), "business manager");
        Assert.assertEquals(body.get("body").getAsString(), "Implementing DataWareHouse Migration Project");
        Assert.assertEquals(body.get("userId").getAsInt(), 50);
        Assert.assertNotNull(body.get("id"), "Expected id in create response");

    }
Explanation
- Retrieves a post using a GET request to ensure it exists.
- Constructs a payload with updated information and sends a PUT request to modify the post.
- Verifies that the response status code is 200 to verify successful update.
- Verifies that the response JSON contains updated values as specified in the payload.
DELETE Request
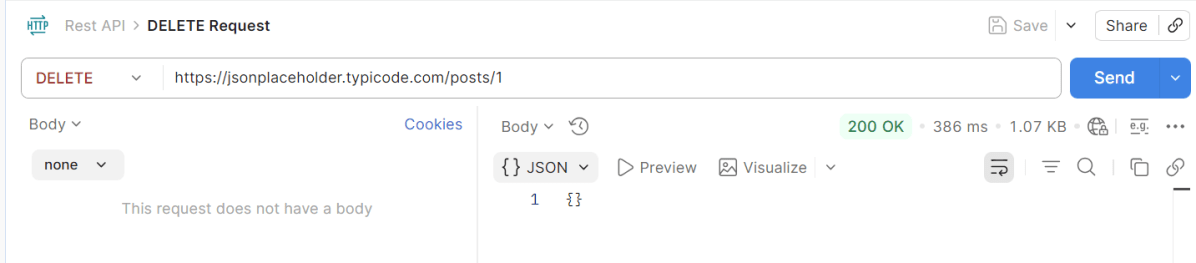
What is Delete Request?
The DELETE HTTP method asks the server to delete a specified resource. Requests using DELETE should only be used to delete data and shouldn’t contain a body.
The corresponding code in Playwright is
   @Test
    public void deleteUser() {
        APIResponse response = request.delete("/posts/1");
        System.out.println("DELETE Response :" + response.text());
        Assert.assertEquals(response.status(), 200, "Expected 200 for DELETE /posts/1");
    }
Explanation
- Sends a DELETE request to remove the post.
- Confirms the successful deletion by checking for a 200 response status code.
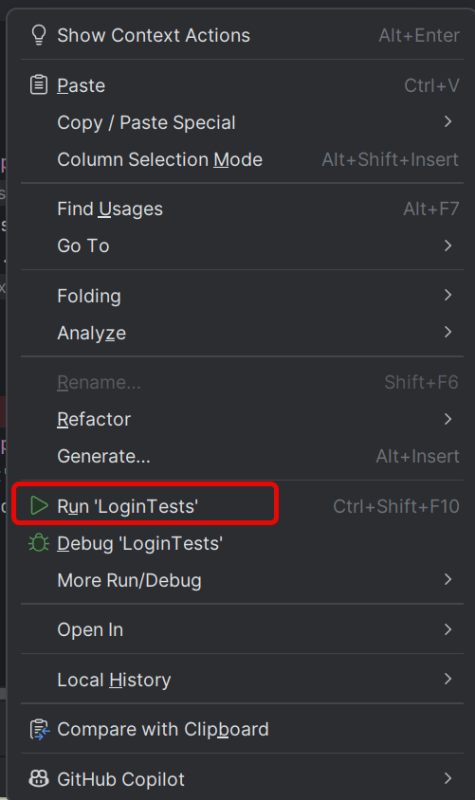
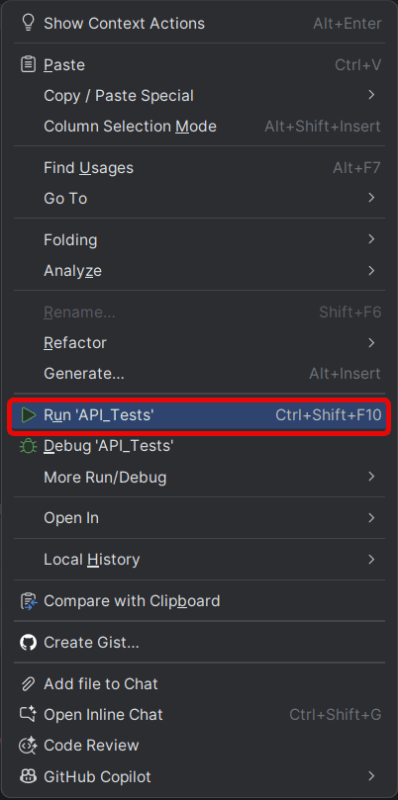
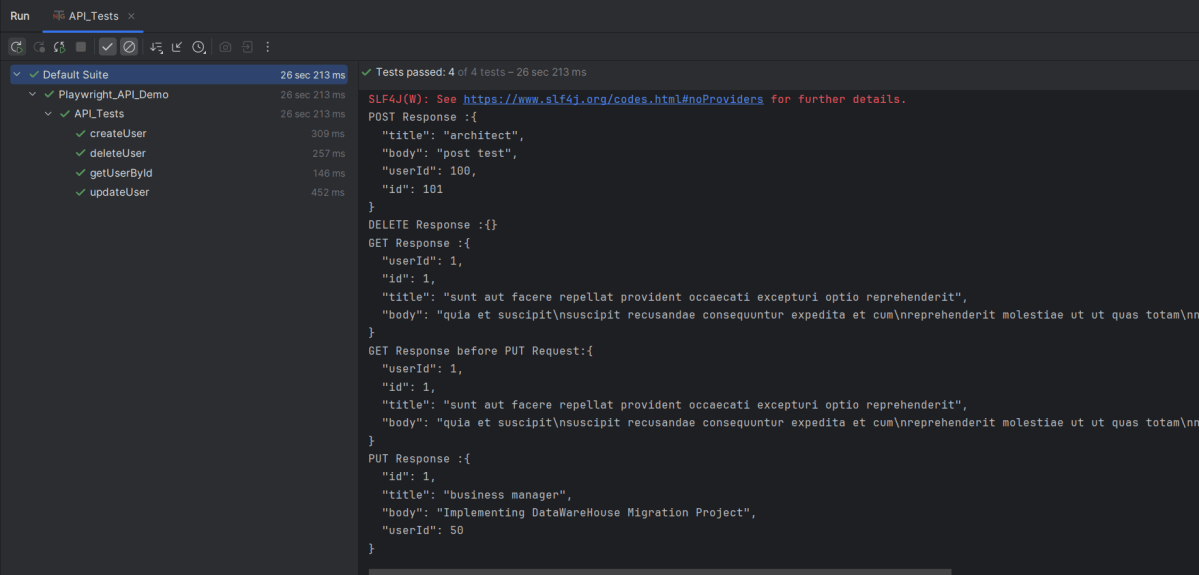
7. Test Execution through IntelliJ
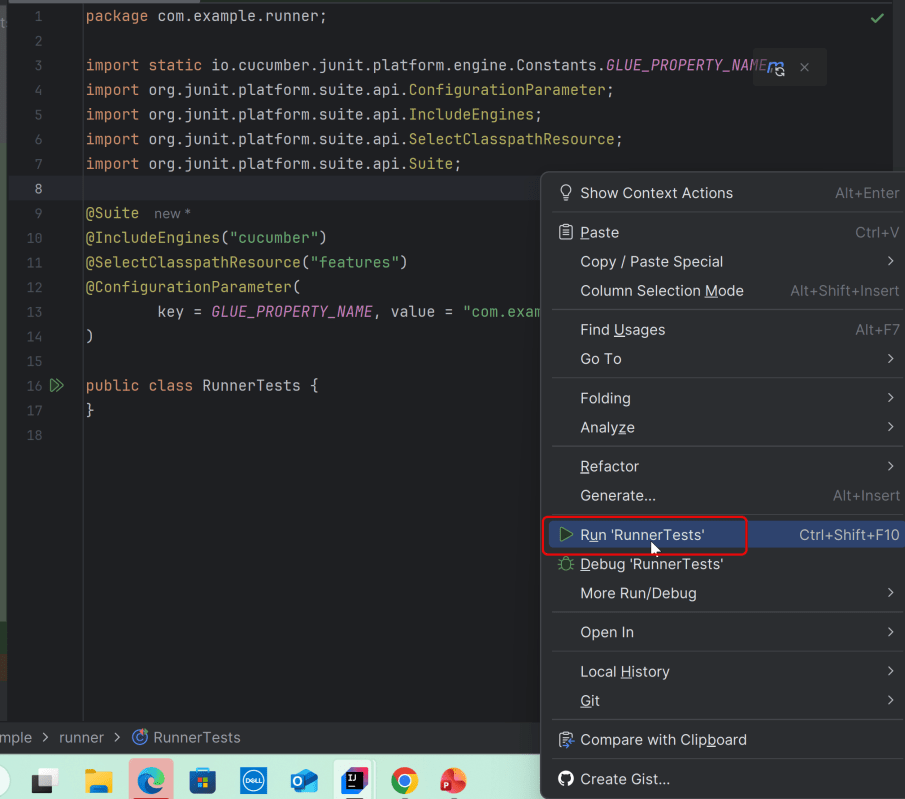
Go to the Test class and right-click and select Run ‘API_Tests’. The tests will run as IntelliJ tests.
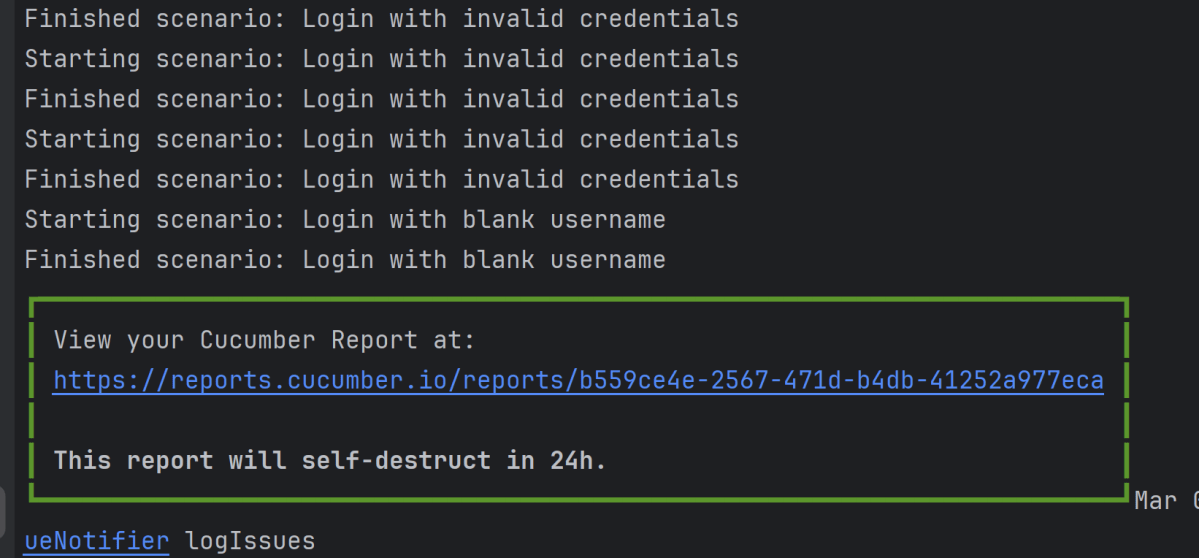
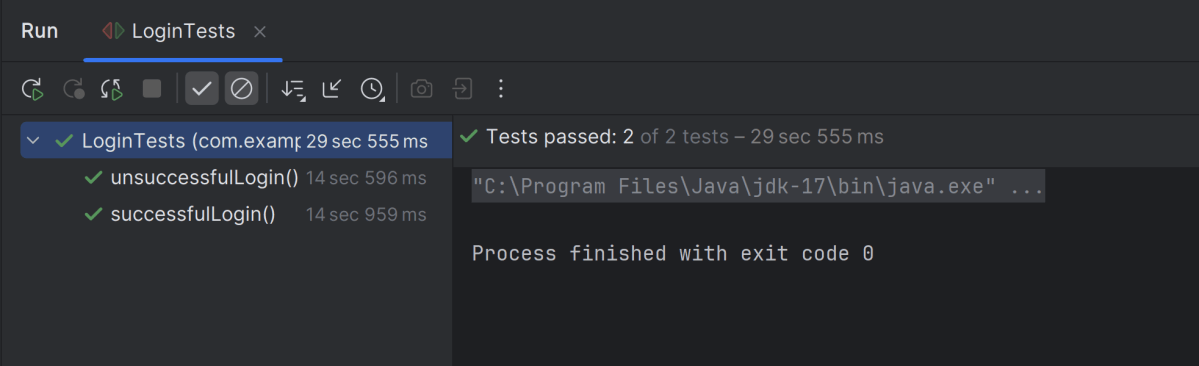
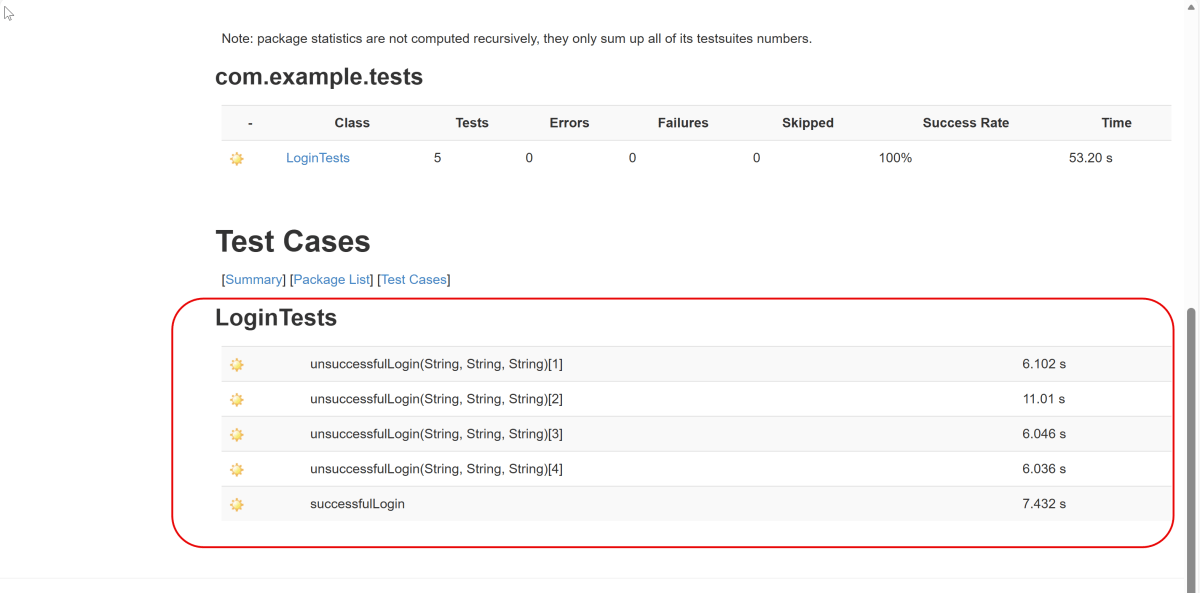
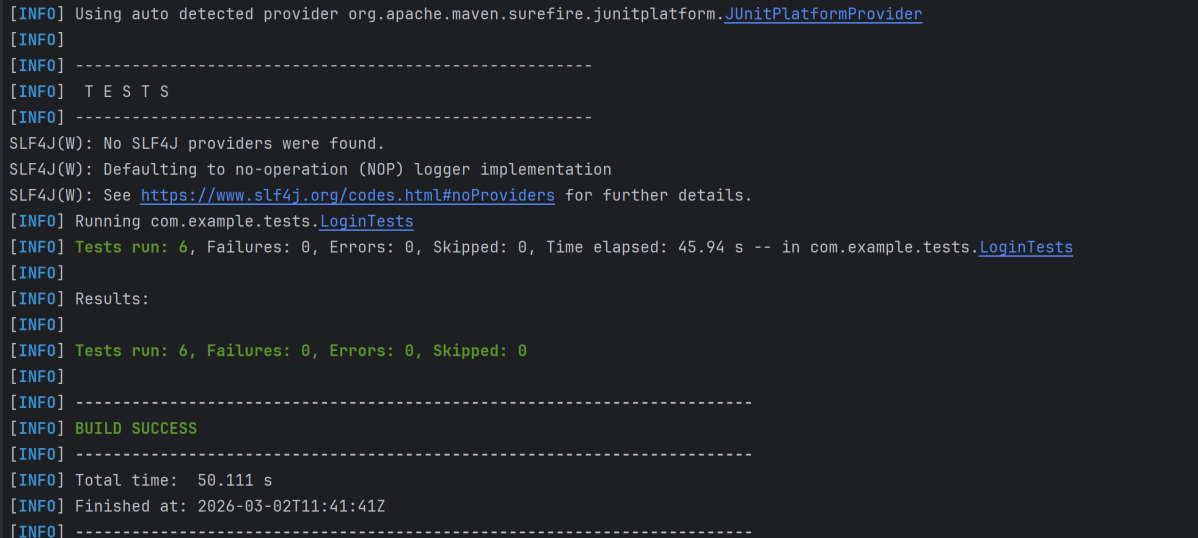
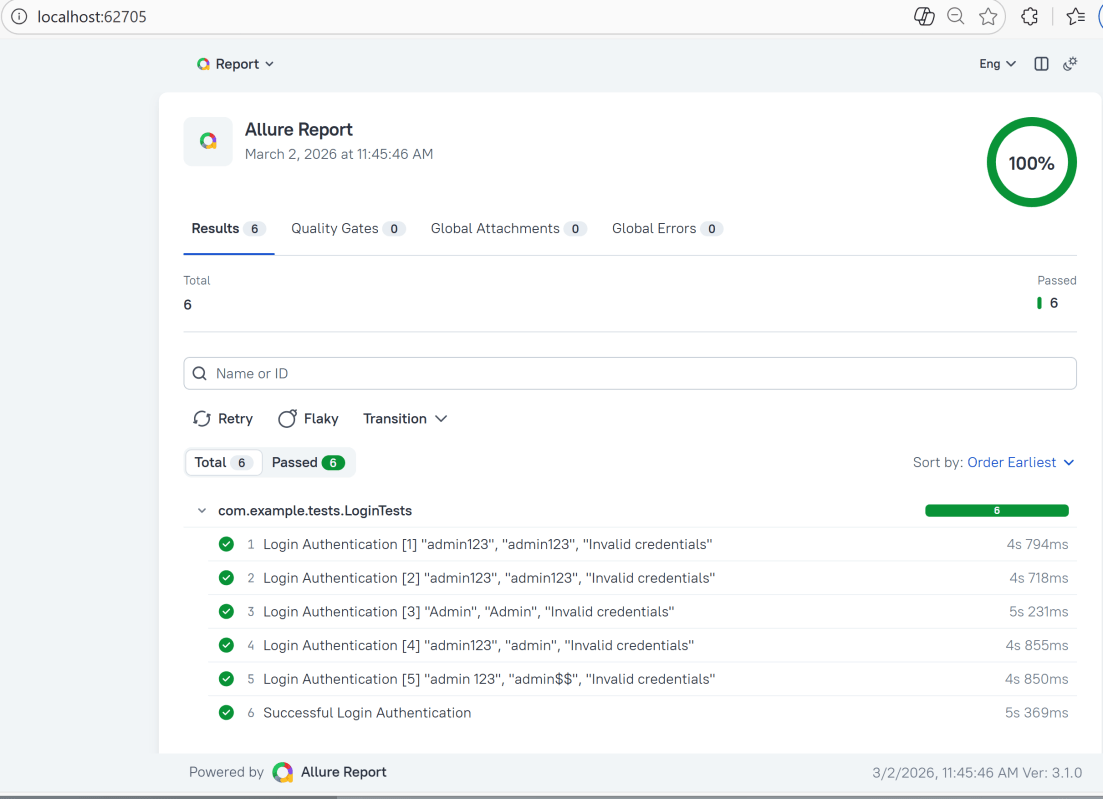
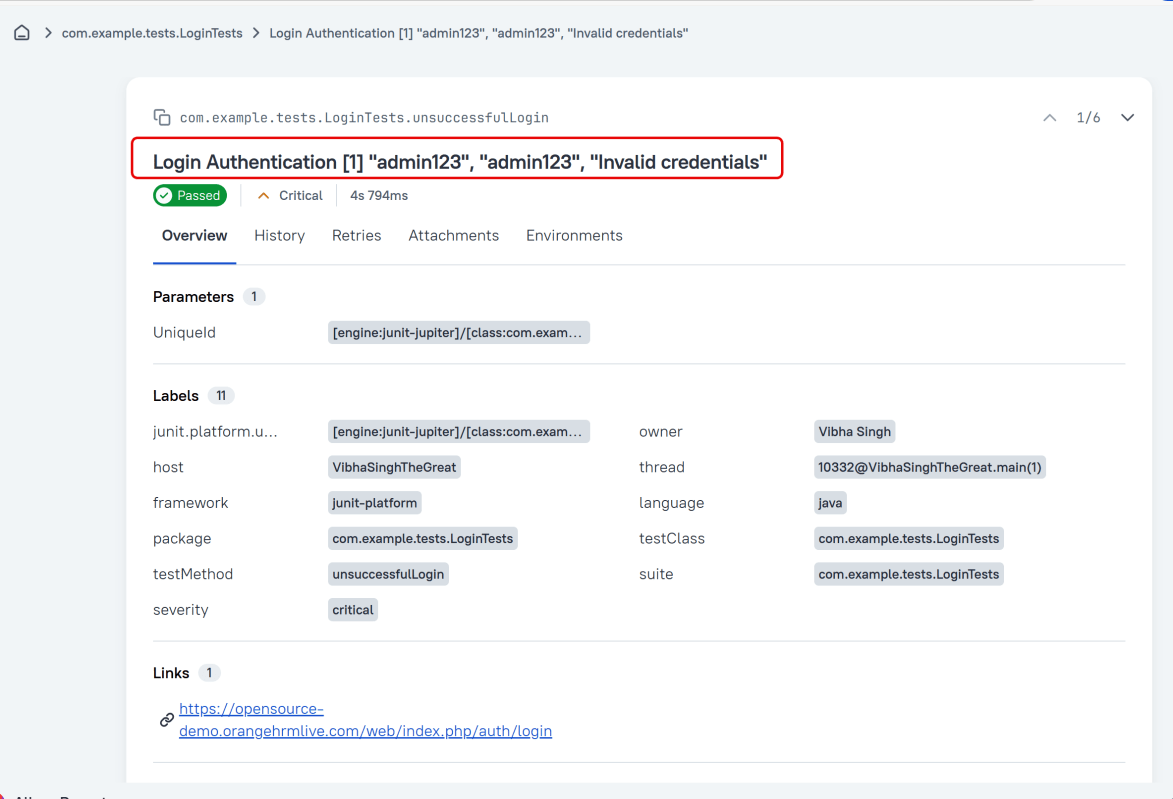
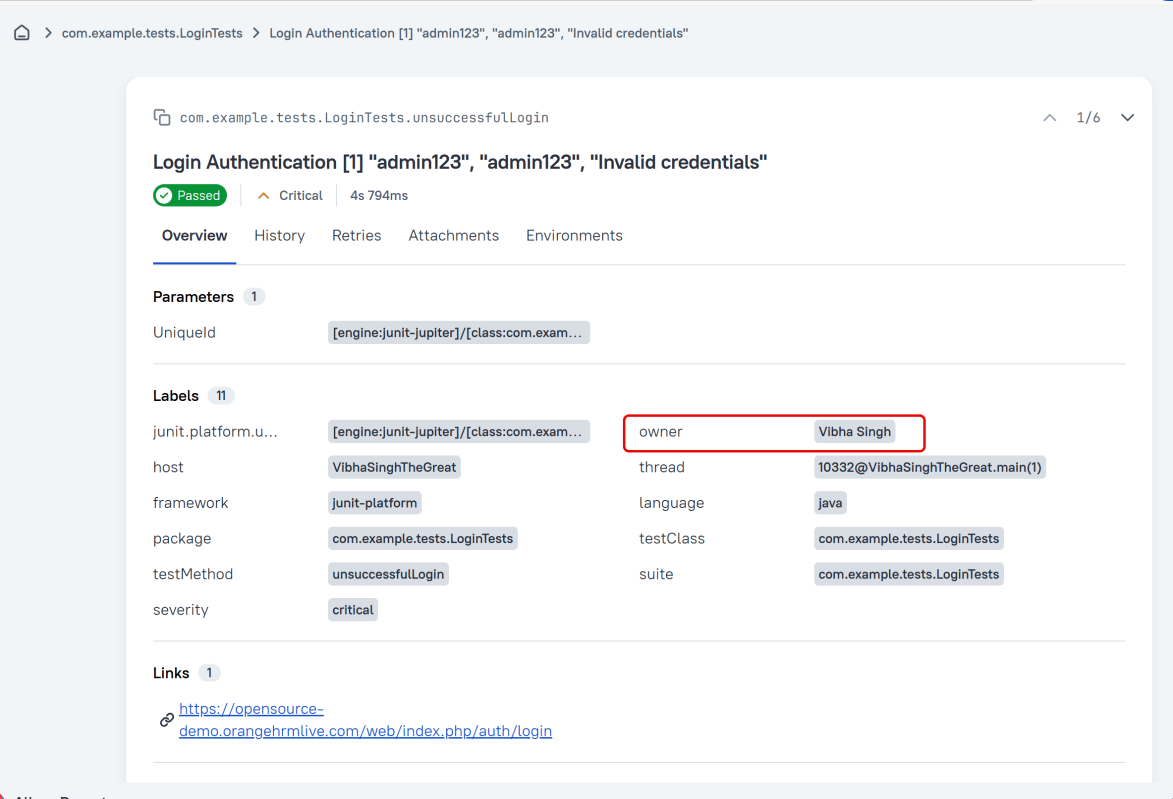
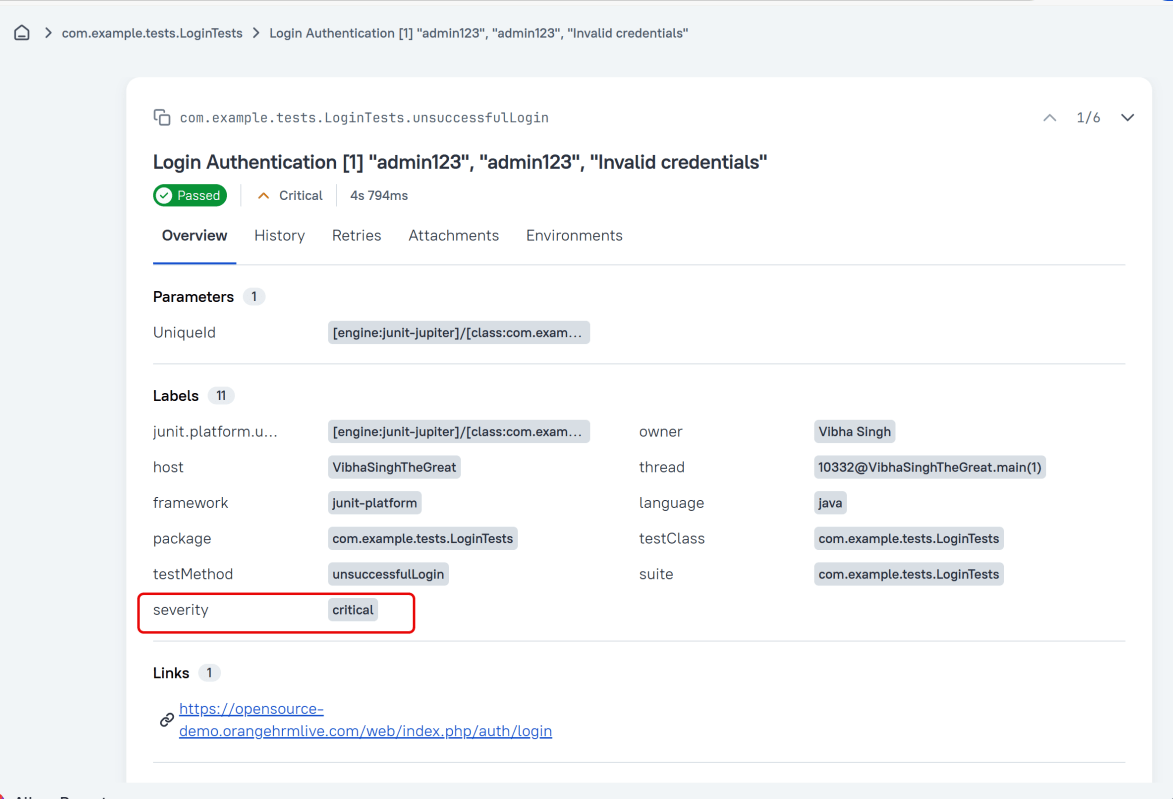
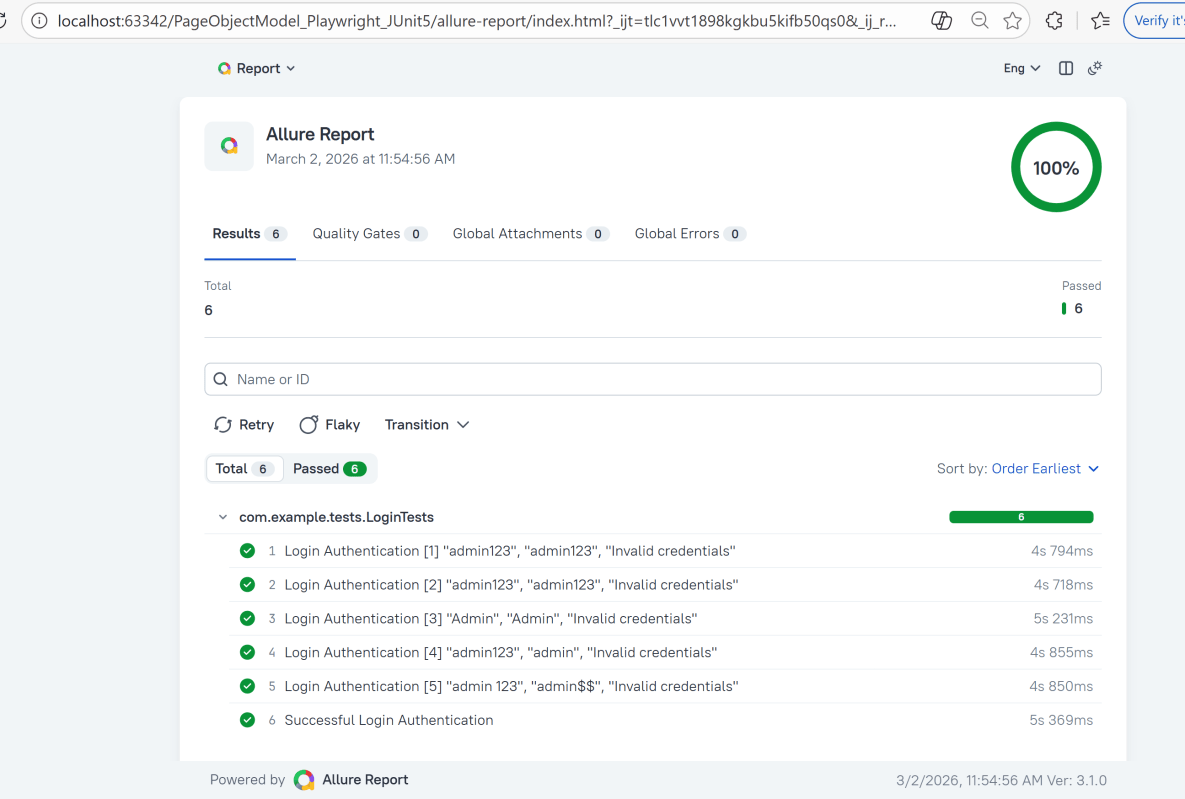
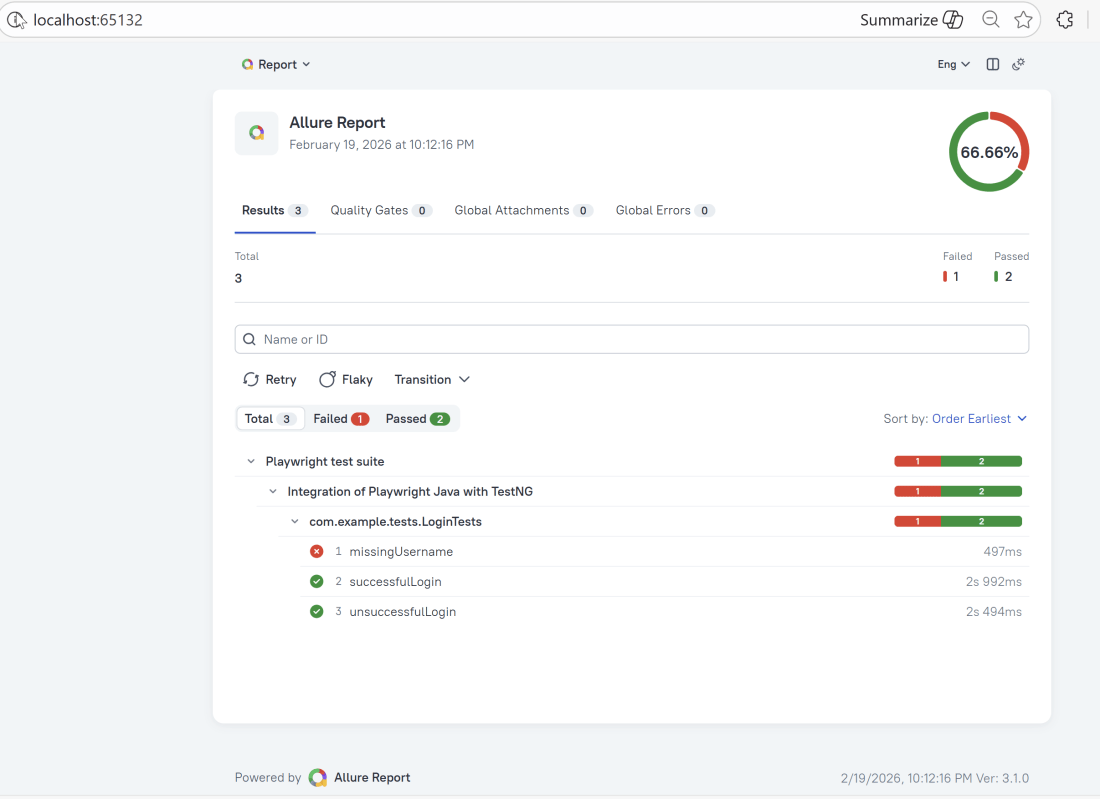
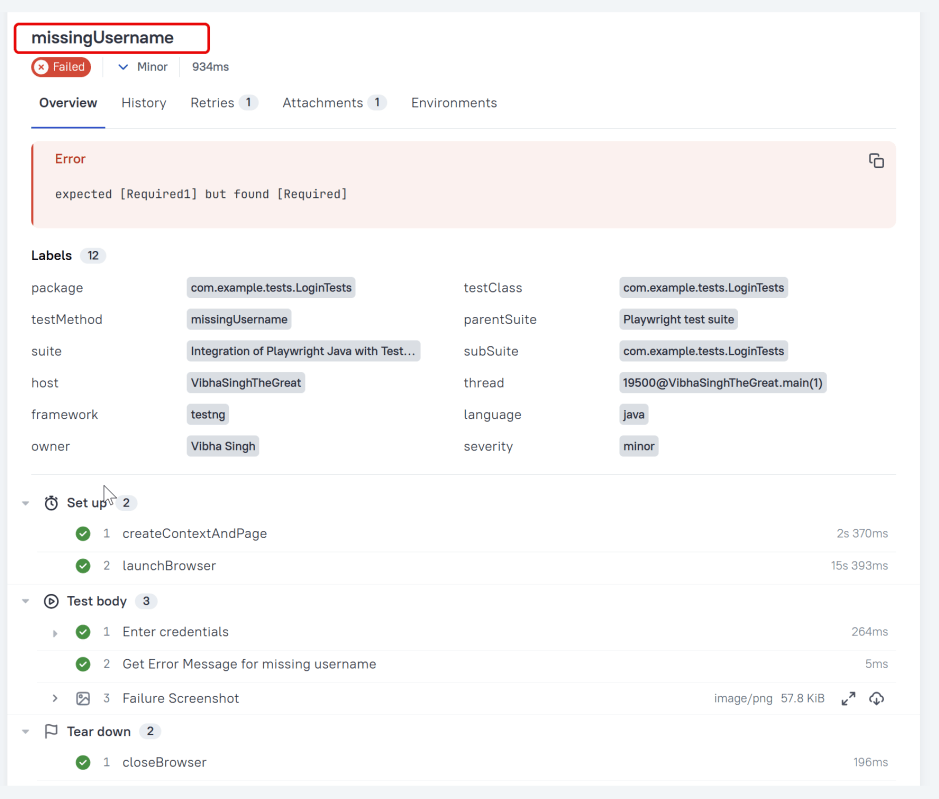
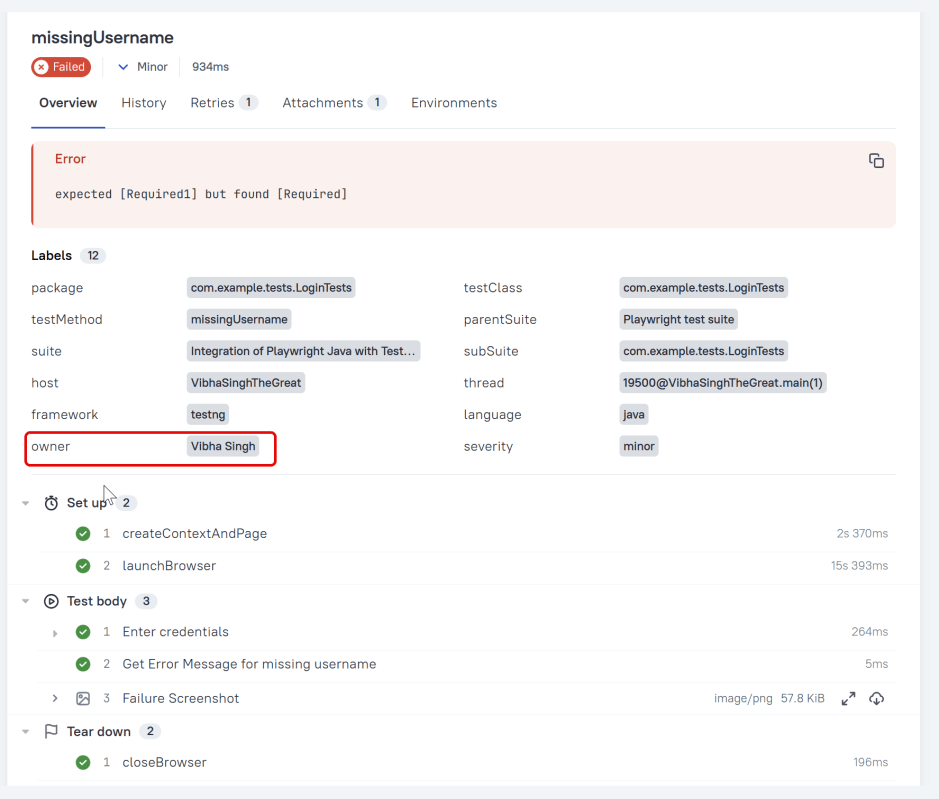
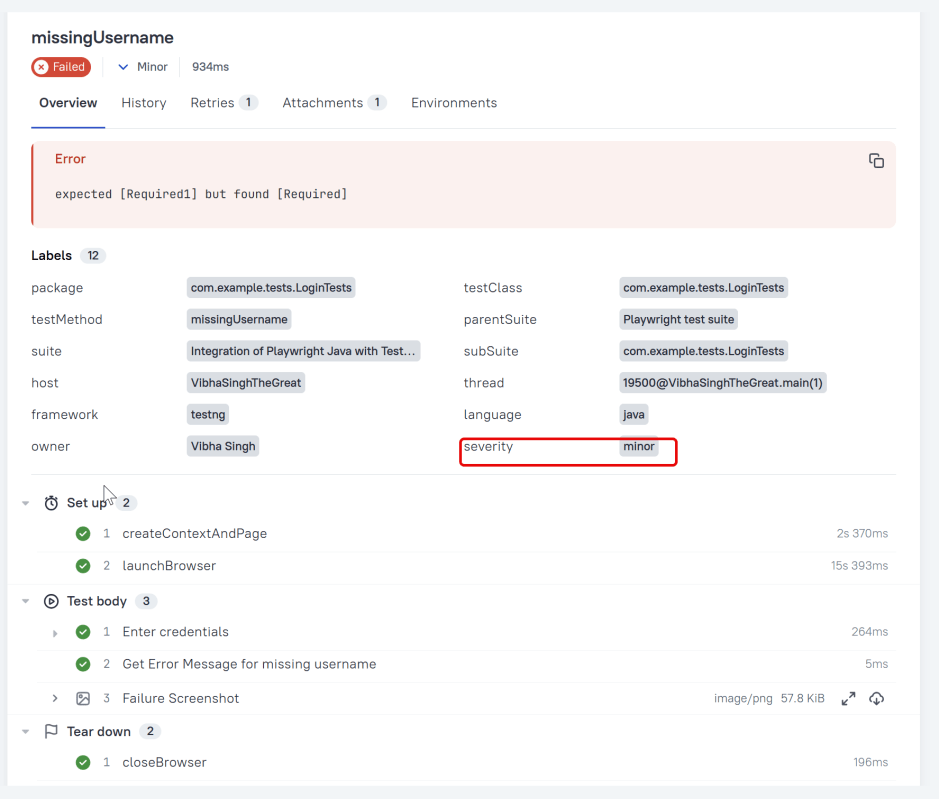
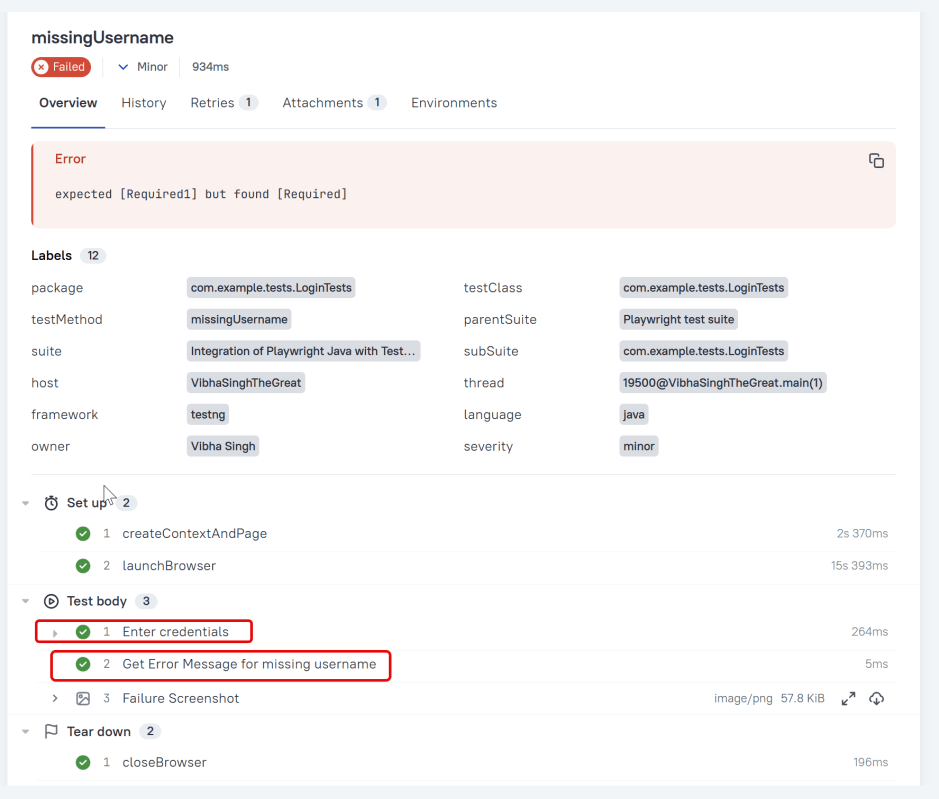
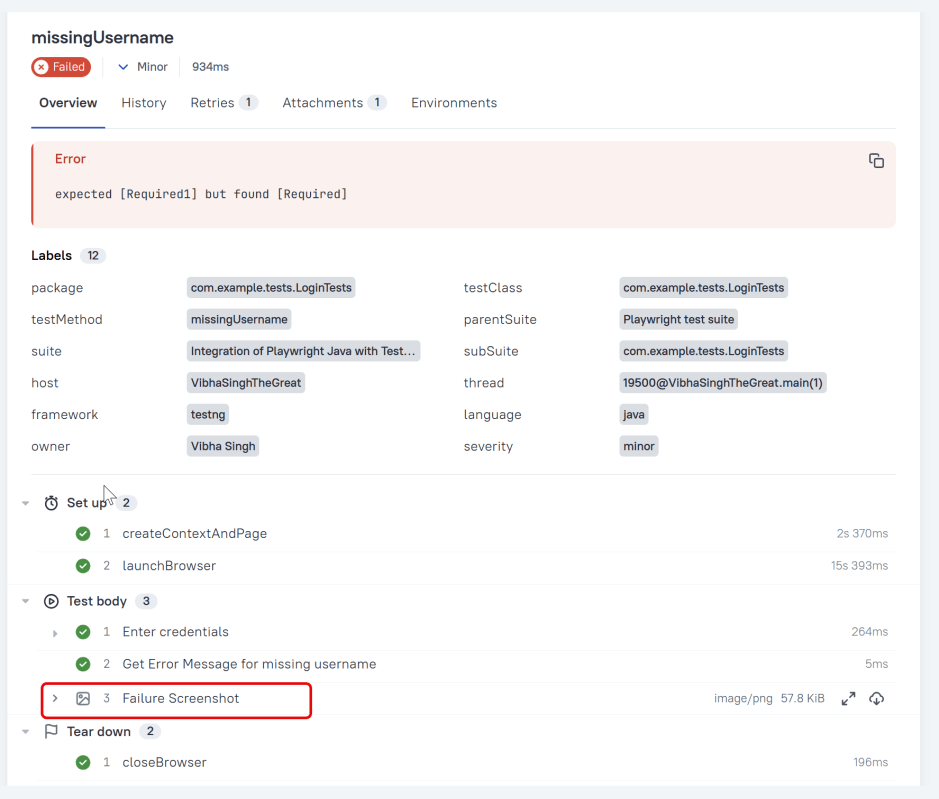
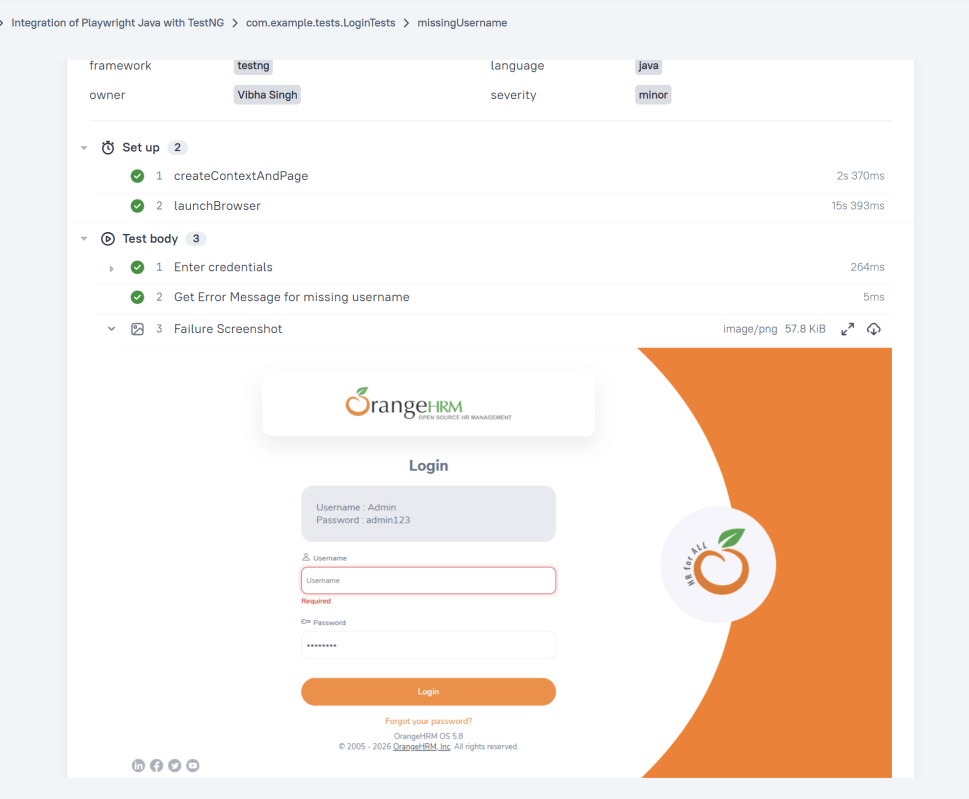
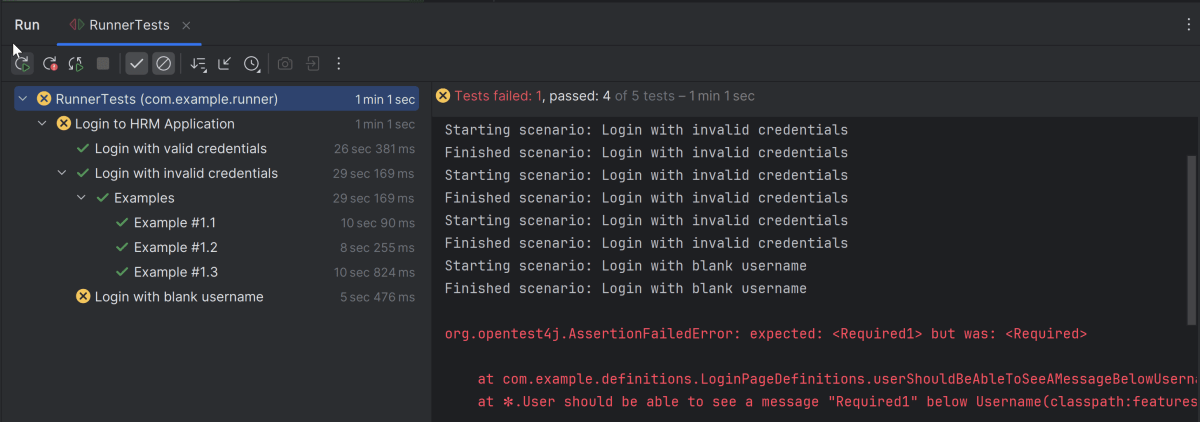
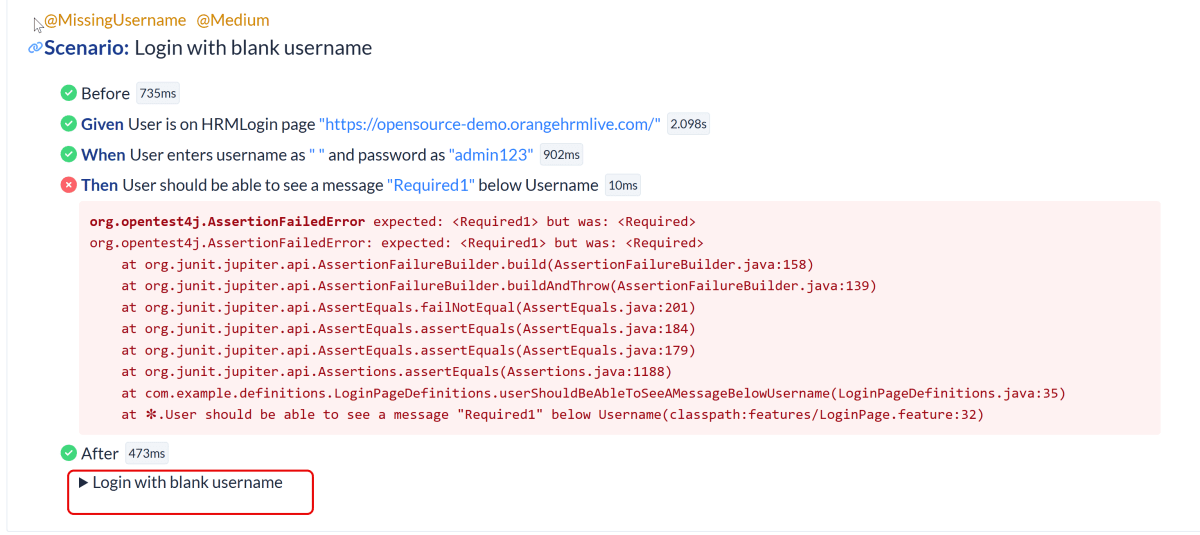
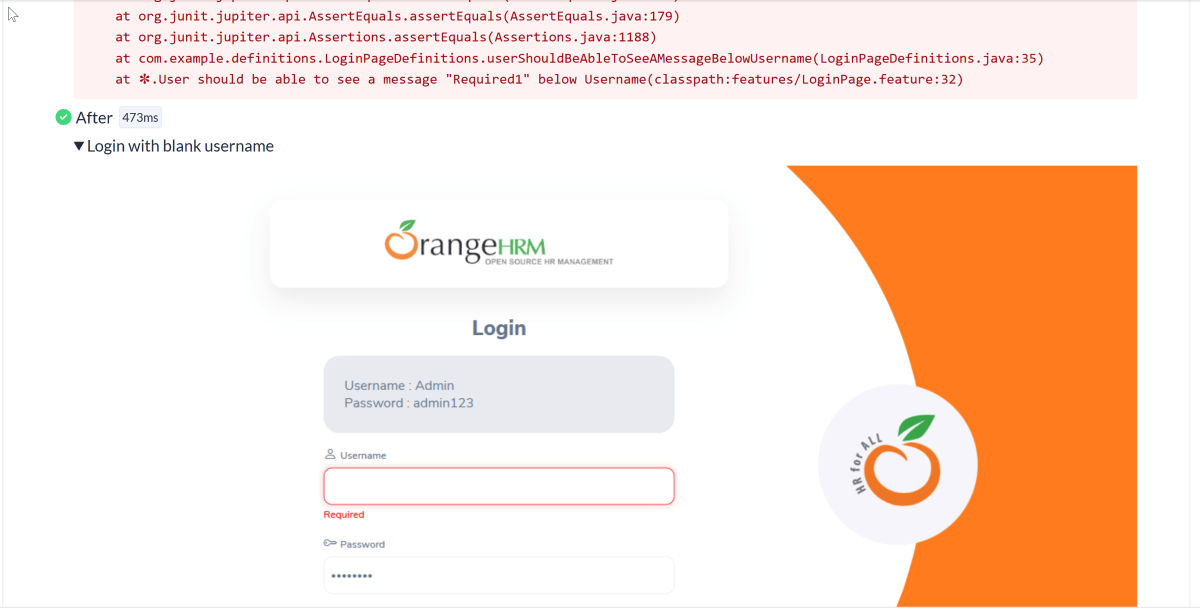
Below is the test execution result.
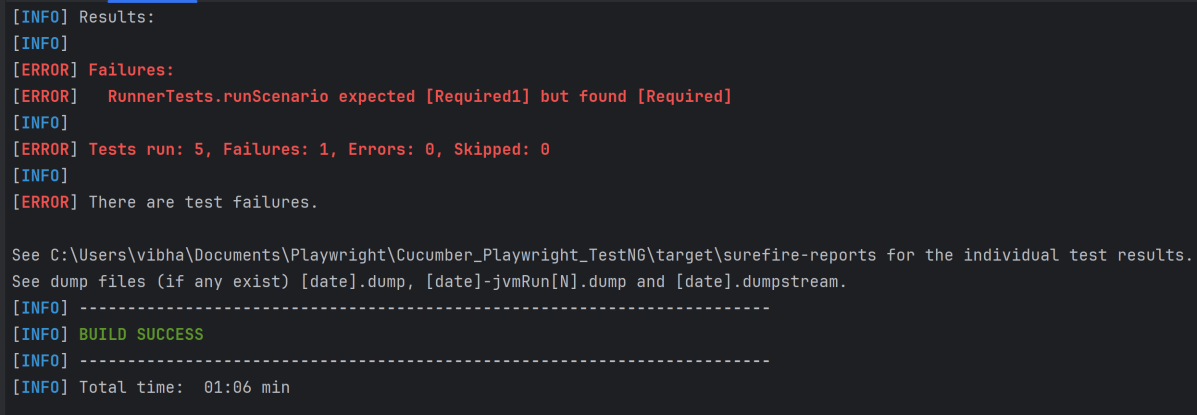
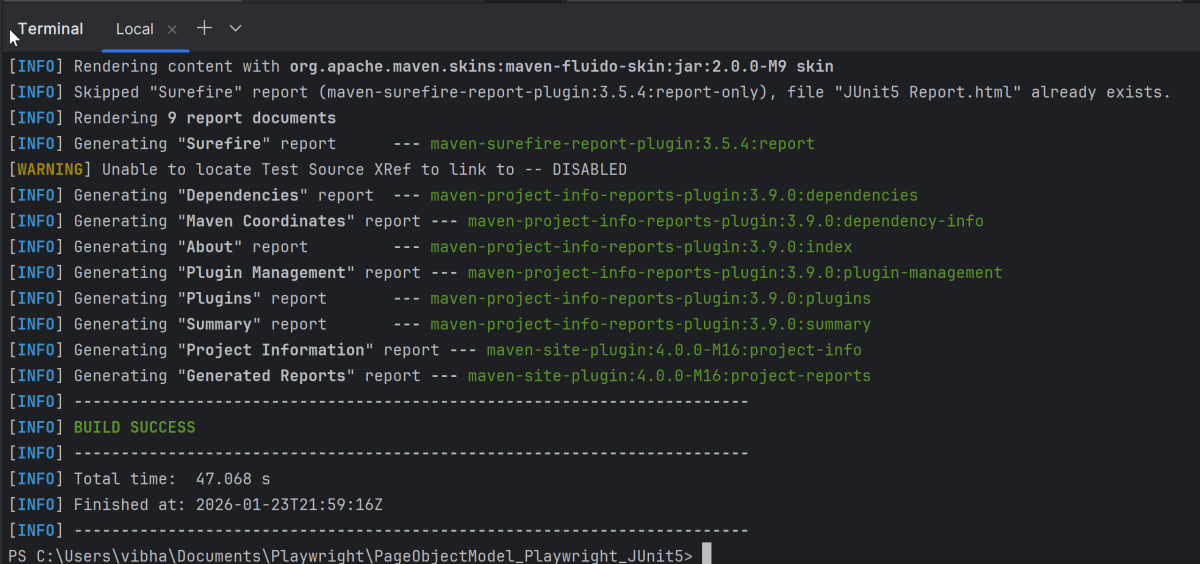
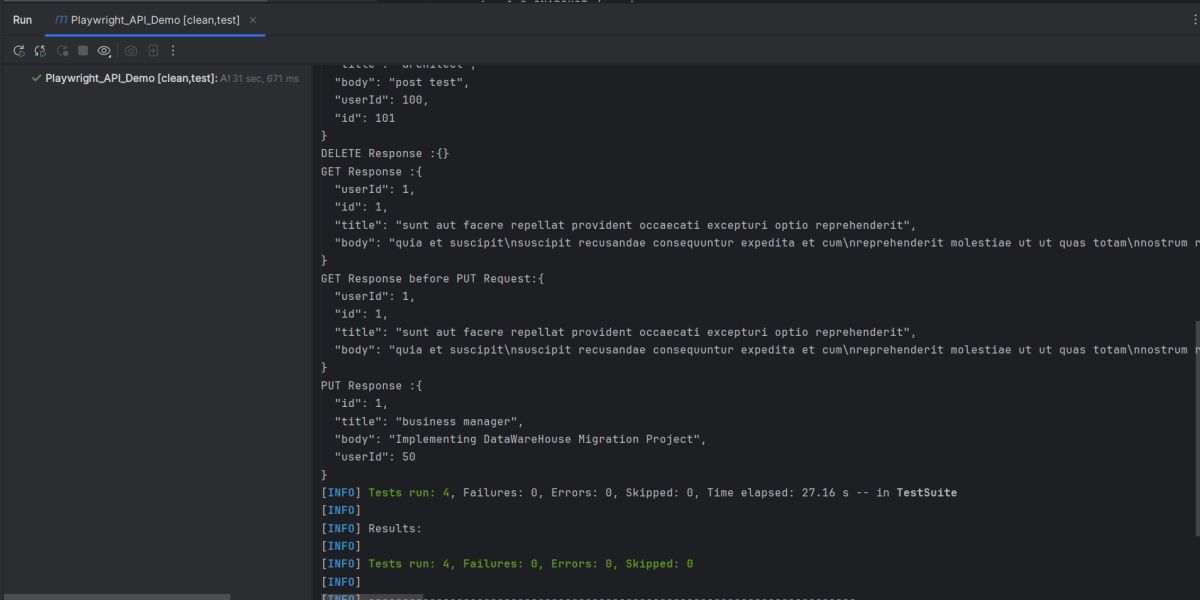
8. Run the tests using the command line
Use the below command to run the tests using the command line.
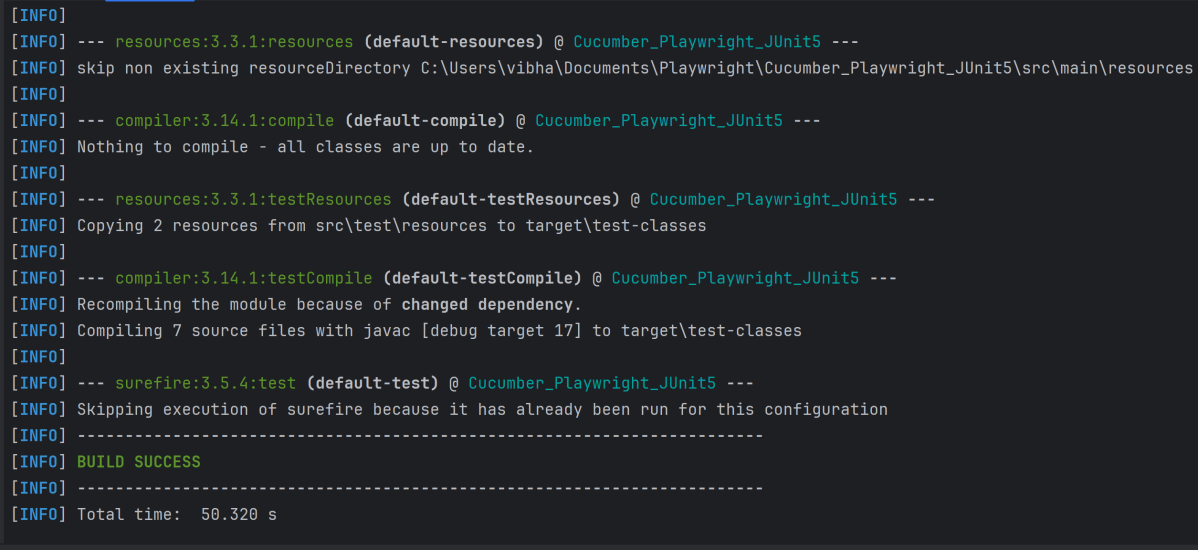
mvn clean test
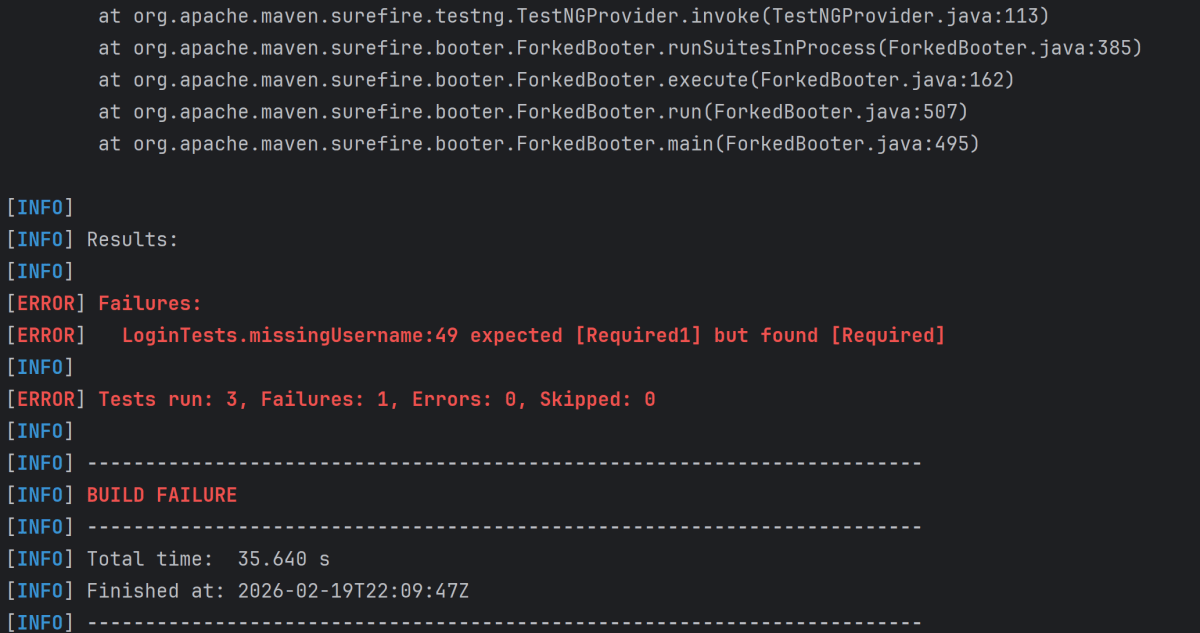
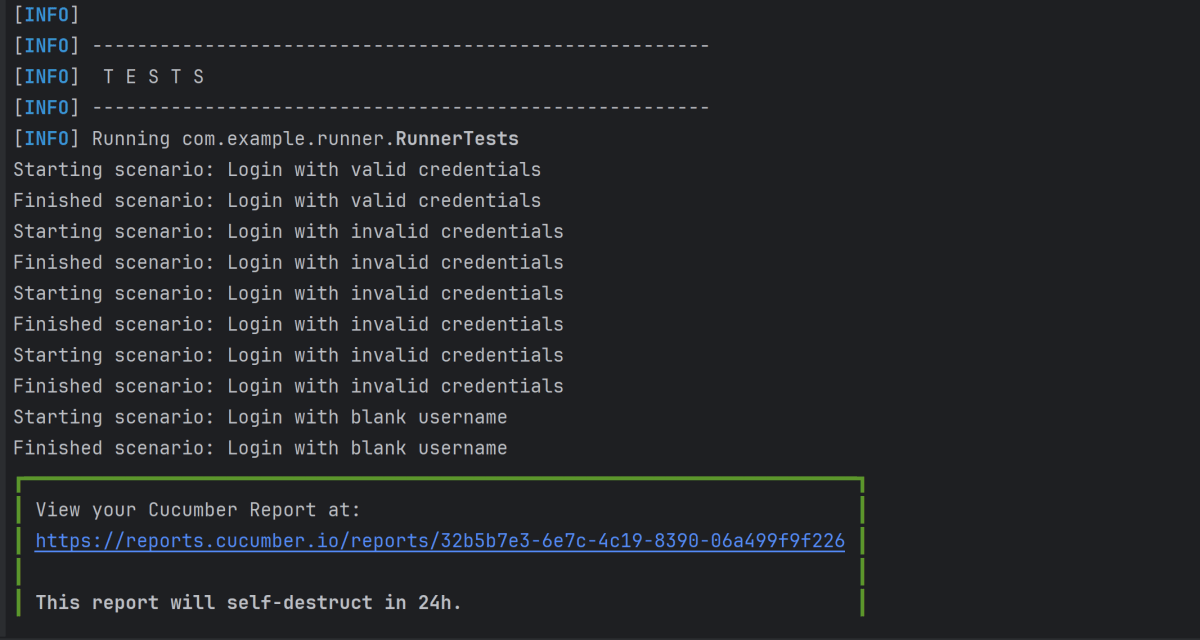
The output of the above program is
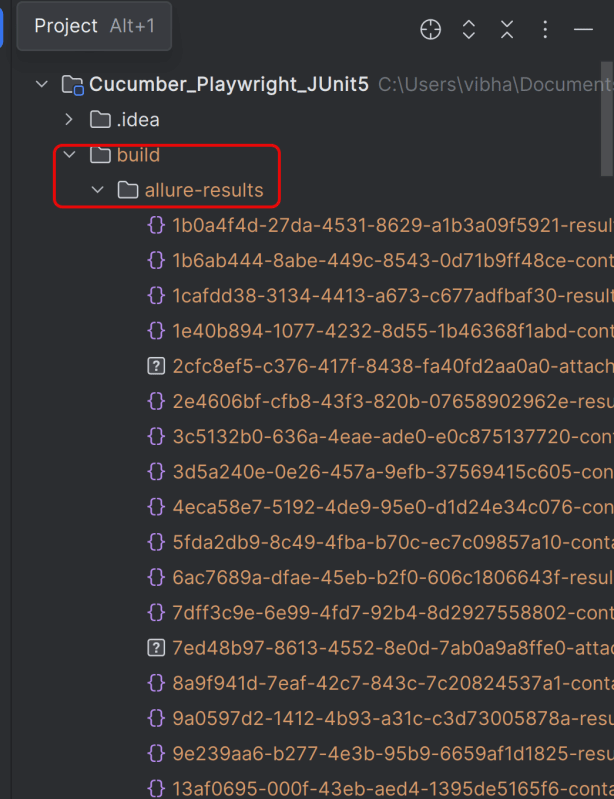
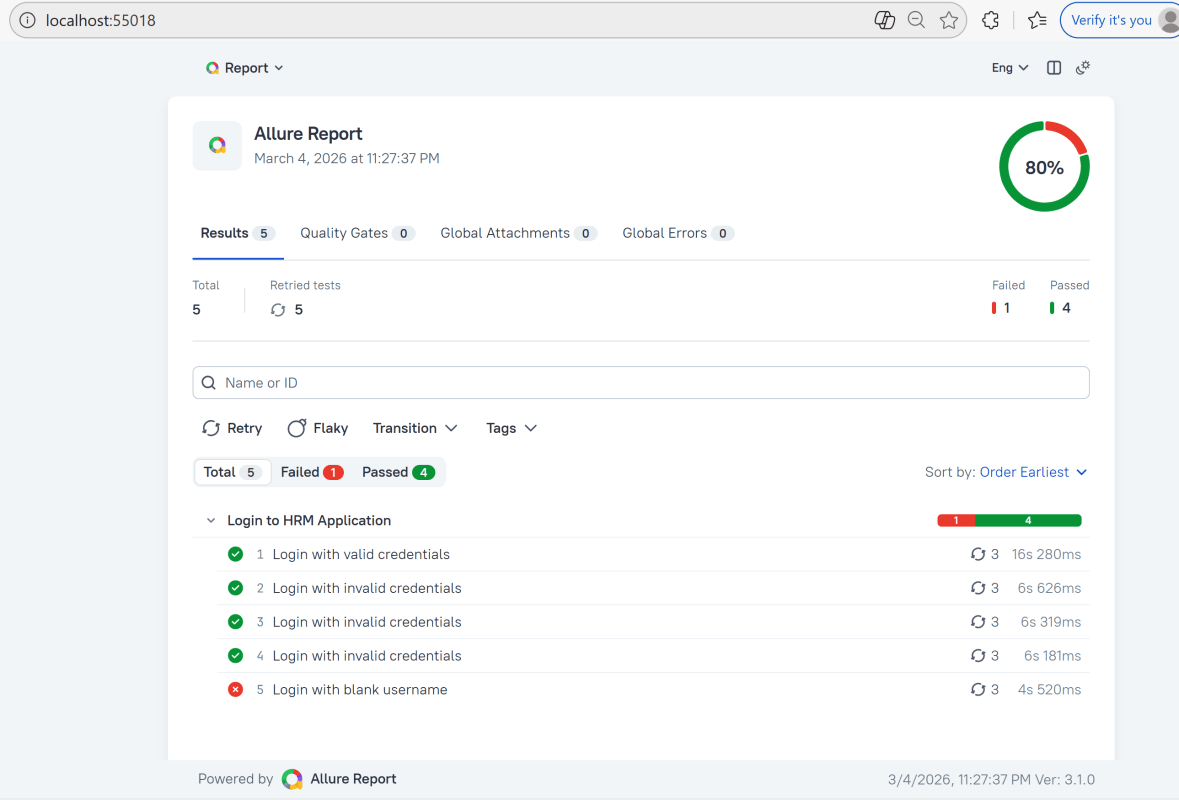
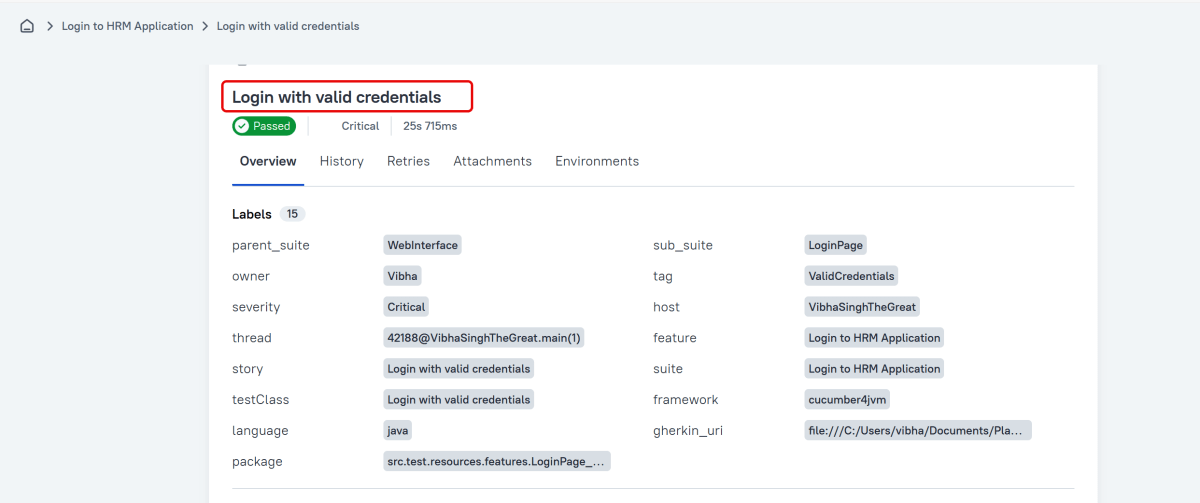
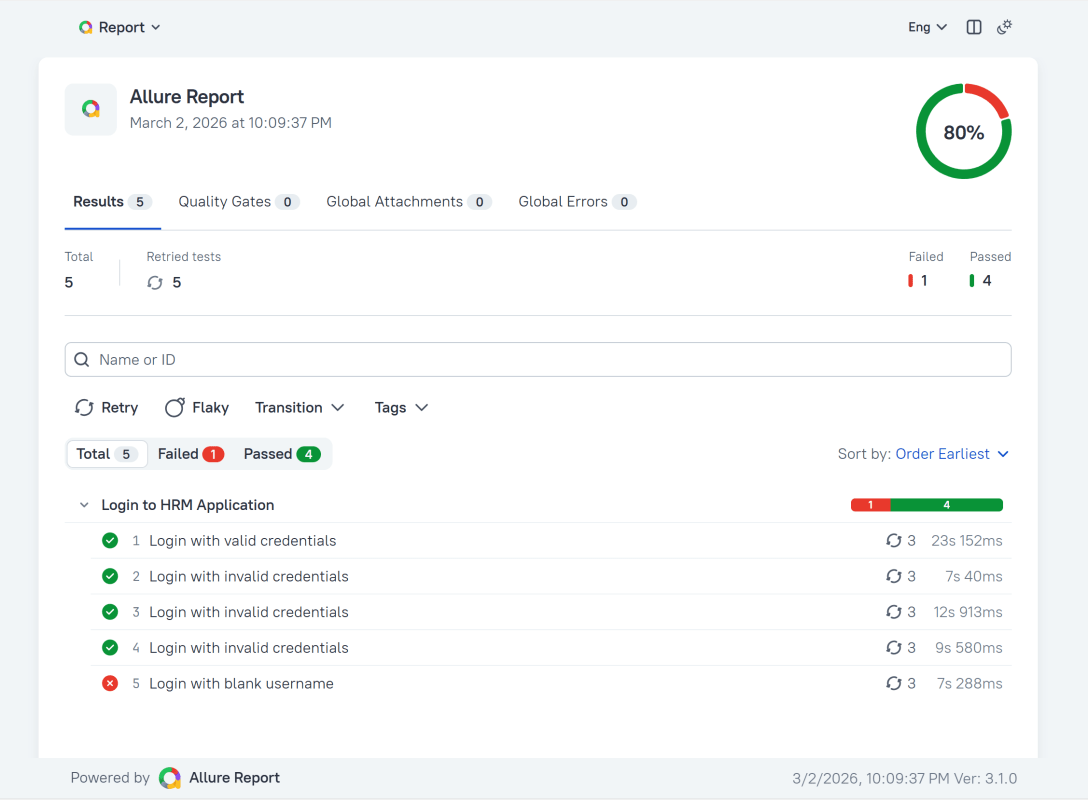
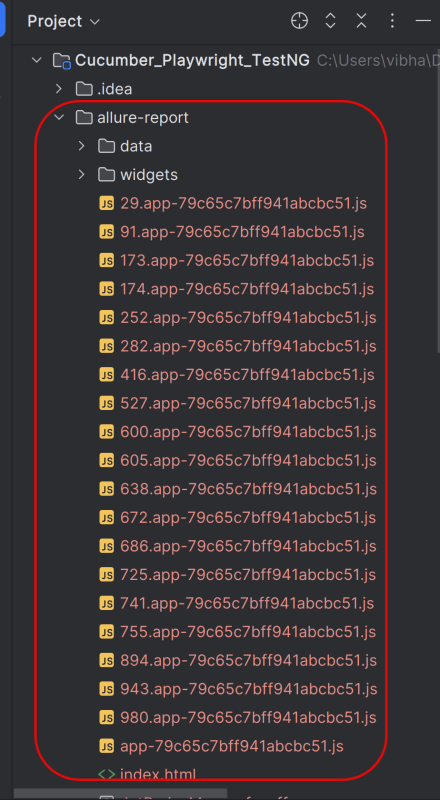
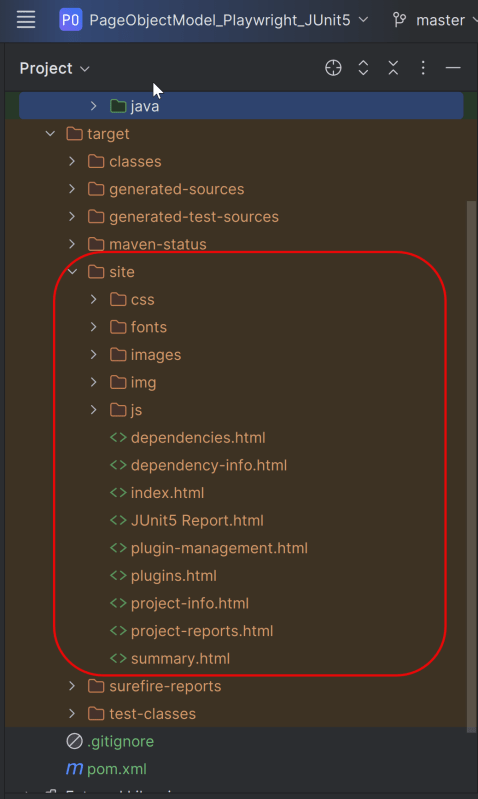
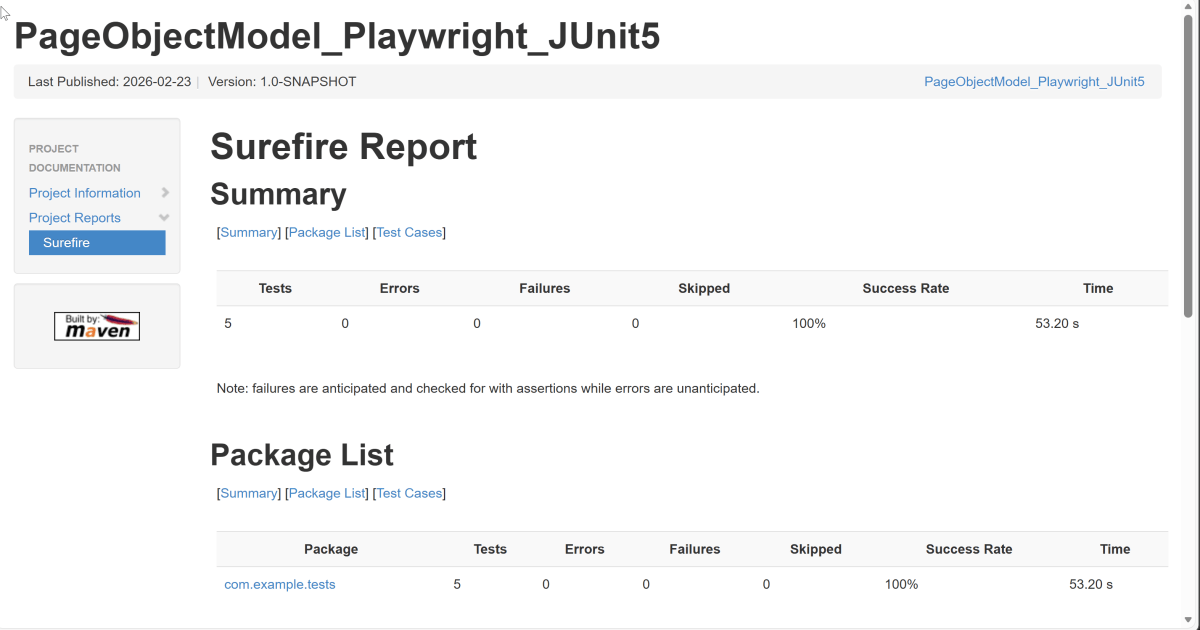
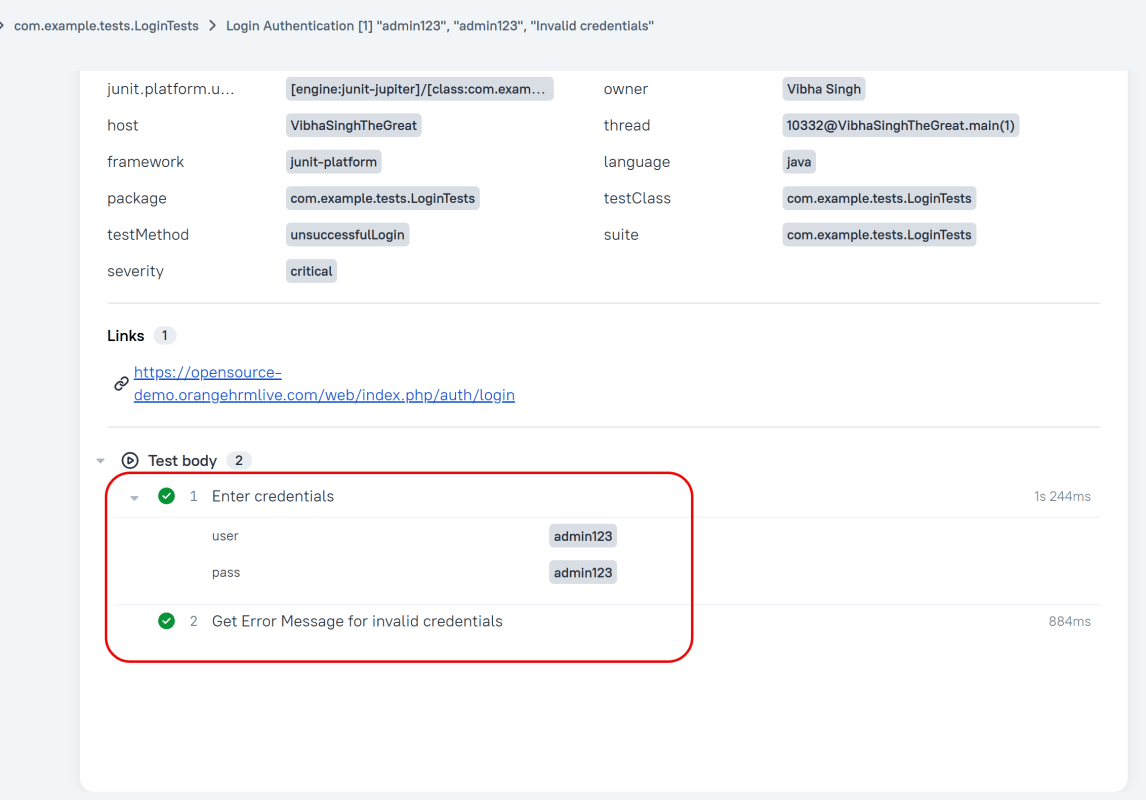
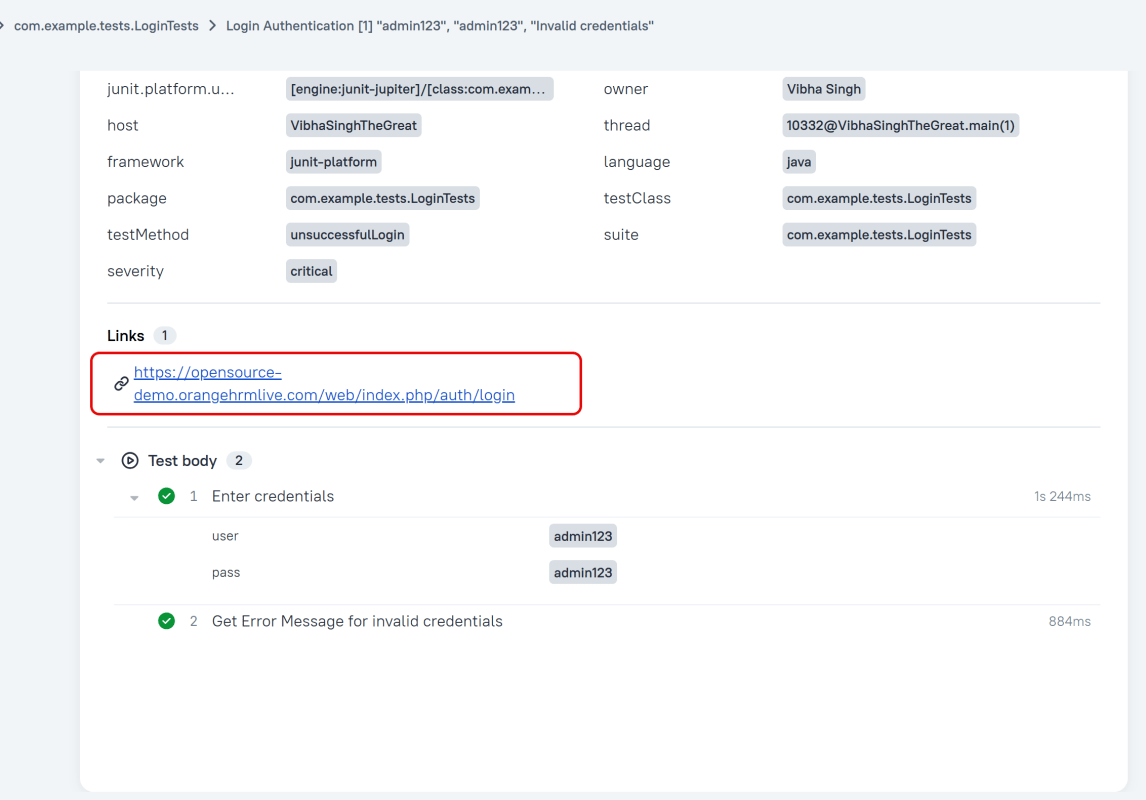
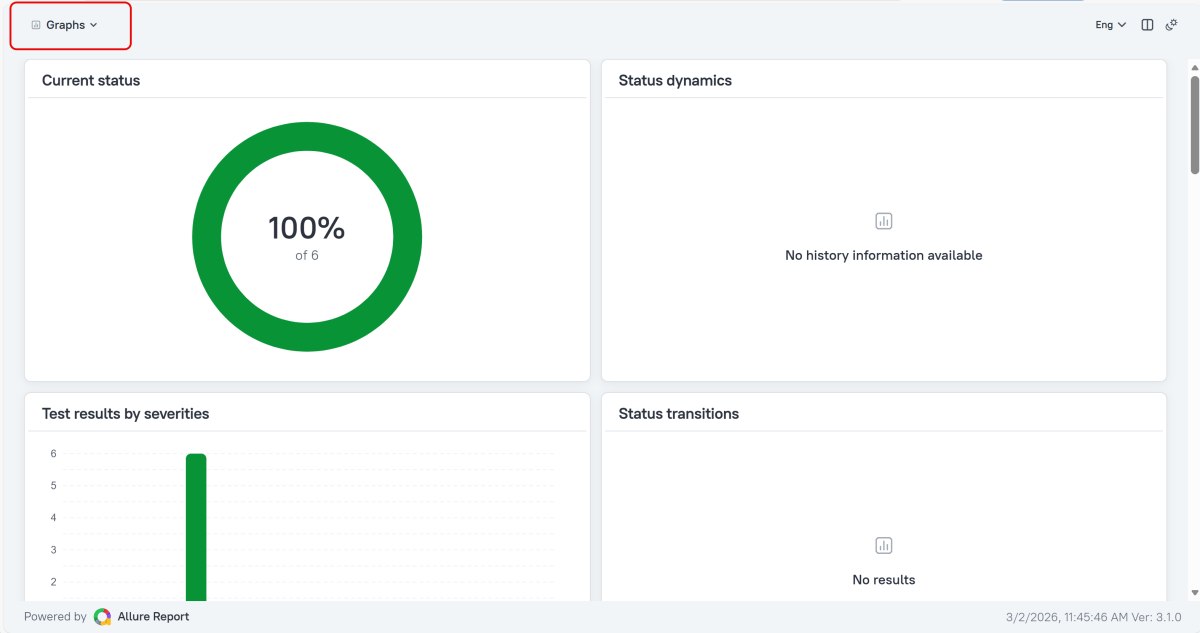
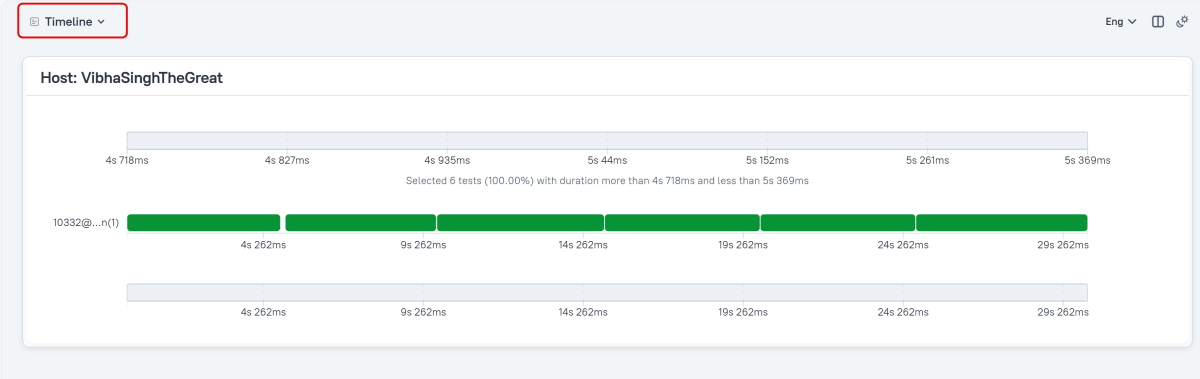
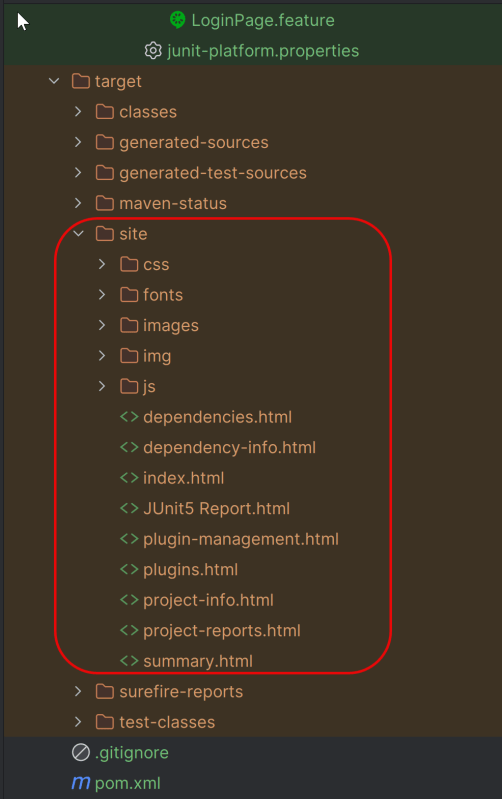
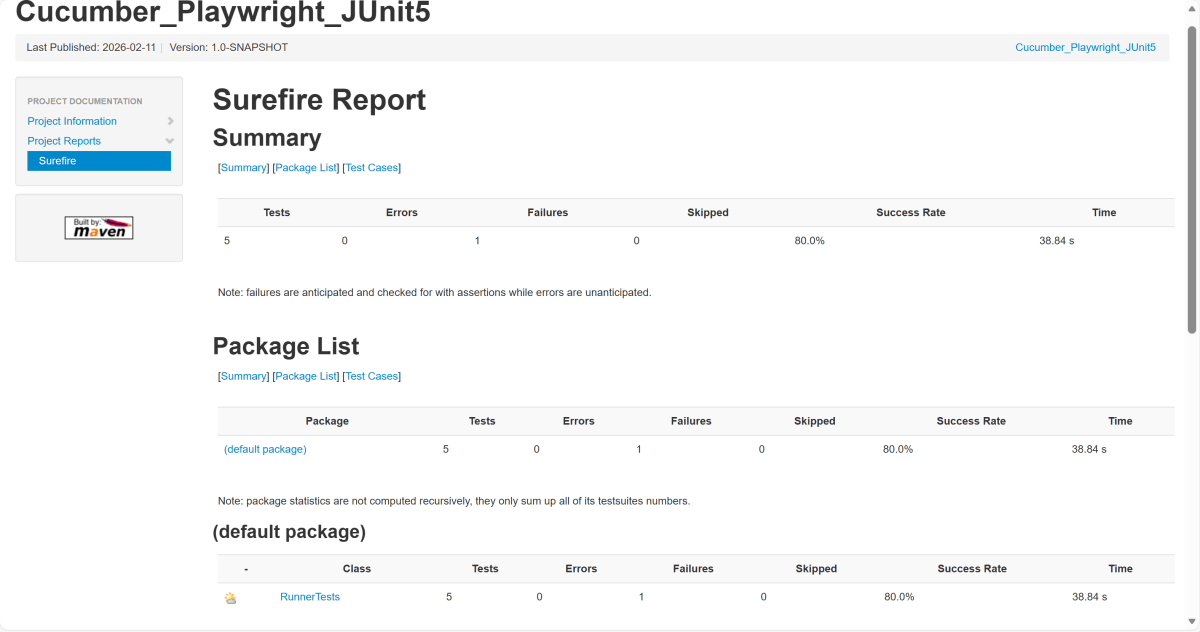
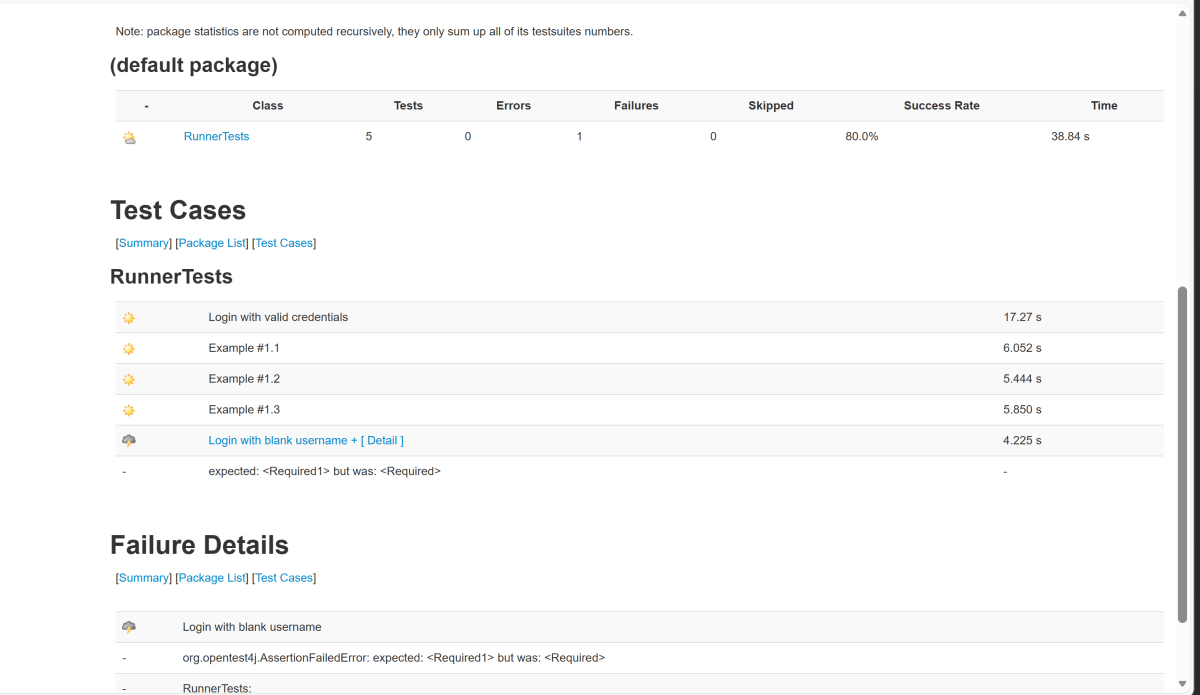
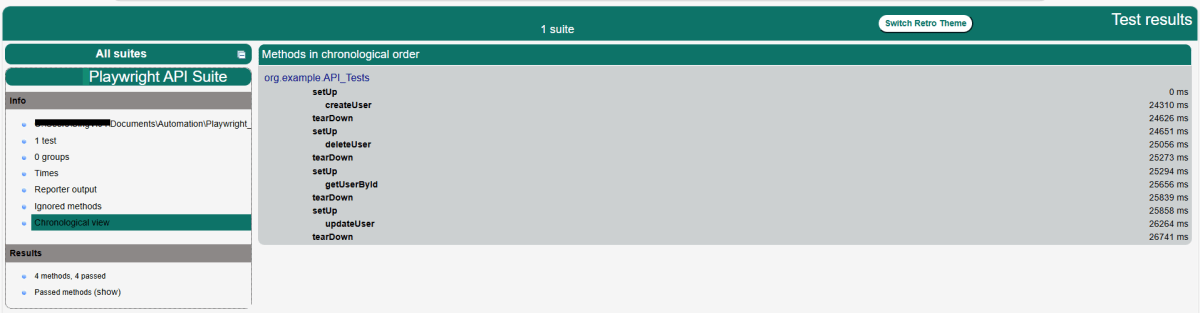
9. TestNG Report Generation
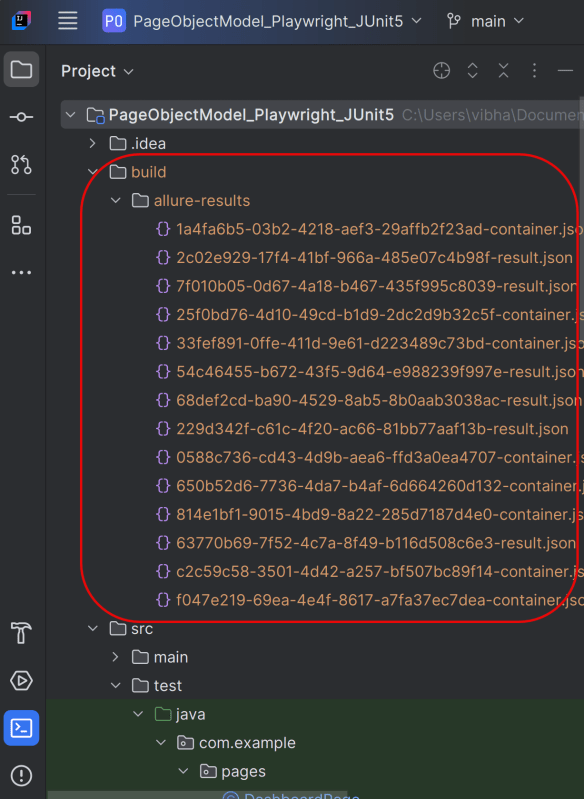
TestNG creates a target directory that contains index.html report.
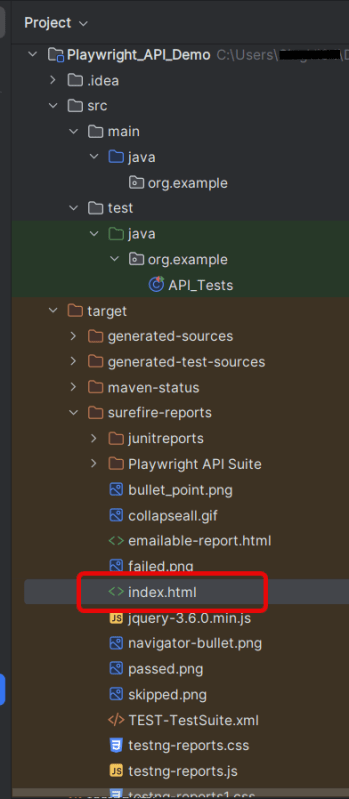
Right-click on the index.html and open it in the browser.
Summary:
- Playwright: Utilized for its ability to handle HTTP requests and execute browser interactions. This code leverages Playwright for making API calls rather than web UI interactions.
- Gson: Simplifies the parsing of JSON responses into Java objects, allowing easy assertion of specific fields.
- TestNG: Provides the testing framework features such as test annotations and assertions used to validate the API responses.