In this tutorial, we will see different type of waits we use in Selenium. We will discuss about “Implicit”, “Explicit” and “Fluent” Wait.
Why do we need wait?
Nowadays web applications are developed using Ajax and Javascript, so when we try to identify a web element on web page, there are the chances that the loading of that element will take some time or network connectivity is very poor result in “NoSuchElementException” exception. These issues can be resolved with the help of wait in Selenium.
Types of Wait
Implicit Wait
Selenium 4
Selenium has a built-in way to automatically wait for elements called an implicit wait. An implicit wait value can be set either with the timeouts capability in the browser options, or with a driver method.
driver.manage().timeouts().implicitlyWait(Duration.ofSeconds(2));
Below is an example of Implicit Wait.
import org.openqa.selenium.By;
import org.openqa.selenium.WebDriver;
import org.openqa.selenium.WebElement;
import org.openqa.selenium.chrome.ChromeDriver;
import java.time.Duration;
public class implicitDemo {
public static void main(String args[]) {
WebDriver driver = new ChromeDriver();
driver.manage().window().maximize();
driver.manage().timeouts().implicitlyWait(Duration.ofSeconds(5));
driver.get("https://www.selenium.dev/selenium/web/dynamic.html");
driver.findElement(By.id("adder")).click();
WebElement added = driver.findElement(By.id("box0"));
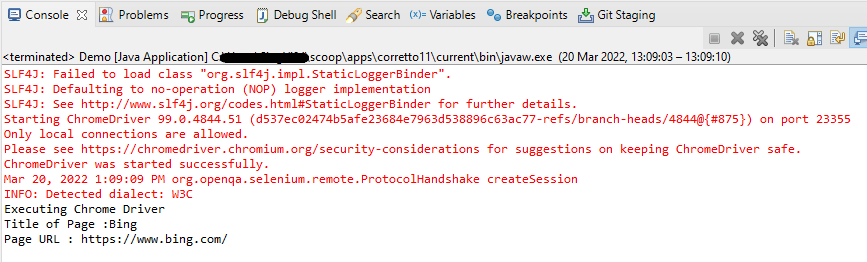
System.out.println("Color :" + added.getDomAttribute("class"));
driver.quit();
}
}
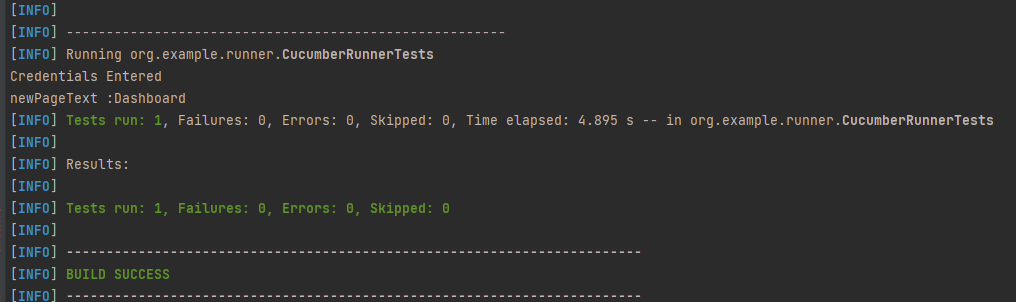
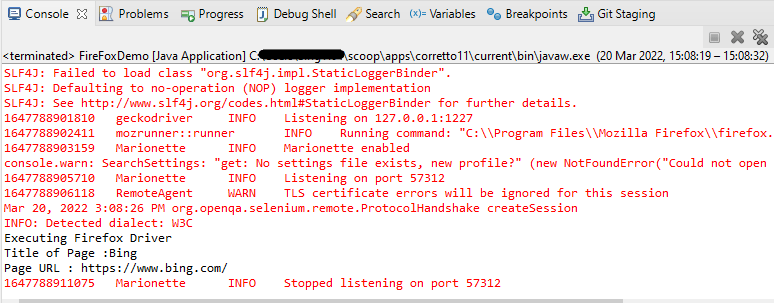
The output of the above program is

The implicit wait will tell to the web driver to wait for certain amount of time before it throws a “NoSuchElementException“. The default setting is 0. Once we set the time, web driver will wait for that time before throwing an exception.
Implicit waits are used to provide a default waiting time (say 30 seconds) between each consecutive test step/command across the entire test script. We need to import java.util.concurrent.TimeUnit to use ImplicitWait.
Selenium 3
driver.manage().timeouts().implicitlyWait(TimeOut, TimeUnit.SECONDS);
Implicit wait will accept 2 parameters, the first parameter will accept the time as an integer value and the second parameter will accept the time measurement in terms of SECONDS, MINUTES, MILISECOND, MICROSECONDS, NANOSECONDS, DAYS, HOURS, etc.
Let me show how to use implicit wait in our program
import java.util.concurrent.TimeUnit;
import org.openqa.selenium.By;
import org.openqa.selenium.WebDriver;
import org.openqa.selenium.firefox.FirefoxDriver;

public class ImplicitWait_Example {
      public static void main(String[] args) {

     System.setProperty("webdriver.gecko.driver","C:\\Users\\vibha\\Downloads\\geckodriver.exe");
      WebDriver driver = new FirefoxDriver();

      //Implicit Wait
      driver.manage().timeouts().implicitlyWait(30, TimeUnit.SECONDS);
      driver.get("https://www.facebook.com");
      driver.findElement(By.name("email")).sendKeys("vibhasingh.verma");
          }
}
In the above example, we have waited for 30 sec, before redirecting the web page to the URL explicitly mentioned in the code.
Explicit Wait
An explicit wait is code you define to wait for a certain condition to occur before proceeding further in the code. The worst case of this is Thread.sleep(), which sets the condition to an exact time period to wait. There are convenience methods available to help write code that will only wait as long as required.
WebDriverWait in combination with ExpectedCondition is one way to do this.
The explicit wait will tell the web driver to wait for certain conditions like visibilityOfElementLocated and maximum amount of time before throwing NoSuchElementException exception.
Selenium 4
Wait<WebDriver> wait = new WebDriverWait(driver, Duration.ofSeconds(2));
 wait.until(d -> revealed.isDisplayed());
Below is an example of Explicit Wait.
package org.example;

import org.openqa.selenium.By;
import org.openqa.selenium.WebDriver;
import org.openqa.selenium.WebElement;
import org.openqa.selenium.chrome.ChromeDriver;
import org.openqa.selenium.support.ui.Wait;
import org.openqa.selenium.support.ui.WebDriverWait;

import java.time.Duration;

public class explicitDemo {

    public static void main(String args[])  {

        WebDriver driver = new ChromeDriver();
        driver.manage().window().maximize();
        driver.manage().timeouts().implicitlyWait(Duration.ofSeconds(5));
        driver.get("https://www.selenium.dev/selenium/web/dynamic.html");
        driver.findElement(By.id("reveal")).click();

        WebElement revealTextBox = driver.findElement(By.id("revealed"));
        Wait<WebDriver> wait = new WebDriverWait(driver, Duration.ofSeconds(3));
        wait.until(d -> revealTextBox.isDisplayed());

        revealTextBox.sendKeys("Happy");
        System.out.println("Input Text :" + revealTextBox.getDomProperty("value"));

        driver.quit();
    }
}
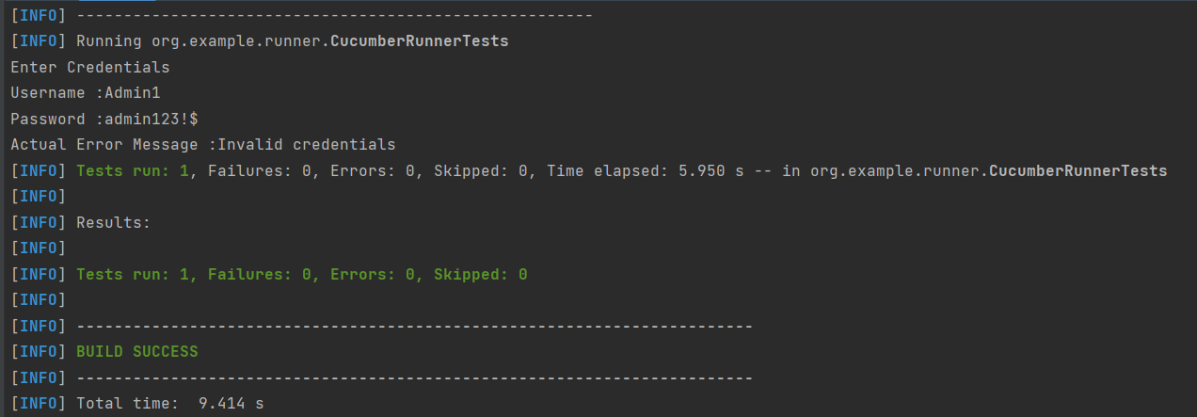
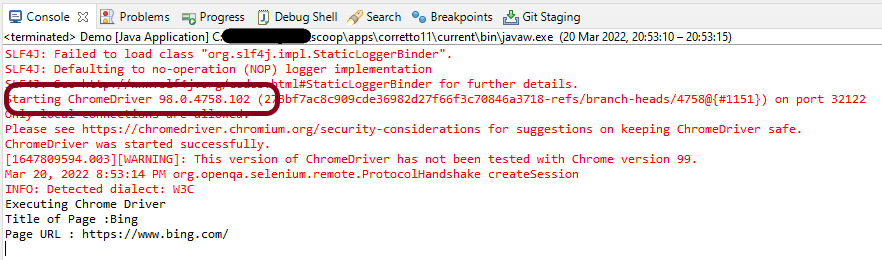
The output of the above program is

Selenium 3
WebDriverWait wait = new WebDriverWait(WebDriverRefrence,TimeOut);
wait.until(ExpectedConditions.visibilityOfElementLocated(By.id("Stats1_totalCount")));
Let me explain this with an example
import java.util.concurrent.TimeUnit;

import org.openqa.selenium.By;
import org.openqa.selenium.WebDriver;
import org.openqa.selenium.chrome.ChromeDriver;
import org.openqa.selenium.support.ui.ExpectedConditions;
import org.openqa.selenium.support.ui.WebDriverWait;

public class ExplicitWaitExample {

            public static void main(String[] args) {
                        System.setProperty("webdriver.chrome.driver",
                                           "C:\\Users\\Vibha\\Desktop\\SeleniumKT\\chromedriver.exe");
                        // Create a new instance of the Firefox driver
                        WebDriver driver = new ChromeDriver();
                        driver.manage().window().maximize();
                        driver.manage().timeouts().implicitlyWait(30, TimeUnit.SECONDS);
                        driver.get("https://configureselenium.blogspot.com/");

                        // Click on READ MORE link. New Page is opened
                        driver.findElement(By.linkText("READ MORE")).click();

                        // Explicit Wait
                        WebDriverWait wait = new WebDriverWait(driver, 60);
                    wait.until(ExpectedConditions.visibilityOfElementLocated(By.id("Stats1_totalCount")));
                        String Count = driver.findElement(By.id("Stats1_totalCount")).getText();
                        System.out.println("Count is :" + Count);
                  driver.close();
            }
}
In the above example, we have used Explicit Wait. We are waiting for the web element – Stats1_totalCount for 60 seconds before performing the next operation.
The following are the Expected Conditions that can used in Explicit Wait
- alertIsPresent()
- elementSelectionStateToBe()
- elementToBeClickable()
- elementToBeSelected()
- frameToBeAvaliableAndSwitchToIt()
- invisibilityOfTheElementLocated()
- invisibilityOfElementWithText()
- presenceOfAllElementsLocatedBy()
- presenceOfElementLocated()
- textToBePresentInElement()
- textToBePresentInElementLocated()
- textToBePresentInElementValue()
- titleIs()
- titleContains()
- visibilityOf()
- visibilityOfAllElements()
- visibilityOfAllElementsLocatedBy()
- visibilityOfElementLocated()
Note:- Do not mix implicit and explicit waits! Doing so can cause unpredictable wait times. For example, setting an implicit wait of 20 seconds and an explicit wait of 35 seconds could cause a timeout to occur after 25 seconds.
Fluent Wait
The Fluent wait will tell the web driver to wait for certain conditions like visibilityOfElementLocated as well as the frequency with which we want to check before throwing NoSuchElementException exception.
To know more about Fluent Wait, please click here