In the below tutorial, we will compare the JSON File structure and data with the JSON Response.
To compare a JSON file with a JSON response using Rest Assured in Java, follow these steps:
1. Read JSON from a file
2. Make a REST API call
3. Read JSON Content
4. Compare the JSON content
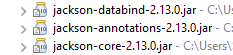
Add the below dependencies:-
<dependencies>
    <dependency>
      <groupId>junit</groupId>
      <artifactId>junit</artifactId>
      <version>4.13.2</version>
      <scope>test</scope>
    </dependency>

    <dependency>
      <groupId>io.rest-assured</groupId>
      <artifactId>rest-assured</artifactId>
      <version>5.4.0</version>
      <scope>test</scope>
    </dependency>

    <dependency>
    <groupId>com.fasterxml.jackson.core</groupId>
    <artifactId>jackson-databind</artifactId>
    <version>2.11.3</version>
    </dependency>
</dependencies>
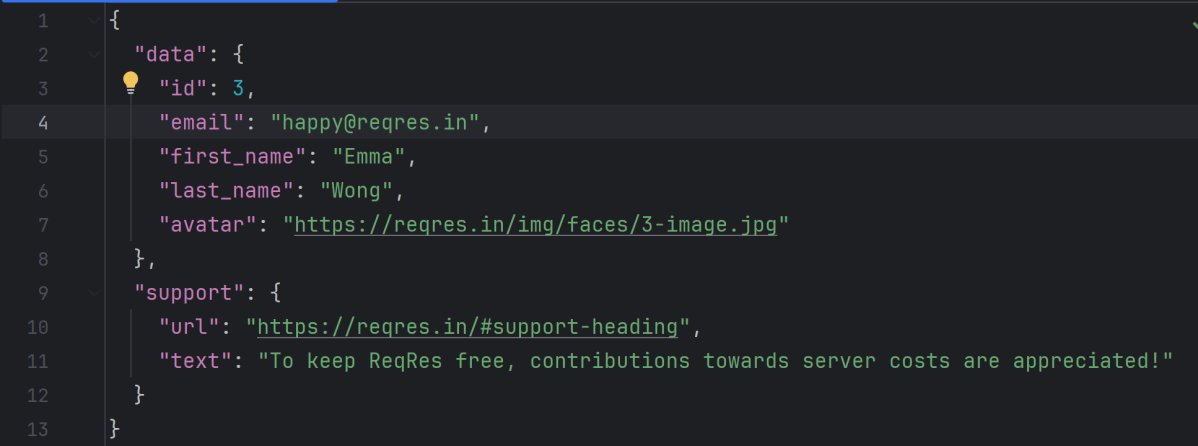
JSON File
The file is placed in “src/test/resources/expectedUser.json”.

Sample JSON File is shown below:

Let us create a program to compare the JSON File with JSON response.
package com.example;

import io.restassured.RestAssured;
import io.restassured.response.Response;
import com.fasterxml.jackson.databind.JsonNode;
import com.fasterxml.jackson.databind.ObjectMapper;
import org.junit.Assert;
import org.junit.Test;

import java.io.File;
import java.io.IOException;

public class JsonFileComparison {

    @Test
    public void compareResponse() throws IOException {

        // Path to the JSON file
        File jsonFile = new File("src/test/resources/expectedUser.json");

        // Read JSON content from file
        ObjectMapper objectMapper = new ObjectMapper();
        JsonNode jsonFromFile = objectMapper.readTree(jsonFile);

        // Make an API call
        Response response = RestAssured.given().when().get("https://reqres.in/api/users/3").then().extract().response();
        String expectedResponse = response.getBody().asString();
        System.out.println("Response is : " + expectedResponse);

        // Verify the status code
        response.then().statusCode(200);

        // Read JSON content from response
        JsonNode jsonFromResponse = objectMapper.readTree(expectedResponse);

        Assert.assertEquals(jsonFromFile, jsonFromResponse);

        // Compare JSON content
        if (jsonFromFile.equals(jsonFromResponse)) {
            System.out.println("JSON from file matches JSON from response");
        } else {
            System.out.println("JSON content does not match");
        }
    }
}
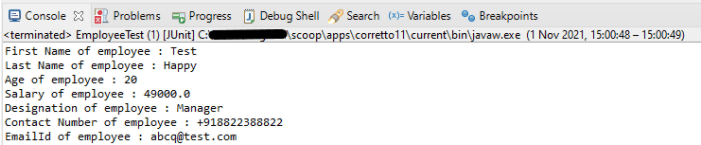
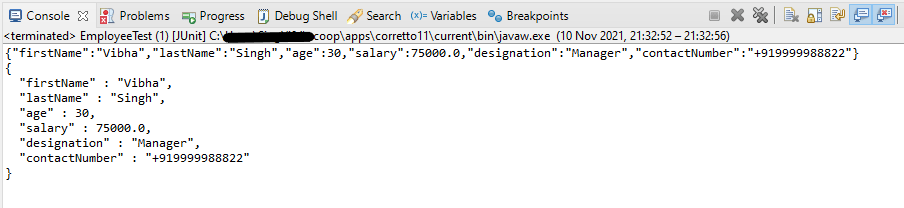
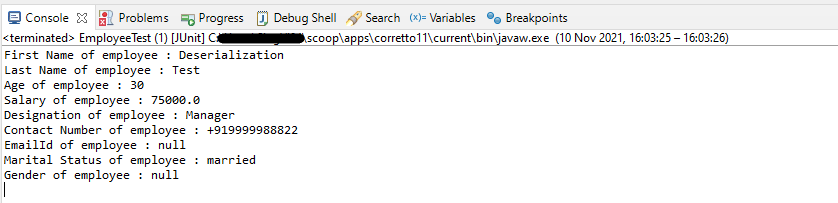
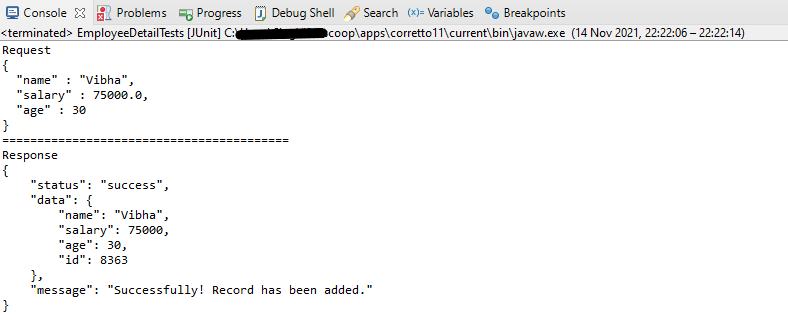
The output of the above program is
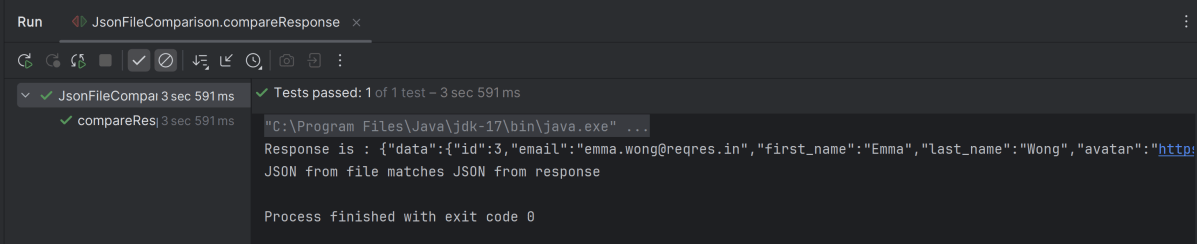
The ObjectMapper class from the Jackson library is used to parse the JSON content, and the `equals` method is used to compare the two JsonNode objects.
Read JSON from a file:
Using the Jackson library’s ObjectMapper, read the JSON file’s content into a JsonNode object. This object represents the JSON structure.
ObjectMapper objectMapper = new ObjectMapper();
JsonNode jsonFromFile = objectMapper.readTree(jsonFile);
Making a REST API Call
Use Rest Assured to make a GET request to the specified API endpoint. Capture the response in a Response object.
Response response = RestAssured.given().when().get("https://reqres.in/api/users/3").then().extract().response();
String expectedResponse = response.getBody().asString();
System.out.println("Response is : " + expectedResponse);

// Verify the status code
response.then().statusCode(200);
Reading JSON Content
Convert the JSON content from the response into another JsonNode object using the ObjectMapper.
JsonNode jsonFromResponse = objectMapper.readTree(expectedResponse);
Compare the JSON content
Convert the JSON content from the response into another JsonNode object using the ObjectMapper.
Assert.assertEquals(jsonFromFile, jsonFromResponse);
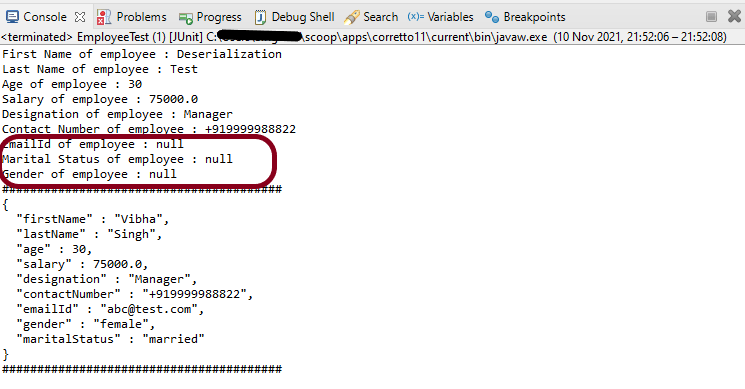
JSON Response data mismatches
In the below example, the data of the response does not matches.
The output of the above program is

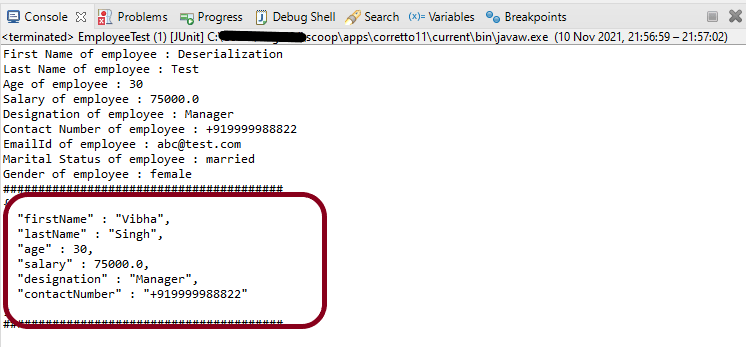
JSON Response structure mismatches
The response returns email whereas JSON File has email_address as shown in the below image:

The output of the above program is

We are done! Congratulations on making it through this tutorial and hope you found it useful! Happy Learning!!