This article shows how to write a JSON using JSON.simple.
This project was formerly JSON.simple 1.x from a Google code project by Yidong, now maintained by Clifton Labs, read this JSON.simple history.
The JSON-simple is a light weight library which is used to process JSON objects. Using this you can read or, write the contents of a JSON document using a Java program.
JSON.simple is available at the Central Maven Repository. Maven users add this to the POM.
<!-- https://mvnrepository.com/artifact/com.github.cliftonlabs/json-simple -->
<dependency>
    <groupId>com.github.cliftonlabs</groupId>
    <artifactId>json-simple</artifactId>
    <version>4.0.1</version>
</dependency>
If the project is Gradle, add the below dependency in build.gradle.
// https://mvnrepository.com/artifact/com.github.cliftonlabs/json-simple
implementation("com.github.cliftonlabs:json-simple:4.0.1")
Write Simple JSON to File using JSON.simple
Below is the sample simple JSON that will be generated. The file will be saved in resources/Payloads as Employee.json.
{
    "Working Days":[
                             "Monday",
                             "Tuesday",
                             "Wednesday"
                             ],
    "Salary":4500.0,
    "Name":"Vibha"
}
The entire program looks like as shown below:
import com.github.cliftonlabs.json_simple.JsonArray;
import com.github.cliftonlabs.json_simple.JsonObject;
import com.github.cliftonlabs.json_simple.Jsoner;

import java.io.FileWriter;
import java.io.IOException;

public class WriteSimpleJson {
    public static void main(String[] args) {

        // JSON String
        JsonObject jsonObject = new JsonObject();
        jsonObject.put("Name", "Vibha");
        jsonObject.put("Salary", 4500.00);

        // JSON Array
        JsonArray list = new JsonArray();
        list.add("Monday");
        list.add("Tuesday");
        list.add("Wednesday");

        jsonObject.put("Working Days", list);
        System.out.println(Jsoner.serialize(jsonObject));

        try (FileWriter fileWriter = new FileWriter("src/test/resources/Payloads/Employee.json")) {
            Jsoner.serialize(jsonObject, fileWriter);

        } catch (IOException e) {
            throw new RuntimeException(e);
        }
    }
}
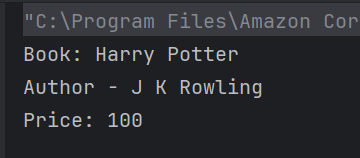
The output of the above program is

Explanation
1. Creating a JSON Object
A `JsonObject` named `jsonObject` is created to hold data. Using `put()`, the code adds a “Name” field with the value “Vibha” and a “Salary” field with the value `4500.00` to the JSON object.
JsonObject jsonObject = new JsonObject();
jsonObject.put("Name", "Vibha");
jsonObject.put("Salary", 4500.00);
2. Creating a JSON Array
A `JsonArray` named `list` is created to contain multiple values. The days “Monday”, “Tuesday”, and “Wednesday” are added to the `list`. The JSON array list is added to the jsonObject under the key “Working Days”.
JsonArray list = new JsonArray();
list.add("Monday");
list.add("Tuesday");
list.add("Wednesday");
jsonObject.put("Working Days", list);
3. Writing JSON to a File
A FileWriter is used to open the file src/test/resources/Payloads/Employee.json for writing. The Jsoner.serialize() method serializes the jsonObject and writes it to the file, capturing the constructed JSON structure.
 try (FileWriter fileWriter = new FileWriter("src/test/resources/Payloads/Employee.json")) {
            Jsoner.serialize(jsonObject, fileWriter);

  }
Write Complex JSON to File using JSON.simple
Below is the complex JSON which will be generated.
{
  "Working Days": ["Monday","Tuesday","Wednesday"],
  "Salary":{
    "Bonus":{
      "Quaterly":125.0,
      "Monthly":45.0,
      "Yearly":500.0
    },
    "Fixed":4000.0
  },"Name": {
  "Forename":"Vibha",
  "Surname":"Singh"
 }
}
The entire program looks like as shown below:
import com.github.cliftonlabs.json_simple.JsonArray;
import com.github.cliftonlabs.json_simple.JsonObject;
import com.github.cliftonlabs.json_simple.Jsoner;

import java.io.FileWriter;
import java.io.IOException;

public class WriteComplexJson {

    public static void main(String[] args) {

        JsonObject jsonObject = new JsonObject();

        //Name
        JsonObject name = new JsonObject();
        name.put("Forename", "Vibha");
        name.put("Surname", "Singh");
        jsonObject.put("Name", name);

        //Salary
        JsonObject salary = new JsonObject();
        salary.put("Fixed", 4000.00);

        //Bonus
        JsonObject bonus = new JsonObject();
        bonus.put("Monthly", 45.00);
        bonus.put("Quaterly", 125.00);
        bonus.put("Yearly", 500.00);

        salary.put("Bonus",  bonus);
        jsonObject.put("Salary", salary);

        // JSON Array
        JsonArray list = new JsonArray();
        list.add("Monday");
        list.add("Tuesday");
        list.add("Wednesday");
        jsonObject.put("Working Days", list);

        System.out.println(Jsoner.serialize(jsonObject));

        try (FileWriter fileWriter = new FileWriter("src/test/resources/Payloads/EmployeeDetails.json")) {
            Jsoner.serialize(jsonObject, fileWriter);
        } catch (IOException e) {
            throw new RuntimeException(e);
        }
    }
}
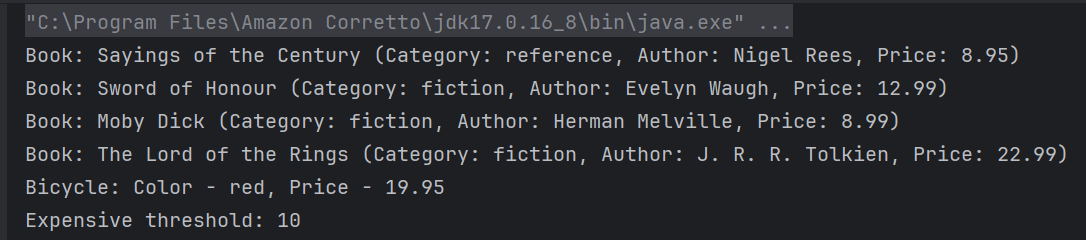
The output of the above program is

I have saved this file in resources/Payloads as EmployeeDetails.json.

Explanation
1.Creating JSON Objects
Serves as the root JSON object to encapsulate all the other JSON objects and arrays
JsonObject jsonObject = new JsonObject();
2. Name Object
A JsonObject named name is created. It contains two properties: “Forename” with the value “Vibha” and “Surname” with the value “Singh”. This name object is then added to the root jsonObject under the key “Name”.
JsonObject name = new JsonObject();
name.put("Forename", "Vibha");
name.put("Surname", "Singh");
jsonObject.put("Name", name);
3. Salary Object
A `JsonObject` named `salary` is created with a property “Fixed” representing a fixed salary amount of 4000.00.
//Salary
JsonObject salary = new JsonObject();
salary.put("Fixed", 4000.00);
4. Bonus Object
A `JsonObject` named `bonus` is created. It contains properties for different types of bonuses: “Monthly” (45.00), “Quarterly” (125.00), and “Yearly” (500.00).
The `bonus` object is then added as a property of the `salary` object under the key “Bonus”.
The complete `salary` object, now including the bonus details, is added to the root `jsonObject` under the key “Salary”.
//Bonus
JsonObject bonus = new JsonObject();
bonus.put("Monthly", 45.00);
bonus.put("Quaterly", 125.00);
bonus.put("Yearly", 500.00);

salary.put("Bonus",  bonus);
jsonObject.put("Salary", salary);
5. Creating a JSON Array
A `JsonArray` named `list` is created to represent the working days. The days “Monday”, “Tuesday”, and “Wednesday” are added to this array. This `list` is added to the root `jsonObject` under the key “Working Days”.
// JSON Array
JsonArray list = new JsonArray();
list.add("Monday");
list.add("Tuesday");
list.add("Wednesday");

jsonObject.put("Working Days", list);
6. Serialization of JSON
The entire `jsonObject` is serialized using `Jsoner.serialize()` and printed to the console, which converts the Java JSON structure into a JSON string.
jsonObject.put("Working Days", list);
System.out.println(Jsoner.serialize(jsonObject));
7. Writing the JSON to a File
The `try-with-resources` statement is used to ensure the `FileWriter` is closed automatically. A `FileWriter` writes the serialized JSON object to a file at `src/test/resources/Payloads/EmployeeDetails.json`.
 try (FileWriter fileWriter = new FileWriter("src/test/resources/Payloads/Employee.json")) {
            Jsoner.serialize(jsonObject, fileWriter); }
We are done! Congratulations on making it through this tutorial and hope you found it useful! Happy Learning!!