The Cucumber plugin is an Eclipse plugin that allows Eclipse to understand the Gherkin syntax. When we are working with cucumber we will write the feature files that contain Feature, Scenario, Given, When, Then, And, But, Tags, Scenario Outline, and Examples. By default, Eclipse doesn’t understand these keywords, so it doesn’t show any syntax highlighter. Cucumber Eclipse Plugin highlights the keywords present in the Feature File.
When we create a feature file in Eclipse, it looks something like the below without Cucumber Eclipse Plugin installed.
It is easy to install Cucumber Eclipse Plugin, as it comes as a plugin for Eclipse IDE. A prerequisite for installing this plugin is your Internet connection should be up & running during the installation of this plugin and Eclipse IDE should be installed on your computer.
Steps to follow:
Step 1 – Launch the Eclipse IDE and, from the Help menu, click “Install New Software”.

Step 2 – You will see a dialog window, click the “Add” button.

Step 3 – Type the name as you wish, let’s take “Cucumber” and type “https://cucumber.github.io/cucumber-eclipse-update-site-snapshot” as the location. Click the OK button.

Step 4 – You come back to the previous window, but this time you must see the Cucumber Eclipse Plugin option in the available software list. Just check the box and press the “Next” button.

Once the installation starts, it can be seen on the screen as shown in the below image.

Step 5 – Click on the “Next“ Button.

Step 6 – Click “I accept the terms of the licence agreement” and then click the “Finish” button.

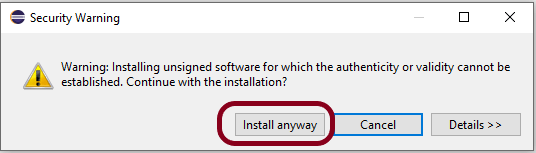
Step 7 – You may or may not encounter a Security warning, if in case you do just click the “OK” button.
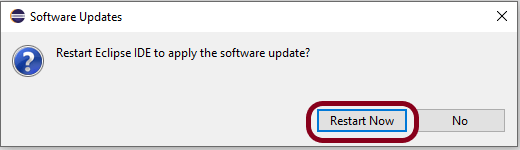
Step 8 -You are all done now, just click the “Restart Now” button.
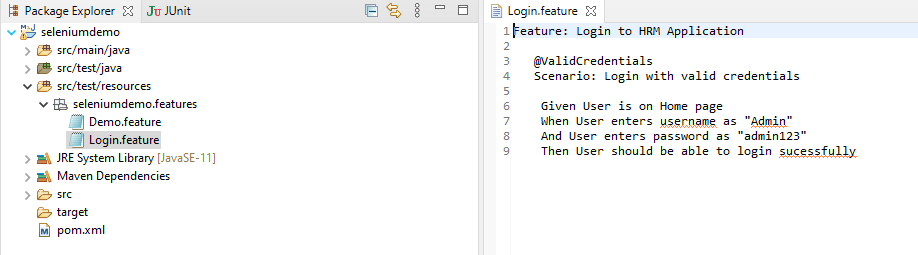
After restarting Eclipse, you can see the feature file is highlighted based on the keywords.
This means now Eclipse is able to understand the language we have written in the feature file as Gherkin language.
All the steps in the below scenario are highlighted in yellow colour, which indicates we don’t have any corresponding step definition for each step.

Now, in the below example, I have created the step definition for the Given statement. So, now, it is not highlighted in yellow colour.

Below is the step definition for the Given statement.
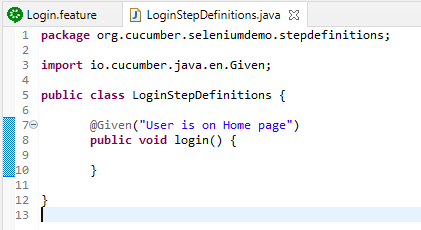
If you press the Ctrl button and place the cursor on a Given Statement, it will take you to the corresponding step definition of that step. This is a very helpful feature. When we have multiple feature files with multiple steps, it helps us find the exact location of the step definition.
I hope this tutorial makes your learning a little easy. Thanks. Happy Learning!!

I’m a Newbie. I have started learning Cucumber recently. My feature file was always plain without any formatting. This blogs has solved my problem.
LikeLike
It is lovely to know that you find this tutorial useful
LikeLike
Missing requirement: Cucumber Editor 1.0.0.202107150747 error.. hoq to resolve
LikeLike
Have you already installed Cucumber plugin before installing the Cucumber Eclipse plugin? Can you verify that your Cucumber plugin is installed properly.
LikeLike