What is a Plugin in Jenkins?
Jenkins plugin is a package in a java-archive format that follows a specific structure during development. Every plugin contains all the necessary information, such as files, images, code, and other extras. That’s why we call the plugin “self-contained.” All Jenkins plugins have .hpi file extensions. All these plugins required in Jenkins can be found in the plugin repository and downloaded from here for a specific need.
Why are plugins required?
Every tool in the world tries to match some characteristics. One of the essential features on this list is “extensibility.” Apart from its core functionality, extensibility allows us to improve the tool’s functionality. In this context, Jenkins plugins perform the same function based on the needs of the user.
Jenkins defines a set of interfaces that Jenkins community developers implement and extend with custom code. So, community developers create plugins based on the required functionality, which we can then install in Jenkins to achieve that functionality.
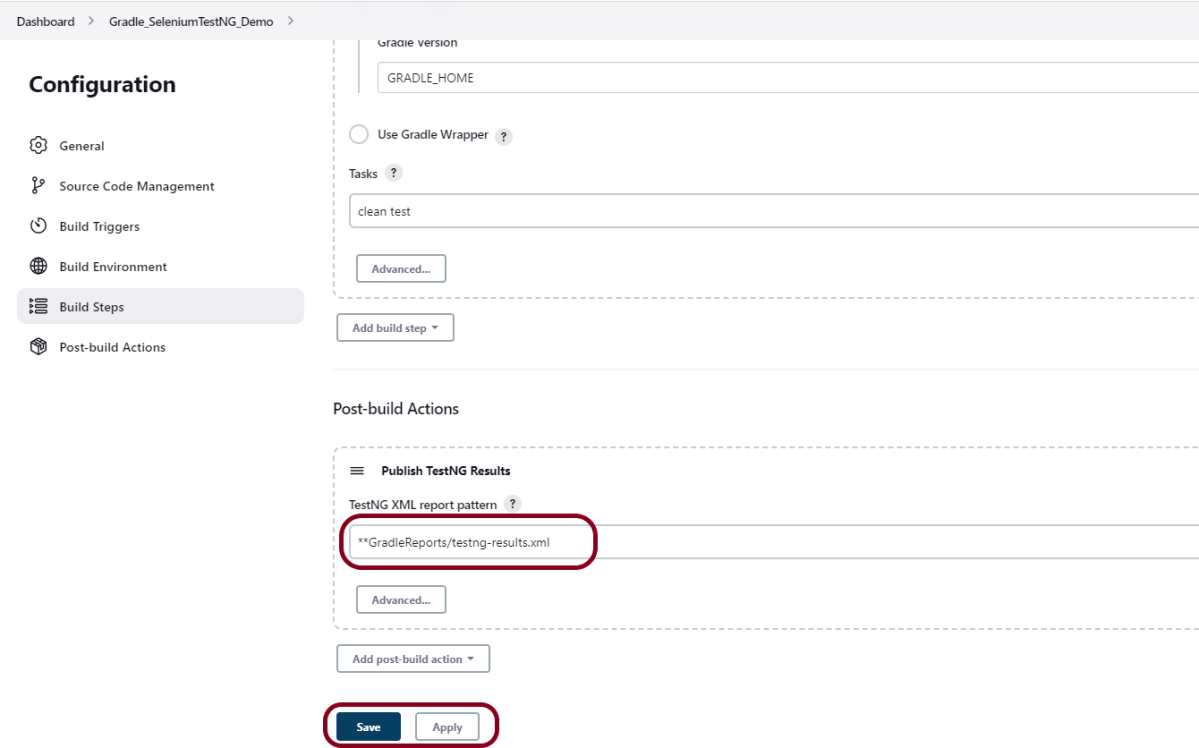
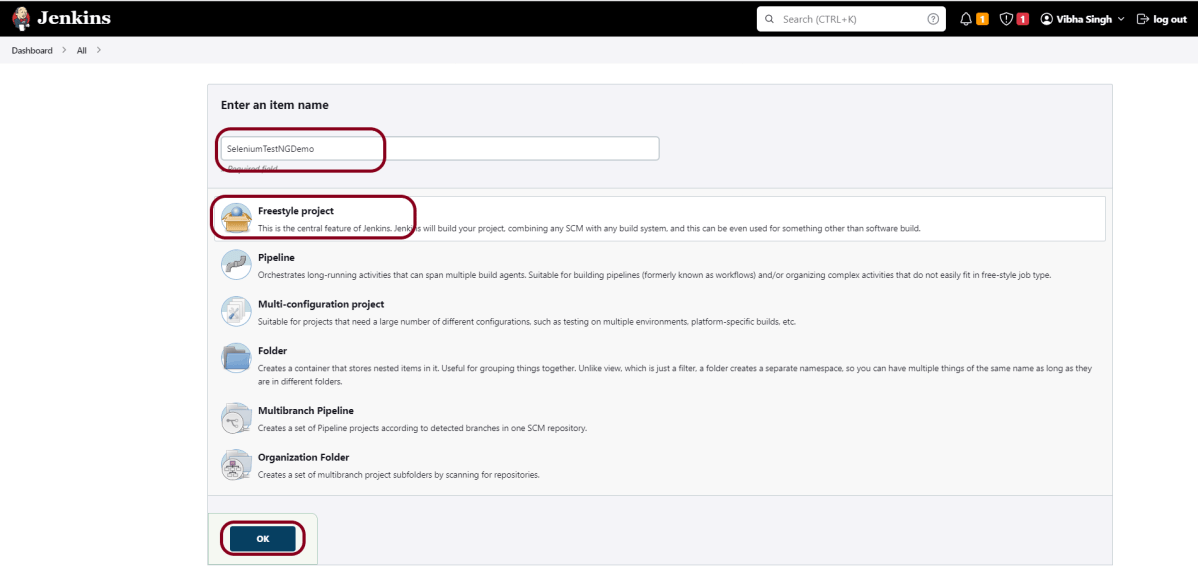
Implementation Steps to Install a Plugin in Jenkins
Pre-Requisite:
Jenkins installed and started on the computer
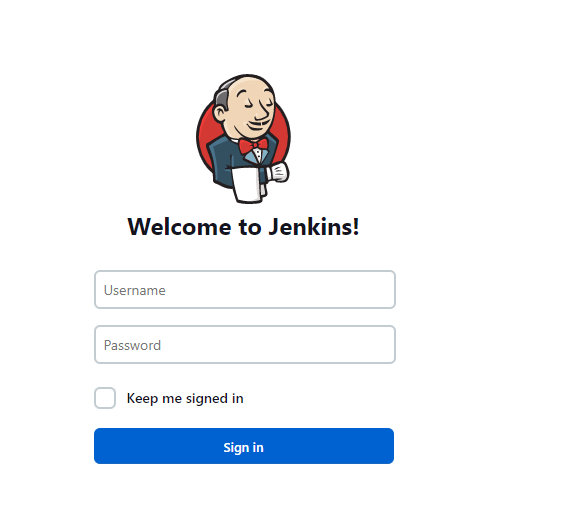
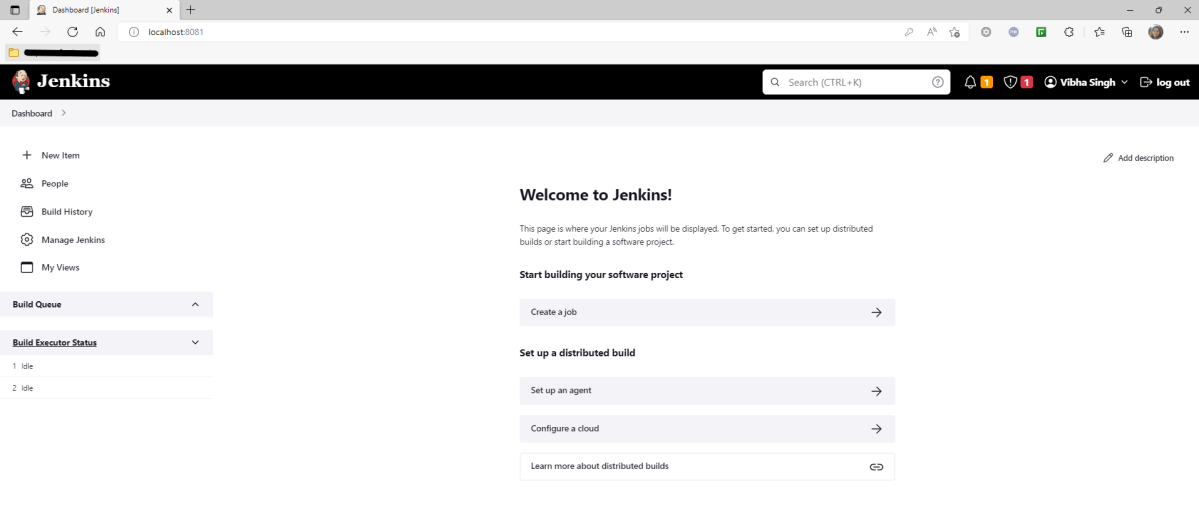
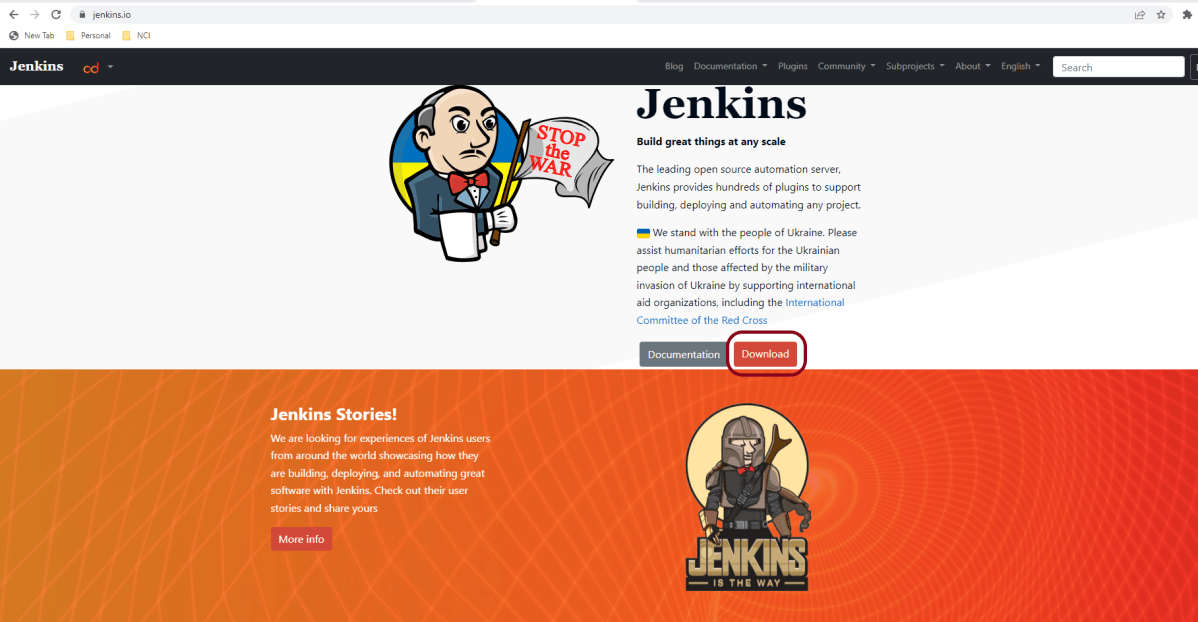
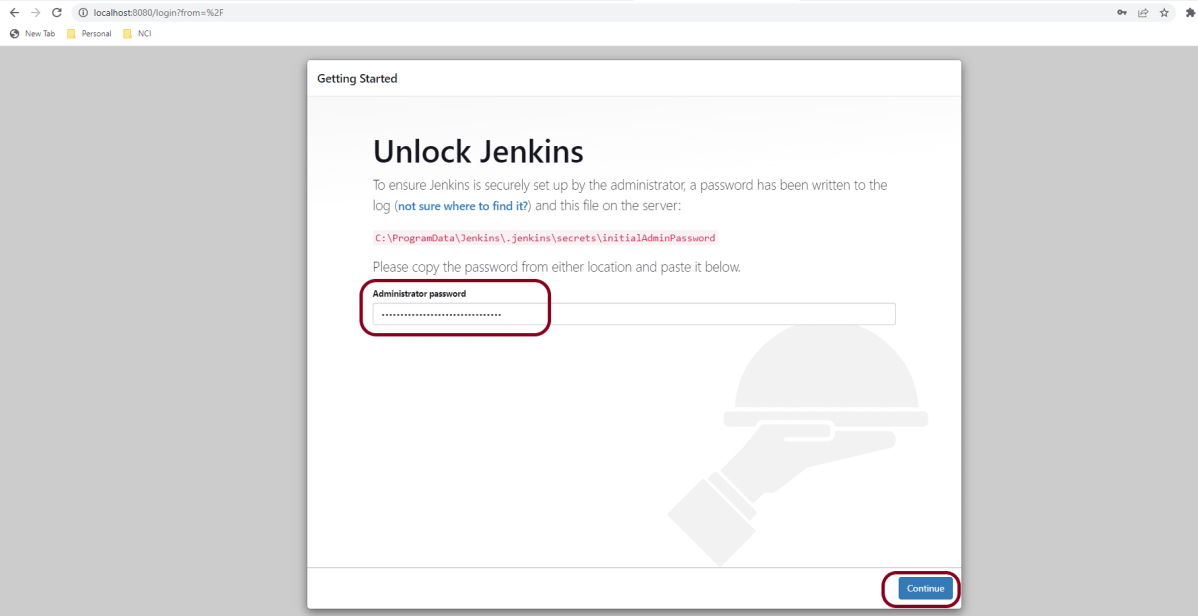
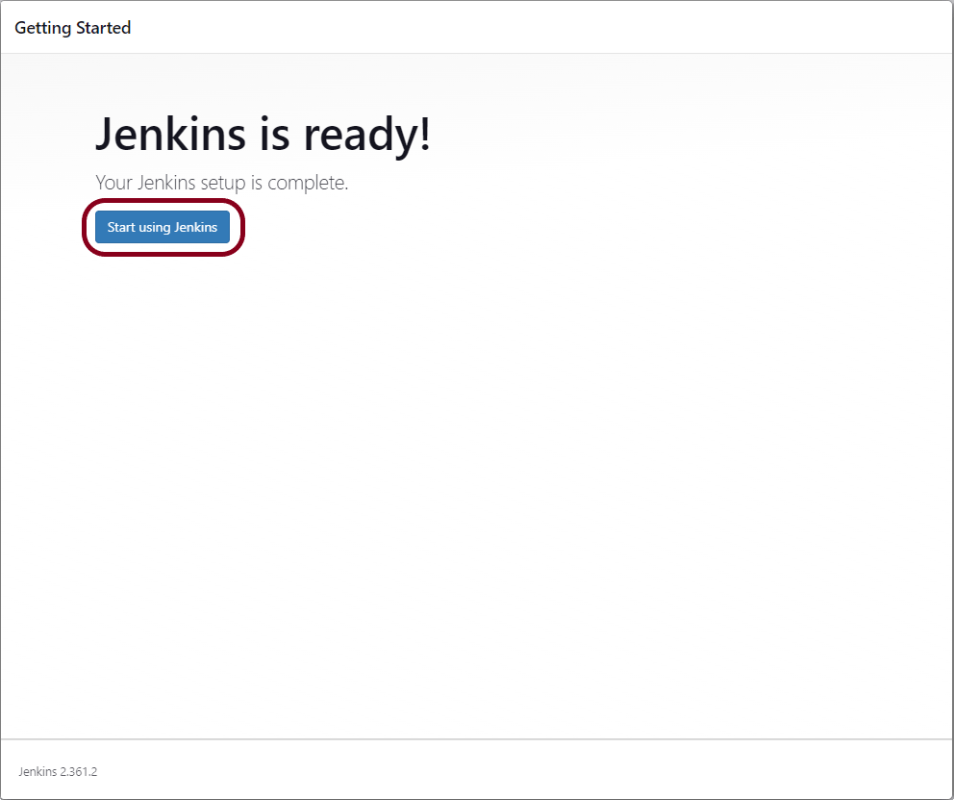
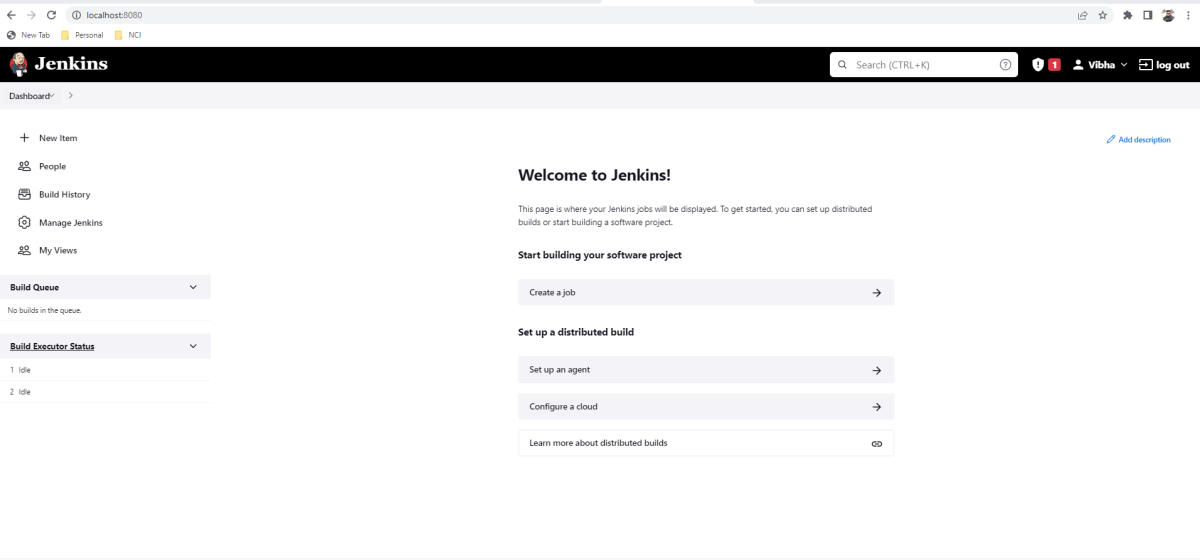
Step 1: Start the Jenkins server and open the browser and navigate to the localhost
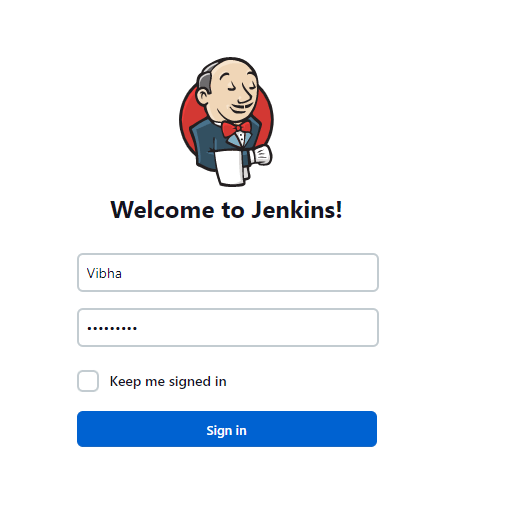
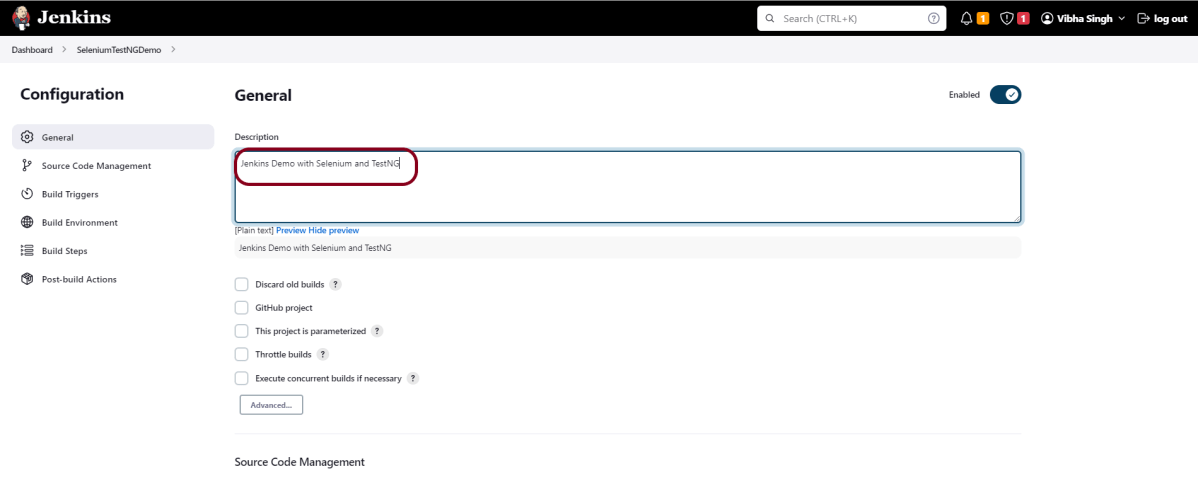
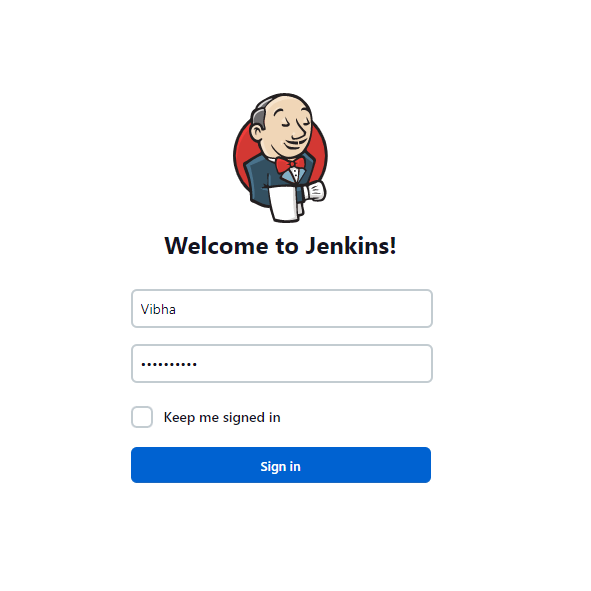
Step 2: Log in to Jenkins UI
You need to provide a username and password and click on the Sign-in Button.
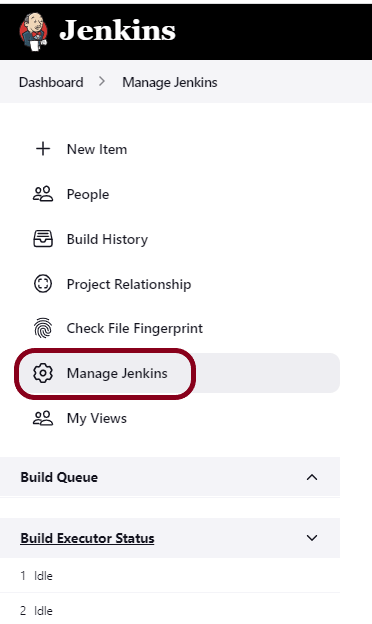
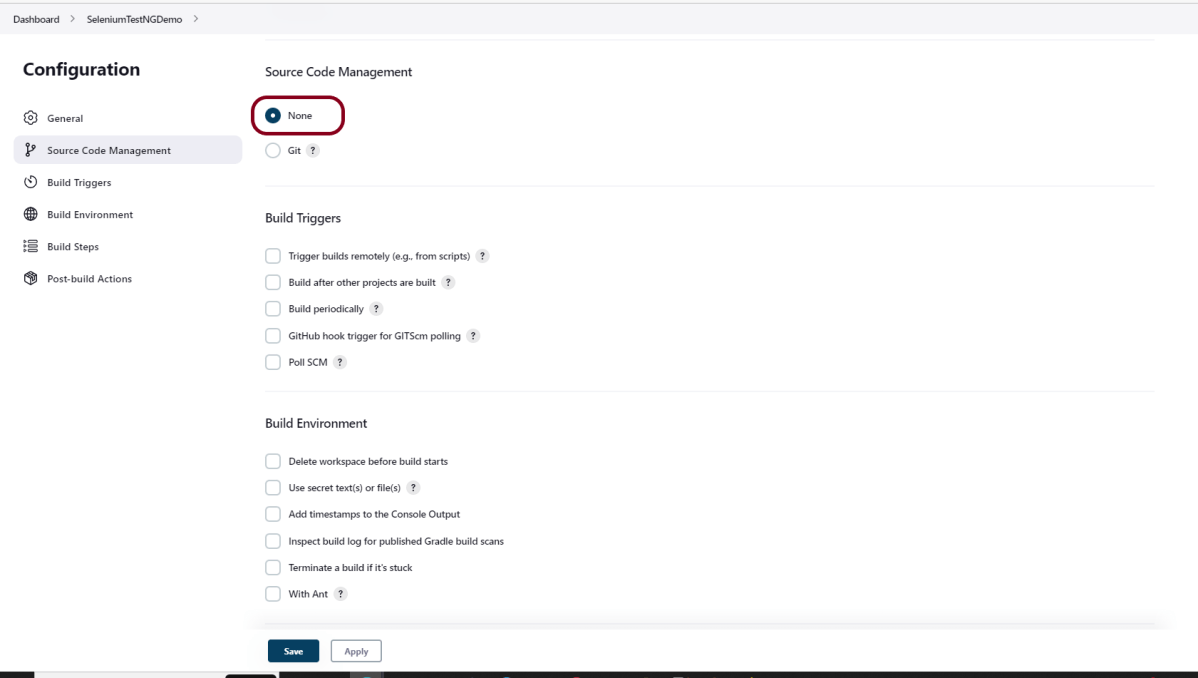
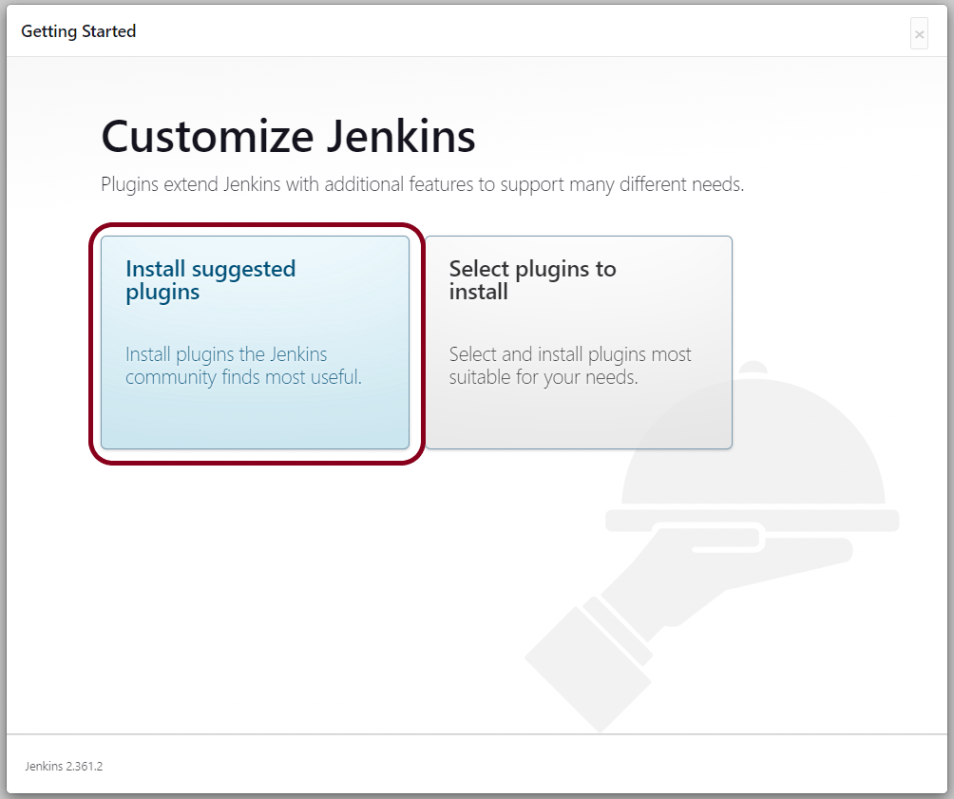
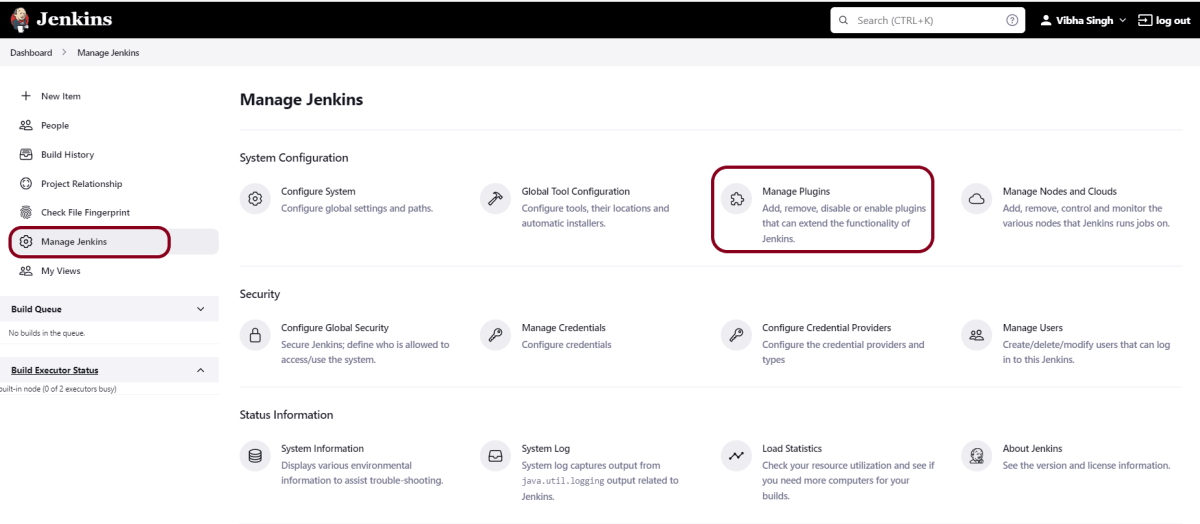
Step 3: Download and Install Plugin
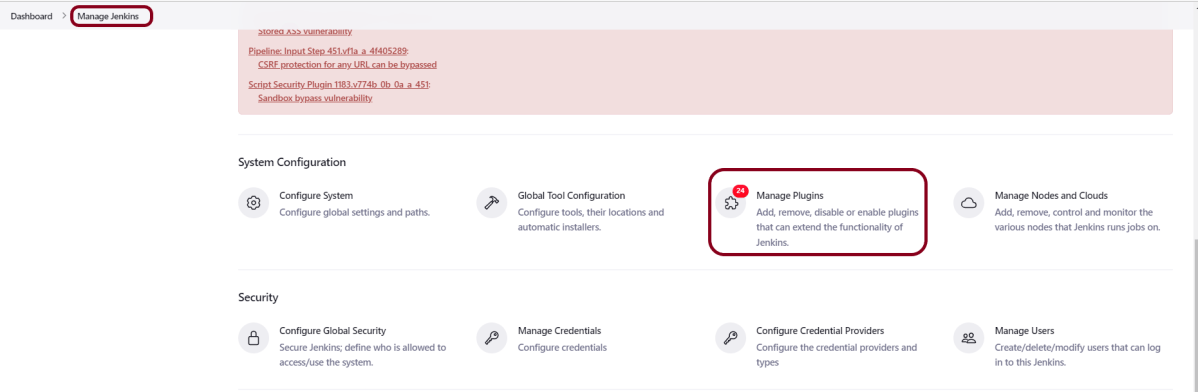
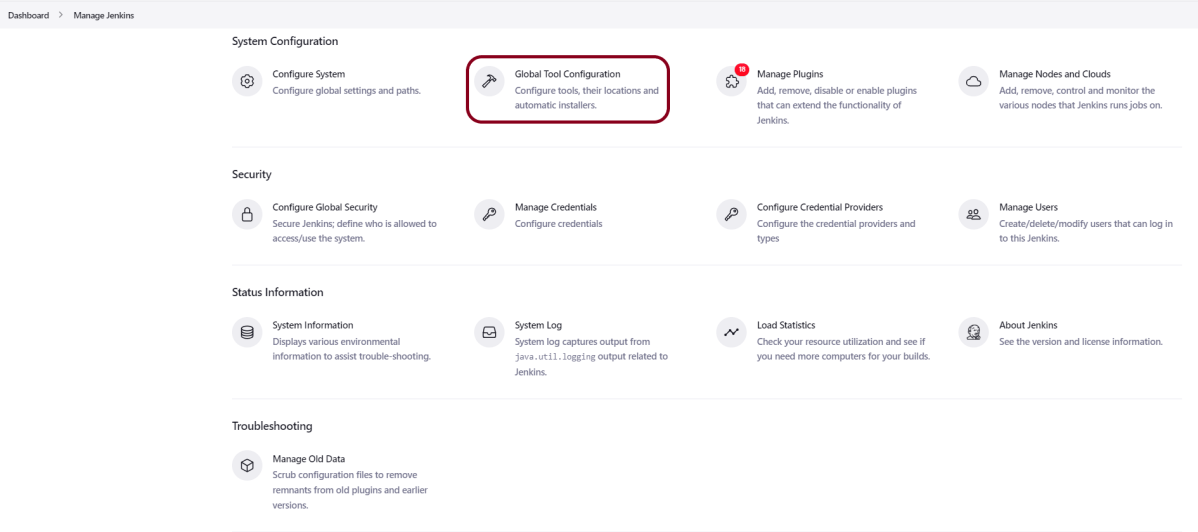
Click on the Manage Jenkins. As soon as we click on the Manage Jenkins link, we will redirect toward the Manage Jenkins page, and here we need to click on “Manage Plugins” under the System Configuration section.
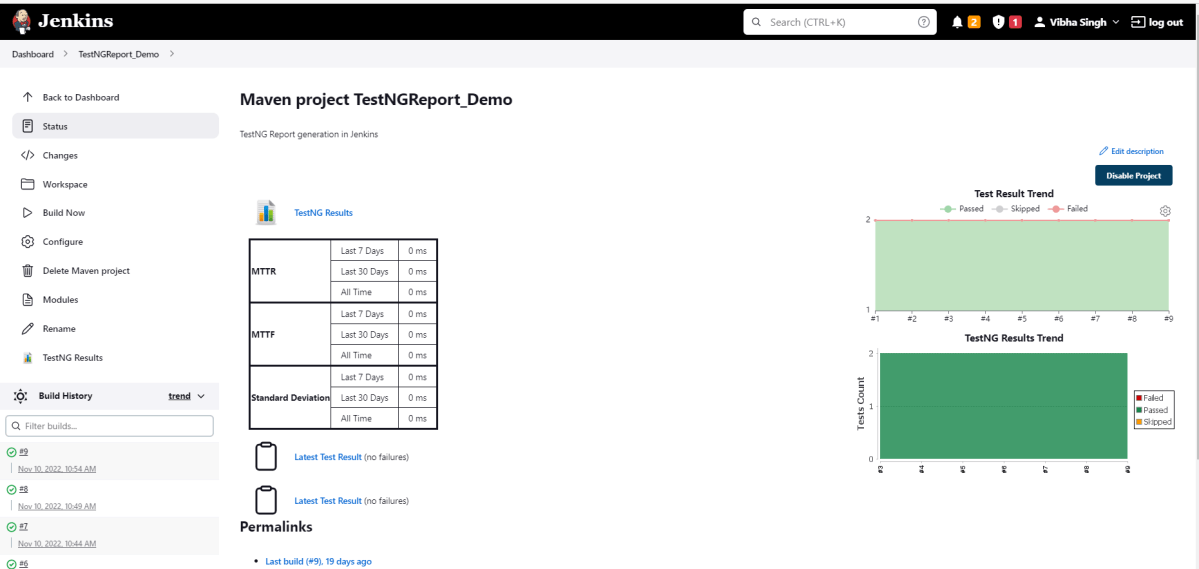
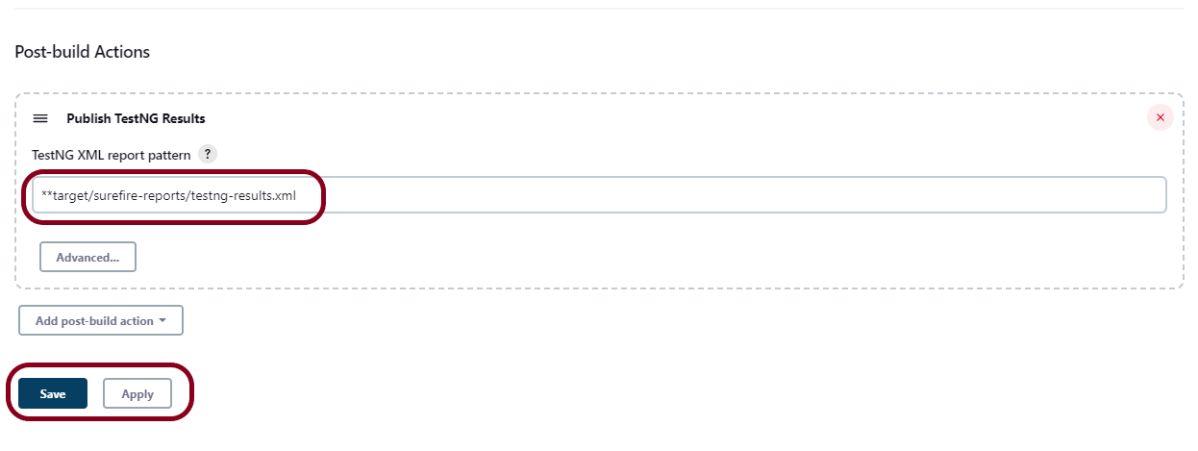
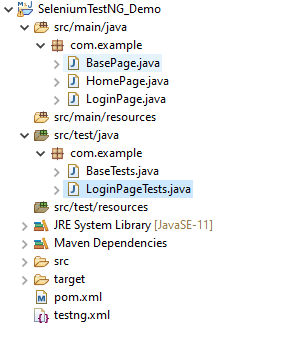
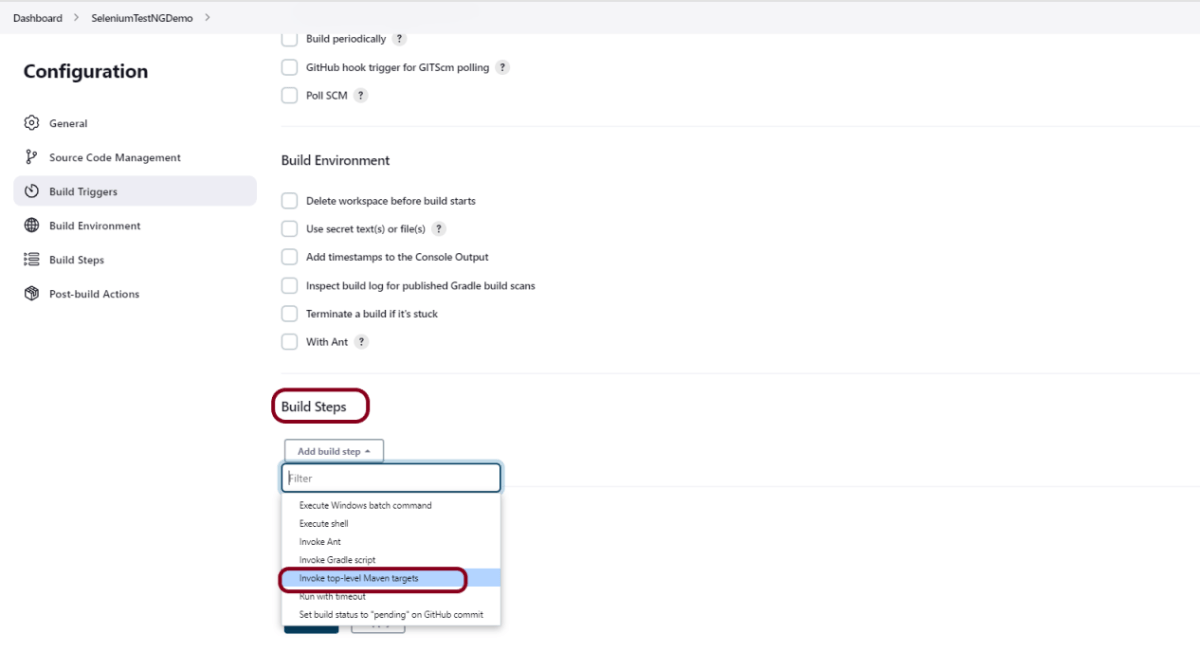
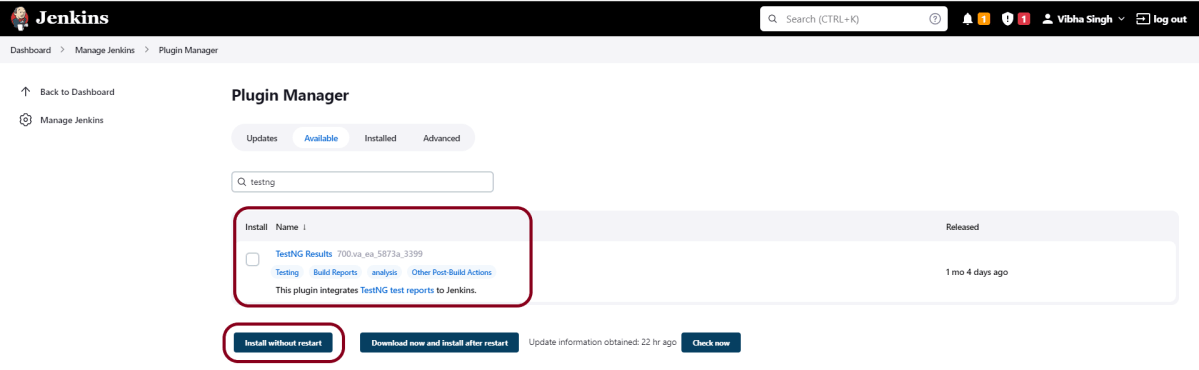
On the Plugins Page, go to the Available option. You can select any plugin, but for the demo purpose, I’m downloading TestNG Report Plugin.
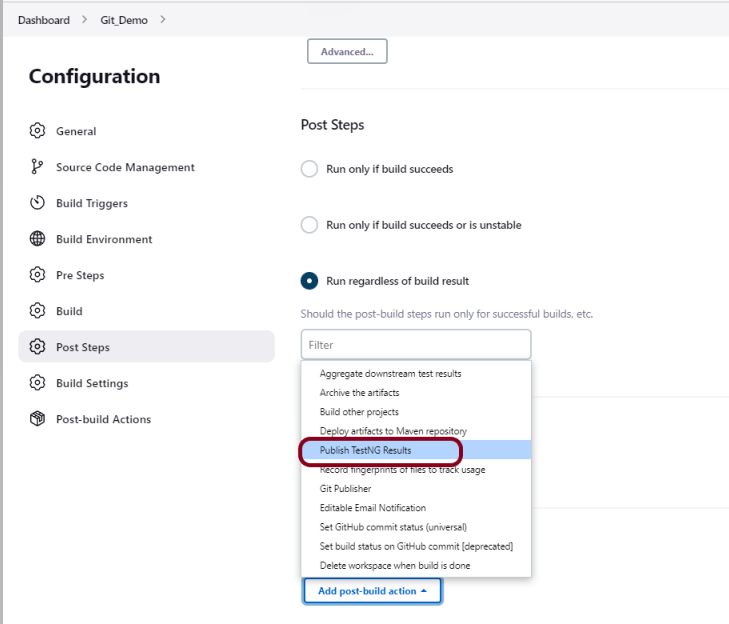
- Select the “TestNG Report” Plugin
- Click on “Install without restart.” The plugin will take a few moments to finish downloading depending on your internet connection, and will be installed automatically.
- You can also select the option “Download now and Install after the restart” button. In which plugin is installed after the restart
- You will be shown a “No updates available” message if you already have the TestNG Report plugin installed.
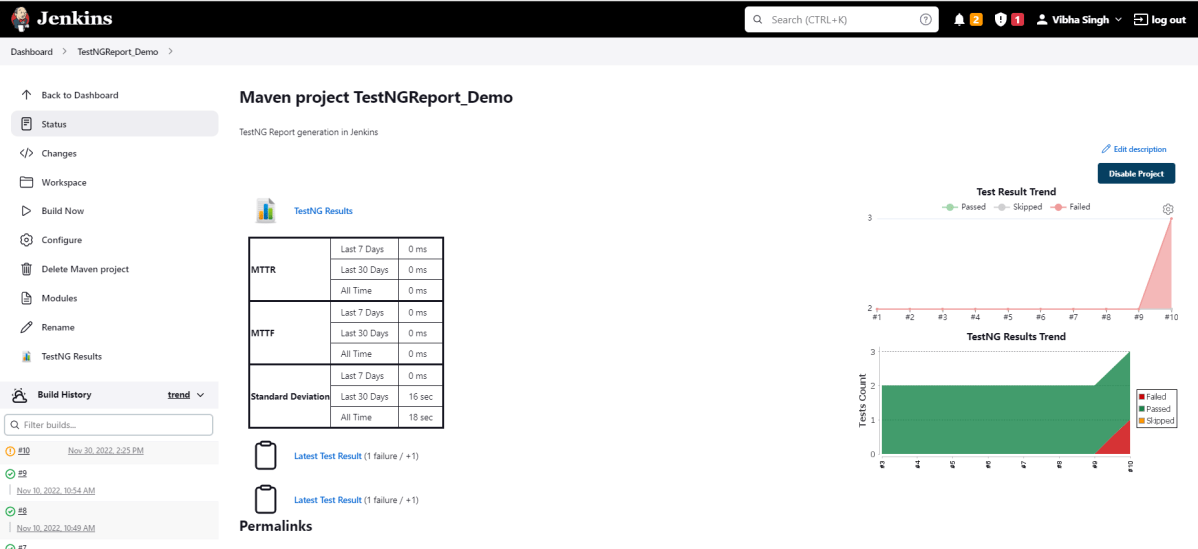
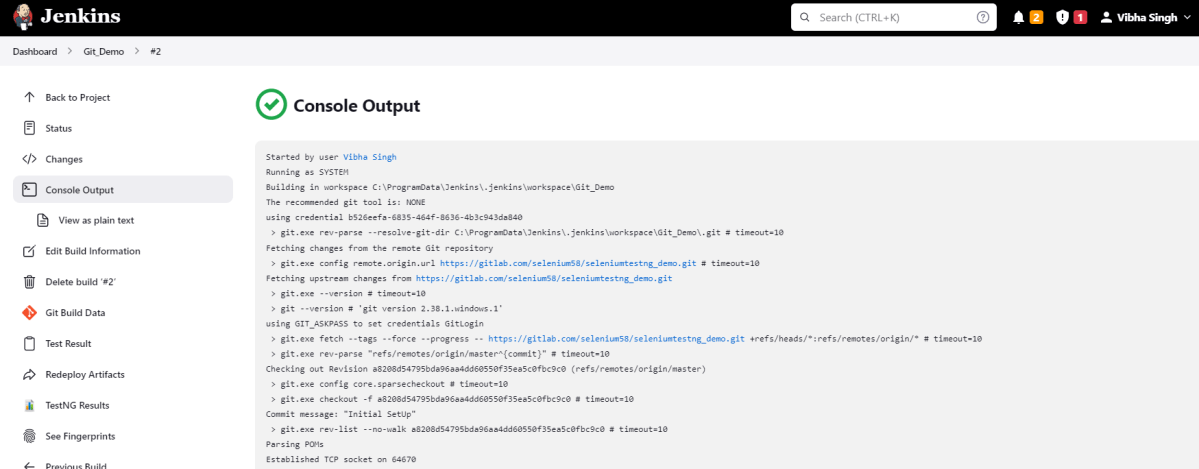
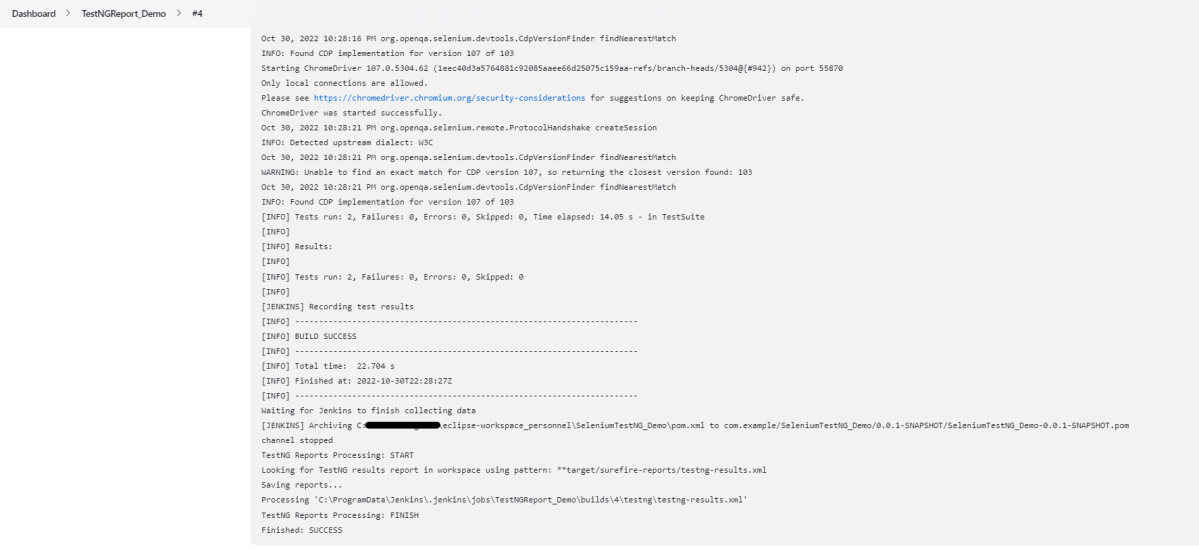
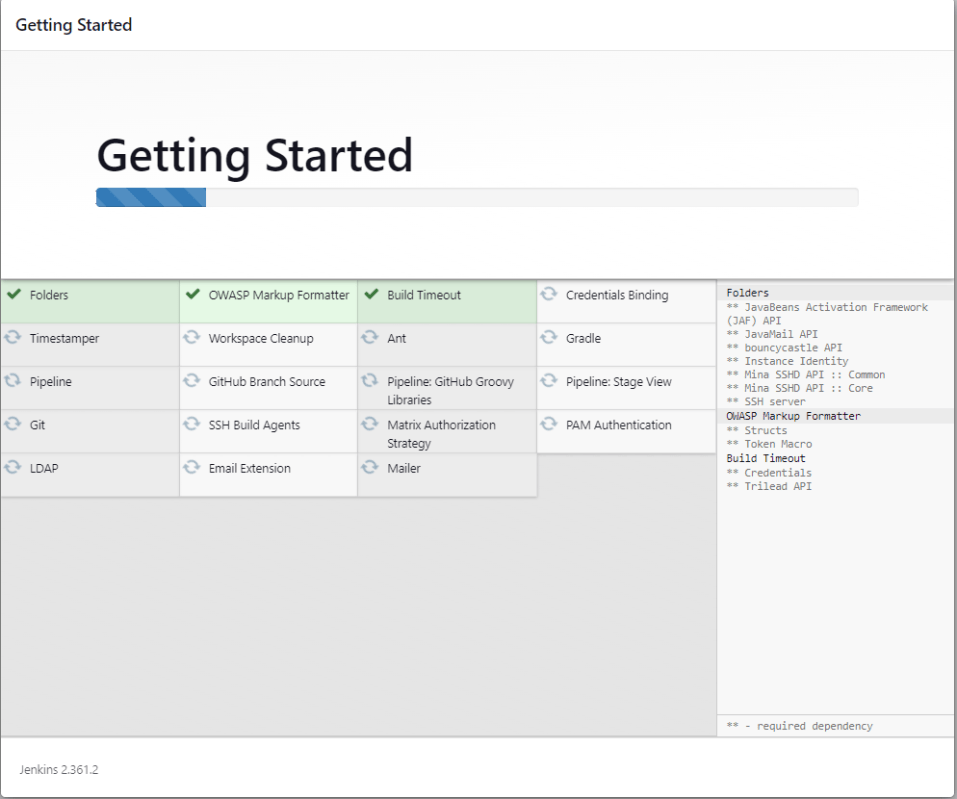
As soon as the preceding steps are completed, we will be taken to the Plugin installation progress page, where we will see a successful message after the plugin has been successfully installed. During installation, any dependent plugins will begin to install alongside the required plugin.
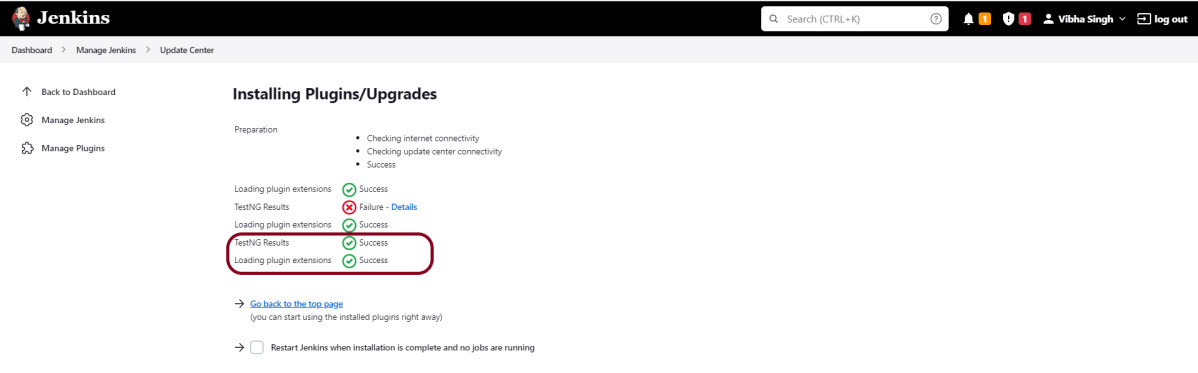
Sometimes, the installation fails because of a network issue. You can try to reinstall it, and it should be successful.
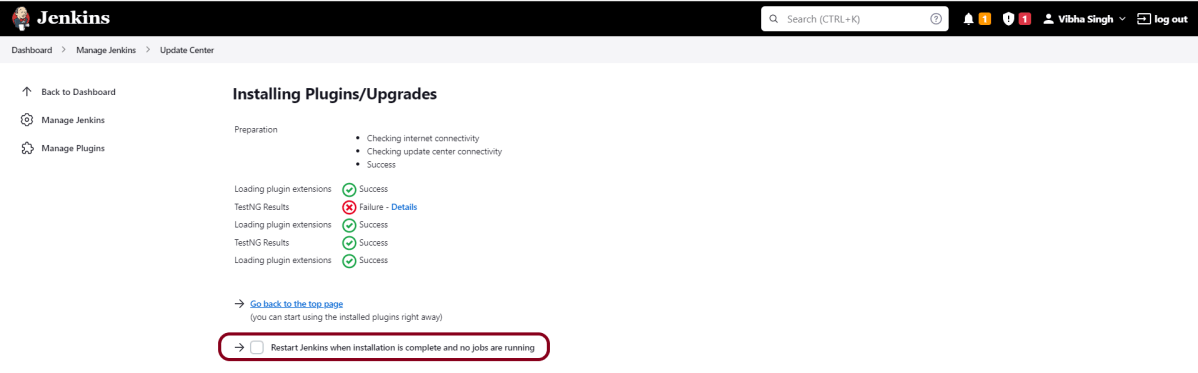
Step 4: Restart Jenkins
Click on the checkbox “Restart Jenkins when installation is complete when no jobs are running“.
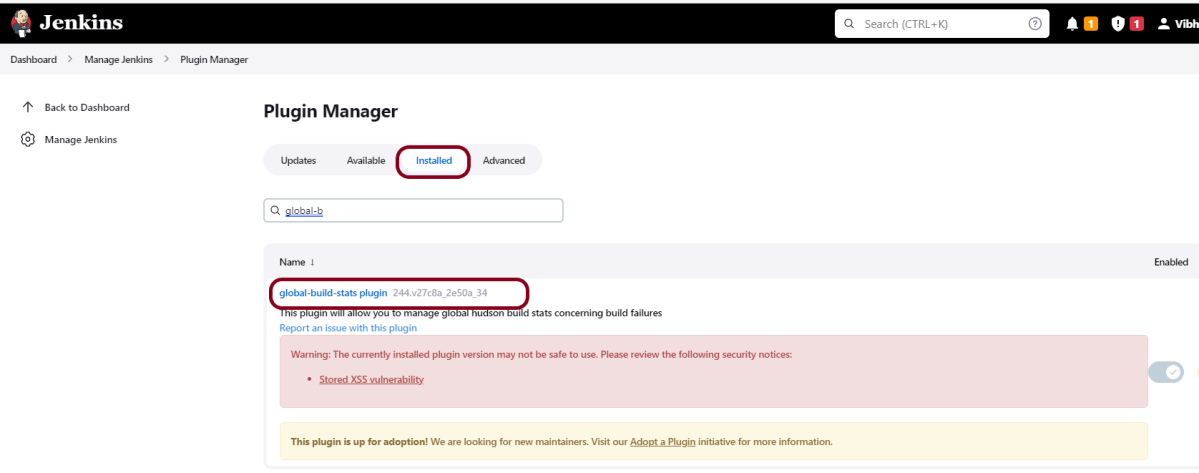
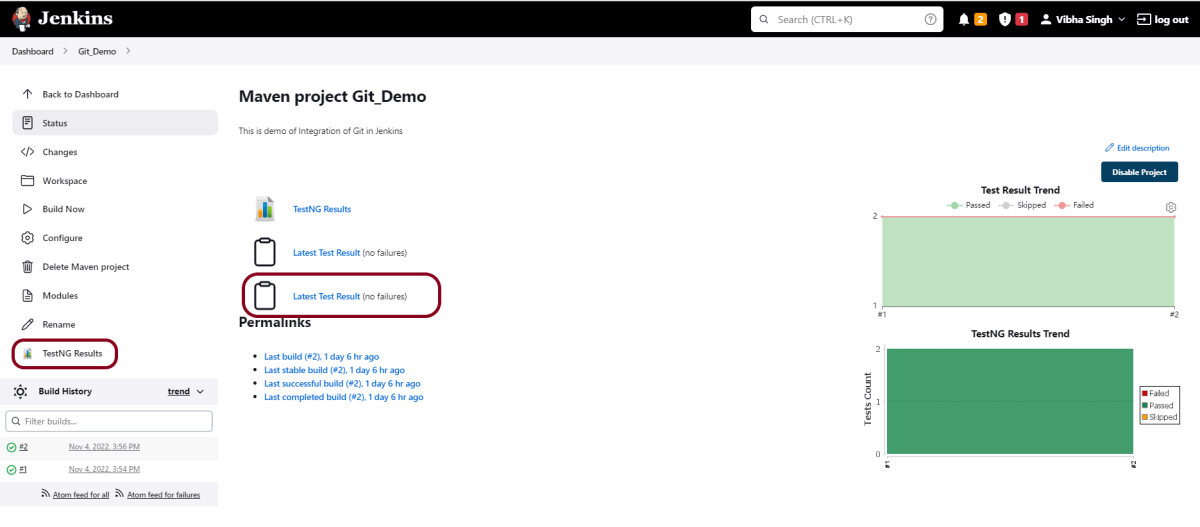
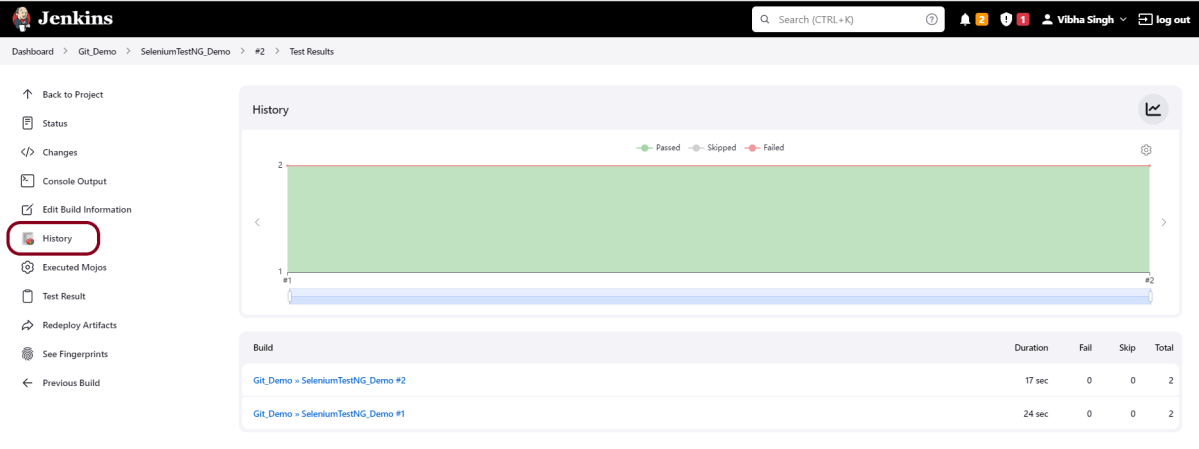
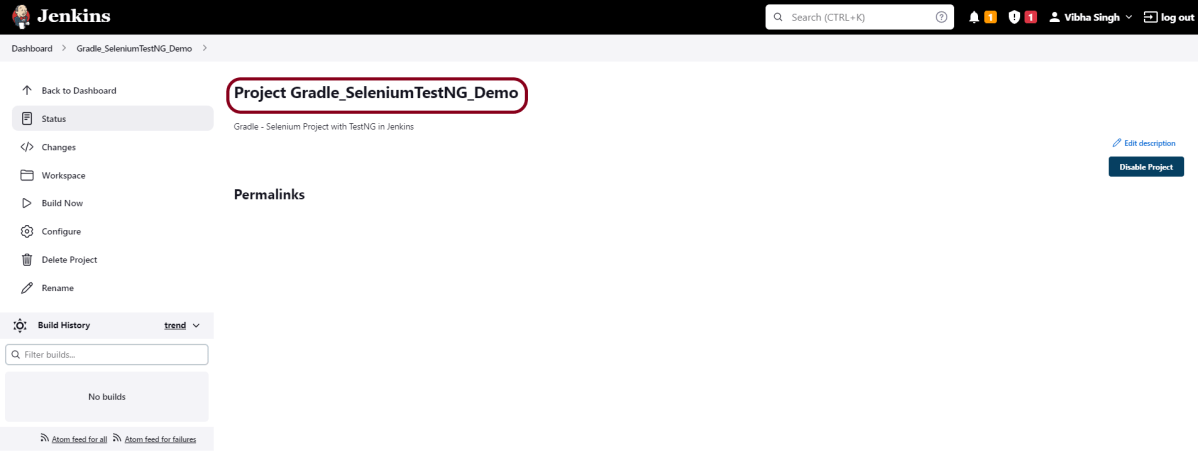
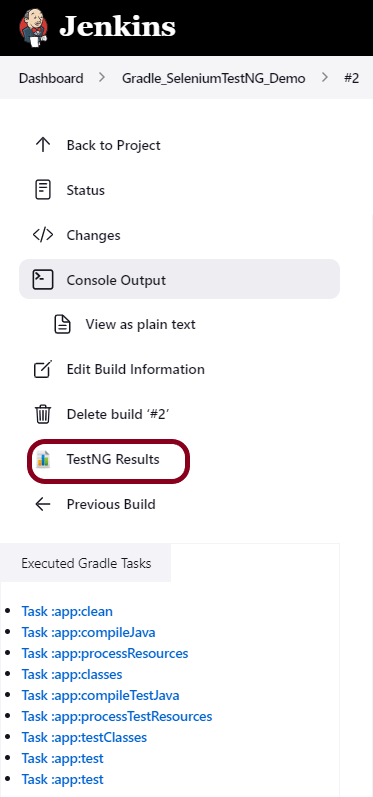
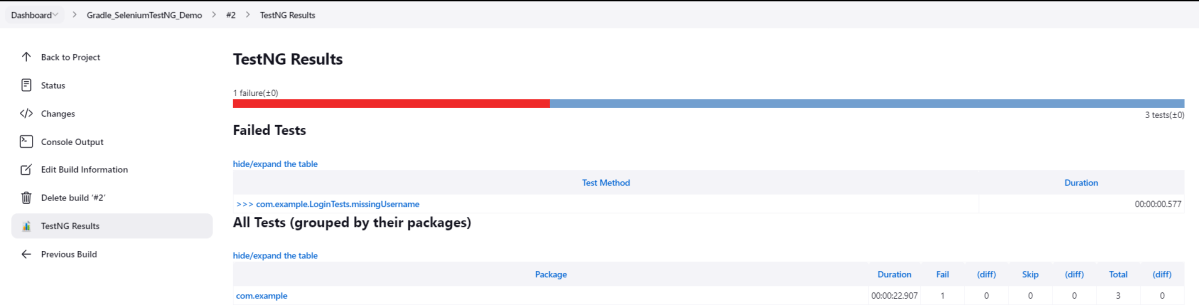
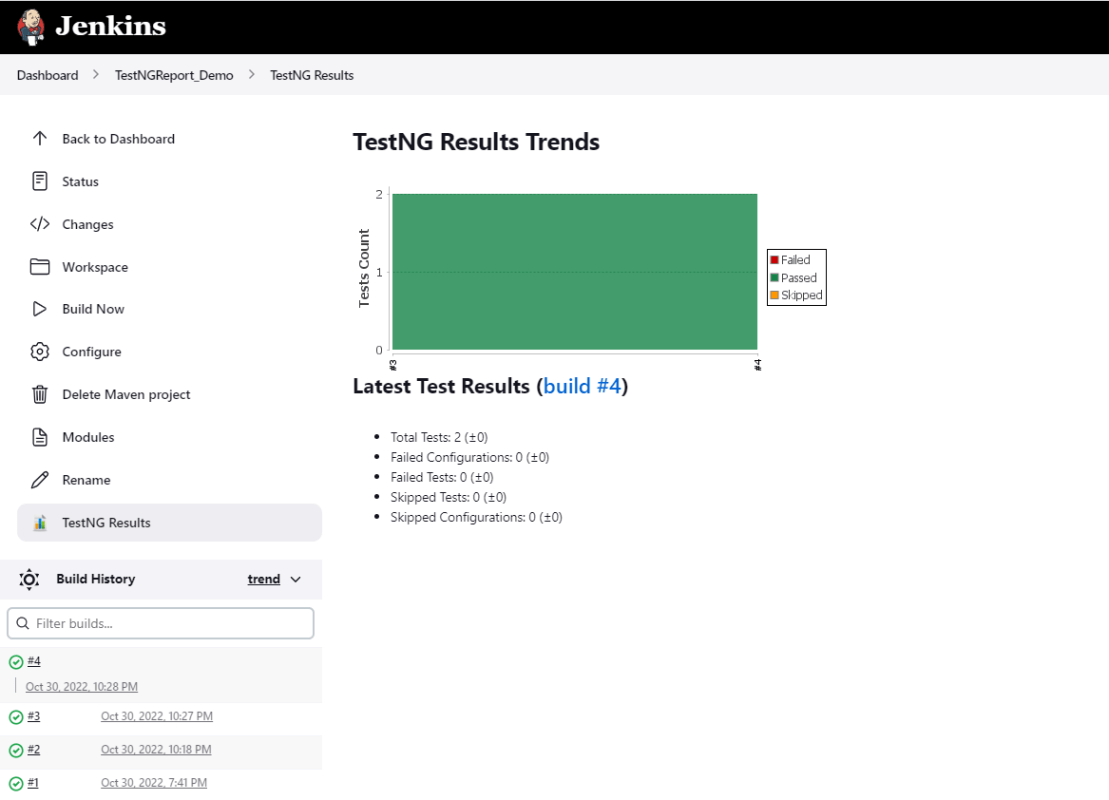
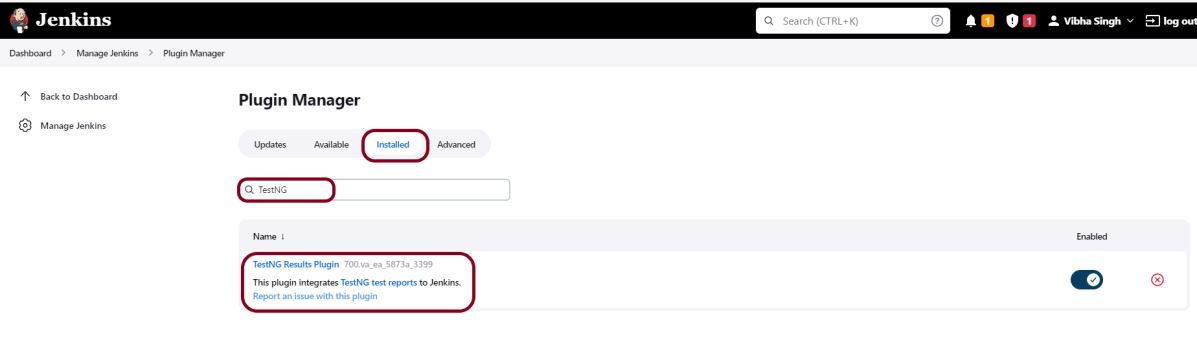
Step 5: Verify the plugin is installed
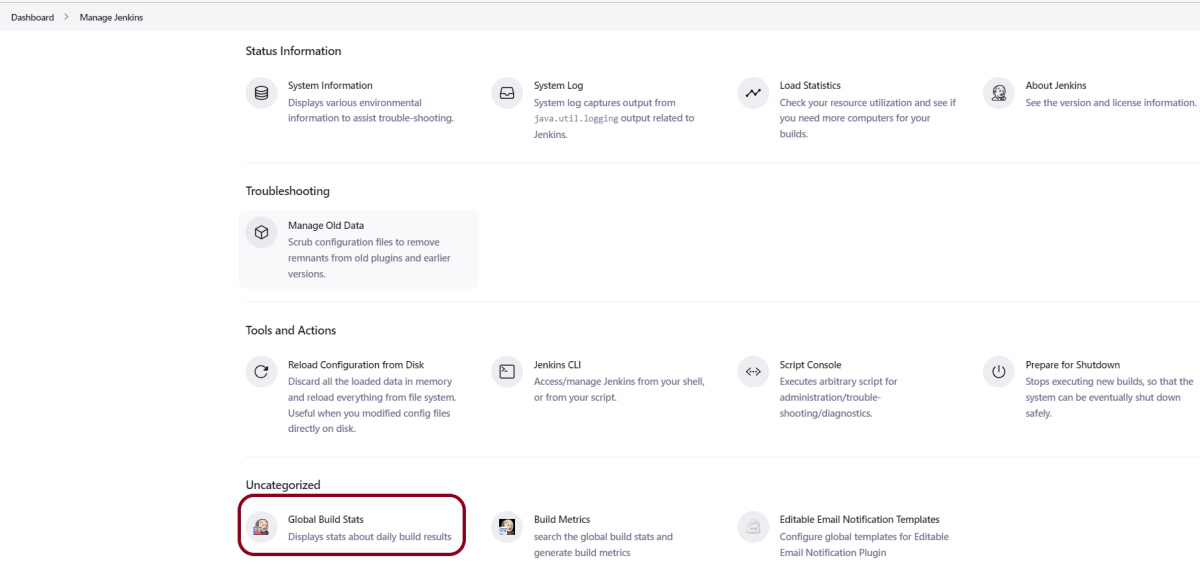
Once the plugins have been installed, go to Manage Jenkins on your Jenkins dashboard. You will see your plugins listed among the rest.
Congratulations on making it through this tutorial and hope you found it useful! Happy Learning!! Cheers!!