In this tutorial, we will automate the switching of Windows in Robot Framework.
Table of Contents
- Prerequisite
- Implementation Steps
- How to create a test to automate the switching of the windows in Robot Framework?
- Multiple Window Switch
Prerequisite:
- Install Python
- Install PIP
- Install Robot Framework
- Install Robot framework Selenium Library
- Install PyCharm IDE
Please refer to this tutorial to install Robot Framework – How to install and setup Robot Framework for Python.
Implementation Steps:
Step 1 – Create a new Python Project
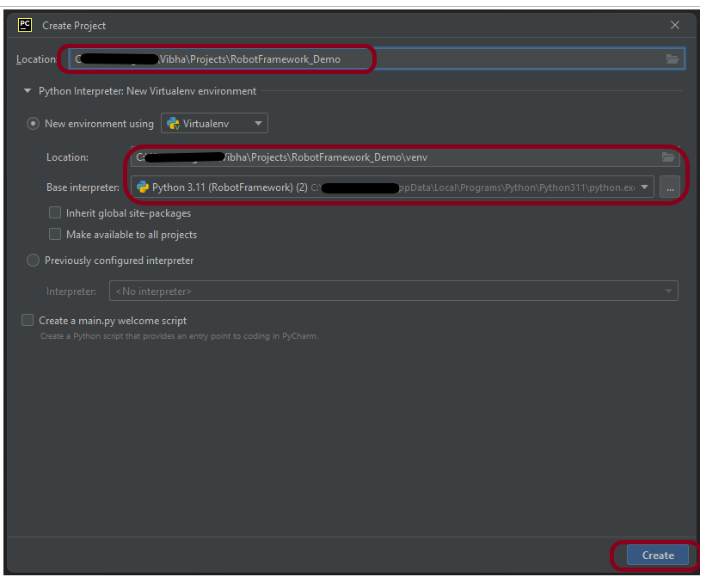
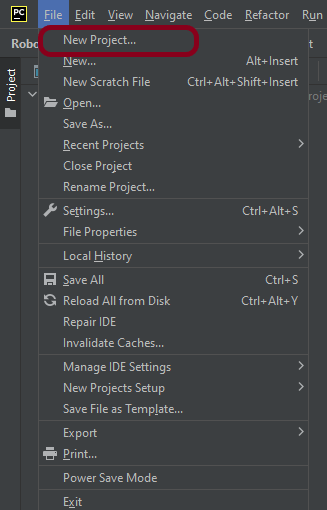
Step 1.1 – Open PyCharm and create a new project. Go to File and select New Project from the main menu.
Step 1.2 – Choose the project location. Click the “Browse” button next to the Location field and specify the directory for your project.
Deselect the Create a main.py welcome script checkbox because you will create a new Python file for this tutorial.

Click on the “Create” Button.
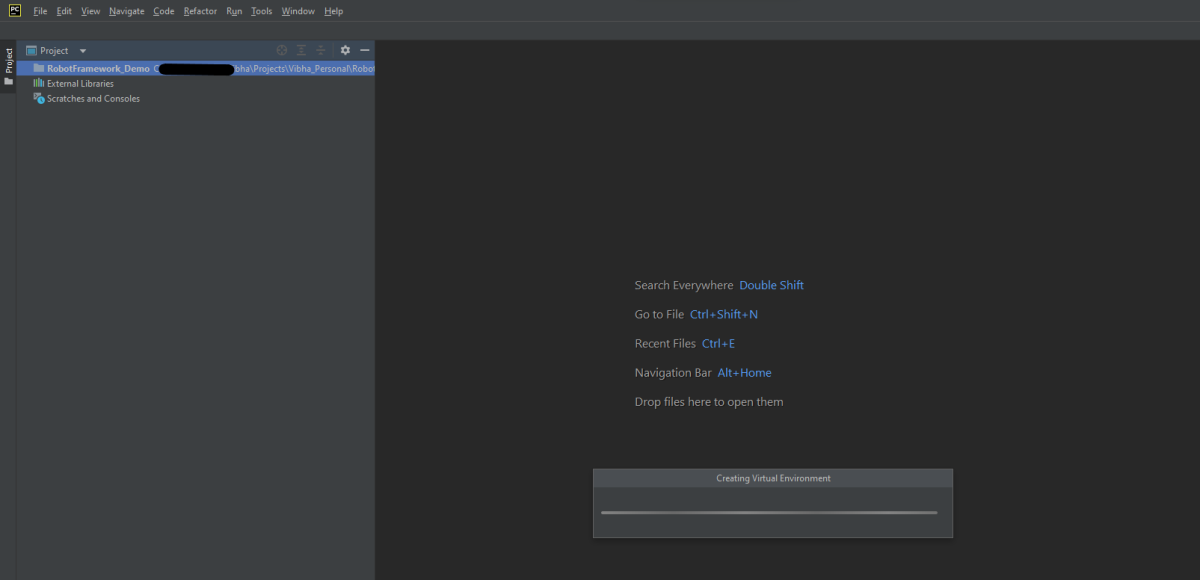
Step 1.3 – A new dialog appears asking to open the project using any one of the given options. I have selected New Window as I like to have separate windows for each project.

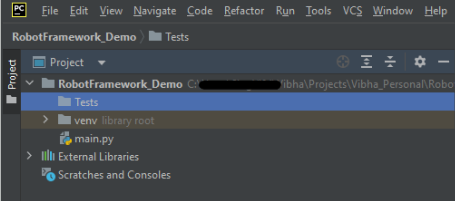
Below is the image of the new project created in PyCharms.
How to create a test to automate the switching of the windows in Robot Framework?
Step 2 – Create a new directory in the new project
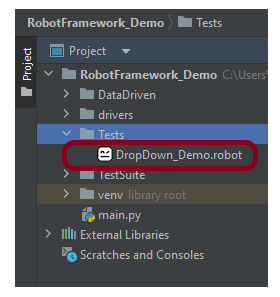
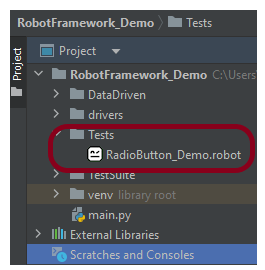
Right-Click on the project, select New->Directory and provide name as Tests
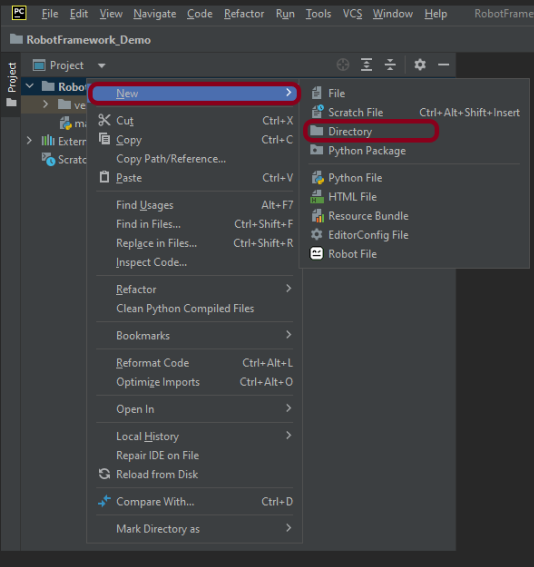
Below is the image of the new directory.
Right-click on the new directory and select New File and provide the name as SwitchWindow_Demo.robot as shown below:

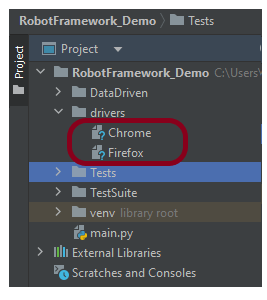
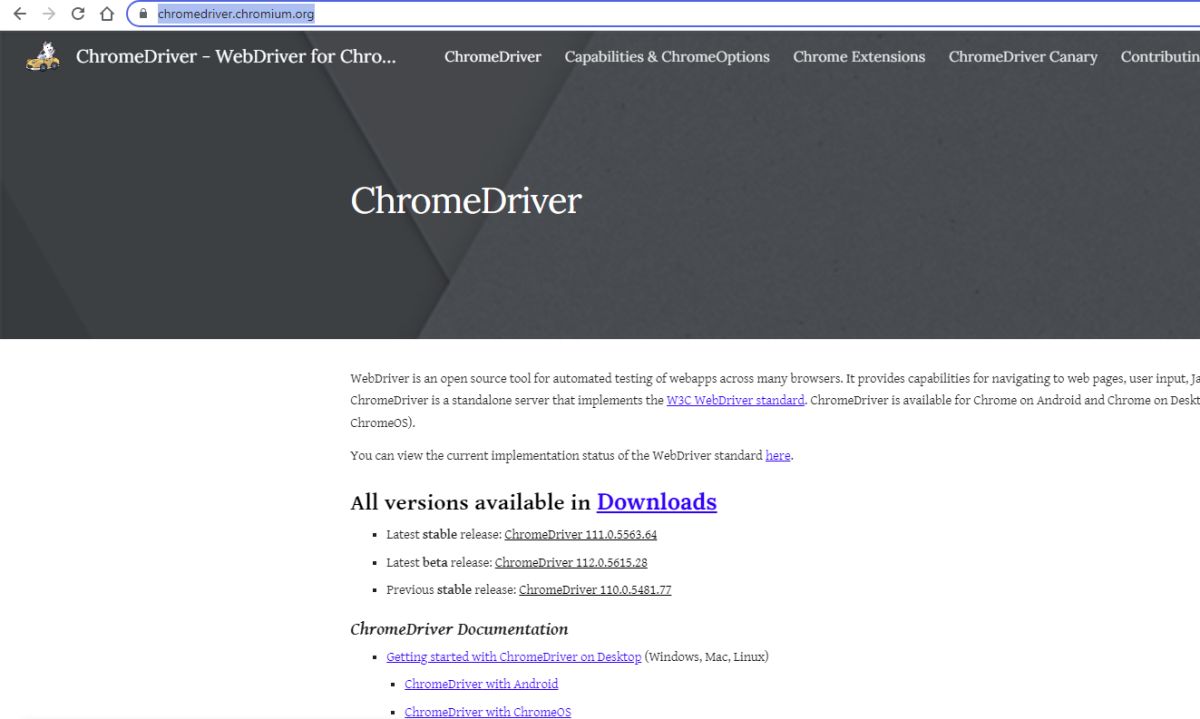
Step 3 – Download ChromeBinaries from the below location
The tests are going to use the Chrome browser, so we need to download the ChromeBinaries to open a blank browser in Chrome. Similarly, you can use Firefox, edge, safari, and many more browsers.
https://chromedriver.chromium.org/
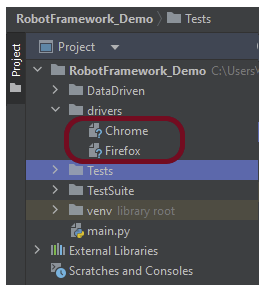
The chromedriver and geckodriver are placed in a folder name drivers in the RobotFramework_Demo project. I have renamed chromedriver to Chrome and geckodriver to Firefox.
Step 4 – Automate the switching of windows
We are now going to write test cases. The test case details will be as follows −
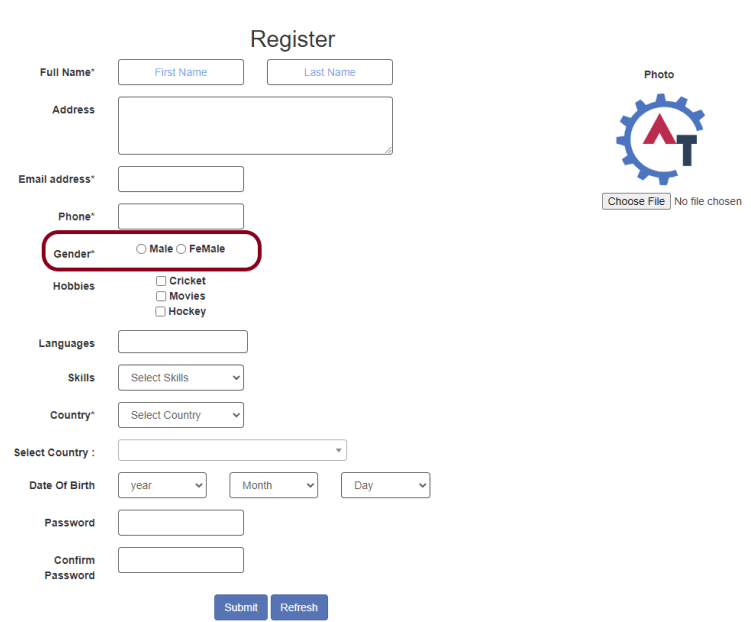
- Open the browser in Chrome and copy URL − https://demo.automationtesting.in/Windows.html.
- Select the button to switch to the child window
- Verify the child window is opened
- Verify the user is switched back to the parent window
To work with Windows, we need a locator. A locator is an identifier for the textbox like id, name, class, xpath, css selector, etc.
To know more about locators, refer to these Selenium Tutorials:
Locators in Selenium – Locate by ID, ClassName, Name, TagName, LinkText, PartialLinkText
Dynamic XPath in Selenium WebDriver
CSS Selector in Selenium WebDriver
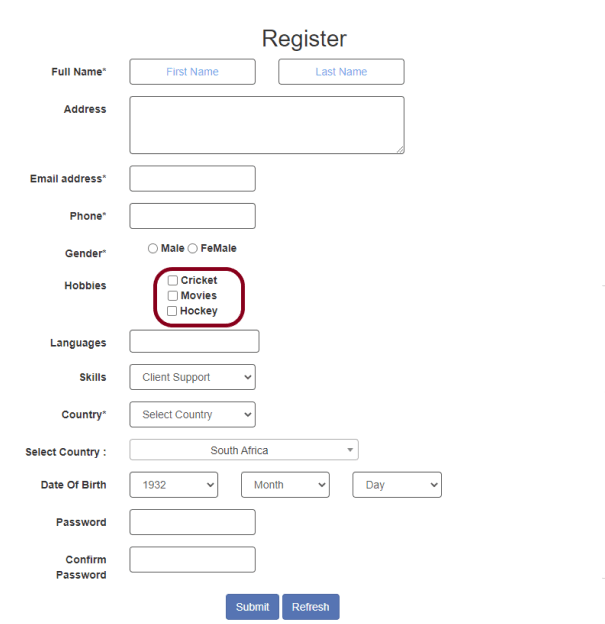
The below page shows that when we click on “Open New Separate Windows”, then click on the “click” button, a new child window opens – Selenium.dev.

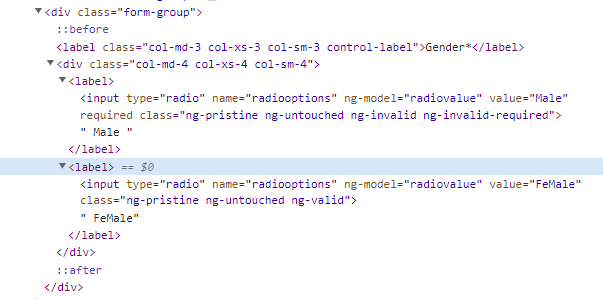
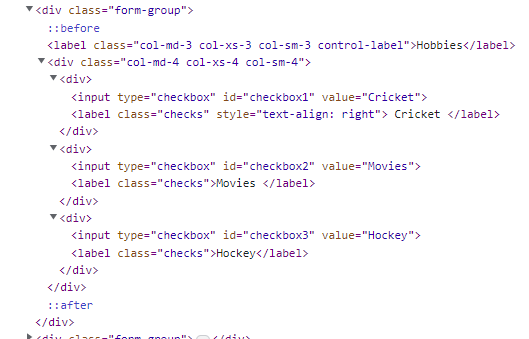
Let us inspect the locator of the NEW Window.

Below is an example of switching windows in Robot Framework.
*** Settings ***
Documentation    To validate the switching of windows
Library     SeleniumLibrary
Test Teardown    Close Browser

*** Variables ***
${mainPageText}    xpath://div[@class='col-sm-8 col-xs-8 col-md-8']/h1

*** Test Cases ***
Switch windows
    Open the Browser with URL
    Select the button to switch to child window
    Verify the child window is opened
    Verify the user is switched back to parent window

*** Keywords ***
Open the Browser with URL
    Create Webdriver    Chrome  executable_path=/Vibha_Personal/RobotFramework/drivers/chromedriver_linux64
    Go To    https://demo.automationtesting.in/Windows.html
    Maximize Browser Window
    Set Selenium Implicit Wait    2

Select the button to switch to child window
    Click Element    xpath://div[@class='tabpane pullleft']/ul/li[2]/a
    Click Button    css:.btn-primary


Verify the child window is opened
    Switch Window    NEW
    Page Should Contain    Selenium automates browsers


Verify the user is switched back to parent window
     Switch Window    MAIN
     Element Text Should Be     ${mainPageText}    Automation Demo Site
All the below-mentioned keywords are derived from SeleniumLibrary. The functionality of keywords mentioned above:
1. Create Webdriver − The keyword creates an instance of Selenium WebDriver.
2. Go To – This keyword navigates the current browser window to the provided URL – https://demo.automationtesting.in/Windows.html.
3. Maximize Browser Window – This keyword maximizes the current browser window.
4. Set Selenium Implicit Wait – This keyword sets the implicit wait value used by Selenium.
5. Click Element − This keyword is used to click the element identified by the locator. In this case, it is “Open new seperate windows” link.
6. Click Button – This keyword is used to click the button identified by the locator. In this case, it is “Click” button.
7. Switch Window NEW – This keyword is used to switch to the latest opened window.
8. Page Should Contain – This keyword is used to verify that the current page contains the text specified. Here, we are checking if the newly opened windows contain the text “Selenium automates browsers”.
9. Switch Window MAIN – This keyword is used to switch to the main window.
10. Element Text Should Be – This keyword is used to verify that the current page contains the exact text identified by the locator. Here, we are checking if we switched back to the main window and the main window contains the exact text “Automation Demo Site”.
These keywords are present in SeleniumLibrary. To know more about these keywords, please refer to this document – https://robotframework.org/SeleniumLibrary/SeleniumLibrary.html.
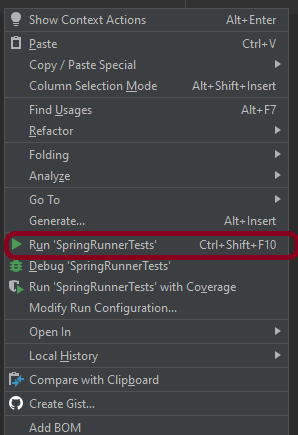
Step 5 – Execute the tests
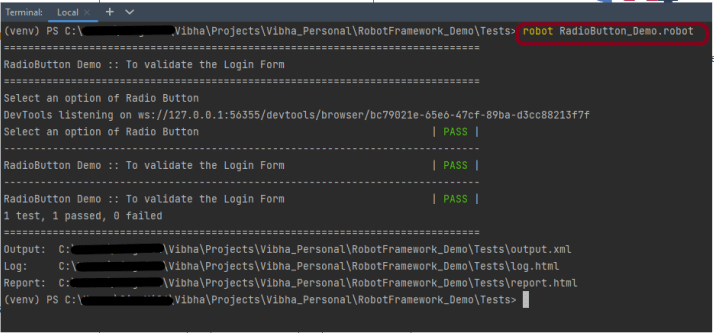
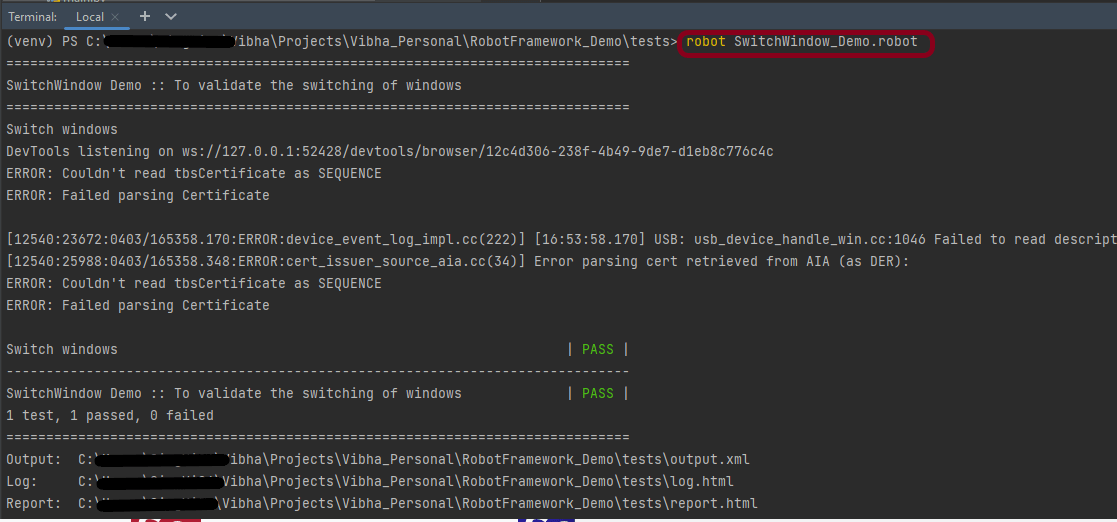
To run this script, go to the command line and go to directory tests. We need the below command to run the Robot Framework script.
robot SwitchWindow_Demo.robot
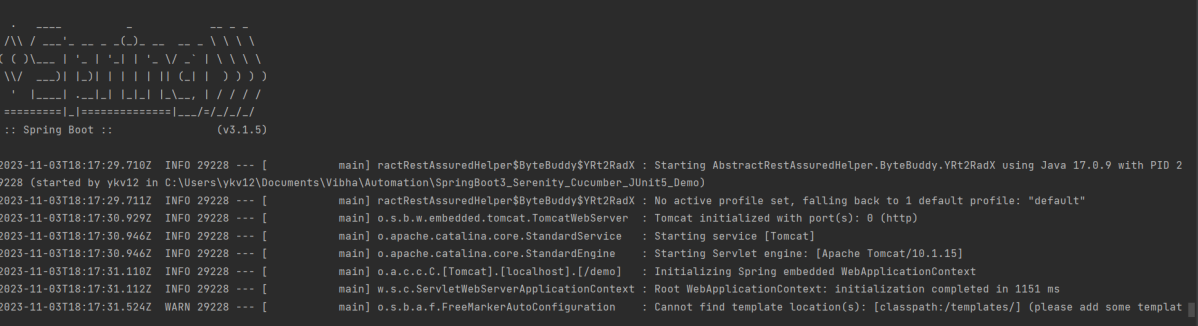
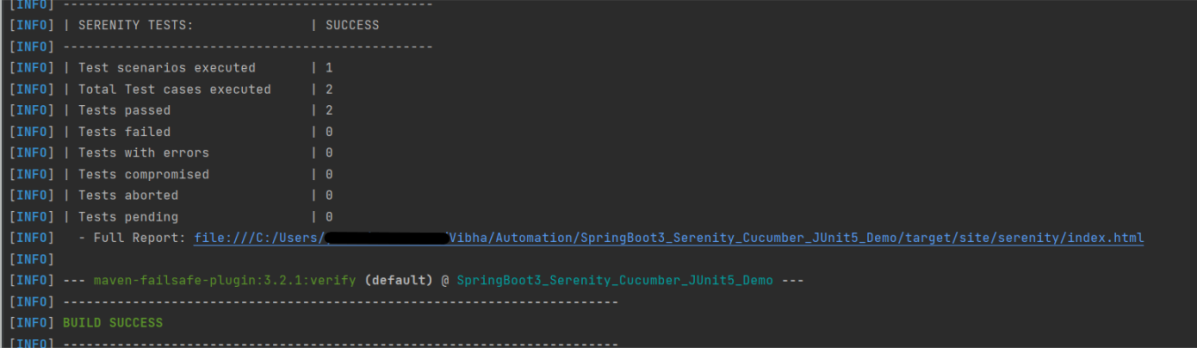
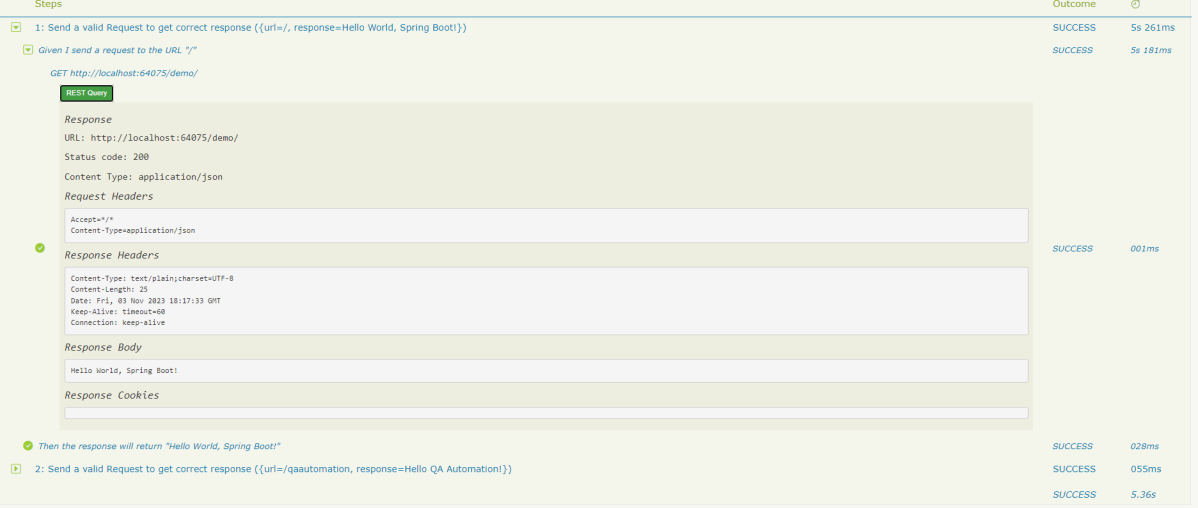
The output of the above program is
Step 5 – View Report and Log
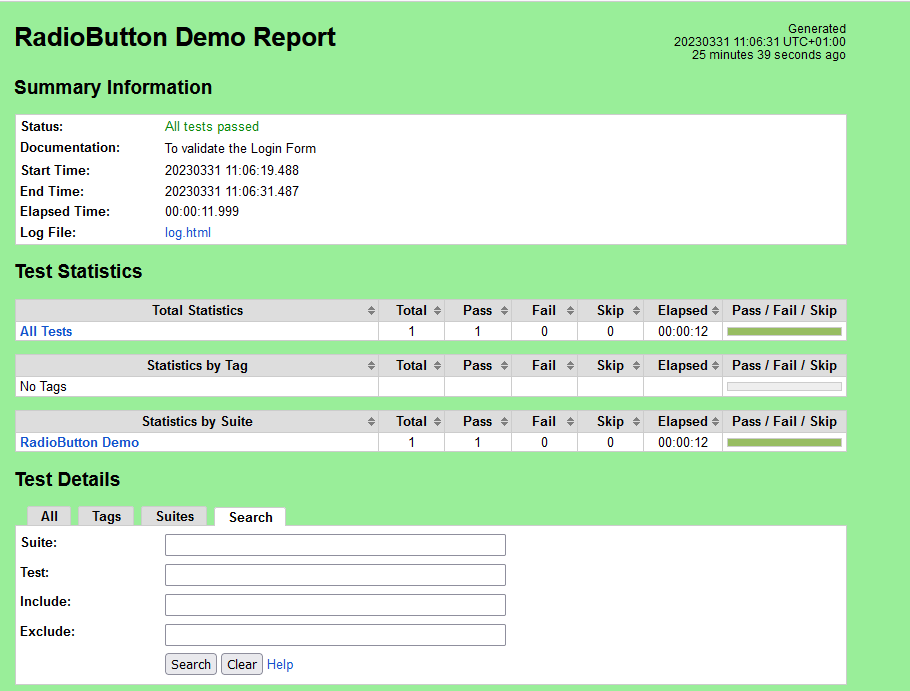
We have the test case passed. The Robot Framework generates log.html, output.xml, and report.html by default.
Let us now see the report and log details.
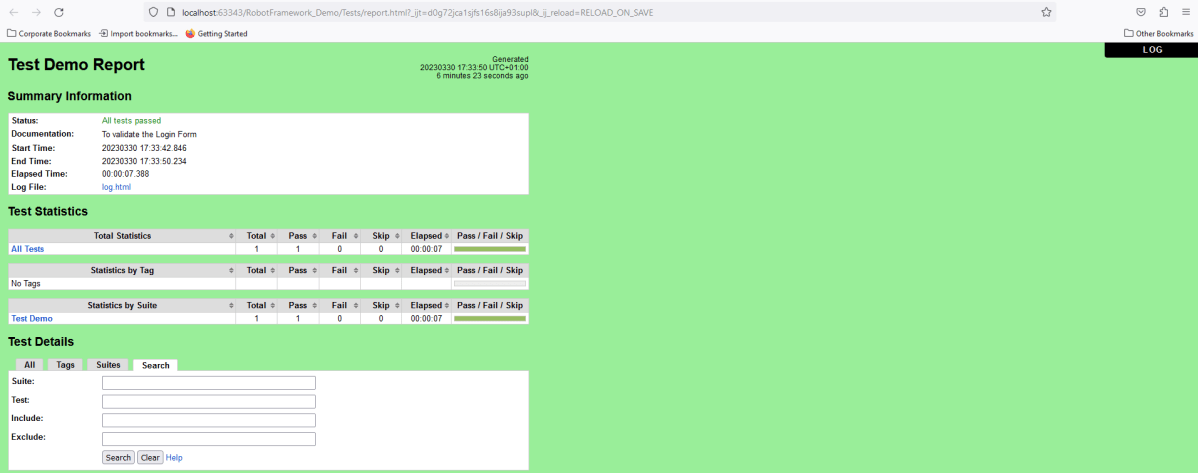
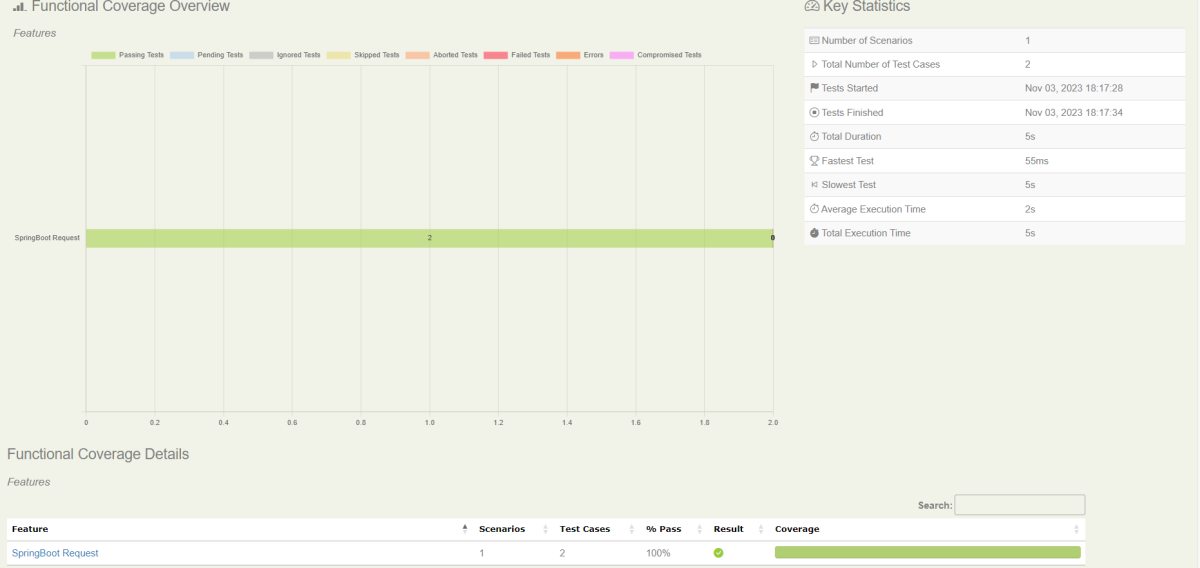
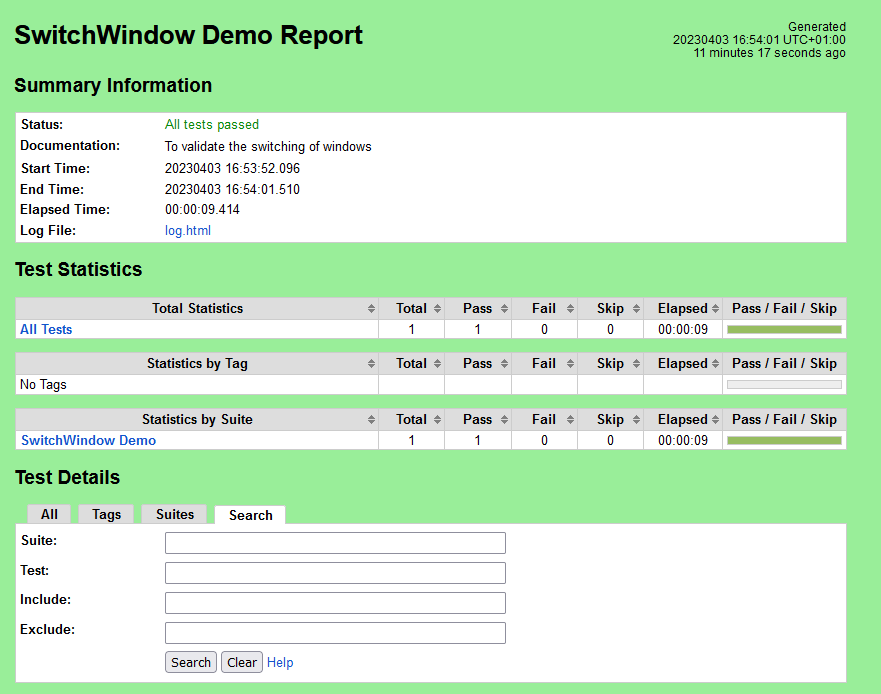
Report
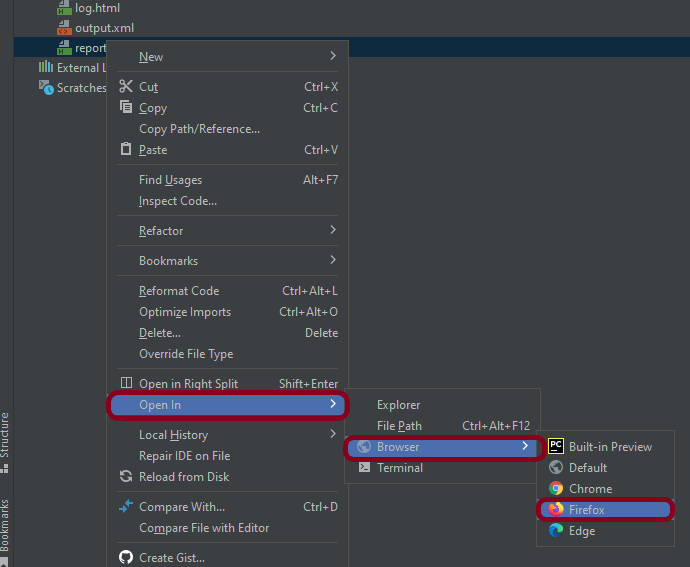
Right-click on report.html. Select Open In->Browser->Chrome(any browser of your wish).

The Report generated by the framework is shown below:
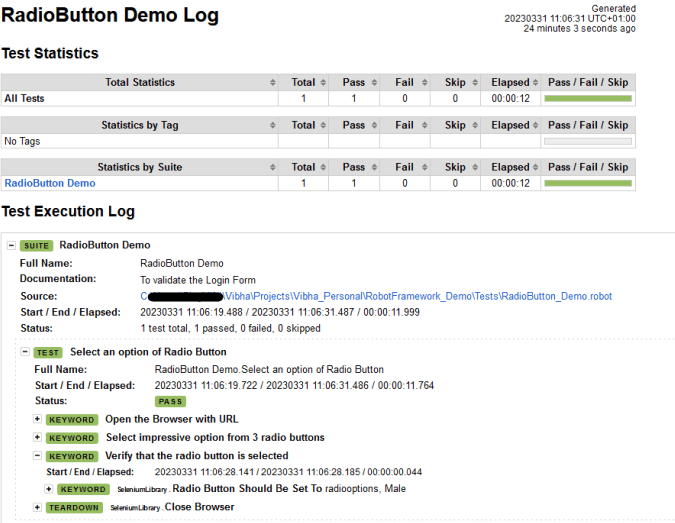
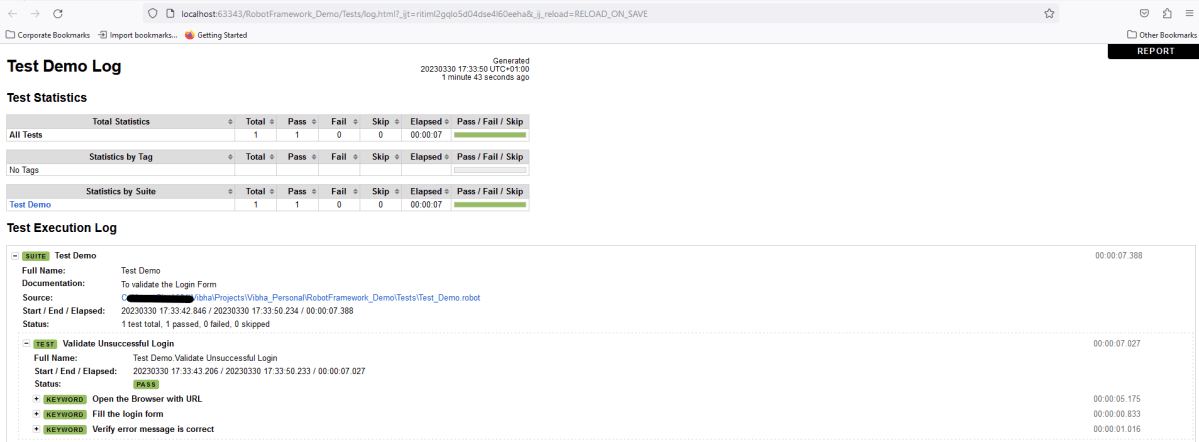
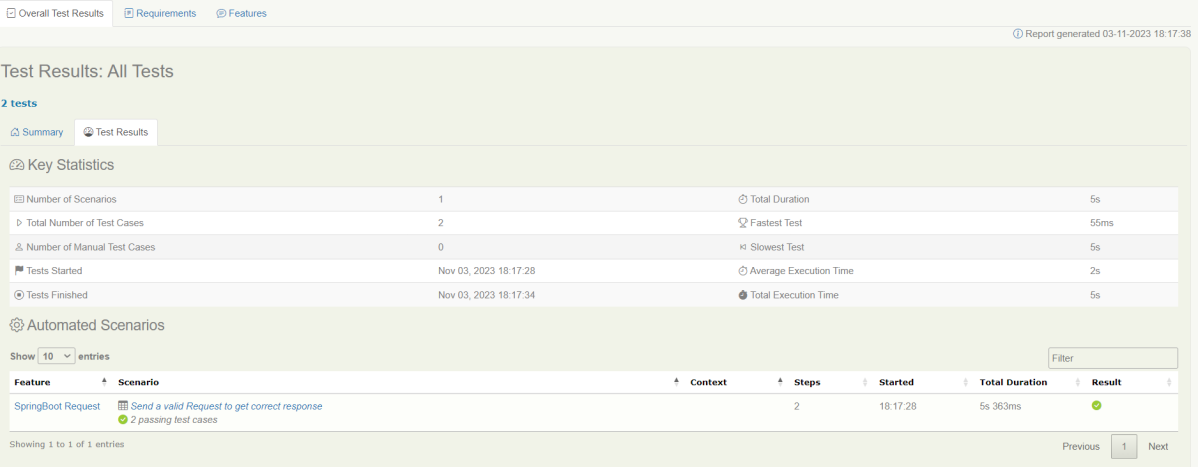
Log
Robot Framework has multiple log levels that control what is shown in the automatically generated log file. The default Robot Framework log level is INFO.
Right-click on log.html. Select Open In->Browser->Chrome(any browser of your wish).

Multiple Window Switch
Selenium WebDriver assigns an alphanumeric id to each window as soon as the WebDriver object is instantiated. This unique alphanumeric id is called a window handle. Selenium uses this unique id to switch control among several windows. In simple terms, each unique window has a unique ID, so that Selenium can differentiate when it is switching controls from one window to the other.

The below page shows that when we click on “Open Separate Multiple Windows”, then click on the “click” button, 2 new child windows open – Selenium.dev and Demo page.

Below is an example of switching between multiple windows.
*** Settings ***
Documentation    To validate the switching between multiple windows
Library     SeleniumLibrary
Test Teardown    Close Browser

*** Variables ***
${mainPageText}    xpath://div[@class='col-sm-8 col-xs-8 col-md-8']/h1

*** Test Cases ***
Multiple Windows switch
    Open the Browser with URL
    Select the button to switch to child window
    Verify child windows are opened
    Verify user switched back to parent window

*** Keywords ***
Open the Browser with URL
    Create Webdriver    Chrome  executable_path=/Vibha_Personal/RobotFramework/drivers/chromedriver_linux64
    Go To    https://demo.automationtesting.in/Windows.html
    Maximize Browser Window
    Set Selenium Implicit Wait    5

Select the button to switch to child window
    Click Element    xpath://div[@class='tabpane pullleft']/ul/li[3]/a
    Click Button    xpath:.//*[@id='Multiple']/button


Verify child windows are opened
    @{windowHandle}=    Get Window Handles

    Switch Window   title:Selenium
    Page Should Contain     Selenium automates browsers. That's it!

    Switch Window   title:Index
    Page Should Contain Textfield      id:email


Verify user switched back to parent window
     Switch Window    MAIN
     Element Text Should Be     ${mainPageText}    Automation Demo Site
All the below-mentioned keywords are derived from SeleniumLibrary. The functionality of keywords mentioned above:
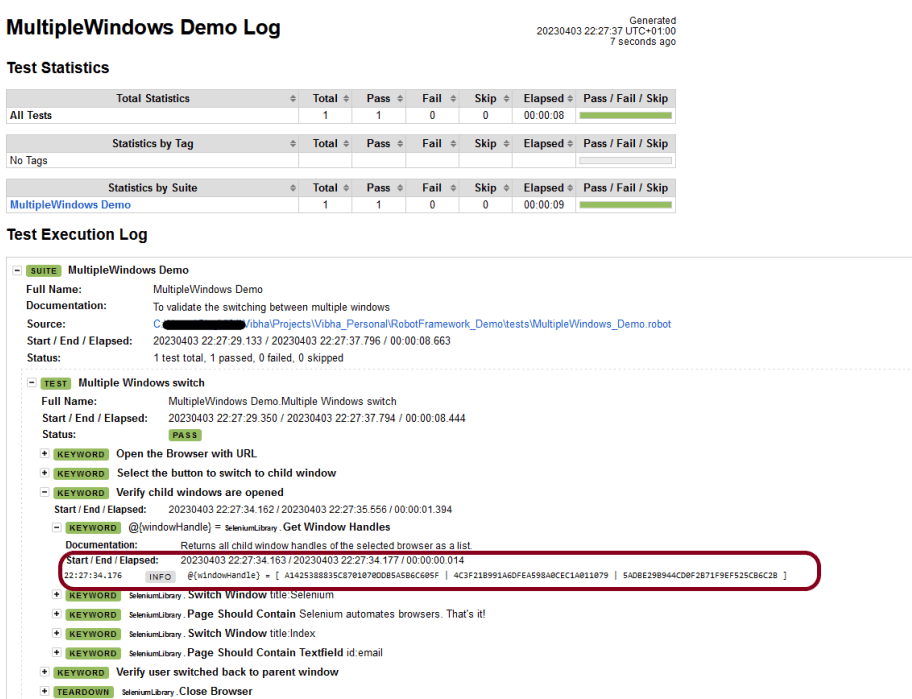
1. Get Window Handles − The keyword returns all child window handles of the selected browser as a list. Here, it will return 3 window handles.
2. Switch Window title:Selenium – This keyword is used to switch to the window whose title is identified by the locator “Selenium”.
3. Page Should Contain Textfield – This keyword verifies the text field identified by the locator found from the current page.
Step 1 – Execute the tests
We need the below command to run the Robot Framework script.
robot MultipleWindows_Demo.robot
The output of the above program is

Step 2 – View Report and Log
Report

Log
In the log, we can see that Get Window Handles has 3 alphanumeric id.
That’s it! Congratulations on making it through this tutorial and hope you found it useful! Happy Learning!!