Last Updated On
In this article, we will discuss how to perform Basic Auth with base64. We will focus on its implementation in Robot Framework.
What is Basic Auth?
Basic Authentication (Basic Auth) is a simple authentication scheme built into the HTTP protocol. It is used to securely transmit user credentials (username and password) to authenticate to an API or a web service.
Below is an example of authentication in Postman.

Table of Contents
Prerequisite:
- Install Python
- Install PIP
- Install Robot Framework
- Install Robot framework Selenium Library
- Install PyCharm IDE
Please refer to this tutorial to install Robot Framework – How to install and setup Robot Framework for Python.
What is RequestLibrary?
RequestLibrary is a Robot Framework library aimed to provide HTTP API testing functionalities by wrapping the well-known Python Requests Library.
Implementation Steps:
Step 1 – Create a new project
Step 1.1 – Open PyCharm and create a new project. Go to File and select New Project from the main menu.
Step 1.2 – Choose the project location. Click the “Browse” button next to the Location field and specify the directory for your project.
Deselect the Create a main.py welcome script checkbox because you will create a new Python file for this tutorial.
Click on the “Create” Button.
Step 1.3 – A new dialog appears asking to open the project using any one of the given options. I have selected New Window as I like to have separate windows for each project.
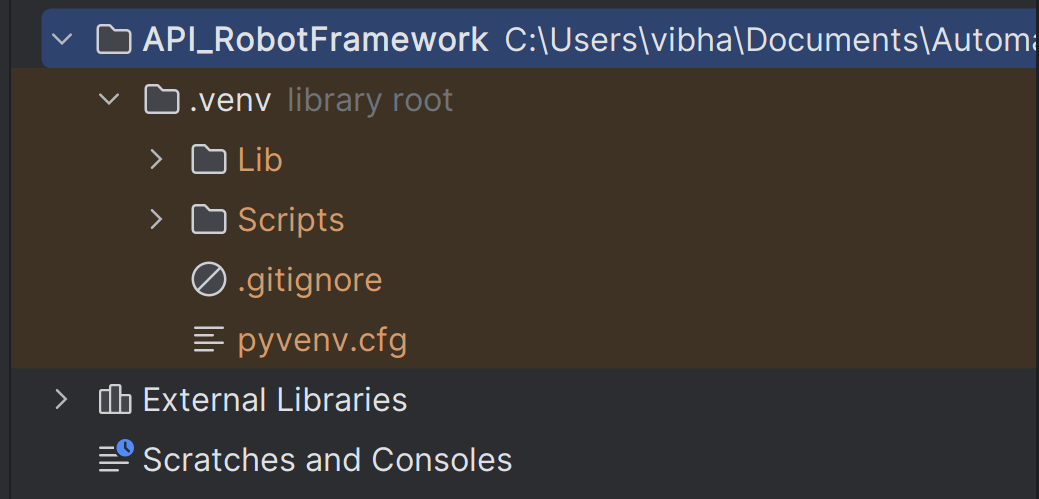
Below is the image of the new project created in PyCharms.
Step 2 – Install RequestLibrary
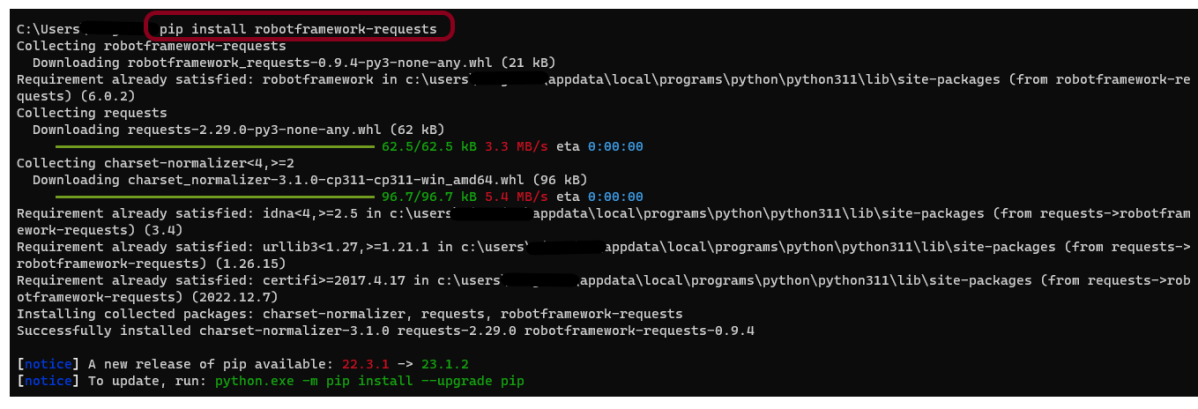
To install RequestLibrary, you need to use the below command:
pip install robotframework-requests
Step 3 – Add robotframework-requests package to the PyCharms
Go to File->Settings ->Project:API_RobotFramework ->Python Interpreter.
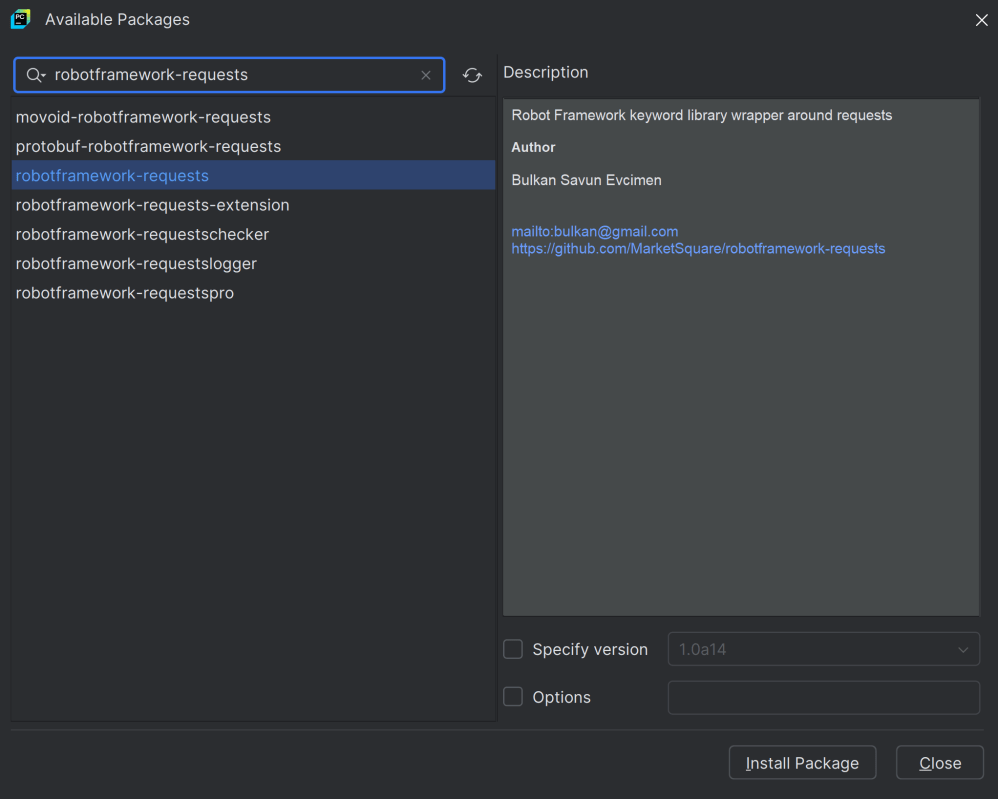
Click on the “+” sign and enter robotframework-requests in the search bar. It will show a list of packages. Select the “robotframework-requests” package and click on the “Install Package”.
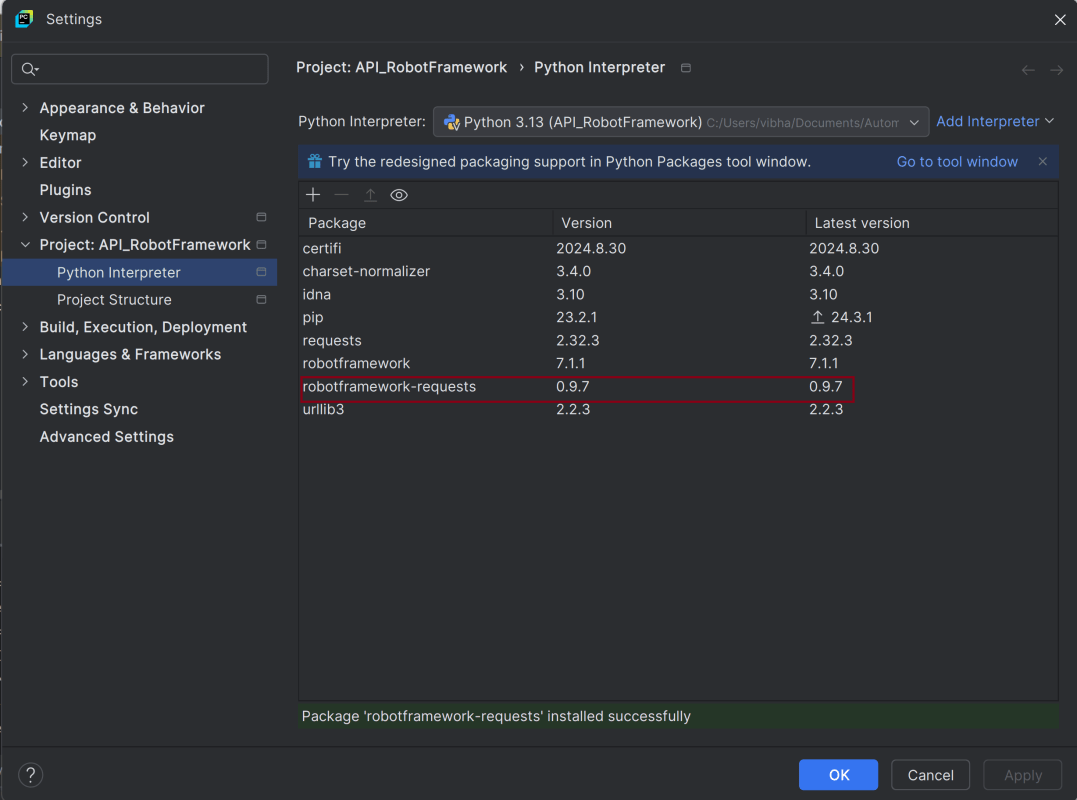
Once the package is installed, we will see the message that the package is installed successfully.

Once the package is installed, it can be seen under the package list as shown below:
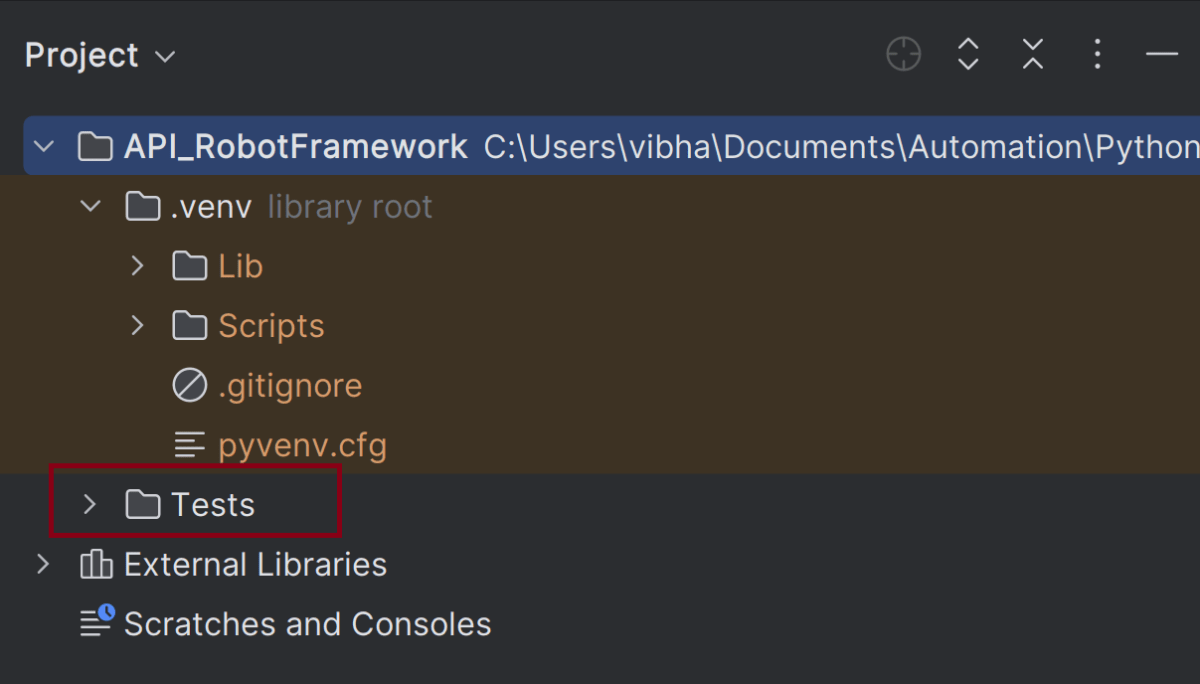
Step 4 – Create a new directory in the new project
Right-Click on the project, select New->Directory, and provide the name as Tests
Below is the image of the new directory.
Right-click on the new directory and select New File and provide the name as AuthTokenDemo.robot as shown below:

Step 5 – Create API tests in Robot Framework
The API Test in Robot Framework.
*** Settings ***
Library           RequestsLibrary
Library           Collections
Library           BuiltIn

*** Variables ***
${BASE_URL}       https://httpbin.org/basic-auth/user/pass
${USERNAME}       user
${PASSWORD}       pass
#${HEADERS}        Create Dictionary    Content-Type=application/json

**** Keywords ***
Create Basic Auth Header

    # Concatenate the username and password in "user:pass" format
    ${credentials}=    Set Variable    ${username}:${password}
    Log To Console    Credentials: ${credentials}

    # Encode the credentials using base64 encoding
    ${encoded}=    Evaluate    str(base64.b64encode('${credentials}'.encode('utf-8')), 'utf-8')    modules=base64
    Log To Console    Encoded Credentials: ${encoded}

    # Create a headers dictionary and add the Authorization header
    ${headers}=    Create Dictionary    Content-Type=application/json
    Set To Dictionary    ${headers}    Authorization=Basic ${encoded}
    RETURN    ${headers}

**** Test Cases ***
Test Preemptive Basic Auth with Custom Header
    [Documentation]   Manually setting Authorization header for preemptive Basic Authentication

    ${headers}=    Create Basic Auth Header

    Create Session    api    ${BASE_URL}    headers=${headers}
    ${response}=      GET On Session    api    url=${BASE_URL}
    Log To Console    Status Code: ${response.status_code}
    Log To Console    Response Body: ${response.text}
    Should Be Equal As Numbers    ${response.status_code}    200
Variables Section
${BASE_URL}: The base URL for the HTTP request.
${USERNAME} and ${PASSWORD}: Credentials for Basic Authentication.
Keywords Section
This custom keyword creates an HTTP header with Basic Authentication.
1. This concatenates the username and password into the format "user:pass".
${credentials}=    Set Variable    ${username}:${password}
Log To Console    Credentials: ${credentials}
2. Converts the string “user:pass” into a base64-encoded format. This is required for the Authorization header in Basic Authentication.
${encoded}=    Evaluate    str(base64.b64encode('${credentials}'.encode('utf-8')), 'utf-8')    modules=base64
Log To Console    Encoded Credentials: ${encoded}
3. Create Headers Dictionary
Create Dictionary: Initializes a dictionary with a key-value pair for Content-Type.
Set To Dictionary: Adds the Authorization header with the value Basic .
RETURN: Returns the dictionary to the calling test case.
${headers}=    Create Dictionary    Content-Type=application/json
Set To Dictionary    ${headers}    Authorization=Basic ${encoded}
RETURN    ${headers}
Test Case Section:
This test case uses the Create Basic Auth Header keyword to perform an authenticated GET request.
1. Calls the Create Basic Auth Header keyword to get a dictionary containing the HTTP headers for the request.
${headers}= Create Basic Auth Header
2. Initializes an HTTP session named “api” with the specified base URL and headers. The headers contain Authorization for Basic Authentication.
Create Session api ${BASE_URL} headers=${headers}
3. Sends a GET request on the “api” session to the specified URL. This request uses the headers created earlier, which include Basic Authentication.
${response}= GET On Session api url=${BASE_URL}
${response}= We are saving the response of the GET operation in the ${response} variable.
4. Asserts that the response status code is 200, indicating a successful request.
 Log To Console    Status Code: ${response.status_code}
Log To Console    Response Body: ${response.text}
Should Be Equal As Numbers    ${response.status_code}    200
Step 6 – Execute the tests
We need the below command to run the Robot Framework script.
robot BasicAuthDemo.robot
The output of the above program is

Step 7 – View Report and Log
We have the test case passed. The Robot Framework generates log.html, output.xml, and report.html by default.
Let us now see the report and log details.
Report
Right-click on report.html. Select Open In->Browser->Chrome(any browser of your wish).
The Report generated by the framework is shown below:

Log
Robot Framework has multiple log levels that control what is shown in the automatically generated log file. The default Robot Framework log level is INFO.
Right-click on log.html. Select Open In->Browser->Chrome(any browser of your wish).

That’s it! Congratulations on making it through this tutorial and hope you found it useful! Happy Learning!!
Additional Tutorials
