The previous tutorial explains the process of staging and committing a change. But, to track all the commits that have occurred in the project, there is a command called git log.
What is git log command?
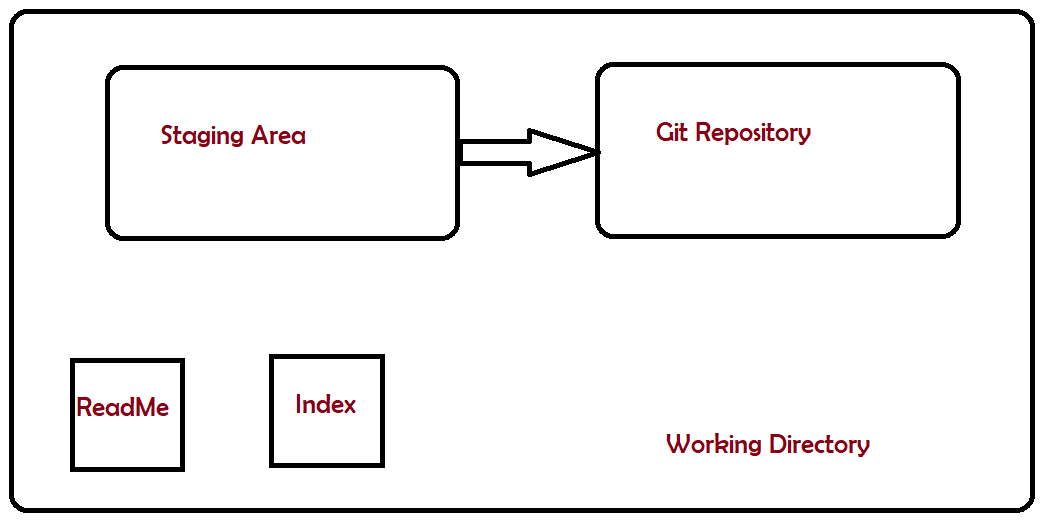
The git log command shows the snapshot of all the committed changes. It is used for listing and filtering the project history, and searching for particular changes.
To explain the usage of the git log, let us follow a few steps.
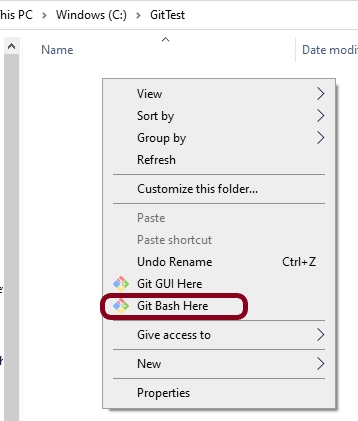
Step 1 – Create an empty directory – GitTest.
Step 2 – Right-click and click on Git Bash Here to open GitBash at that place.
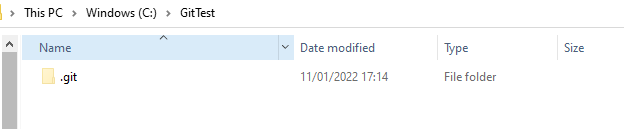
Step 3 – Type a git command as shown below. This command is used for the initial setup of a Git local Repository. To know how to create an empty directory, refer to this tutorial.
git init
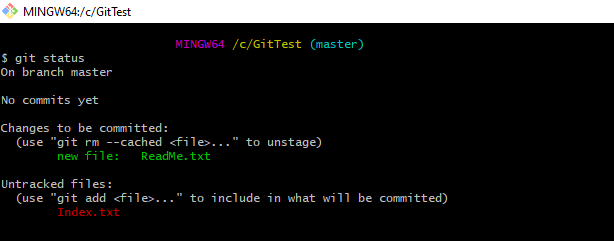
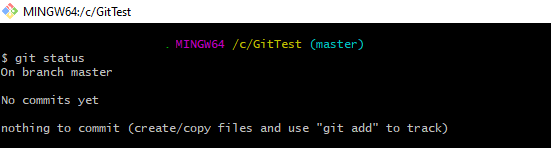
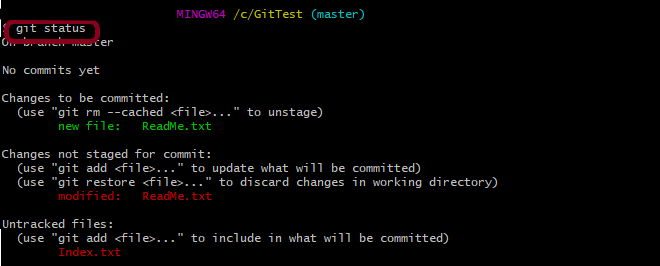
Step 4 – Use the below command to display the state of the working directory and the staging area.
git status
Step 5 – Create 2 new files with some content – ReadMe.txt and Index.txt.
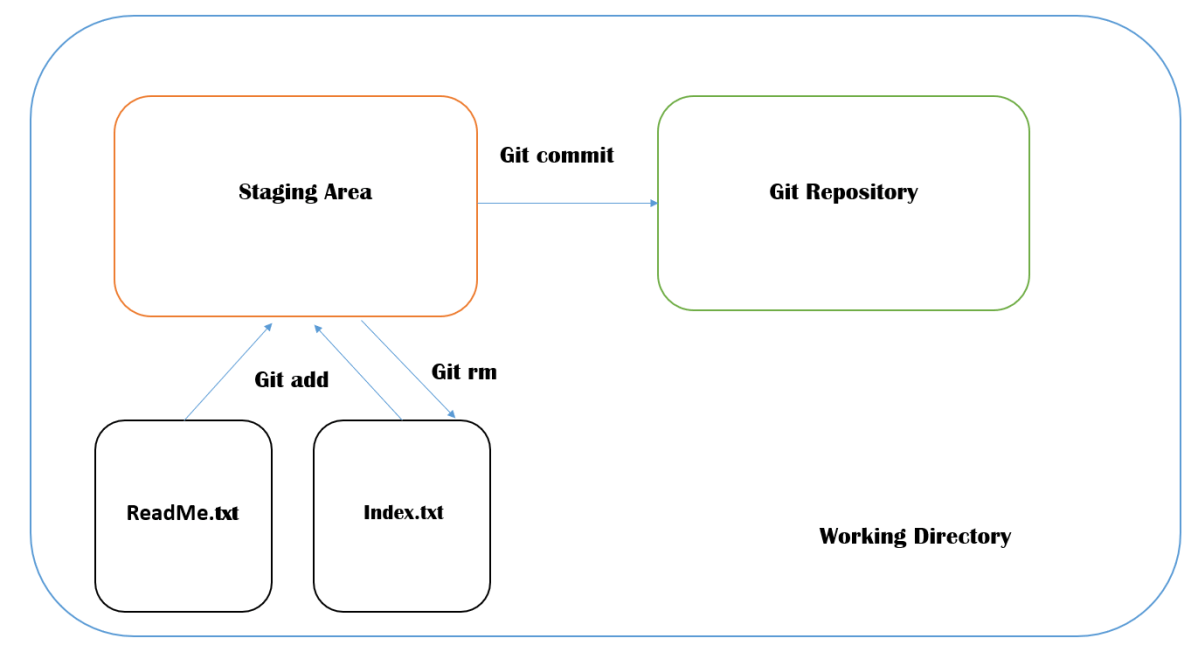
Step 6 – Use the below command to promote pending changes (new file or altered file) in the working directory, to the git Staging area.
git add ReadMe.txt
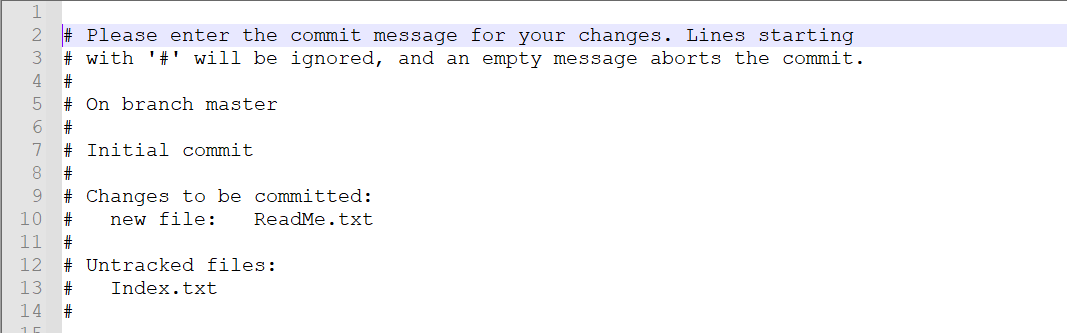
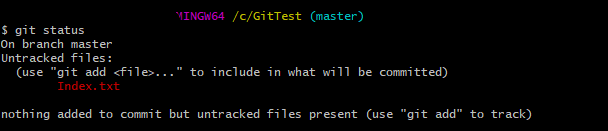
Step 7 – Use the below command to promote the changes from Staging Area to GIT local repository. This is our first commit.
git commit ReadMe.txt
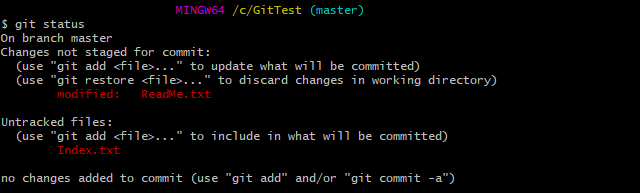
Step 8 – Update ReadMe.txt file
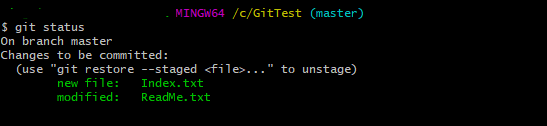
Step 9 – Use the below command to promote both ReadMe.txt and Index.txt to the staging area, which means both files are staged.
git add .
Step 10 – Use the below command to commit both the files to GIT local Repository.
git commit -am "Second Commit with Index and ReadMe files"
Step 11 – Type the below command to see the snapshot of all the commits.
git log
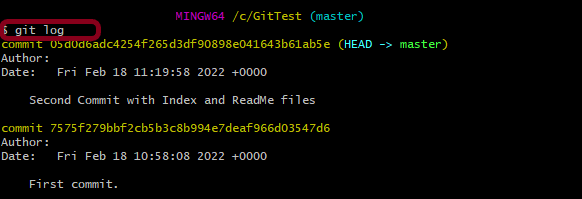
By default, formatting, shows the whole commit history.
There are various configurations of git log:-
1. git log –patch or git log -p
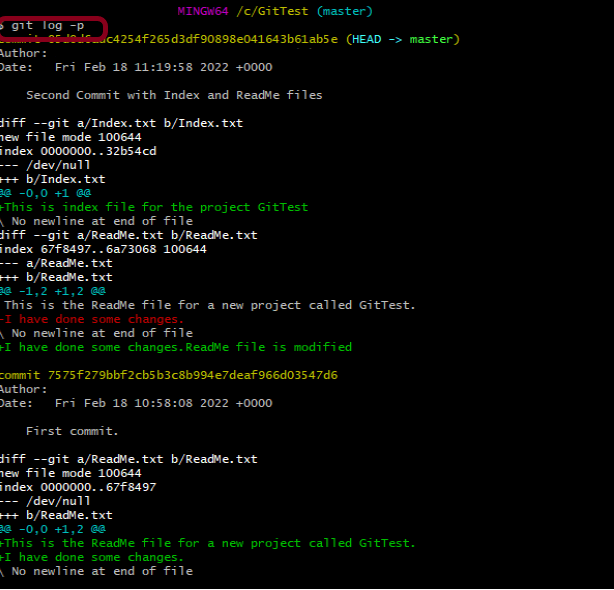
This command shows the patch for each commit as well as their full differences.
2. git log –stat
This command displays the number of insertions and deletions to each file altered by each commit (note that modifying a line is represented as 1 insertion and 1 deletion). This is useful when you want a brief summary of the changes introduced by each commit.

3. git log –pretty
git log --pretty=format:"%cn committed %h on %cd"
This command display each commit using printf-style placeholders. The %cn, %h and %cd characters in the command are replaced with the committer name, abbreviated commit hash, and the committer date, respectively.

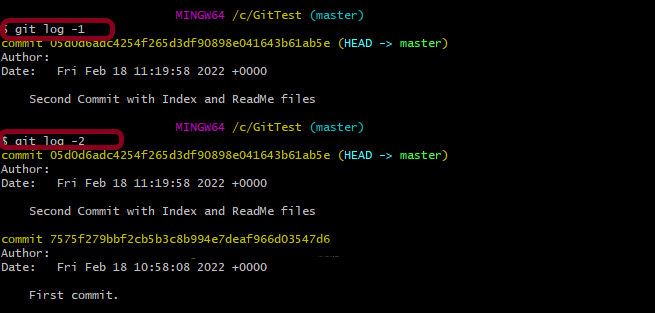
4. git log -n where n is the limit
git log -1
This command limits the number of commits to be displayed.
5. git log –author
git log --author ="Singh"
This command displays all commits for the specified author. If there is no match for the author, nothing will be displayed.

6. git log — fileName
git log -- Index.txt
This command displays those commits that include the specified file, which makes it easier to see the file’s history.

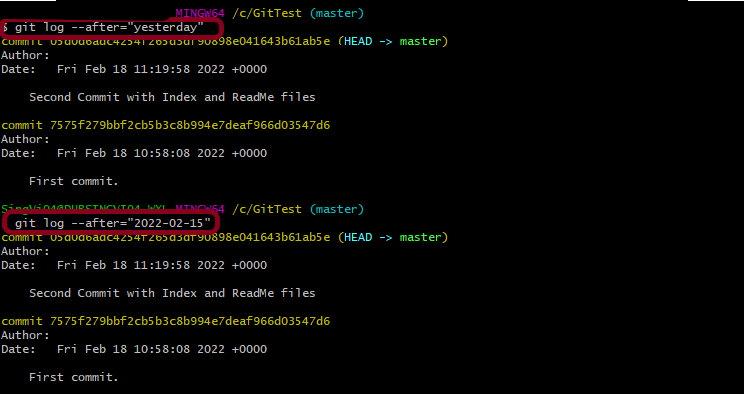
7. git log –after
git log --after="yesterday"
git log --after="2022-02-15"
This command displays a commit from a specific time frame. We can use both –after or –before.
Congratulations!! We have learned about the git log, which is very useful for tracking the changes. Happy Learning!!