In the previous tutorial, I explained Apache JMeter. This tutorial explains how to download and install JMeter.
JMeter is a 100% pure Java application, it requires Java installed on your machine.
I’m going to download JMeter Version 5.6 which needs Java 8 and above.
1) Install Java
Verify whether Java is installed on your machine or not.
Open a Command-Line console by clicking on the start menu then type cmd, and type the below command.
java -version

If you don’t see the Java version, then you need to download and install the latest version of Java SE Development Kit. Download Java Platform (JDK) from here.
2) Download Apache JMeter
The latest version of JMeter is Apache JMeter 5.6 now. You can download it here. Choose the Binaries file (either zip or tgz) to download as shown in the figure below.

3) Install JMeter
We don’t need to install JMeter, just unzip the JMeter downloaded folder. Go to the path where JMeter was downloaded and unzip the folder.
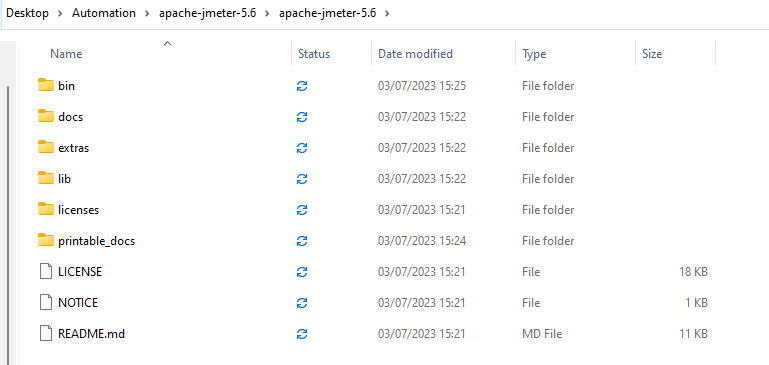
You should see the following files within the apache-jmeter-XX folder:
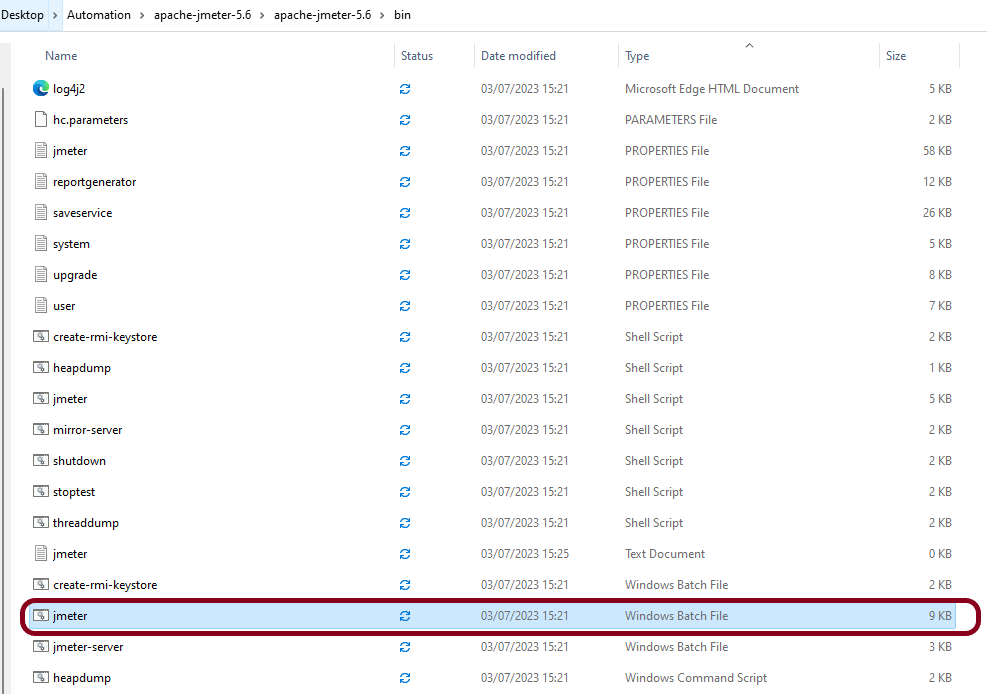
- bin: contains the executable files to launch JMeter, and configuration files to tweak JMeter settings,
- docs: JMeter’s documentation in HTML format,
- extras: some useful side tools like excel sheets to compute graphs from JTL result files,
- lib: JMeter’s libraries, which are mostly Java JAR files,
- printable_docs: documentation in printable format.
4) Launch JMeter
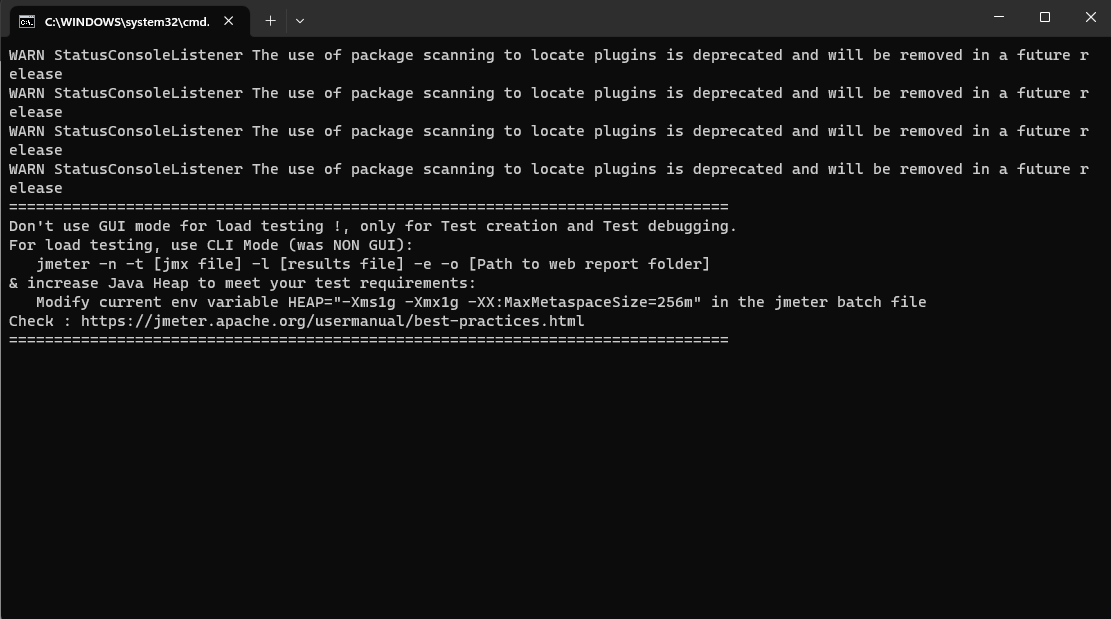
Double-click on jmeter-bat.
It will open a command terminal as shown below.
The following image shows the various components in the JMeter GUI

5) Upgrading JMeter
When a new JMeter version is available, the new JMeter version must be installed in a fresh new folder.
Please do not unzip a new JMeter version over a previous one.
Simply repeat the steps above to install a new version.
In the next tutorial, will send a GET Request.
We are done! Congratulations on making it through this tutorial and hope you found it useful! Happy Learning!!
