What is Parallel Testing?
Parallelism or multi-threading in software terms is defined as the ability of the software, operating system, or program to execute multiple parts or sub-components of another program simultaneously.
Parallel testing helps to reduce execution time and efforts and results in faster time to delivery. In a scenario where we have two versions of software available, and we need to check its stability and compatibility, we can run the two versions simultaneously and find issues at a much faster rate.
How to run Parallel Tests with Selenium?
TestNG provides multiple ways to execute tests in separate threads. In testng.xml, if we set ‘parallel’ attribute on the tag to ‘methods’, testNG will run all the ‘@Test’ methods in tag in a separate thread.
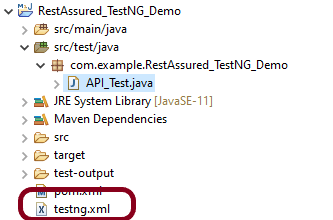
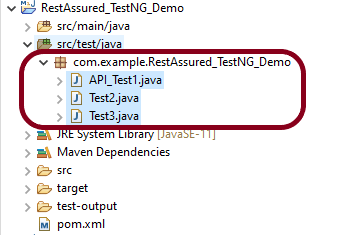
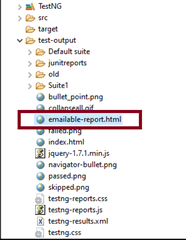
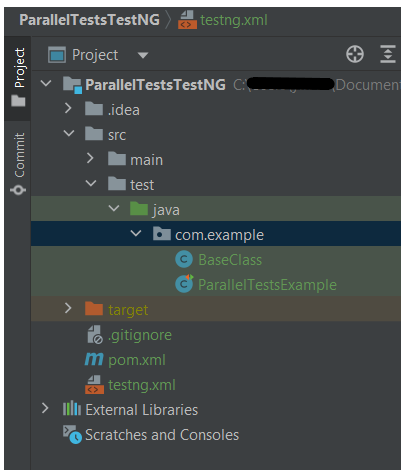
The project Structure looks like shown below:-
To start with, add the below mentioned dependencies to POM.xml (Maven project)
<project xmlns="http://maven.apache.org/POM/4.0.0" xmlns:xsi="http://www.w3.org/2001/XMLSchema-instance"
         xsi:schemaLocation="http://maven.apache.org/POM/4.0.0 http://maven.apache.org/xsd/maven-4.0.0.xsd">
    <modelVersion>4.0.0</modelVersion>

    <groupId>com.example</groupId>
    <artifactId>ParallelTestsTestNG</artifactId>
    <version>1.0-SNAPSHOT</version>
    <packaging>jar</packaging>

    <name>ParallelTestsTestNG</name>
    <url>http://maven.apache.org</url>

    <properties>
        <project.build.sourceEncoding>UTF-8</project.build.sourceEncoding>
        <selenium.version>4.21.0</selenium.version>
        <testng.version>7.10.2</testng.version>
        <maven.compiler.plugin.version>3.13.0</maven.compiler.plugin.version>
        <maven.compiler.source.version>17</maven.compiler.source.version>
        <maven.compiler.target.version>17</maven.compiler.target.version>
        <maven.surefire.plugin.version>3.2.5</maven.surefire.plugin.version>
        <java.version>17</java.version>
    </properties>

    <dependencies>

        <dependency>
            <groupId>org.seleniumhq.selenium</groupId>
            <artifactId>selenium-java</artifactId>
            <version>${selenium.version}</version>
        </dependency>

        <dependency>
            <groupId>org.testng</groupId>
            <artifactId>testng</artifactId>
            <version>${testng.version}</version>
            <scope>test</scope>
        </dependency>

    </dependencies>

    <build>
        <plugins>
            <plugin>
                <groupId>org.apache.maven.plugins</groupId>
                <artifactId>maven-surefire-plugin</artifactId>
                <version>${maven.surefire.plugin.version}</version>
                <configuration>
                    <suiteXmlFiles>
                        <suiteXmlFile>testng.xml</suiteXmlFile>
                    </suiteXmlFiles>
                </configuration>
                <dependencies>
                    <dependency>
                        <groupId>org.apache.maven.surefire</groupId>
                        <artifactId>surefire-testng</artifactId>
                        <version>${maven.surefire.plugin.version}</version>
                    </dependency>
                </dependencies>
            </plugin>

            <plugin>
                <groupId>org.apache.maven.plugins</groupId>
                <artifactId>maven-compiler-plugin</artifactId>
                <version>${maven.compiler.plugin.version}</version>
                <configuration>
                    <source>${maven.compiler.source.version}</source>
                    <target>${maven.compiler.target.version}</target>
                </configuration>
            </plugin>
        </plugins>
    </build>
</project>
Let us create a class with multiple tests. In the below Example, we have created three test cases or methods . We want to run these methods parallelly. To achieve this, we need to add the below command in testng.xml
parallel="methods"
Below is an example of parallel tests.
import org.openqa.selenium.By;
import org.openqa.selenium.WebDriver;
import org.openqa.selenium.chrome.ChromeDriver;
import org.openqa.selenium.chrome.ChromeOptions;
import org.testng.Assert;
import org.testng.annotations.*;

import java.time.Duration;

public class ParallelTestsExample1 {


    @Test
    public void invalidLoginTest() {

        System.out.println("Test Case 1 with Thread Id - "+Thread.currentThread().getId());
        ChromeOptions options = new ChromeOptions();
        options.addArguments("--start-maximized");
        WebDriver driver = new ChromeDriver(options);
        driver.manage().timeouts().implicitlyWait(Duration.ofSeconds(5));
        driver.get("https://opensource-demo.orangehrmlive.com/web/index.php/auth/login");
        driver.findElement(By.name("username")).sendKeys("admin123123");
        driver.findElement(By.name("password")).sendKeys("adm");
        driver.findElement(By.xpath("//*[@class='oxd-form']/div[3]/button")).click();
        String expectedError = driver.findElement(By.xpath("//*[@class='orangehrm-login-error']/div[1]/div[1]/p")).getText();
        Assert.assertTrue(expectedError.contains("Invalid credentials"));

    }

    @Test
    public void validLoginTest() throws InterruptedException {

        System.out.println("Test Case 2 with Thread Id - "+Thread.currentThread().getId());
        ChromeOptions options = new ChromeOptions();
        options.addArguments("--start-maximized");
        WebDriver driver = new ChromeDriver(options);
        driver.manage().timeouts().implicitlyWait(Duration.ofSeconds(5));
        driver.get("https://opensource-demo.orangehrmlive.com/web/index.php/auth/login");
        driver.findElement(By.name("username")).sendKeys("Admin");
        driver.findElement(By.name("password")).sendKeys("admin123");
        driver.findElement(By.xpath("//*[@class='oxd-form']/div[3]/button")).click();
        String expectedTitle = driver.findElement(By.xpath("//*[@class='oxd-topbar-header-breadcrumb']/h6")).getText();
        Assert.assertTrue(expectedTitle.contains("Dashboard"));
    }

    @Test
    public void forgotLinkTest() {

        System.out.println("Test Case 3 with Thread Id - "+Thread.currentThread().getId());
        ChromeOptions options = new ChromeOptions();
        options.addArguments("--start-maximized");
        WebDriver driver = new ChromeDriver(options);
        driver.manage().timeouts().implicitlyWait(Duration.ofSeconds(5));
        driver.get("https://opensource-demo.orangehrmlive.com/web/index.php/auth/login");

        String expectedLink = driver.findElement(By.className("orangehrm-login-forgot-header")).getText();
        Assert.assertTrue(expectedLink.contains("Forgot your password?"));
    }


}
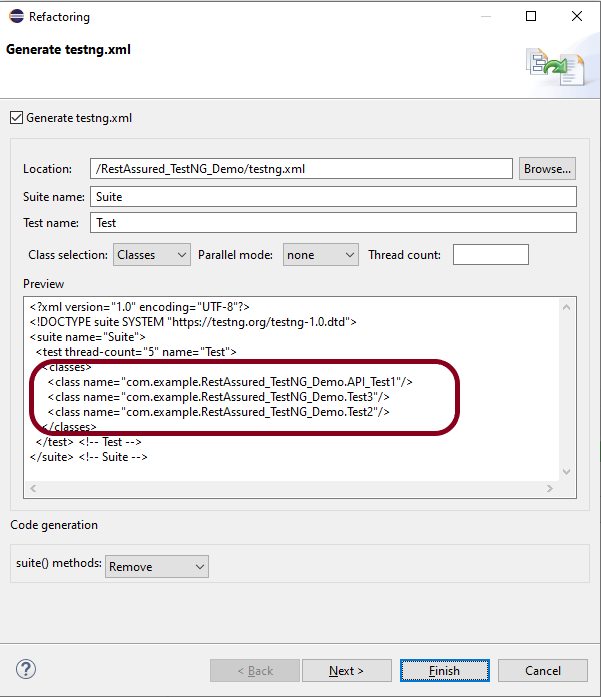
Now, let us create a testng.xml. Right click on the project and select TestNG -> Convert to TestNG.

The attribute thread-count allows you to specify how many threads should be allocated for this execution.
parallel = “methods” means that the methods will run parallel
The parallel attribute can be extended for multiple values, as below:
· Methods: Helps run methods in separate threads
· Tests: Help to run all methods belonging to the same tag in the same thread, means tests will run sequentially
· Classes: Helps to run all methods belonging to a class in a single thread
· Instances: Helps run all methods in the same instance in the same thread
testng.xml
<?xml version="1.0" encoding="UTF-8"?>
<!DOCTYPE suite SYSTEM "https://testng.org/testng-1.0.dtd">
<suite name="Suite">
  <test name="Parallel Tests" parallel = "methods" thread-count="3">
    <classes>
      <class name="com.example.parallel.ParallelTestsExample"/>
    </classes>
  </test> <!-- Test -->
</suite> <!-- Suite -->
How to run the tests?
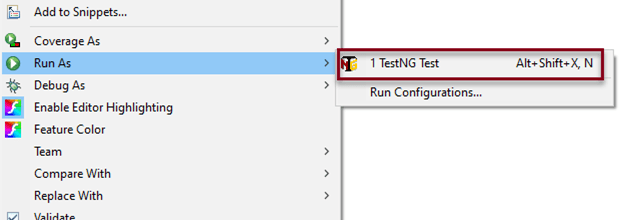
Right-click on testng.xml and select Run AS -> TestNG Suite. If you will run the Test Class – ParallelTestDemo.java as Right click and then Run As TestNG Tests, then the methods will run sequentially.
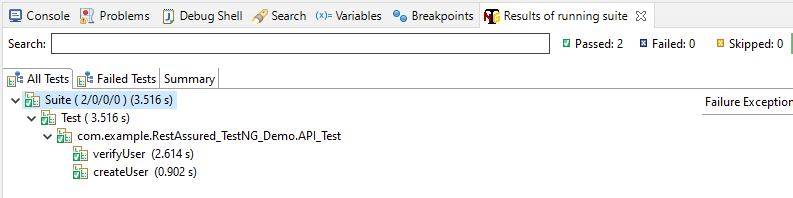
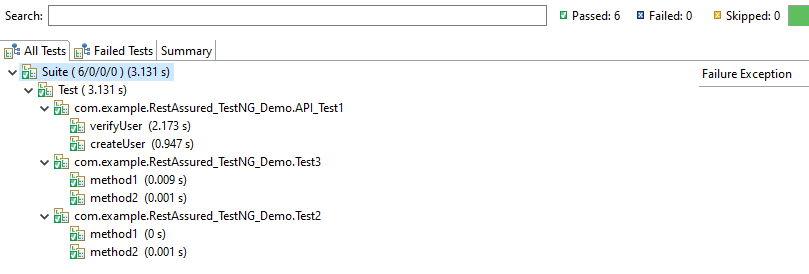
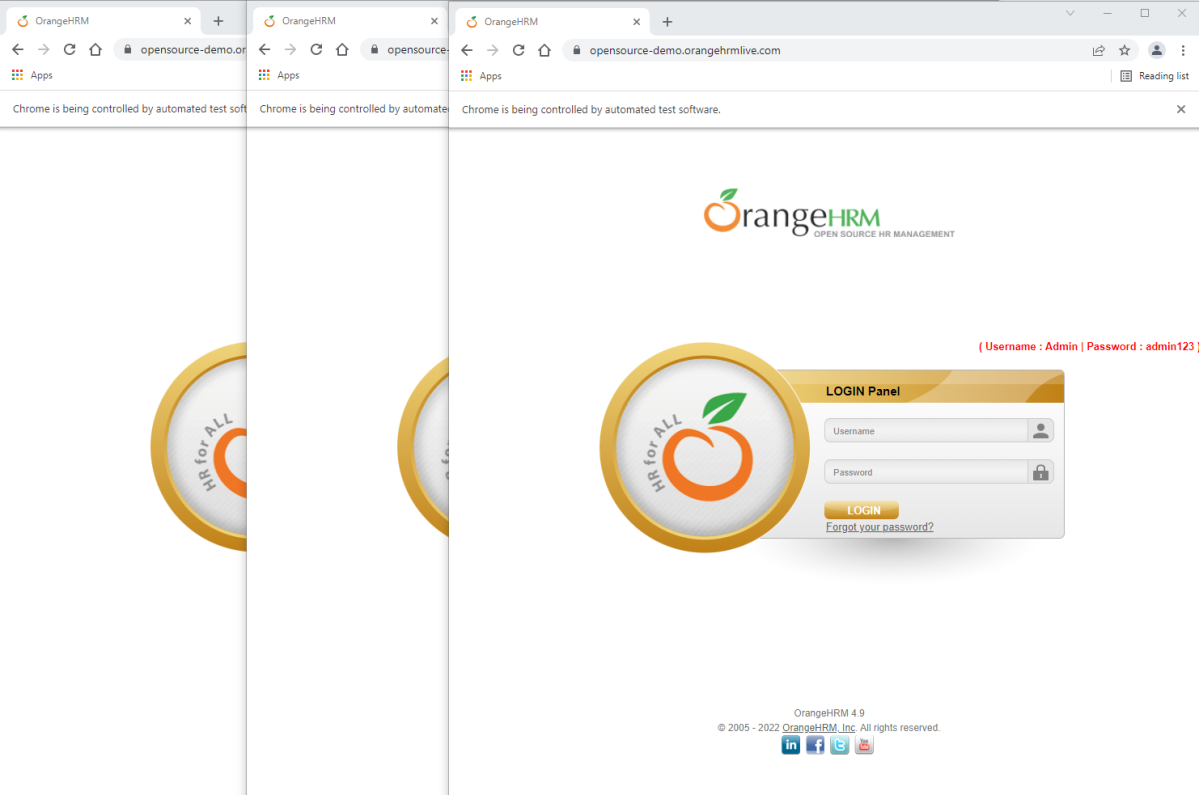
Execution

Here it can be seen that 3 tests were running on thread no – 19, 20 and 21. Out of all 3 tests, browser for only 1 test is closed and rest 2 browsers are left open.
First thread initialized a browser and set a value to static WebDriver reference. Second thread initialized another browser and set a new value to the same static WebDriver reference and this will impact value set by first thread as it is a static. All threads wanted to close same browser that is the reason there is one configuration method failure as one browser is closed another threads will not find sessions to close the browsers. Browser was closed already so last 2 tests did not able to close the browser.
To overcome this issue, will use ThreadLocal<WebDriver>. The complete program looks like as below:
First, I will create a HelperClass which contains the initialization of driver and closing the driver. I like to keep the tests only in Test Class. This is not mandatory. You can combine the code of both classes in one also.
HelperClass
import org.openqa.selenium.WebDriver;
import org.openqa.selenium.chrome.ChromeDriver;
import org.openqa.selenium.chrome.ChromeOptions;
import org.testng.annotations.AfterMethod;
import org.testng.annotations.BeforeMethod;

import java.time.Duration;

public class BaseClass {

    private static final ThreadLocal<WebDriver> driver = new ThreadLocal<WebDriver>();

    @BeforeMethod
    public void setDriver()  {

        ChromeOptions options = new ChromeOptions();
        options.addArguments("--start-maximized");
        driver.set(new ChromeDriver(options));
        driver.get().manage().timeouts().implicitlyWait(Duration.ofSeconds(5));
        driver.get().get("https://opensource-demo.orangehrmlive.com/web/index.php/auth/login");
        System.out.println("Before method Thread Id:" + Thread.currentThread().getId());

    }

    public WebDriver getDriver() {
        return driver.get();
    }

    @AfterMethod
    public  void closeBrowser() {
        System.out.println("After method Thread Id:" + Thread.currentThread().getId());
        driver.get().quit();
        driver.remove();
    }
}
ParallelTestsExample
import org.openqa.selenium.By;
import org.testng.Assert;
import org.testng.annotations.Test;

public class ParallelTestsExample extends BaseClass{

    @Test
    public void invalidLoginTest() {

        System.out.println("Test Case 1 with Thread Id - "+Thread.currentThread().getId());

        getDriver().findElement(By.name("username")).sendKeys("admin123123");
        getDriver().findElement(By.name("password")).sendKeys("adm");
        getDriver().findElement(By.xpath("//*[@class='oxd-form']/div[3]/button")).click();
        String expectedError = getDriver().findElement(By.xpath("//*[@class='orangehrm-login-error']/div[1]/div[1]/p")).getText();
        Assert.assertTrue(expectedError.contains("Invalid credentials"));

    }

    @Test
    public void validLoginTest() throws InterruptedException {

        System.out.println("Test Case 2 with Thread Id - "+Thread.currentThread().getId());

        getDriver().findElement(By.name("username")).sendKeys("Admin");
        getDriver().findElement(By.name("password")).sendKeys("admin123");
        getDriver().findElement(By.xpath("//*[@class='oxd-form']/div[3]/button")).click();
        Thread.sleep(5000);
        String expectedTitle = getDriver().findElement(By.xpath("//*[@class='oxd-topbar-header-breadcrumb']/h6")).getText();
        Assert.assertTrue(expectedTitle.contains("Dashboard"));
    }

    @Test
    public void forgotLinkTest() {

        System.out.println("Test Case 3 with Thread Id - "+Thread.currentThread().getId());

        String expectedLink = getDriver().findElement(By.className("orangehrm-login-forgot-header")).getText();
        Assert.assertTrue(expectedLink.contains("Forgot your password?"));
    }

}
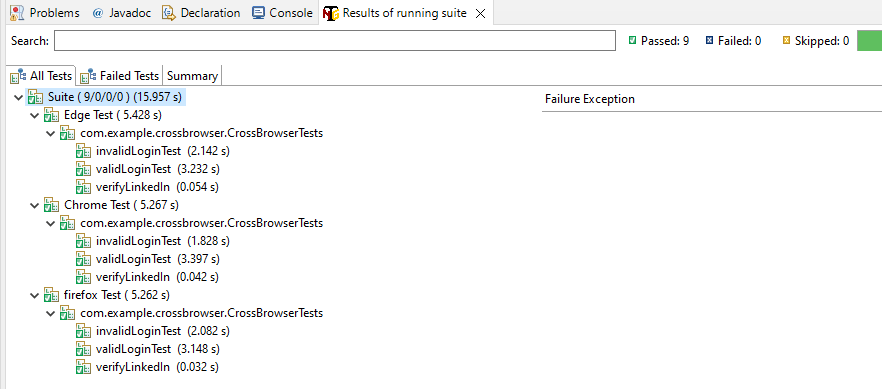
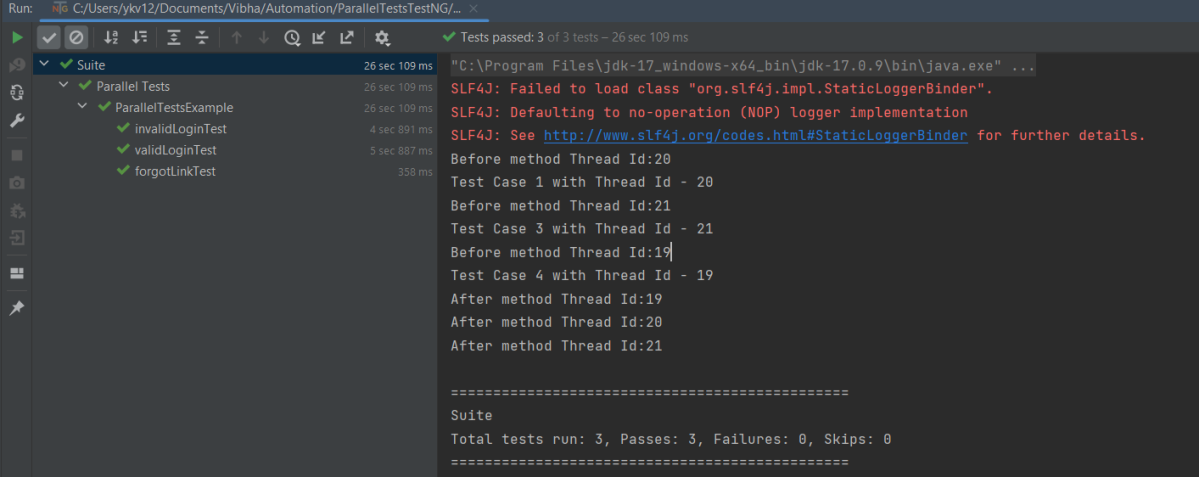
The output of the above program is
Report Generation
TestNG generates 2 reports – emailable-report.html and index.html
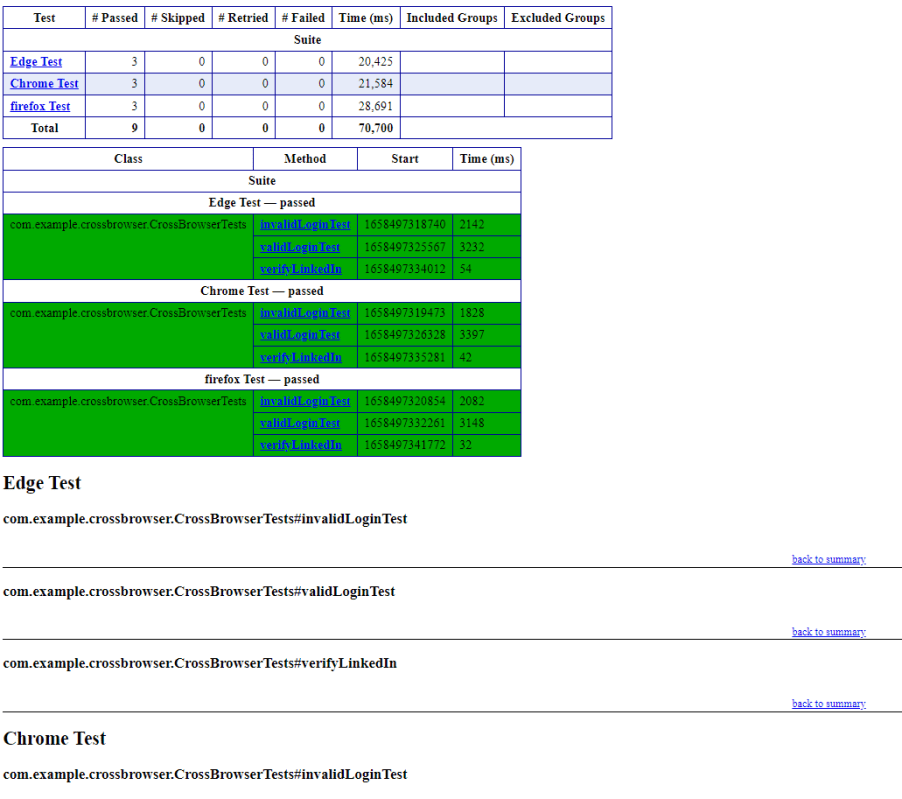
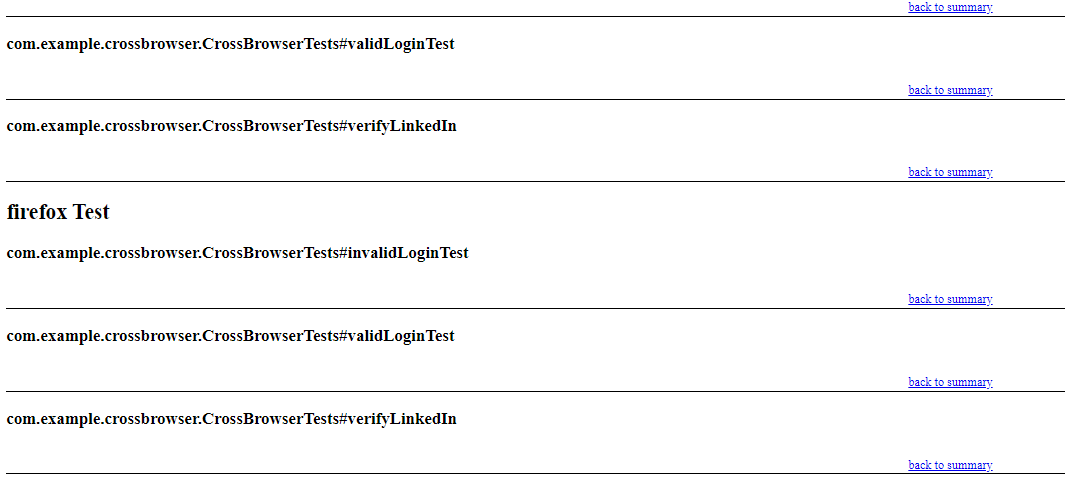
Emailable-Report.html
Go to test-output folder and open emailable-report.html
This report gives a summary of all the tests executed, passed, failed, skipped and retried with their respective execution time.

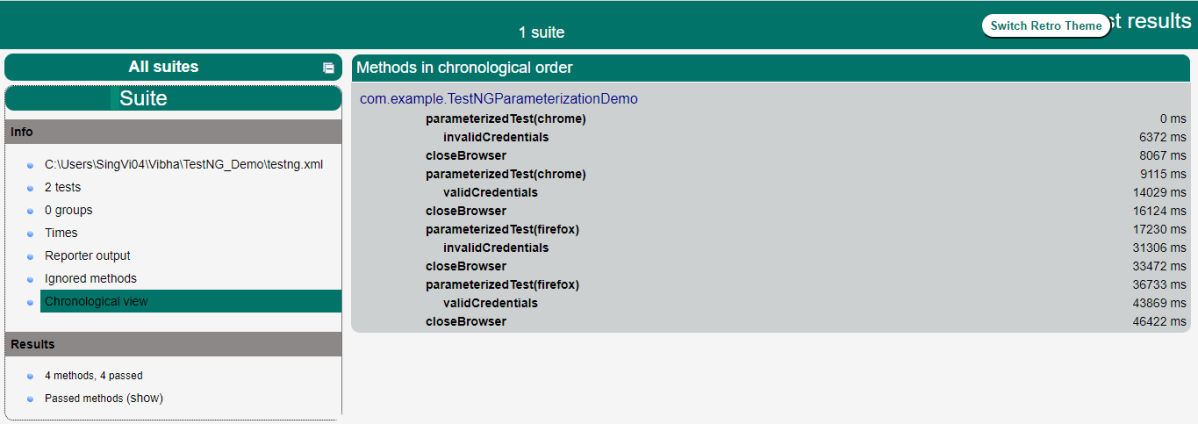
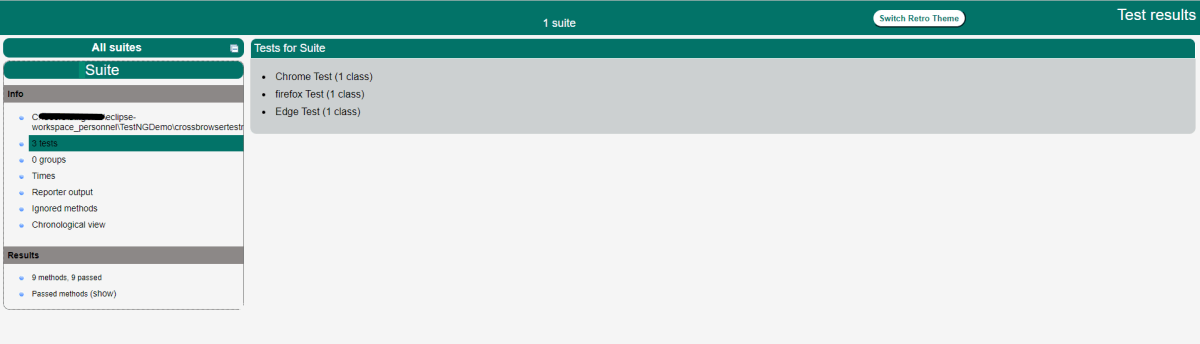
Index.html
This report provides the detailed description of the tests like no of tests present, no of methods, time taken by each step, total time taken by each steps, testng.xml data and soon.

Run Tests Sequentially
If you will run the Test Class – ParallelTestDemo.java as Right click and then Run As TestNG Tests, then the methods will run sequentially. Here all tests are run with Thread 1 whereas with parallel execution tests were run with different threads.
We can make parallel = none, if don’t want to run them parallel. It is shown below that all the tests are running on Thread 1 that means once a test ends then another test starts on that thread.
<suite name="TestSuite" thread-count="3" parallel="none" >
Congratulations. We are able to run methods parallelly using TestNG.