Borders often serve as important visual cues, such as indicating focus states, hover effects, or validation results (e.g., turning red for an error). Borders can change dynamically based on interactions (e.g., clicking a button will change its border color). Ensuring these responses occur as expected is key in testing interactive web elements.
To find the border color of web element in Selenium (Java), use the getCssValue method. We will use the `getCssValue` to extract properties like `border-color`.
org.openqa.selenium.support.Color.
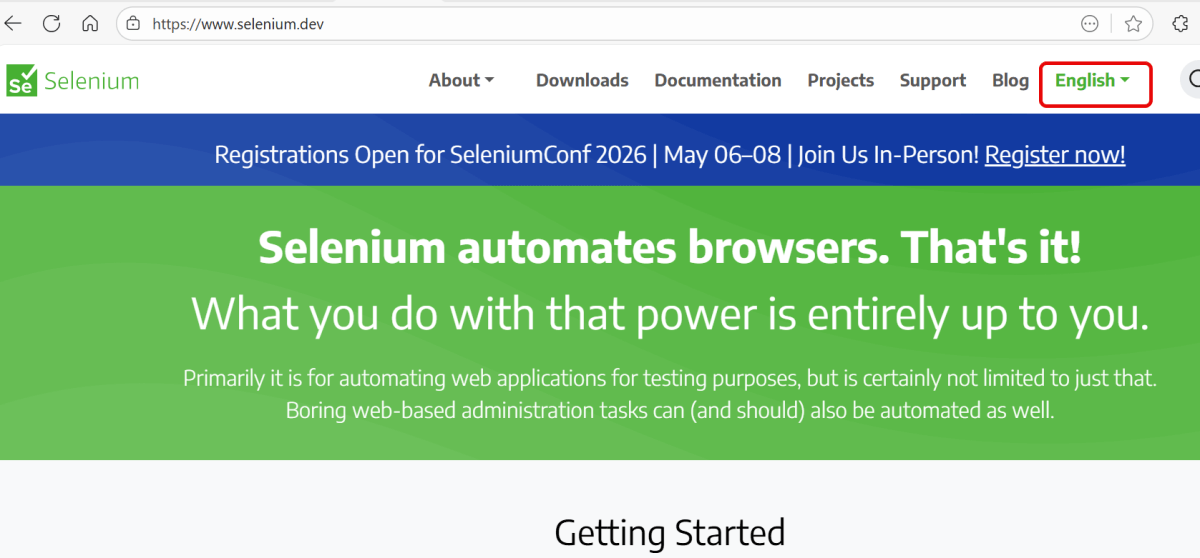
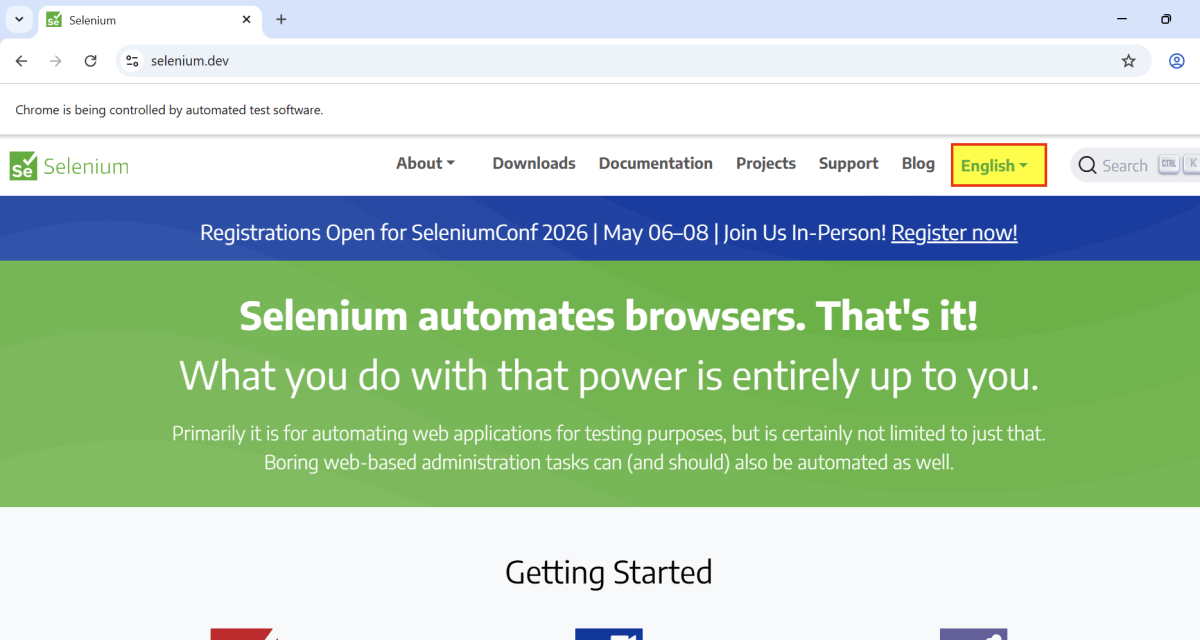
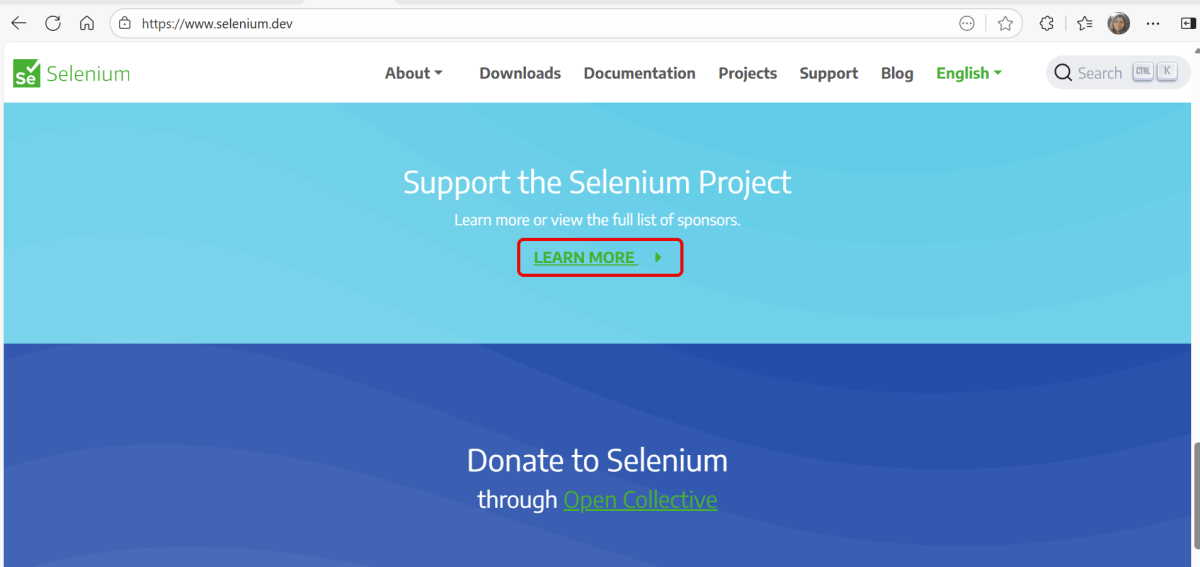
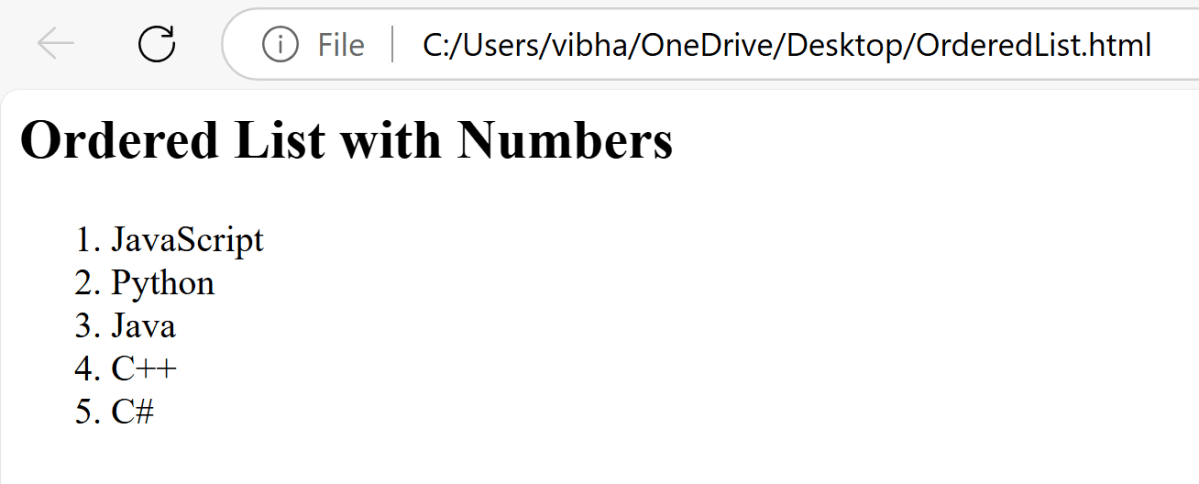
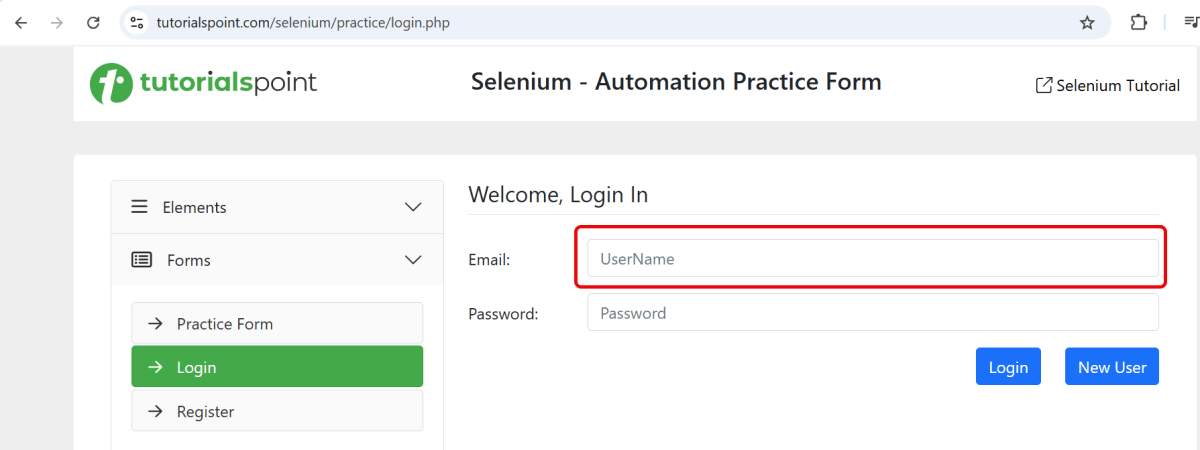
In the below example, we want to find the border color of the highlighted text.
Below is the Selenium program that find the border color of a web element.
import org.openqa.selenium.By;
import org.openqa.selenium.WebDriver;
import org.openqa.selenium.WebElement;
import org.openqa.selenium.chrome.ChromeDriver;
import org.openqa.selenium.chrome.ChromeOptions;
import org.openqa.selenium.support.Color;

import java.time.Duration;

public class Border_Example {

    public static void main(String args[]) {

        ChromeOptions chromeOptions = new ChromeOptions();
        WebDriver driver = new ChromeDriver(chromeOptions);
        driver.manage().timeouts().implicitlyWait(Duration.ofSeconds(10));
        driver.manage().window().maximize();

        try {
            driver.get("https://www.tutorialspoint.com/selenium/practice/login.php");

            // identify the element
            WebElement nameBox = driver.findElement(By.xpath("//*[@id='email']"));

            // get element border color in rgb format
            String nameBoxBorderColor = nameBox.getCssValue("border-color");
            System.out.println("RGB code for border color: " + nameBoxBorderColor);

            // convert rgb to hex using Color class
            String hexColor = Color.fromString(nameBoxBorderColor).asHex();
            System.out.println("Hex format for element Border-Color is: " + hexColor);

            // convert rgb to rgba using Color class
            String rgbaColor = Color.fromString(nameBoxBorderColor).asRgba();
            System.out.println("RGBA format for element Border-Color is: " + rgbaColor);

            // Retrieve the border color value for each side
            String borderTopColor = nameBox.getCssValue("border-top-color");
            String borderRightColor = nameBox.getCssValue("border-right-color");
            String borderBottomColor = nameBox.getCssValue("border-bottom-color");
            String borderLeftColor = nameBox.getCssValue("border-left-color");

            // Print the retrieved border colors
            System.out.println("Border Top Color: " + borderTopColor);
            System.out.println("Border Right Color: " + borderRightColor);
            System.out.println("Border Bottom Color: " + borderBottomColor);
            System.out.println("Border Left Color: " + borderLeftColor);

        } finally {
            // Closing browser
            driver.quit();
        }
    }
}
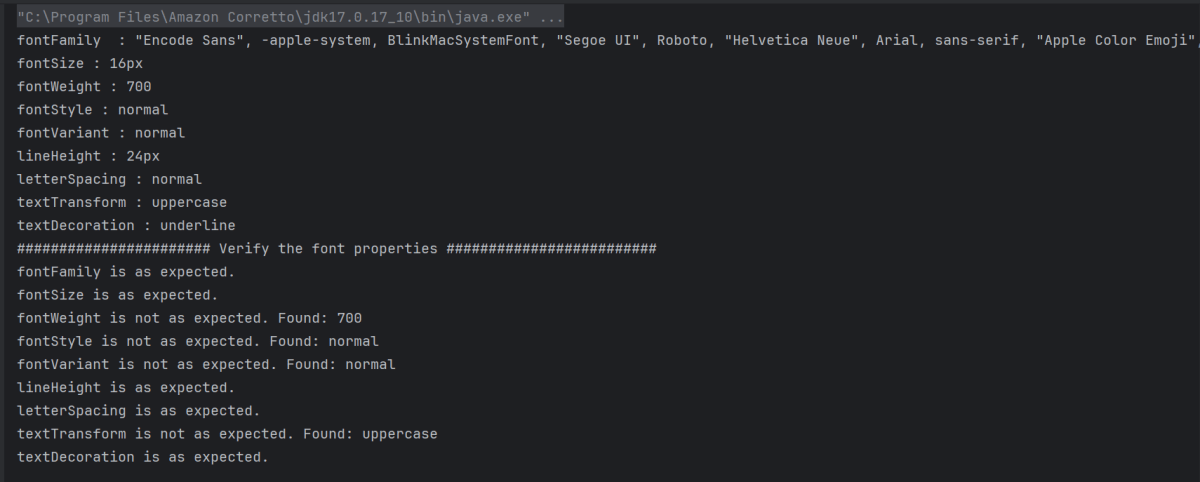
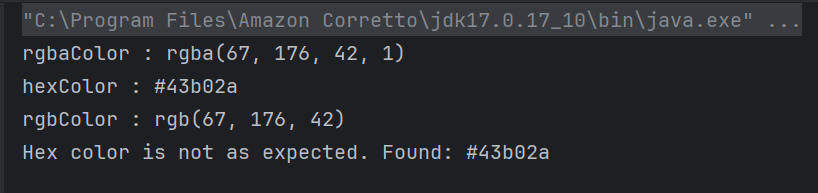
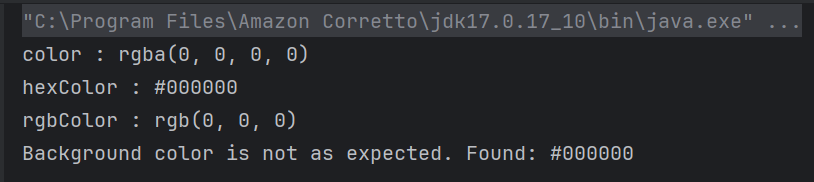
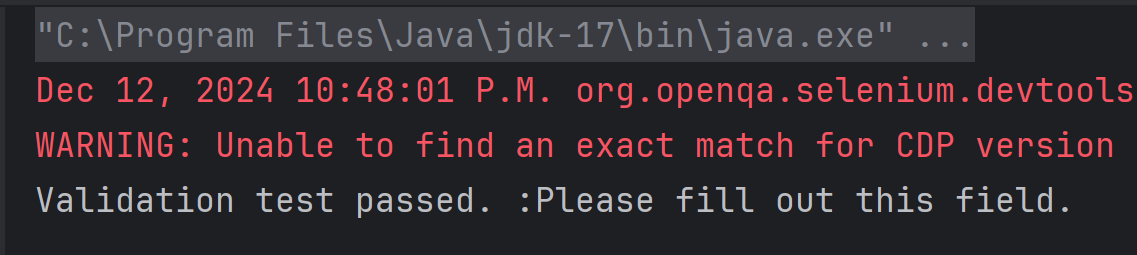
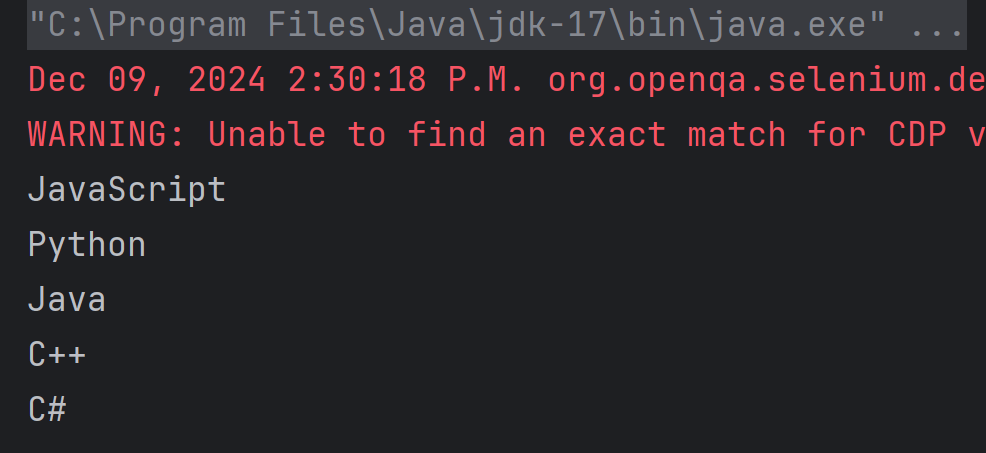
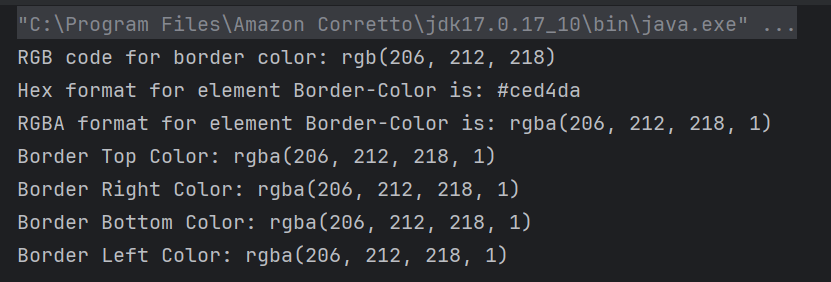
The output of the above program is
Explanation:
1. Set Up Chrome Options and WebDriver
ChromeOptions is created. A ChromeDriver object driver is created to control the Chrome browser. implicitlyWait is set to 10 seconds to wait for elements to be present before throwing an exception. The browser window is maximized for better visibility during the test.
ChromeOptions chromeOptions = new ChromeOptions();
WebDriver driver = new ChromeDriver(chromeOptions);
driver.manage().timeouts().implicitlyWait(Duration.ofSeconds(10));
driver.manage().window().maximize();
2. Navigate to the Webpage
The get() method of driver is used to navigate to the specified URL.
https://www.tutorialspoint.com/selenium/practice/login.php
3. Find Element
The element is located by the specified id with “email”.
WebElement nameBox = driver.findElement(By.xpath("//*[@id='email']"));
4. Retrieve CSS Property
The getCssValue method retrieves the border color of the element in RGB format.
 // get element border color in rgb format
String nameBoxBorderColor = nameBox.getCssValue("border-color");
System.out.println("RGB code for border color: " + nameBoxBorderColor);
5. Convert Color Formats
RGB to Hex: Color.fromString(rgbaColor).asHex() converts the RGB color to hexadecimal format.
RGB to RGBA: Color.fromString(rgbaColor).asRgba() converts the RGB color to RGBA format for additional representation.
// convert rgb to hex using Color class
String hexColor = Color.fromString(nameBoxBorderColor).asHex();
System.out.println("Hex format for element Border-Color is: " + hexColor);

// convert rgb to rgba using Color class
String rgbaColor = Color.fromString(nameBoxBorderColor).asRgba();
System.out.println("RGBA format for element Border-Color is: " + rgbaColor);
6. Retrieve border color of each side
Use getCssValue to retrieve each part of the border color to determine the color on each side.
String borderTopColor = nameBox.getCssValue("border-top-color");
String borderRightColor = nameBox.getCssValue("border-right-color");
String borderBottomColor = nameBox.getCssValue("border-bottom-color");
String borderLeftColor = nameBox.getCssValue("border-left-color");
7. Clean Up
The finally block ensures that the browser is closed irrespective of whether the test passes or fails, using driver.quit() to close all browser windows and end the session.
// Close the browser
driver.quit();
Summary:
- Initialize a WebDriver and direct it to interact with your target webpage.
- Identify the desired web element using suitable locators.
- Retrieve and print out the CSS values for border color using getCssValue with attribute “border-color”.
- Use getCssValue to retrieve each part of the border color. This helps determine the color on each side. Use attributes “border-right-color”, “border-bottom-color”, “border-top-color” and “border-left-color”.
That’s it! Congratulations on making it through this tutorial and hope you found it useful! Happy Learning!!