In the previous tutorial, we discussed how the Robot framework actually works. Now we will discuss the Robot framework setup.
To set up the Robot framework, we need multiple components, plugins, etc. Below steps, we need to follow to proceed with the Robot framework.
Table Of Contents
Implementation Steps
1. Install Python
We are going to use Python for Robot Framework. So, we need to install Python on the system. Please refer to this tutorial to install Python – How to Install Python on Windows 11
Use the below command to verify the presence of Python on the machine.
python --version
2. Install PIP
PIP is a package manager to install modules for python.
PIP gets installed along with python, and you can check the same in the command line as follows:
pip --version
3. Install Robot Framework
We will now use pip – python package manager to install the robot framework and the command for it is as follows:
pip install robotframework

Once the installation is done, you can check the version of the robot framework installed as shown below
robot --version
4. Install Robot framework Selenium Library
Once you have installed robotframework library, you need to install robotframework-seleniumlibrary. To install, you need to use the below command:
pip install robotframework-seleniumlibrary

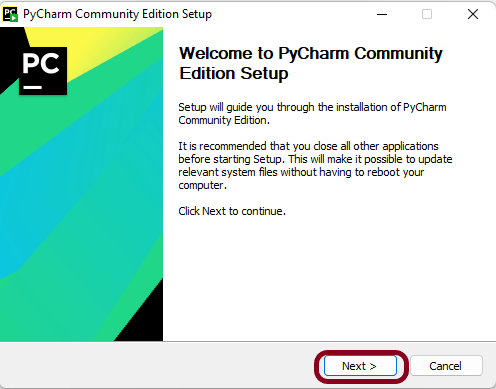
5. Install PyCharm IDE
After Python Installation is complete, we need to install one IDE to write the scripting language. Here we will take PyCharm as IDE. Please refer to this tutorial to install PyCharm in your system – How to install PyCharms on Windows 11.
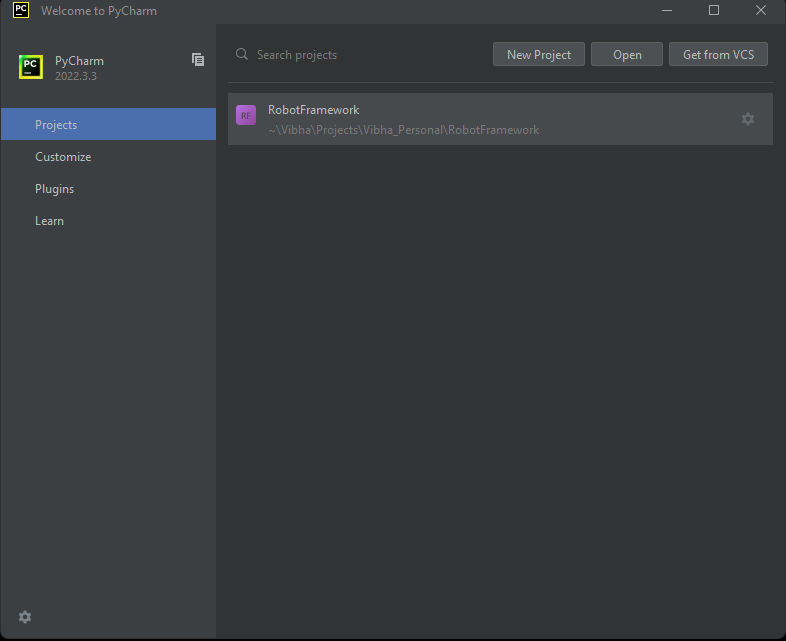
Once PyChram IDE is downloaded, then open the IDE. Create a new project as shown below.

As of now, PyCharm IDE does not contain the robotframework installed in Python. We need to select Robot Python Interpreter.
Go to File ->Settings -> Project: RobotFramework -> Python Interpreter and select the Python Interpreter which has Robot Framework installed.
You can see that once the particular interpreter is selected, it lists all the packages present in it like robotframework, robotframework-seleniumlibrary, selenium, robotframework-pythonlibcore, and so on.

How to add Robot Framework to Python Interpreter?
Click on Add Interpreter and select Virtualenv Environment and select Environment as New. Provide the Location and Base interpreter and click on the “OK” button.

How to install Plugin in PyCharms IDE?
It is suggested to install Hyper RobotFramework Support plugin. This is a Robot Framework plugin for PyCharm. It will highlight the syntax, helps in code completion, explains keyword usage, and many more functionalities.
Go to File ->Settings -> Plugins and type Hyper R and you will see this plugin. Click on the “Install” button to install this plugin.

Now we have understood how to set up the Robot framework in our system environment. Let us run a sample test case in the next tutorial.