New version of Eclipse like Photon or Eclipse IDE 2019-06 has M2_REPO classpath variable after integrating maven plugins (m2eclipse) with Eclipse IDE, M2_REPO classpath variable gets added –> pointing to default locations (for example c:\Users\\.m2\repository) and this variable is non-modifiable. However, if we are using older version of Eclipse, then we need to add M2_REPO manually to Eclipse.
Steps to add M2_REPO
Open Eclipse IDE, select Window ->Preferences ->Java ->Classpath Variables
2. Click on New Button. Add below mentioned information:-
Name – M2_REPO
Path – Path where M2 file places in your system
Eg – C:\Users\SingVi04\.m2\repository
Note:- I have already added M2_REPO, so we can see an error message – Variable name already exists.
3. Verify that M2_REPO add – You can check new Classpath variable M2_REPO is added under BuildPath ->Classpath Variables
Apache Maven is a software project management and comprehension tool. It uses the concept of a project object model (POM), Maven can manage a project’s build and reporting, and documentation from a central piece of information. MAVEN helps us in creating the project structure and managing and downloading the dependencies. We need to define the required dependencies in pom.xml.
Prerequisite:
Maven 3.3+ require JDK 1.7 or above to execute
Approximately 10MB is required for the Maven installation
Installation Steps
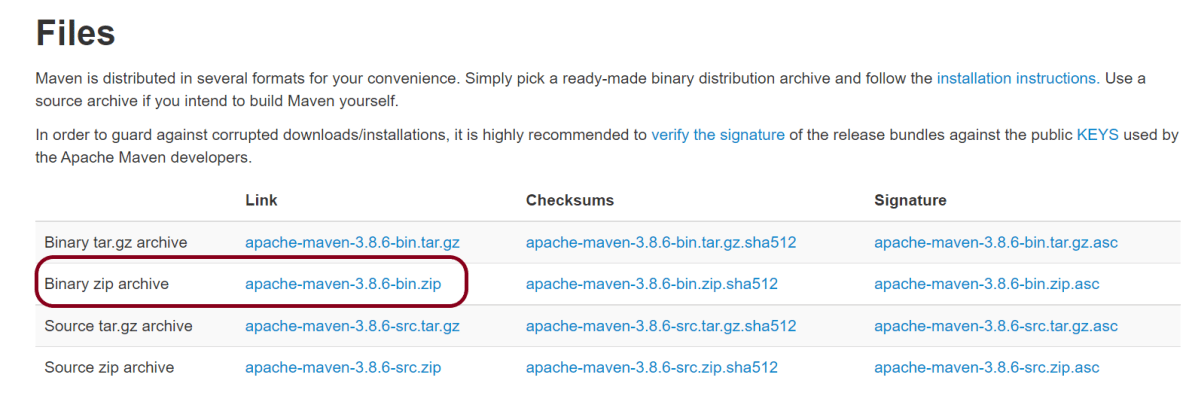
Step 1– To install Apache Maven on the window, we need to download Maven’s zip folder from the Official Maven Site. Download apache-maven-3.8.6-bin.zip.
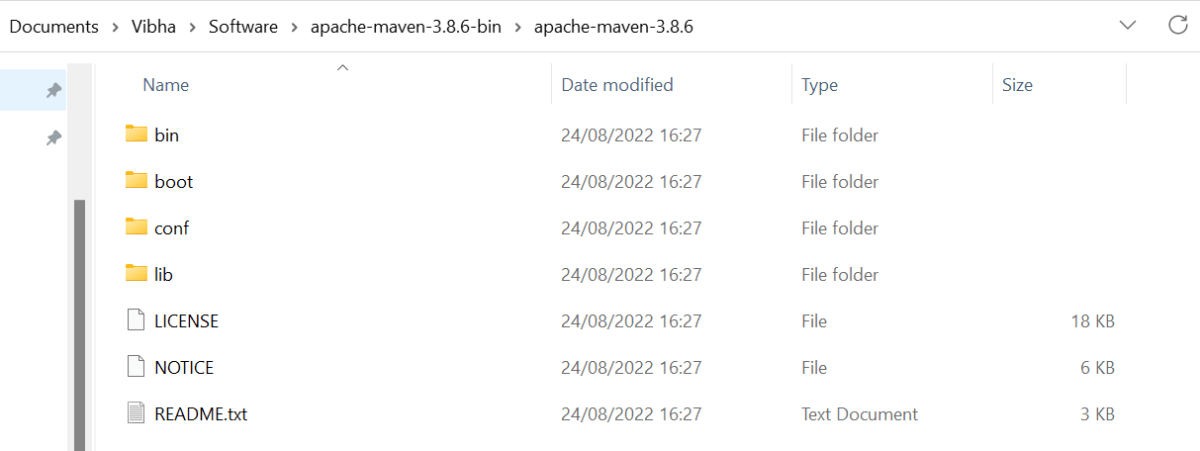
Step 2 – Unzip the downloaded folder and then it will have below-mentioned files. We do not need to install anything, just unzip the folder.
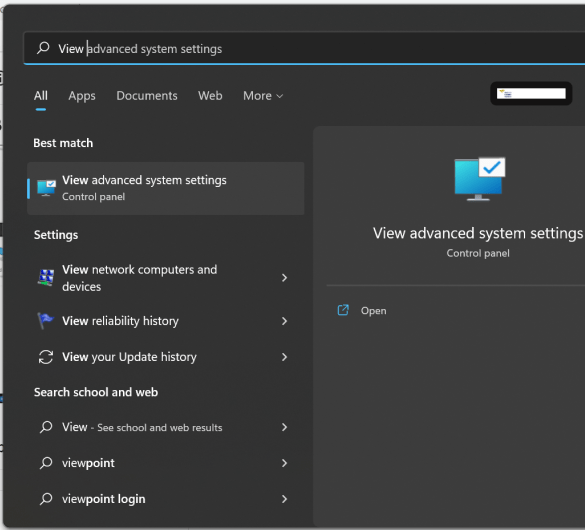
Step 3 – We need to configure MAVEN_HOME environment variable. Type – “View Adva” in the search option, and we will see the option – View Advanced system setting.
Step 4 – In the System Properties dialog, select the Advanced tab and click on the Environment Variables button.
Step 5 – In the “Environment variables” dialog, underUsers variables, Click on the New button and add a MAVEN_HOME variable.
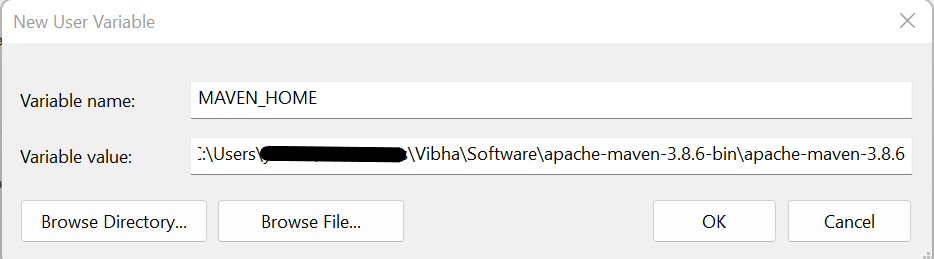
Step 6 – A dialog box will appear, mentioning Variable Name – MAVEN_HOME and Variable value – mention the path where the Apache folder is placed.
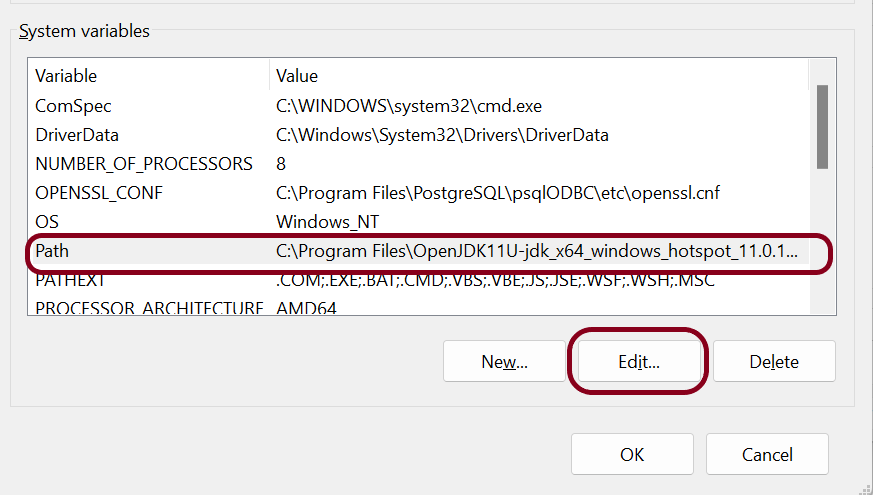
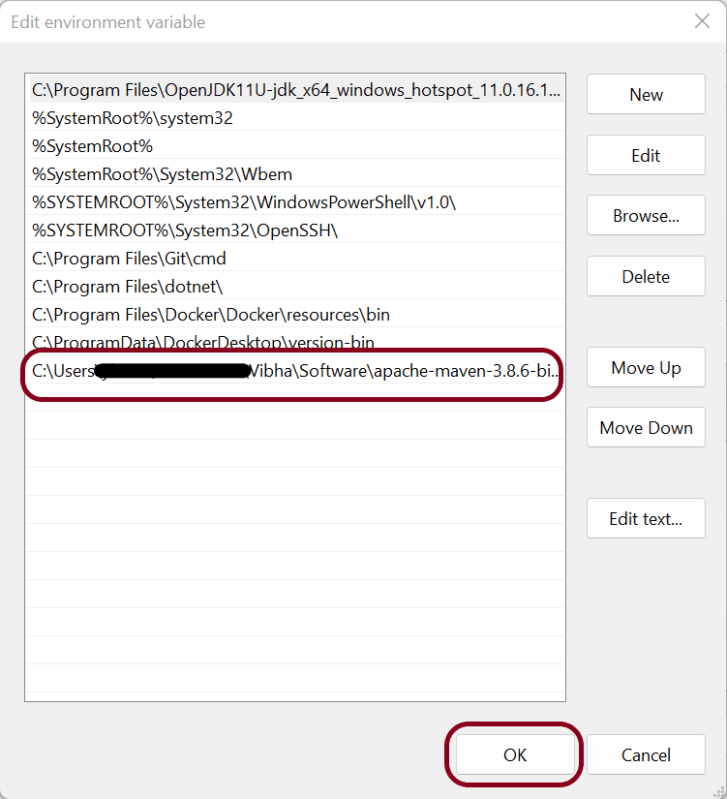
Step 7 – Add %MAVEN_HOME%\bin(full path till bin where Maven is placed on your machine) to Path present under System variables. Click the New Button present in System Variable and add MAVEN_HOME\bin.
Step 8 – Once the Path is updated with %MAVEN_HOME%\bin. This is what it will look like.
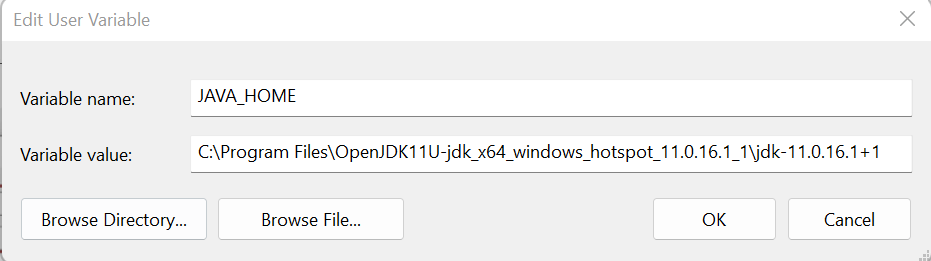
Step 9 – We have to make sure that JDK is installed and the JAVA_HOME environment variable is configured. If the JAVA_HOME variable is not configured, then add JAVA_HOME just like MAVEN_HOME in User Variable within Environment Variables.
How to verify if Maven is installed properly on your machine
Open the command prompt and type mvn -version, then the screen should look something like as shown below screen
This confirms that Maven is installed successfully and configured on your machine.