How to import Java Gradle project in IntelliJ

HOME

In the previous tutorial, I have explained How to create a Java Gradle in IntelliJ. This tutorial will explain How to import the Java Gradle project in IntelliJ.

Steps to follow:-

Step 1 – Open IntelliJ IDEA and Welcome Screen appears. Click the Open button present on Welcome Screen.

Step 2 – Navigate to your Gradle project and select the top-level folder. Select the project you want to Import. Select the OK button to proceed to the next screen.

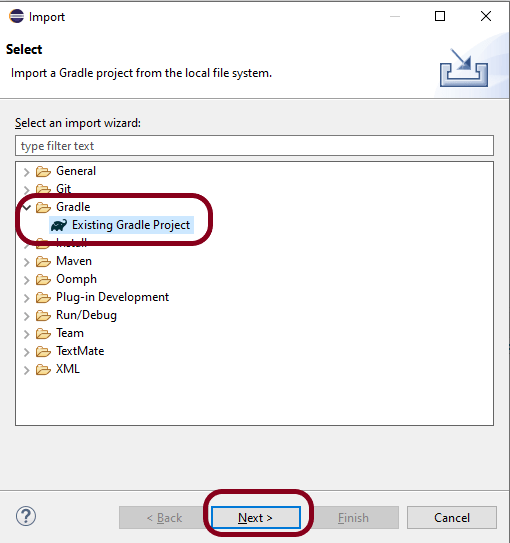
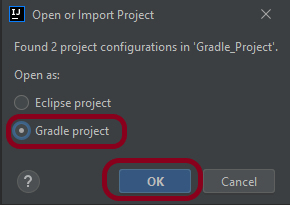
Step 3 – A screen appears to Open or Import project. It will have all the possible configurations for the project. As this is a Gradle project, select  Gradle project and click the OK Button.

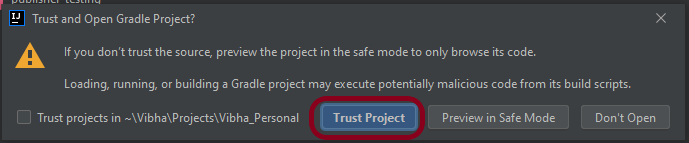
Step 4 – A warning message box will appear. Select Trust Project button and move forward.

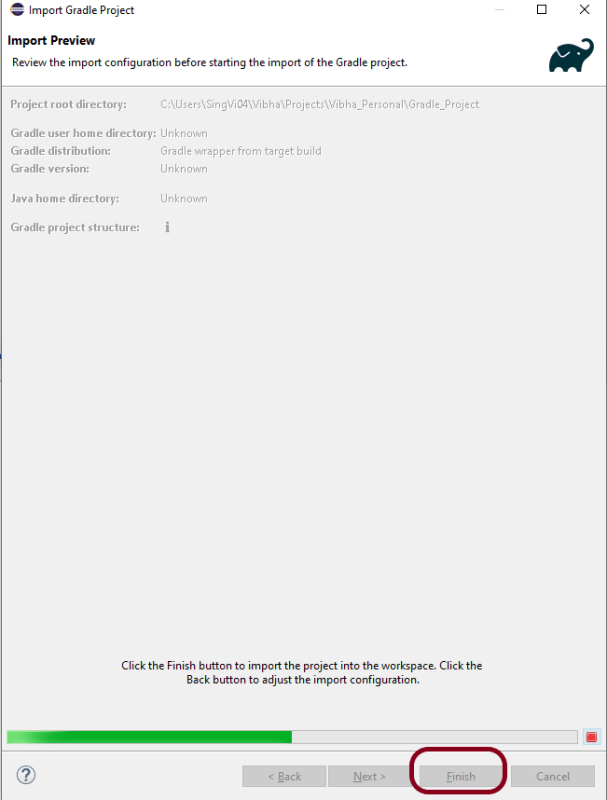
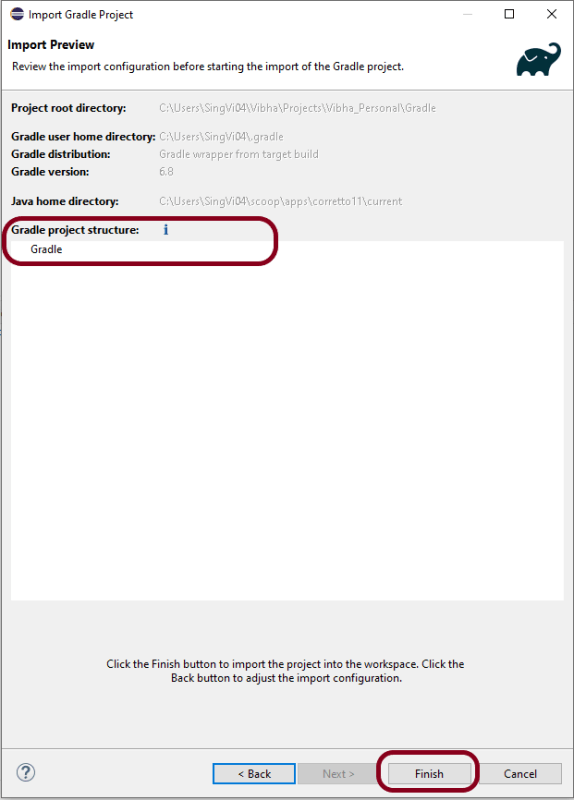
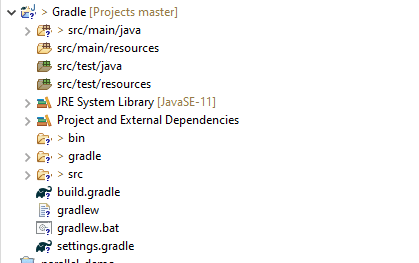
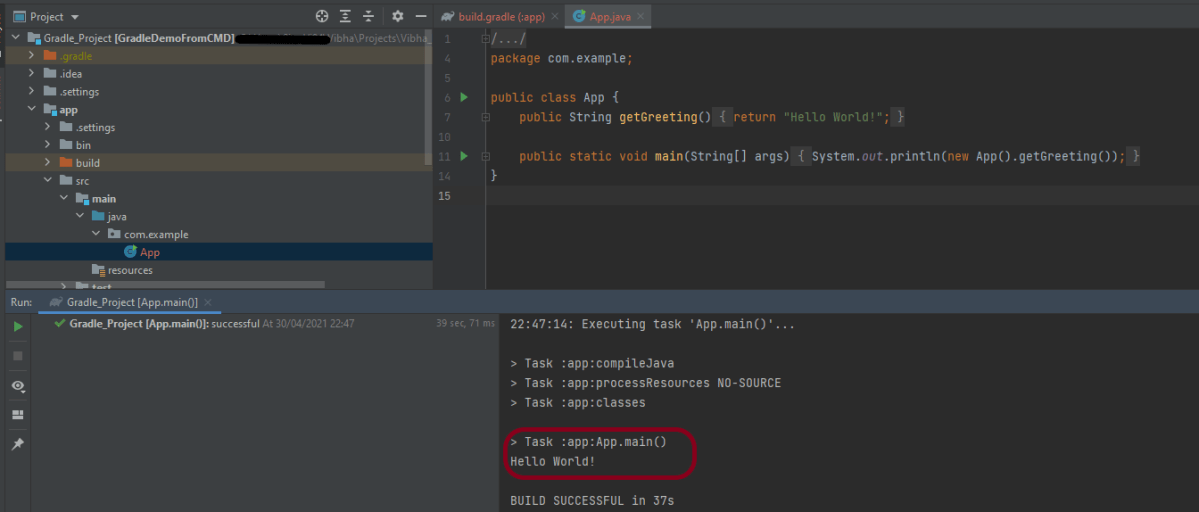
Step 5 – The imported project structure in IntelliJ is shown below.

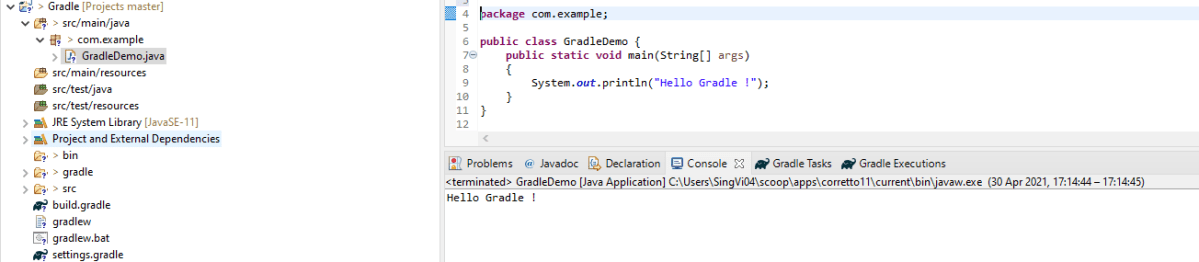
Step 6 – This screen shows that the project is imported and build successfully.

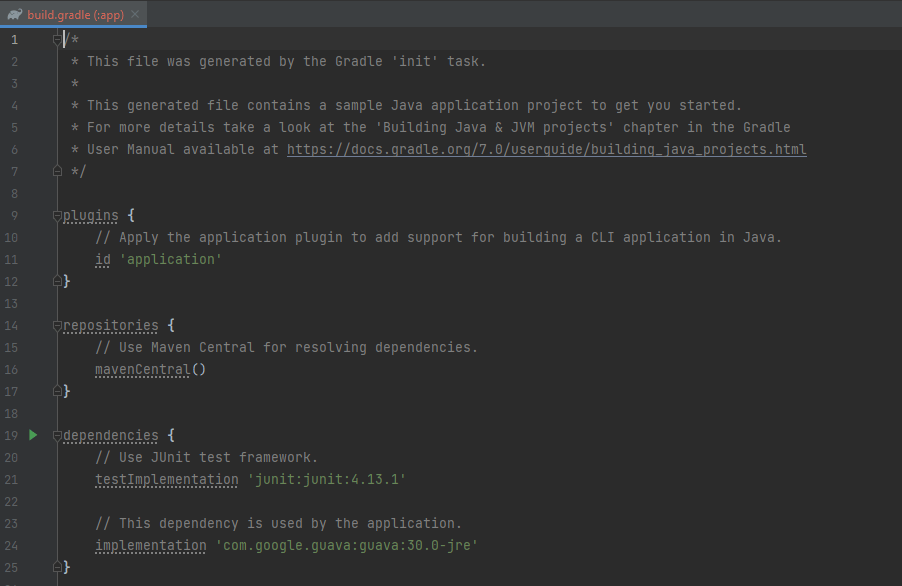
Step 7 – This screen shows the build.gradle of the imported project.

Step 8 – Run the test present in the project. Here, I have run App. Right-click on App ->Run ‘App.main()’. The below screen shows that the project is imported successfully.

That’s it! We are done!!!

Congratulations on making it through this tutorial and hope you found it useful! Happy Learning!! Cheers!!

How to import Java Gradle project in Eclipse

HOME

In the previous tutorial, I explained How to create a Java Gradle project using Command Line. This tutorial will explain How to import the Java Gradle project in Eclipse.

Steps to follow:-

Step 1 Open Eclipse IDE. In Eclipse IDE, select File ->Import ->Maven ->Existing Gradle Project. Click NEXT Button.

Step 2A welcome screen will appear. You can uncheck the box – Show the welcome page the next time the wizard appears. This is optional. Click the NEXT button.

Step 3 Browse the location from where you want to import the Gradle project. Click the NEXT button.

Step 4 This screen allows us to Configure Customized Workspace Settings. This shows that Gradle Version 7.0 is used for this project. Click the Finish Button.

Step 5 – This screen allows us to review the import configuration. If you feel something is incorrect, click the BACK Button.

Step 6 – We can see that the Gradle project Name is Gradle and other details like Version. Click the FINISH Button. This will import the project structure into Workspace.

Step 7 Below is the imported project Structure in Eclipse.

Step 8To check if the project is imported successfully. Run GradleDemo.java class by right click on the Java class and Run As Java Application.

That’s it! We have imported a Gradle Project in Eclipse.

Congratulations on making it through this tutorial and hope you found it useful! Happy Learning!! Cheers!!