In the previous tutorials, I explained the Implicit Wait in Serenity and Explicit Wait in Serenity. This tutorial will explain the Fluent Wait in Serenity.
What is Fluent Wait?
Fluent waits provide more flexibility, allowing us to specify polling intervals and ignore specific exceptions during the wait time. Fluent Wait not only lets you specify the maximum amount of time to wait for a condition but also allows you to define the frequency with which the condition is checked and to ignore specific exceptions during the wait time.
Key Features of Fluent Wait:
- Timeout: The maximum amount of time to wait for the condition.
- Polling Frequency: How often the condition should be checked.
- Ignoring Exceptions: The ability to ignore specific types of exceptions while waiting.
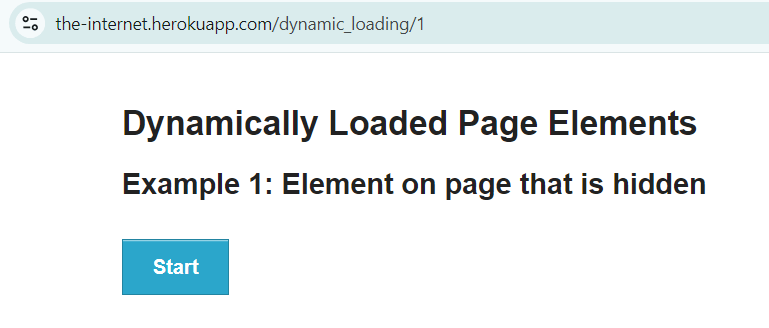
Below is an example that shows that loading of element take sometime. So to wait for the element, we can use the Fluent Wait.
Step 1
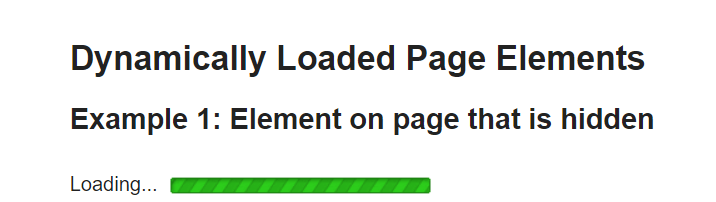
Step 2
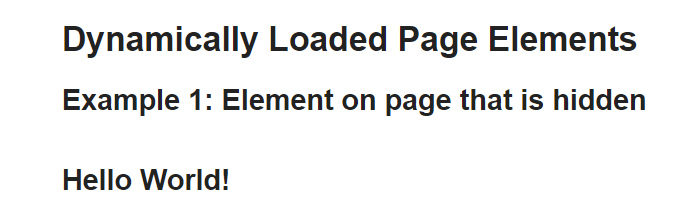
Step 3
Below is the example of Fluent wait.
import net.serenitybdd.annotations.DefaultUrl;
import net.serenitybdd.annotations.Managed;
import net.serenitybdd.core.annotations.findby.FindBy;
import net.serenitybdd.core.pages.PageObject;
import net.serenitybdd.core.pages.WebElementFacade;
import net.serenitybdd.junit.runners.SerenityRunner;
import org.junit.Test;
import org.junit.runner.RunWith;
import org.openqa.selenium.ElementNotInteractableException;
import org.openqa.selenium.WebDriver;
import org.openqa.selenium.WebElement;
import org.openqa.selenium.support.ui.FluentWait;

import java.time.Duration;
import java.util.function.Function;

@RunWith(SerenityRunner.class)
@DefaultUrl("http://the-internet.herokuapp.com/dynamic_loading/1")
public class FluentWait_Demo extends PageObject {

    @Managed
    WebDriver driver;

    @FindBy(xpath = "//*[@id='start']/button")
    WebElementFacade startButton;


    @FindBy(xpath = "//*[@id='finish']/h4")
    WebElementFacade pageText;

    @Test
    public void fluentWaitDemo() throws InterruptedException {

        open();
        startButton.click();
        waitForElementWithFluentWait(pageText);

    }

    public void waitForElementWithFluentWait(WebElement pageText) {
        FluentWait wait = new FluentWait<>(getDriver())
                .withTimeout(Duration.ofSeconds(10))
                .pollingEvery(Duration.ofSeconds(2))
                .ignoring(ElementNotInteractableException.class);

        wait.until((Function<WebDriver, Boolean>)
                driver -> pageText.isDisplayed());

        System.out.println("Text :" + pageText.getText());
        System.out.println("Fluent Time defined for the test (in seconds) :" + getWaitForTimeout().toSeconds());
    }
}
Explanation:
- withTimeout(Duration.ofSeconds(10)): Specifies the maximum time to wait for the condition to be met, which is 30 seconds in this case.
- pollingEvery(Duration.ofSeconds(2)): Specifies the interval at which the check should be performed, here it is every 5 seconds.
- ignoring(ElementNotInteractableException.class): Instructs the wait to ignore ElementNotInteractableException that might occur during the polling period.
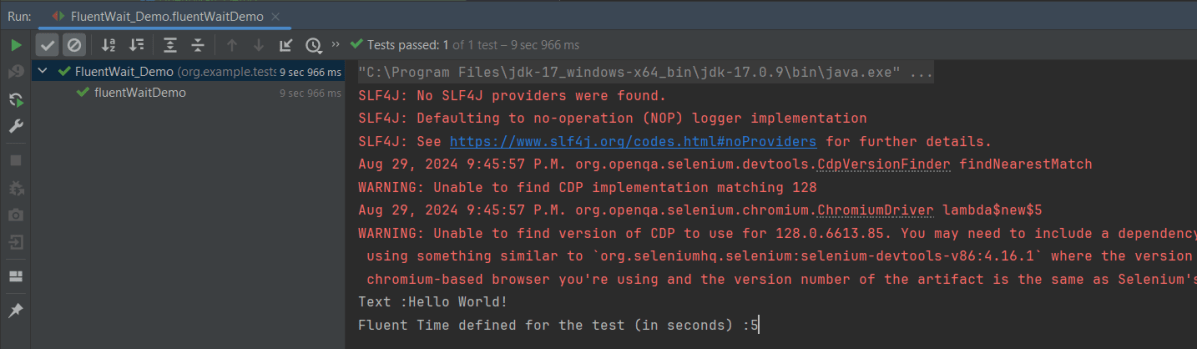
The output of the above program is
Fluent Wait supports various conditions similar to explicit waits, such as:
- visibilityOfElementLocated
- presenceOfElementLocated
- elementToBeClickable
- textToBePresentInElementLocated
- alertIsPresent
- elementToBeSelected
- frameToBeAvailableAndSwitchToIt
- Custom conditions
We can use Lambda expression to simplify the condition:
public void waitForElementWithFluentWait(WebElement pageText) {
        FluentWait wait = new FluentWait<>(getDriver())
                .withTimeout(Duration.ofSeconds(10))
                .pollingEvery(Duration.ofSeconds(2))
                .ignoring(ElementNotInteractableException.class);

       wait.until(driver -> pageText.isDisplayed());

        System.out.println("Text :" + pageText.getText());
        System.out.println("Fluent Time defined for the test (in seconds) :" + getWaitForTimeout().toSeconds());
    }
We are done! Congratulations on making it through this tutorial and hope you found it useful! Happy Learning!!
